|
CLAIR DE LUNE

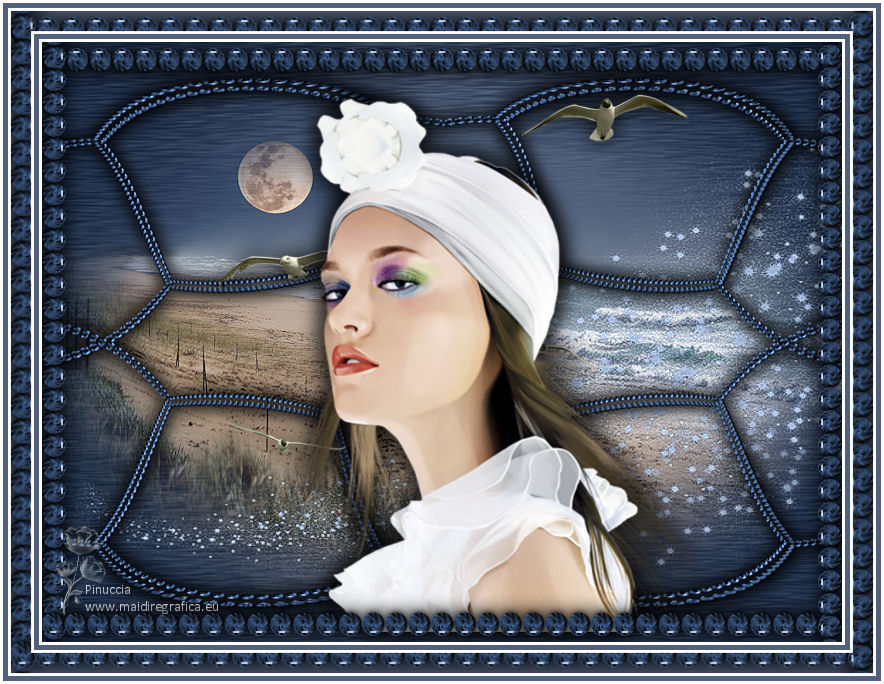
Thanks Joanne for the invitation to translate your tutorials:

This tutorial was translated with PSPX3 but it can also be made using other versions of PSP.
Since version PSP X4, Image>Mirror was replaced with Image>Flip Horizontal,
and Image>Flip with Image>Flip Vertical, there are some variables.
In versions X5 and X6, the functions have been improved by making available the Objects menu.
In the latest version X7 command Image>Mirror and Image>Flip returned, but with new differences.
See my schedule here
 Italian translation here Italian translation here
For this tutorial, you will need:
Material here
Thanks for the tubes Malkoffee and Marion and Dieter.
(The links of the tubemakers sites here).
Plugins
consult, if necessary, my filter section here
Alien Skin Eye Candy 5 Impact here
Mura's Meister - Copies here
Flaming Pear - Flexify 2 here
AAA Frames - Foto Frame here

You can change Blend Modes according to your colors.
Copy the preset Emboss 3 in the Presets Folder.
Open the mask in PSP and minimize it with the rest of the material.
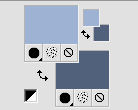
1. Set your foreground color to #9eb2d4,
and your background color to #51617b.
2. Open Joanne_canal_alpha_Clair_de_Lune .
Window>Duplicate or, on the keyboard, shift+D to make a copy.

Close the original.
The copy, that will be the basis of your work, is not empty,
but contains a selections saved to alpha channel.
Flood Fill  the transparent image with your dark background color. the transparent image with your dark background color.
3. Layers>New Raster Layer.
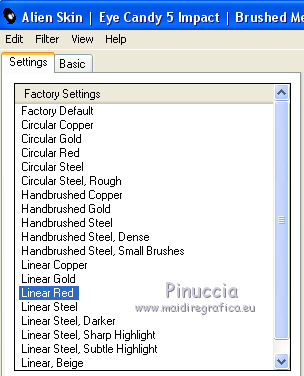
Effects>Plugins>Alien Skin Eye Candy 5 Impact - Brushed Metal.
Select the preset Linear Red and ok.
4. Change the Blend Mode of this layer to Luminance (legacy).
5. Layers>Merge>Merge Down.
6. Effects>User Defined filter - select the preset Emboss 3 and ok.

7. Open the landscape tube and go to Edit>Copy.
Go back to your work and go to Edit>Paste as new layer.
8. Layers>New Raster Layer.
Flood Fill  with your light foreground color. with your light foreground color.
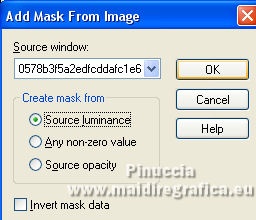
9. Layers>New Mask layer>From image
Open the menu under the source window and you'll see all the files open.
Select the mask 2578b3f5a2edf....
Layers>Merge>Merge Group.
Effects>Edge Effects>Enhance.
10. Open the tube of the blue pearl and go to Edit>Copy.
Go back to your work and go to Edit>Paste as new layer.
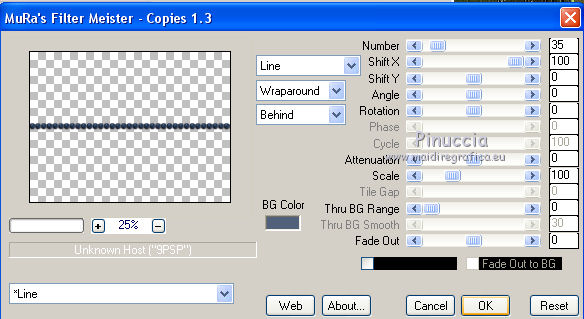
11. Effects>Plugins>Mura's Meister - Copies.
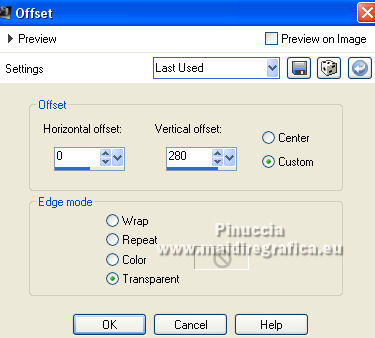
12. Effects>Image Effects>Offset.
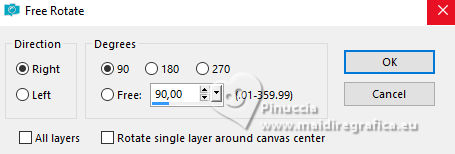
13. Layers>Duplicate.
Image>Free Rotate - 90 degrees to right.
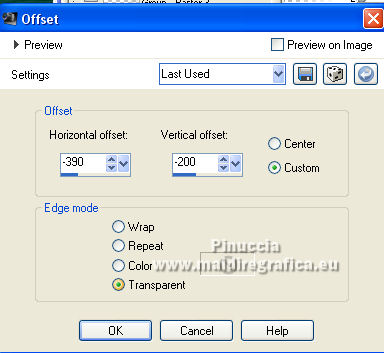
14. Effects>Image Effects>Offset.
15. Layers>Merge>Merge Down.
16. Layers>Duplicate.
Image>Flip.
Image>Mirror.
Layers>Merge>Merge Down.
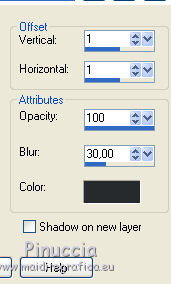
17. Effects>3D Effects>Drop Shadow.
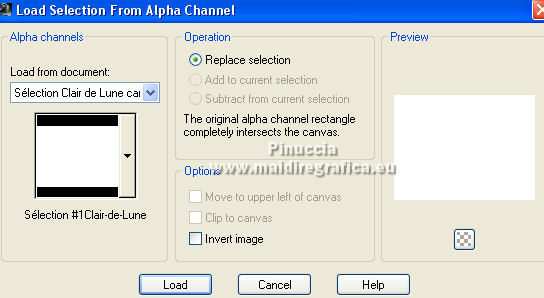
18. Selections>Load/Save Selection>Load Selection from Alpha Channel.
The selection #1 is immediately available. You just have to click Load.
19. Image>Crop to Selection.
20. Edit>Copy.
Edit>Paste as new image, and minimize this image.
21. Go back to your work (on the pearls layer).
Layers>Duplicate.
Activate the layer below of the original.
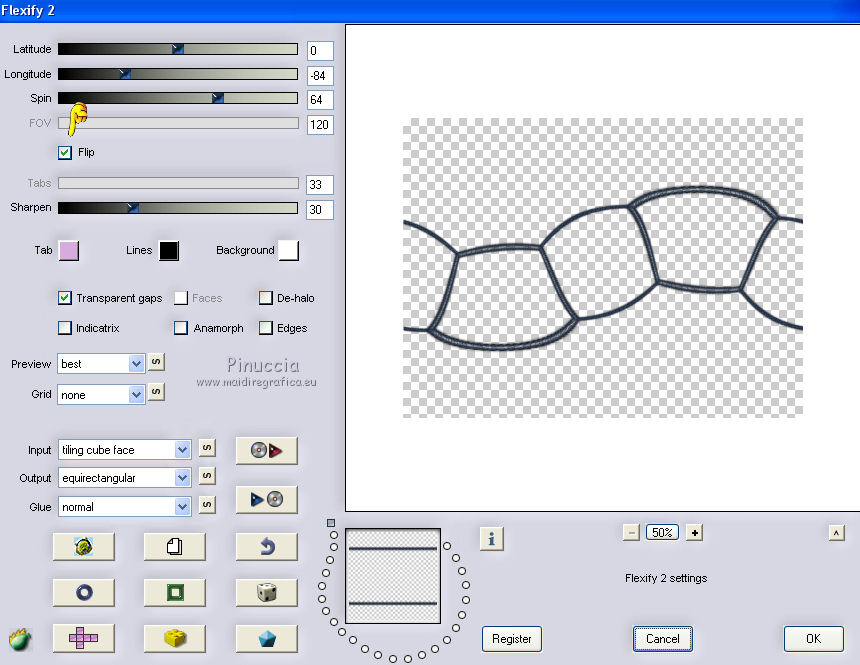
22. Effects>Plugins>Flaming Pear - Flexify 2.
23. Image>Mirror.
Effects>Reflection Effects>Rotating Mirror.

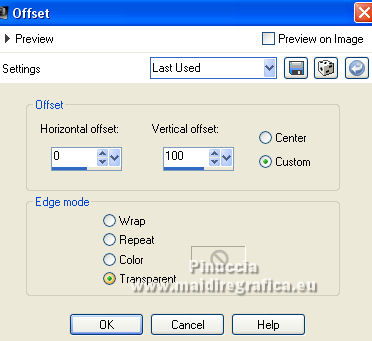
24. Effects>Image Effects>Offset.
25. Layers>Duplicate.
Image>Flip.
Layers>Merge>Merge down.
26. Effects>User Defined Filter - preset Emboss 3 .

27. Effects>3D Effects>Drop Shadow.
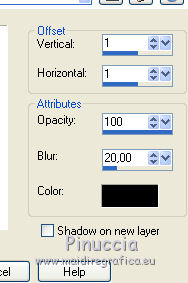
Repeat Drop Shadow, vertical and horizontal -1.
28. Open the birds tube and go to Edit>Copy.
Go back to your work and go to Edit>Paste as new layer.
Move  the tube at the upper right, see my example. the tube at the upper right, see my example.
29. Effects>3D Effects>Drop Shadow.
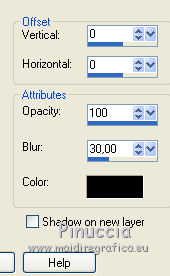
30. Open the woman tube and go to Edit>Copy.
Go back to your work and go to Edit>Paste as new layer.
Image>Resize, to 85%, resize all layers not checked.
31. Effects>3D Effects>Drop Shadow.
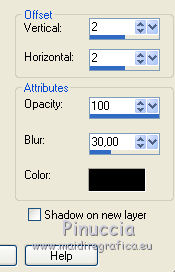
Repeat Drop Shadow, vertical and horizontal -2.
32. Place  rightly the tube rightly the tube
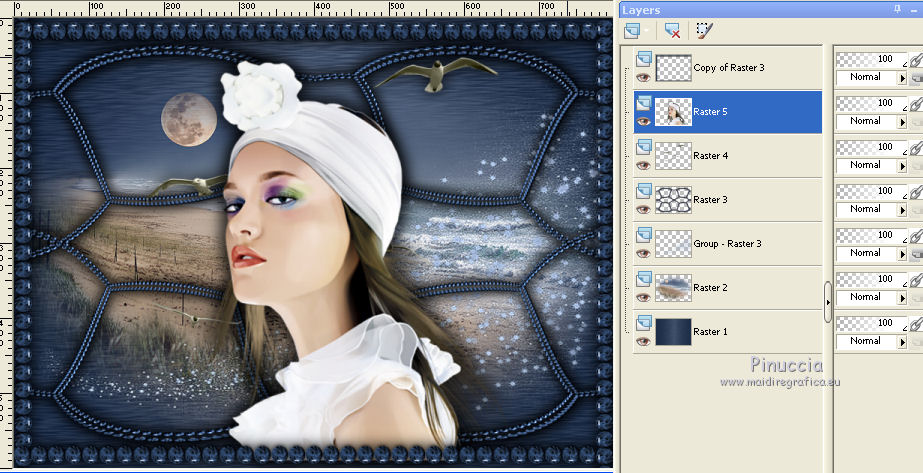
33. Sign your work on a new layer.
If you add the author watermark (to put in mode Soft Light),
don't forget to add also the translator watermark.
34. Layers>Merge>Merge All.
35. Image>Add borders, 3 pixels, symmetric, color white.
Image>Add borders, 5 pixels, symmetric, dark background color.
Image>Add borders, 3 pixels, symmetric, color white.
Image>Add borders, 20 pixels, symmetric, dark background color.
Image>Add borders, 3 pixels, symmetric, color white.
Image>Add borders, 5 pixels, symmetric, dark background color.
Image>Add borders, 3 pixels, symmetric, color white.
36. Activate your Magic Wand Tool 
and click on the 20 pixels border to select it.
37. Activate the pearls image minimized at step 20, and go to Edit>Copy.
Go back to your work and go to Edit>Paste into Selection.
Selections>Select None.
Save as jpg.
Version with tube by Luz Cristina; the landscape is mine
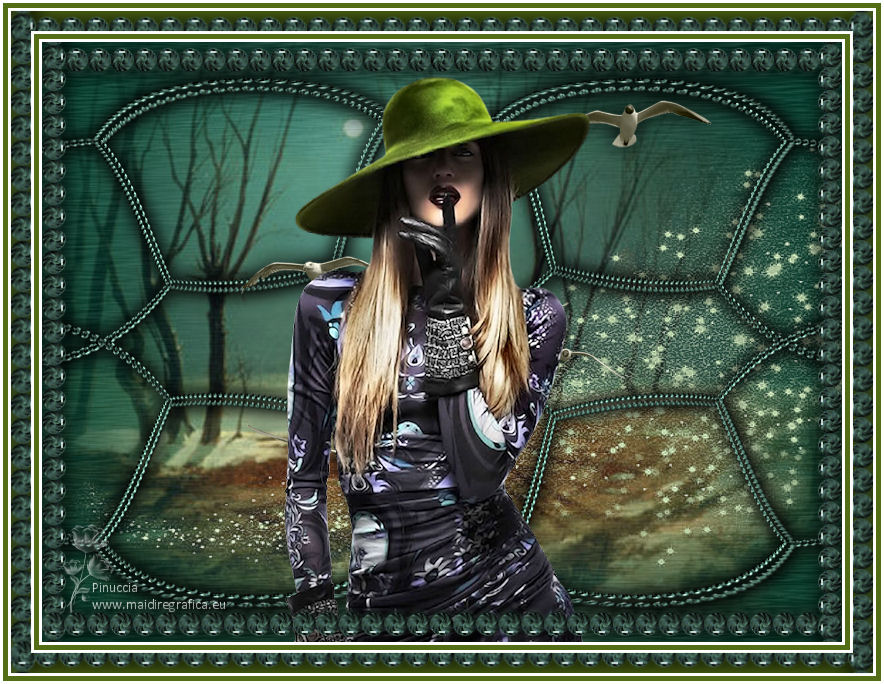

Le vostre versioni. Grazie
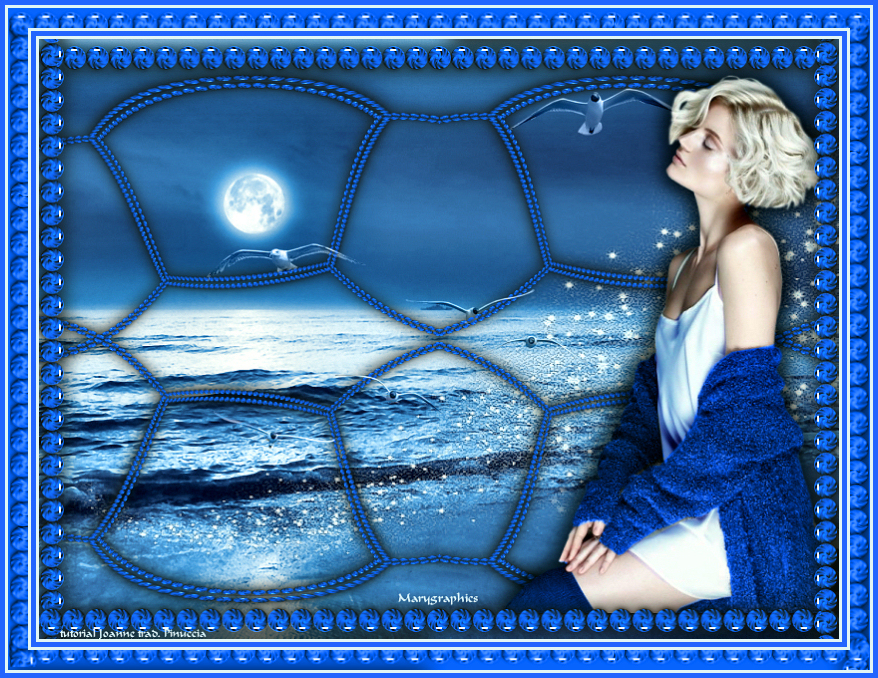
Marygraphics

If you have problems or doubts, or you find a not worked link,
or only for tell me that you enjoyed this tutorial, write to me.
26 October 2021

|


