|
MATHILDA
 ENGLISH VERSION ENGLISH VERSION

Thanks Joanne for the invitation to translate your tutorials:

This tutorial was translated with PSPX3 but it can also be made using other versions of PSP.
Since version PSP X4, Image>Mirror was replaced with Image>Flip Horizontal,
and Image>Flip with Image>Flip Vertical, there are some variables.
In versions X5 and X6, the functions have been improved by making available the Objects menu.
In the latest version X7 command Image>Mirror and Image>Flip returned, but with new differences.
See my schedule here
 Italian translation here Italian translation here
 Your versions Your versions
For this tutorial, you will need:
Material here
Thanks Vio for the tube.
The rest of the material is not signed
(The links of the tubemakers sites here).
Plugins
consult, if necessary, my filter section here
Filters Unlimited 2.0 here
Graphics Plus - Cross Shadow here
Carolaine and Sensibility - CS-Texture, CS-Reflection, CS-LDots here
Filters Graphics Plus can be used alone or imported into Filters Unlimited.
(How do, you see here)
If a plugin supplied appears with this icon  it must necessarily be imported into Unlimited it must necessarily be imported into Unlimited

You can change Blend Modes according to your colors.
In the newest versions of PSP, you don't find the foreground/background gradient (Corel_06_029).
You can use the gradients of the older versions.
The Gradient of CorelX here
Copy the Selections in the Selections Folder.
Open the mask in PSP and minimize it with the rest of the material.
1. Set your foreground color to #716070,
and your background color to #e2c3e3.
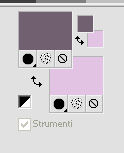
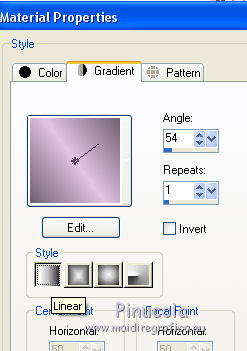
2. Set your foreground color to Gradient and select the gradient Catoe Country71, style Linear.
3. Open a new transparent image 800 x 600 pixels.
Selections>Select All.
4. Open the landscape image and go to Edit>Copy.
Go back to your work and go to Edit>Paste into Selection.
Keep selected.
5. Layers>New Raster Layer.
Open the violet image and go to Edit>Copy.
Go back to your work and go to Edit>Paste into Selection.
Selections>Select None.
6. Selections>Load/Save Selection>Load Selection from Disk.
Look for and load the selection Selection_Joanne_Mathilda_1
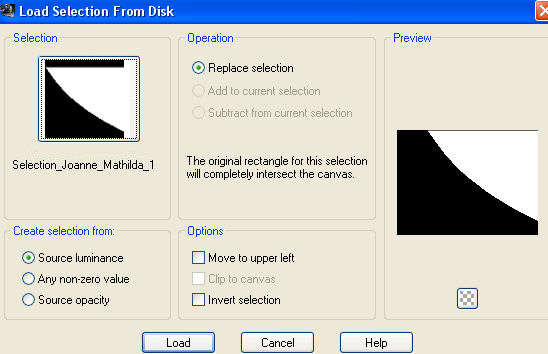
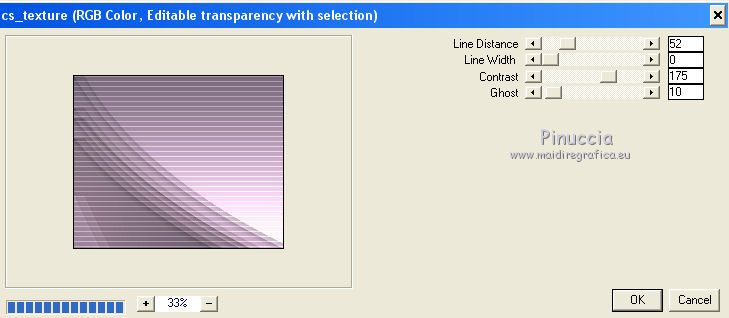
7. Effects>Plugins>Carolaine and Sensibility - CS-Texture.
8. Effects>3D Effects>Drop Shadow.
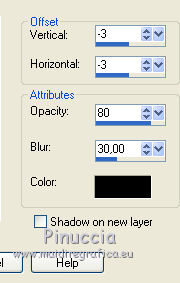
Selections>Select None.
9. Selections>Load/Save Selection>Load Selection from Disk.
Look for and load the selection Selection_Joanne_Mathilda_2
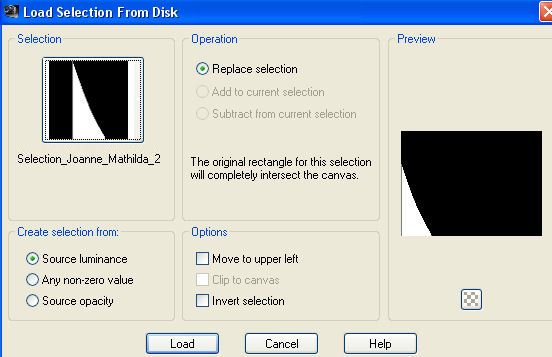
10. Effects>Plugins>Carolaine and Sensibility - CS-Texture, same settings.
11. Effects>3D Effects>Drop Shadow, same settings.
Selections>Select None.
12. Selections>Load/Save Selection>Load Selection from Disk.
Look for and load the selection Selection_Joanne_Mathilda_3
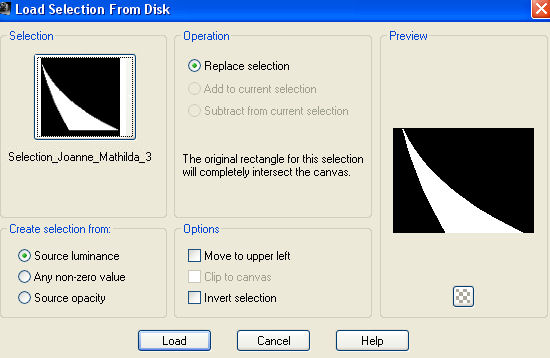
Press CANC on the keyboard 
13. Effects>3D Effects>Drop Shadow, same settings.
Selections>Select None.
14. Selections>Load/Save Selection>Load Selection from Disk.
Look for and load the selection Selection_Joanne_Mathilda_4
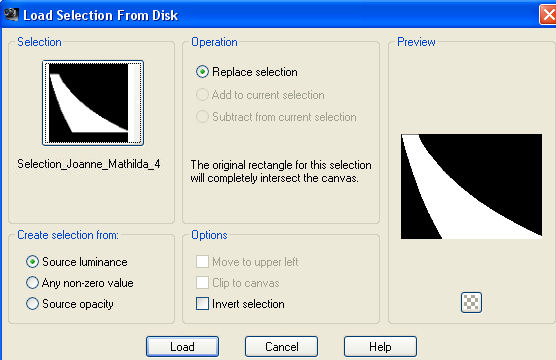
15. Effects>Plugins>Carolaine and Sensibility - CS-Reflection, default settings.
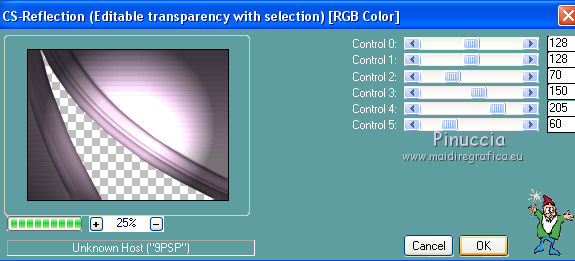
16. Effects>3D Effects>Drop Shadow, same settings.
Selections>Select None.
17. Selections>Load/Save Selection>Load Selection from Disk.
Look for and load the selection Selection_Joanne_Mathilda_5
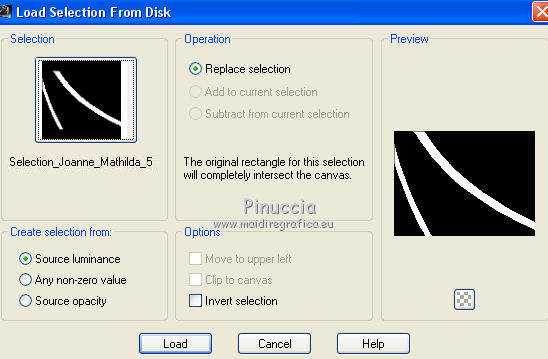
18. Effects>Plugins>Carolaine and Sensibility - CS-LDots, default settings.
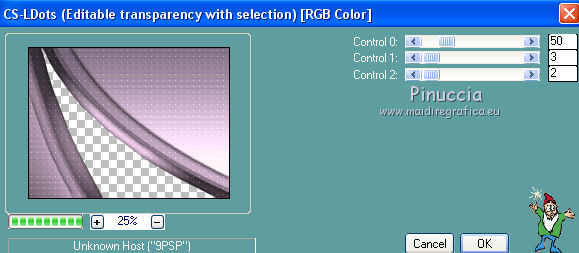
Adjust>Sharpness>Sharpen More.
19. Effects>3D Effects>Drop Shadow, same settings.
Selections>Select None.
20. Layers>New Raster Layer.
Flood Fill  the layer with your gradient. the layer with your gradient.
21. Layers>New Mask layer>From image
Open the menu under the source window and you'll see all the files open.
Select the mask 0ca90d0ac6ae475...
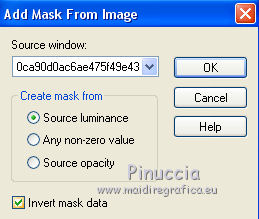
Layers>Merge>Merge Group.
22. Effects>Geometric Effects>Circle.

23. Effects>3D Effects>Drop Shadow.
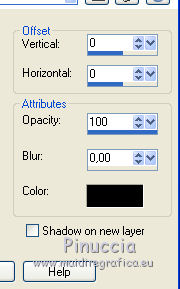
24. Edit>Cut and stay on this layer.
Selections>Load/Save Selection>Load Selection from Disk.
Look for and load again the selection Selection_Joanne_Mathilda_1

Edit>Paste into Selection.
Selections>Select None.
25. Open the woman tube and go to Edit>Copy.
Go back to your work and go to Edit>Paste as new layer.
Image>Resize, to 65%, resize all layers not checked.
Adjust>Sharpness>Sharpen.
Place  rightly the tube at the bottom right, see my example. rightly the tube at the bottom right, see my example.
26. Effects>3D Effects>Drop Shadow, as step 8.

27. Sign your work on a new layer.
little note about the watermark:
I never ask to put watermark on the versions made by my translations.
But if you decide to use the watermark supplied by the author (to change in Soft Light),
I would appreciate that my work as translator was respected too.
For that, I added my watermark to the material (a layer for every language that I translate).
28. Layers>Merge>Merge All.
29. Image>Add borders, 2 pixels, symmetric, color white.
Image>Add borders, 30 pixels, symmetric, foreground color.
30. Activate your Magic Wand Tool 
and click on the 30 pixels border to select it.
31. Effects>Plugins>Graphics Plus - Cross Shadow.
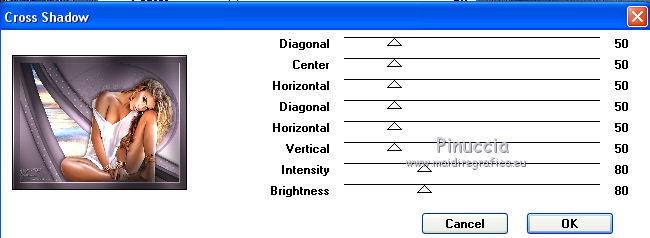
32. Selections>Invert.
Effects>3D Effects>Drop Shadow, same settings.
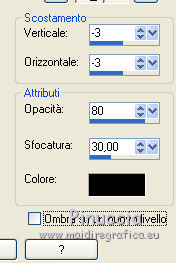
Repeat Drop Shadow, vertical and horizontal 3.
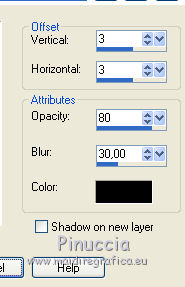
Selections>Select None.
Image>Add borders, 2 pixels, symmetric, color white.
33. Save as jpg.
Version with tube by Beatriz
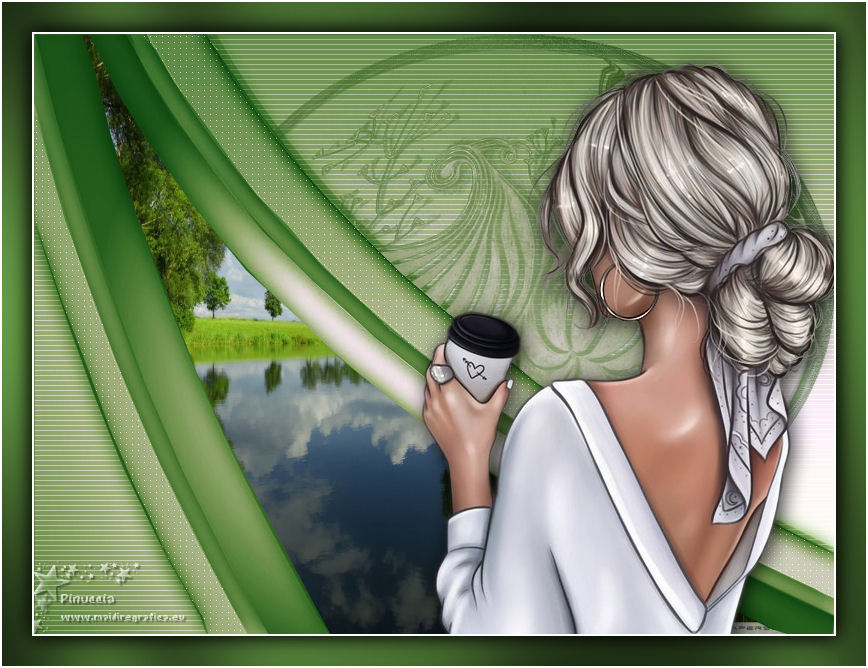

 Your versions Thanks Your versions Thanks
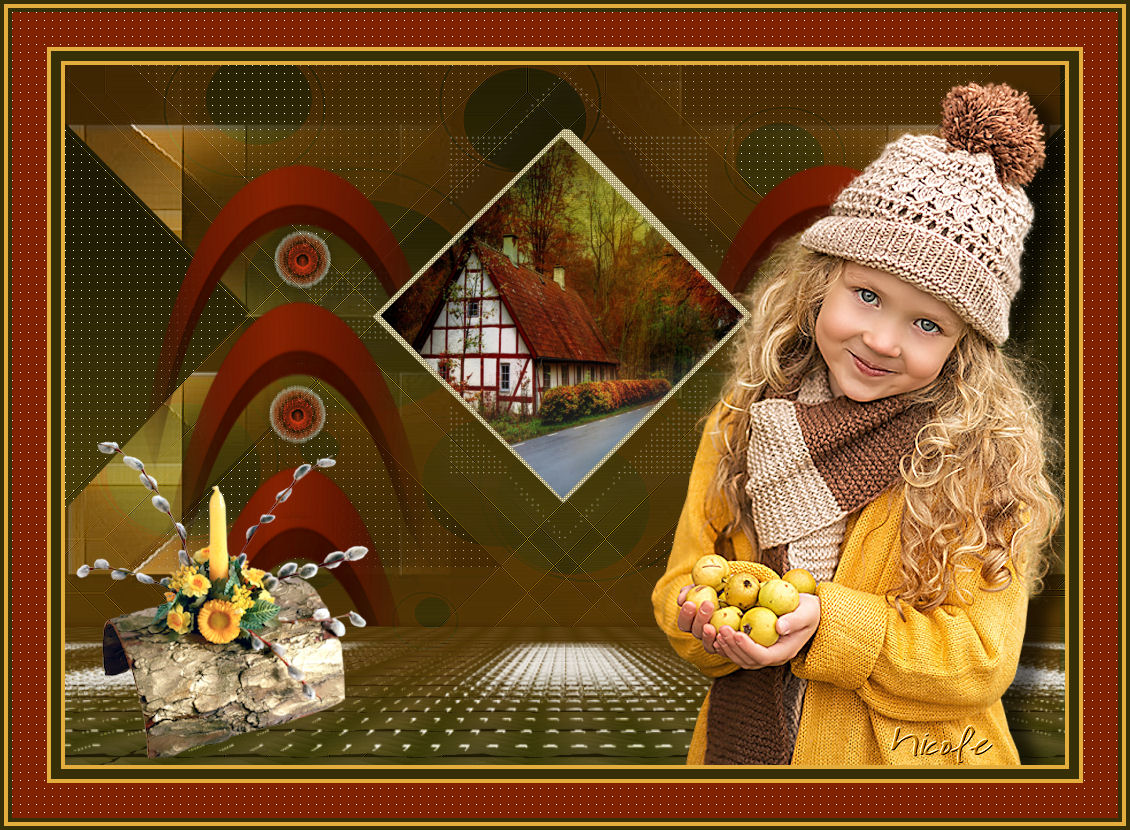
Nicole
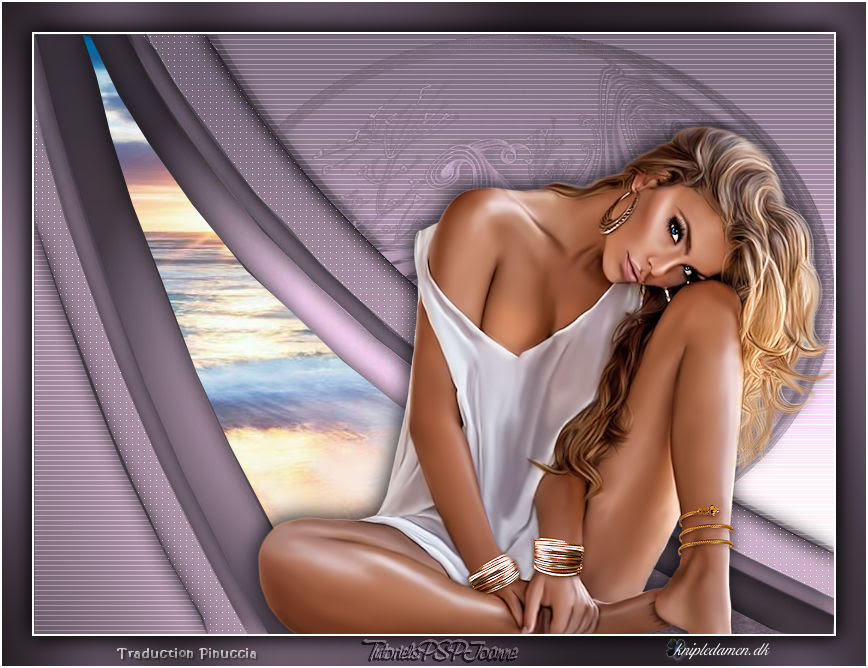
Birte

If you have problems or doubts, or you find a not worked link, or only for tell me that you enjoyed this tutorial, write to me.
5 August 2020
|
 ENGLISH VERSION

 ENGLISH VERSION
