|
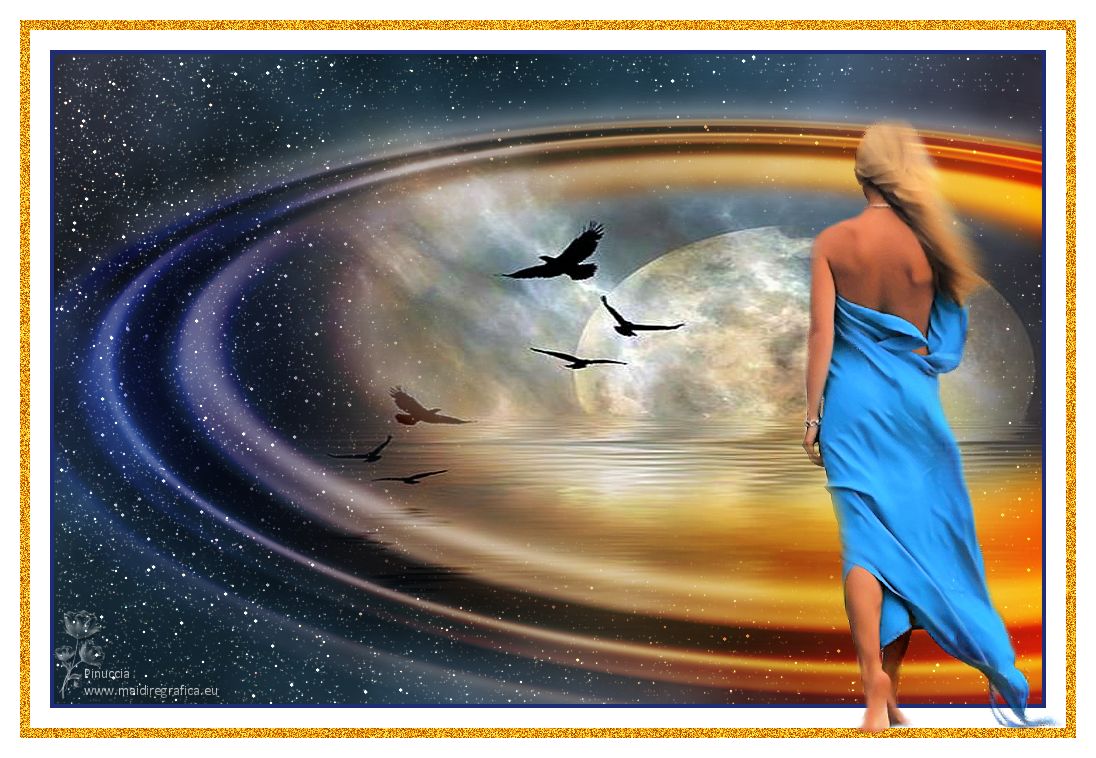
ACROSS THE UNIVERSE


Thank you Aliciar for your invitation to translate your tutorials:

This tutorial was written and translated with CorelX7, but it can also be made using other versions of PSP.
Since version PSP X4, Image>Mirror was replaced with Image>Flip Horizontal,
and Image>Flip with Image>Flip Vertical, there are some variables.
In versions X5 and X6, the functions have been improved by making available the Objects menu.
In the latest version X7 command Image>Mirror and Image>Flip returned, but with new differences.
See my schedule here
 French translation here French translation here
 Your versions here Your versions here
Material here
For the tubes thanks Cal and DWtubes.
The rest of the material is by Aliciar.
(The links of the tubemakers here).
Plugins:
consult, if necessary, my filter section here
Flaming Pear - Glitterato here
Redfield - Water Ripples here

You can change Blend Modes according to your colors.
In the newest versions of PSP, you don't find the foreground/background gradient (Corel_06_029).
You can use the gradients of the older versions.
The Gradient of CorelX here

Copy the preset for Glitterato in a Folder at your choice.
1. Open a new transparent image 988 x 650 pixels.
2. Effects>Plugins>Flaming Pear - Glitterato
Click on the red button and look for the preset in the folder where you copied it.
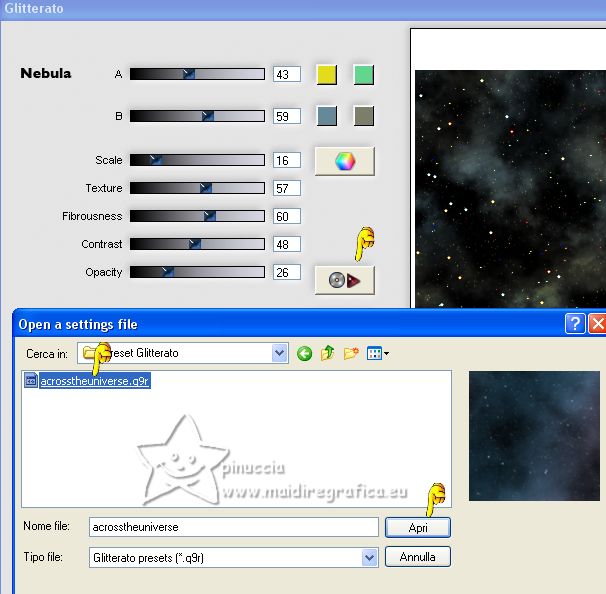
Here below the settings, in case of problems with the preset.

if you have again problems, copy/paste as new layer the image effettoglitterato 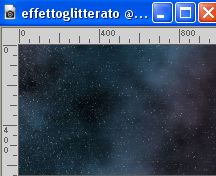 , ,
I added in the material).
3. Set your foreground color to #1f2c76,
and your background color to #ff9e00.
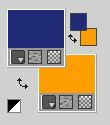
Set your foreground color to a Foregroung/Background Gradient, style Linear.
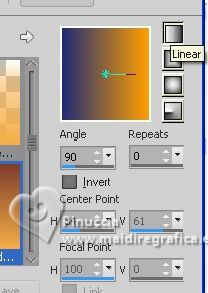
Layers>New Raster Layer.
Flood Fill  the layer with your Gradient. the layer with your Gradient.
Change the Blend Mode of this layer to Hard Light.
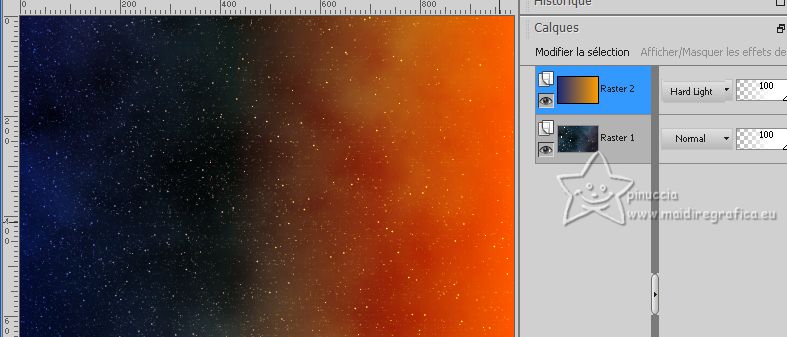
4. On this layer.
Effects>Plugins>Redfield - Water Ripples
select the preset Water Ripples and modify only the indicated settings
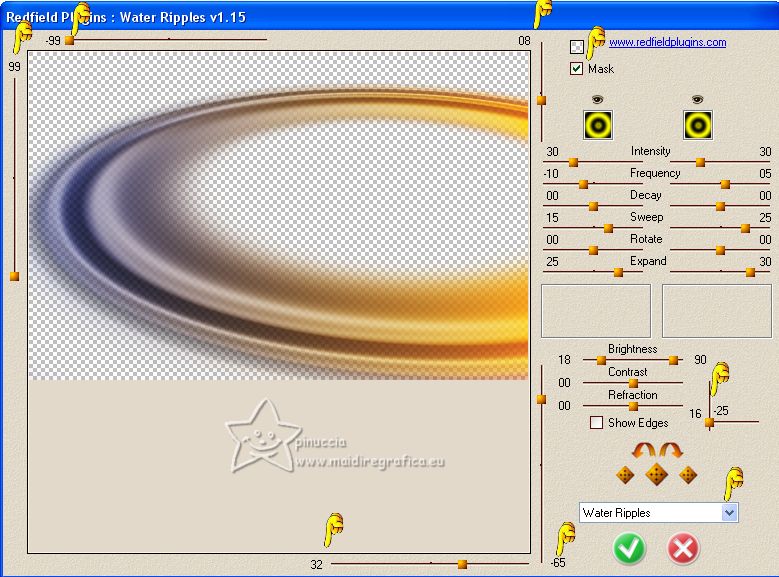
If your Filter doesn't have the option Mask, use the Filter you find in the material.
If you still have problems, copy/paste as new layer the effect effetto redfield 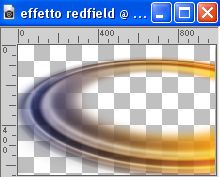 , ,
I added in the material.
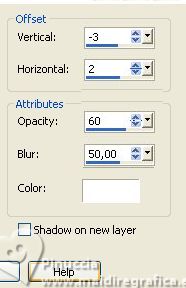
5. Effects>3D Effects>Drop Shadow, color white.
6. Activate the layer Raster 1.
Layers>New Raster Layer.
Selections>Select All.
Open the tube CAL- 2461-012718 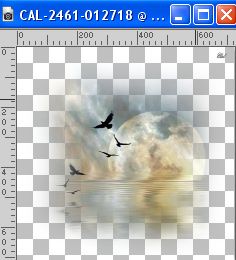
Erase the watermark and go to Edit>Copy.
Go back to your work and go to Edit>Paste into Selection.
Selections>Select None.
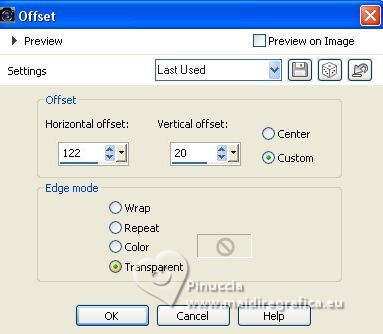
7. Effects>Image Effects>Offset.
8. Adjust>One Step Photo Fix.
9. Image>Add borders, 4 pixels, symmetric, foreground color.
Image>Add borders, 20 pixels, symmetric, color #ffffff.
Image>Add borders, 10 pixels, symmetric, background color.
Activate your Magic Wand Tool 
and click on the last border to select it.
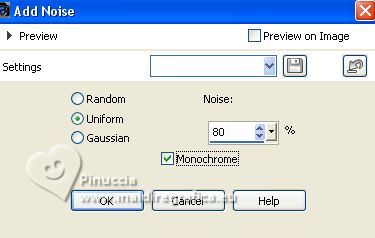
Adjust>Add/Remove Noise>Add Noise.
Selections>Select None.
Image>Add borders, 20 pixels, symmetric, color #ffffff.
10. Open the tube 7070dwtubes 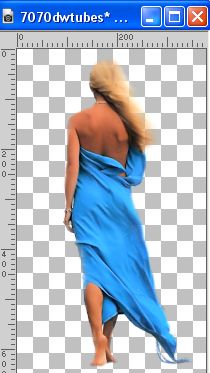
Edit>Copy.
Go back to your work and go to Edit>Paste as new layer.
Move  the tube over the Noise's border. the tube over the Noise's border.
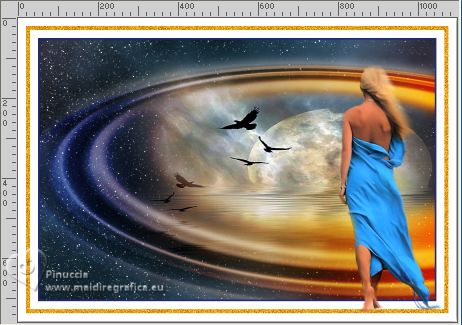
11. Sign your work on a new layer.
Add the author and the translator's watermarks.
Layers>Merge>Merge All, and save as jpg.
For the tube of this version thanks Lori Rhae.
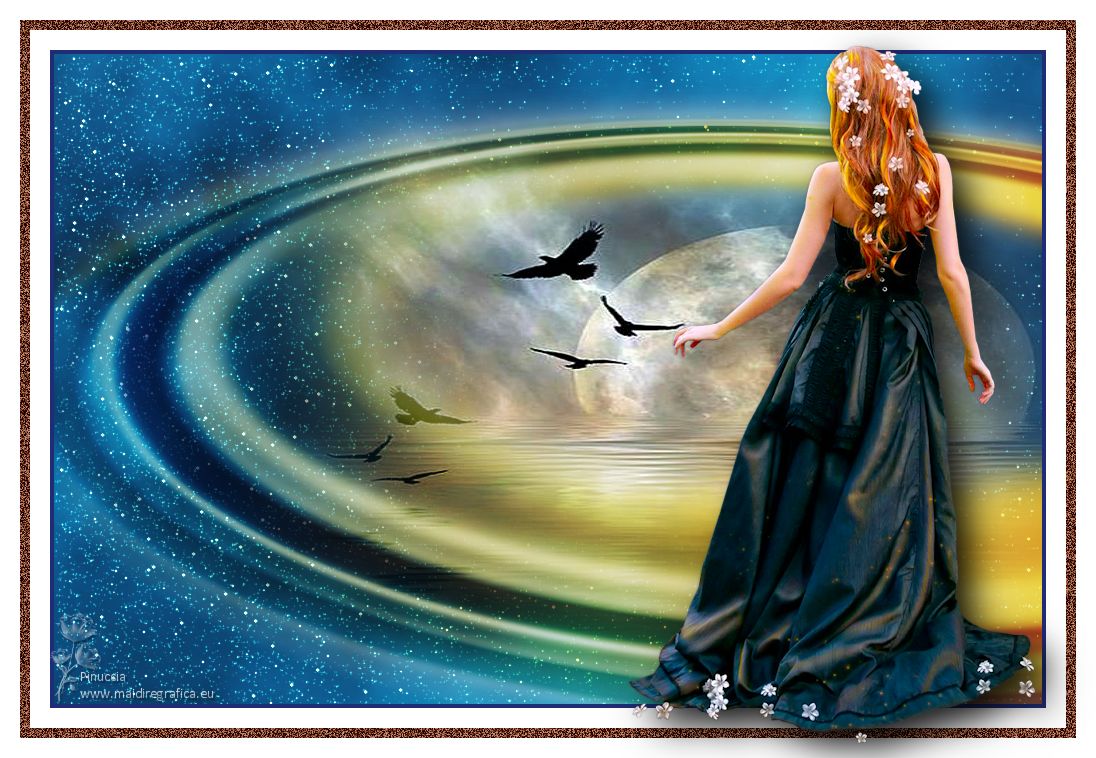

If you have problems or doubts, or you find a not worked link, or only for tell me that you enjoyed this tutorial, write to me.
14 May 2023

|

