|
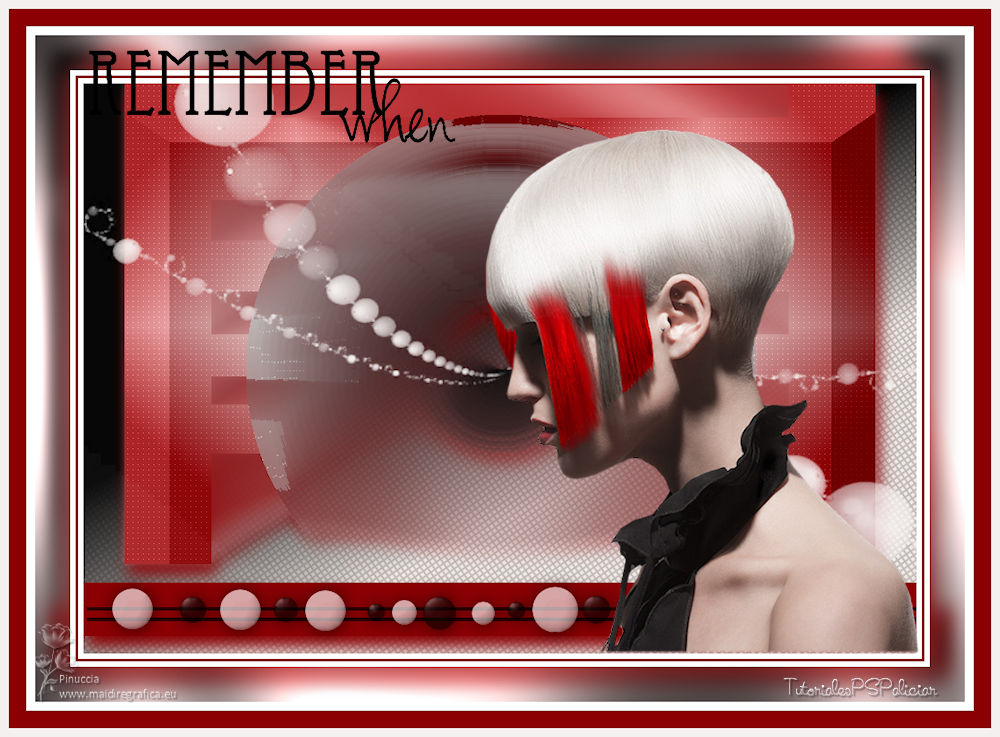
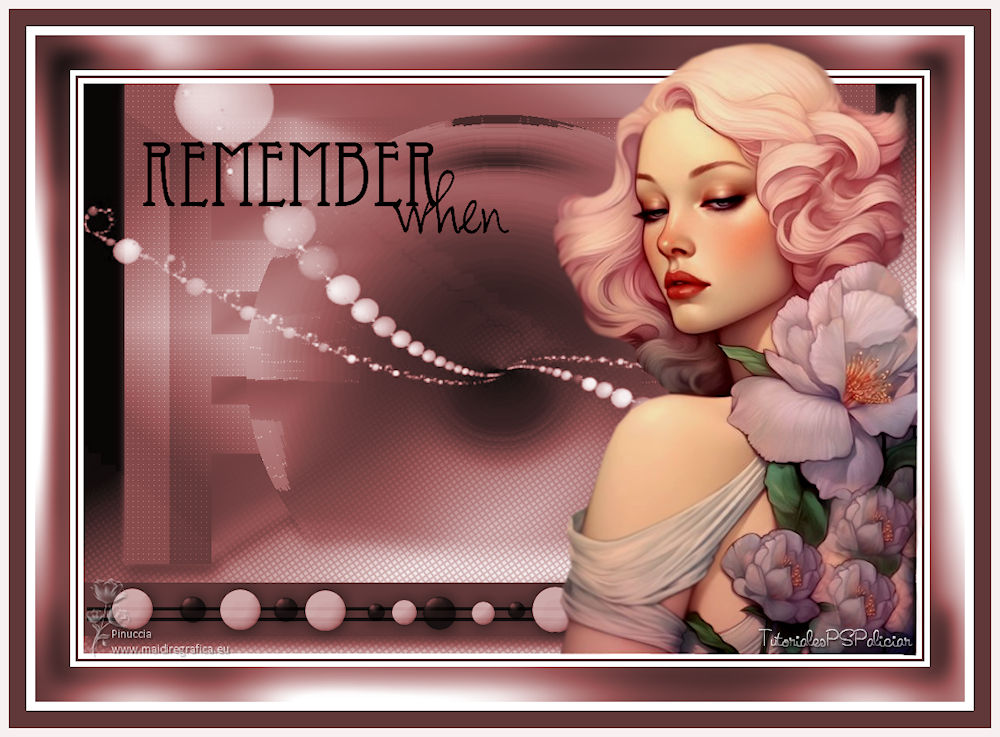
REMEMBER WHEN


Thank you Aliciar for your invitation to translate your tutorials:

This tutorial was written with PSPX7 and translated with PSPX9 and PSP2020, but it can also be made using other versions of PSP.
Since version PSP X4, Image>Mirror was replaced with Image>Flip Horizontal,
and Image>Flip with Image>Flip Vertical, there are some variables.
In versions X5 and X6, the functions have been improved by making available the Objects menu.
In the latest version X7 command Image>Mirror and Image>Flip returned, but with new differences.
See my schedule here
 French translation here French translation here
 Your versions here Your versions here

Thanks for the tube Anna.br and for the mask Narah.
(The links of the tubemakers here).
Plugins:
consult, if necessary, my filter section here
Filters Unlimited 2.0 here
DC Special - Side Merge here
Toadies - Sucking Toad Bevel I here
Graphics Plus - Cross Shadow here
VM Natural - Bubble Planet here
Carolaine and Sensibility - CS-LDots here
Alien Skin Eye Candy 5 Impact - Motion Trail here
Filters DC Special, Toadies, VM Natural and Graphics Plus can be used alone or imported into Filters Unlimited.
(How do, you see here)
If a plugin supplied appears with this icon  it must necessarily be imported into Unlimited it must necessarily be imported into Unlimited

You can change Blend Modes according to your colors.
In the newest versions of PSP, you don't find the foreground/background gradient (Corel_06_029).
You can use the gradients of the older versions.
The Gradient of CorelX here
Copy the preset  in the folder of the plugin Alien Skin Eye Candy 5 Impact>Settings>Motion Trail in the folder of the plugin Alien Skin Eye Candy 5 Impact>Settings>Motion Trail
One or two clic on the file (it depends by your settings), automatically the preset will be copied in the right folder.
why one or two clic see here

Open the mask in PSP and minimize it with the rest of the material.
Colors

1. Open Alpha Channel Remember When
Window>Duplicate or, on the keyboard, shift+D to make a copy.

Close the original.
The copy, that will be the basis of your work, is not empty,
but contains the selections saved to alpha channel.
Set your foreground color to #c4bbb6 (color 1)
Flood Fill  the transparent image with your foreground color #c4bbb6. the transparent image with your foreground color #c4bbb6.
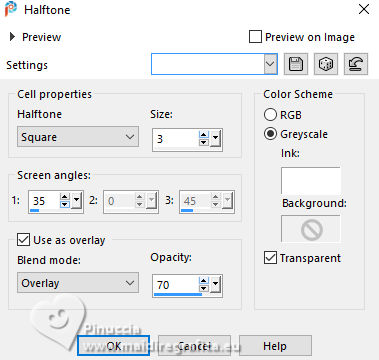
2. Effects>Artistic Effects>Halftone
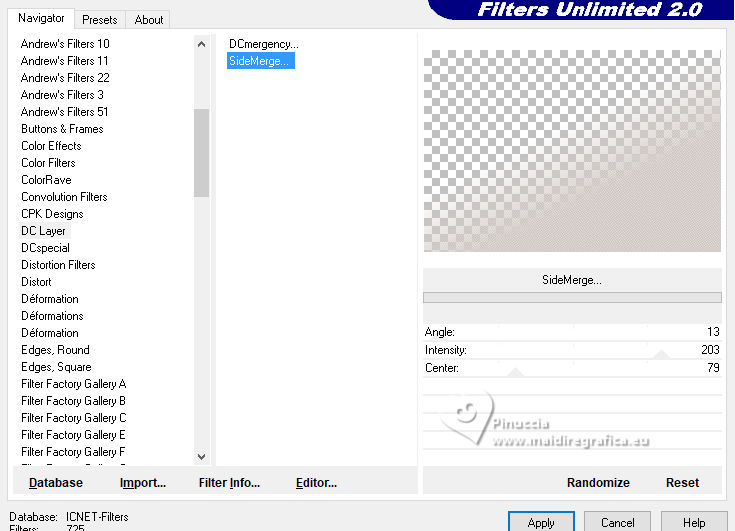
3. Effects>Plugins>Filters Unlimited 2.0 - DC Layer - Side Merge, default settings.
4. Layers>New Raster Layer.
Layers>Arrange>Send to Bottom.
Set your foreground color to color 2 #f4f0ef,
and your background color to color 3 #000000.
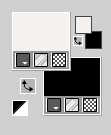
Set your foreground color to a Foreground/Background Gradient, style Rectangulaire.
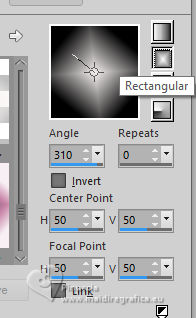
Flood Fill  the layer with your Gradient. the layer with your Gradient.
5. Activate your top layer, Raster 1.
Layers>New Raster Layer, Raster 3.
Selections>Load/Save Selection>Load Selection from Alpha Channel.
The selection selection #1 is immediately available. You just have to click Load.
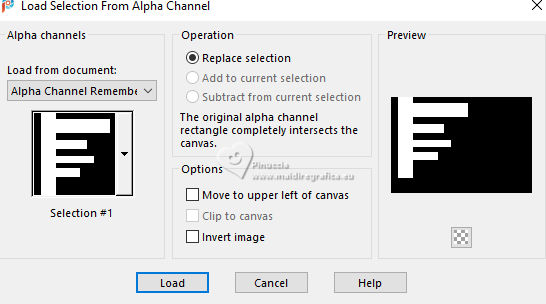
6. Set your background color to color 4 #8a0003, and keep the foreground gradient with the same settings.

Flood Fill  the selection with your Gradient. the selection with your Gradient.
Selections>Select None.
7. Effects>Plugins>Carolaine and Sensibility - CS-LDots, default settings.

8. Effects>Plugins>Alien Skin Eye Candy 5 Impact - Motion Trail
Select the preset remember when_aliciar
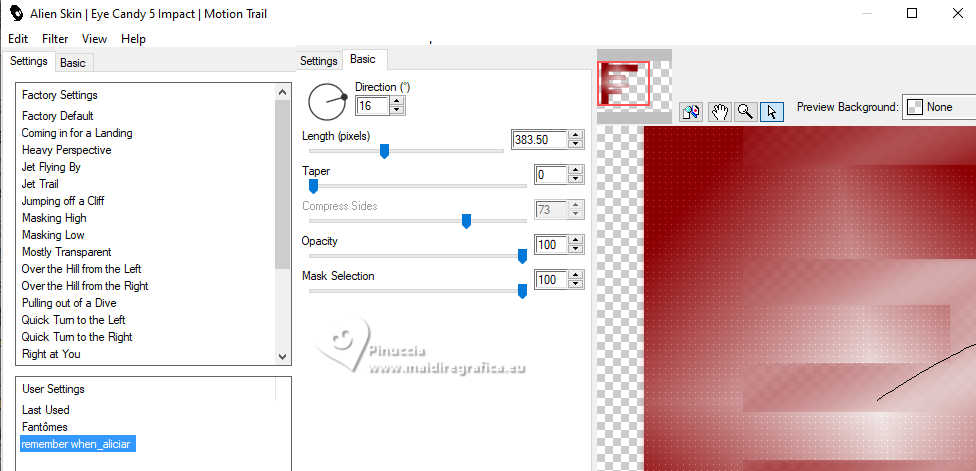
Layers>Duplicate.
Image>Mirror>Mirror Horizontal.
Layers>Merge>Merge Down.
9. Effects>Plugins>Filters Unlimited 2.0 - Toadies - Sucking Toad Bevel I.
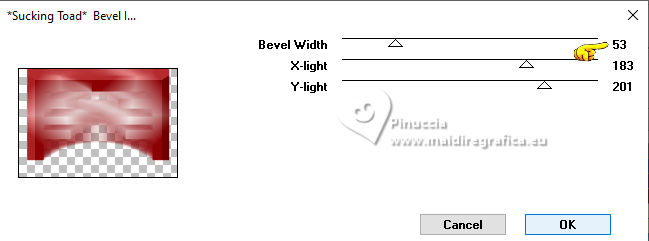
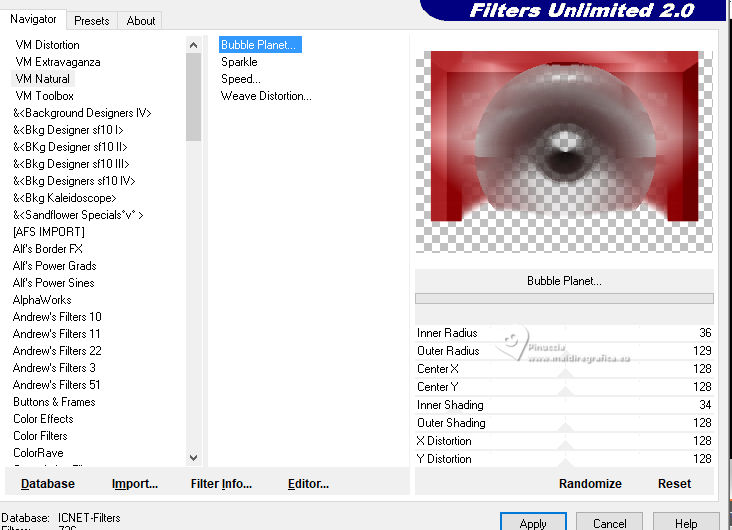
10. Effects>Plugins>Filters Unlimited 2.0 - VM Natural - Bubble Planet, default settings.
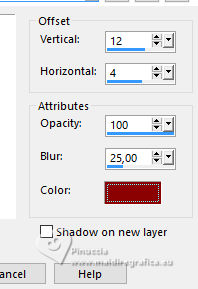
11. Effects>3D Effects>Drop Shadow, background color (color 4).
12. Layers>New Raster Layer, Raster 4.
Set your foreground color to #ffffff.
Flood Fill  the layer with color white #ffffff. the layer with color white #ffffff.
Layers>New Mask layer>From image
Open the menu under the source window and you'll see all the files open.
Select the mask Narah_mask_0314
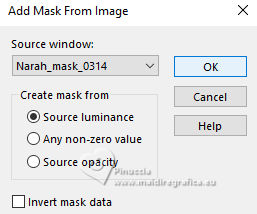
Layers>Merge>Merge Group, Group Raster 4.
13. Layers>New Raster Layer, Raster 4.
Selections>Load/Save Selection>Load Selection from Alpha Channel.
Open the selections menu and load the selection selection #2.
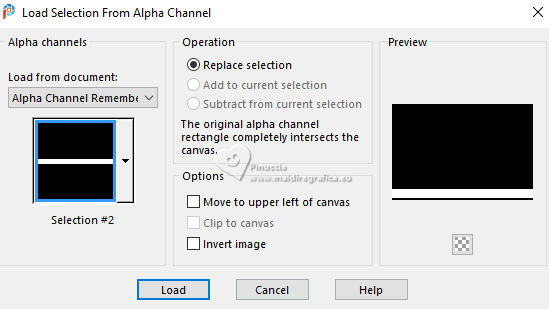
Flood Fill  the selection with your background color #8a0003 (color 4). the selection with your background color #8a0003 (color 4).
Selections>Select None.
Effects>3D Effects>Drop Shadow, same settings.

14. Open the tube Remember When_aliciar 
Edit>Copy.
Go back to your work and go to Edit>Paste as new layer, Raster 5.
Don't move it.
K key to activate your Pick Tool 
and set Position X: 4,00 and Position Y: 597,00.

M key to deselect the Tool.
15. Layers>New Raster Layer, Raster 6.
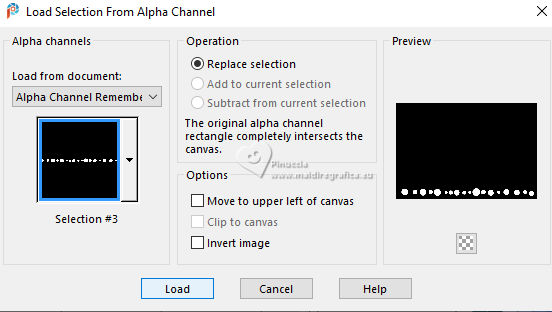
Selections>Load/Save Selection>Load Selection from Alpha Channel.
Open the selections menu and load the selection selection #3.
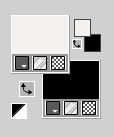
Set your foreground color to color 2 #f4f0ef
and your background color to color black #000000 (color 3).
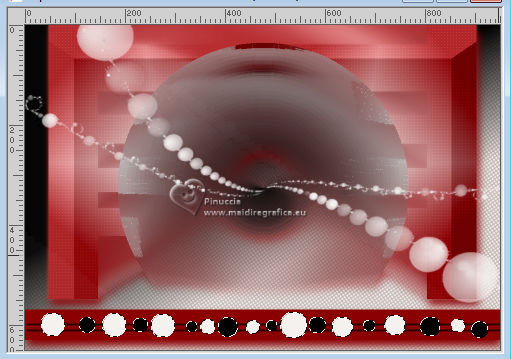
Set Match Mode of your Flood Fill Tool to RGB Value
Flood Fill  the circles, the circles,
by alternating the foreground color with the background color.
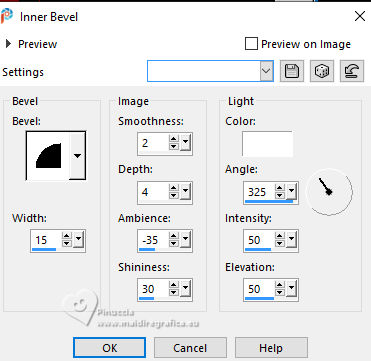
16. Effects>3D Effects>Inner Bevel.
17. Effects>3D Effects>Drop Shadow, color black.
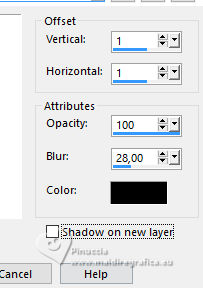
Reduce the opacity of this layer to 65%.
Selections>Select None.
18. For the borders:
set your foreground color to color 2 #f4f0ef,
and your background color to color 4 #8a0003.
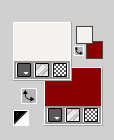
Image>Add borders, 6 pixels, symmetric, color 2 #f4f0ef.
Image>Add borders, 3 pixels, symmetric, color 4 #8a0003.
Image>Add borders, 6 pixels, symmetric, color 2 #f4f0ef.
Edit>Copy.
Image>Add borders, 40 pixels, symmetric, color 4 #8a0003.
Selections>Select All.
Selections>Modify>Contract - 40 pixels.
Selections>Invert.
Edit>Paste into Selection .
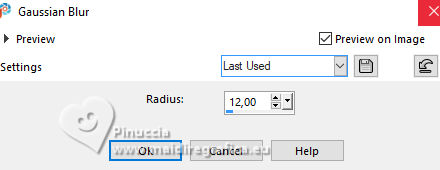
Adjust>Blur>Gaussian Blur - radius 12.
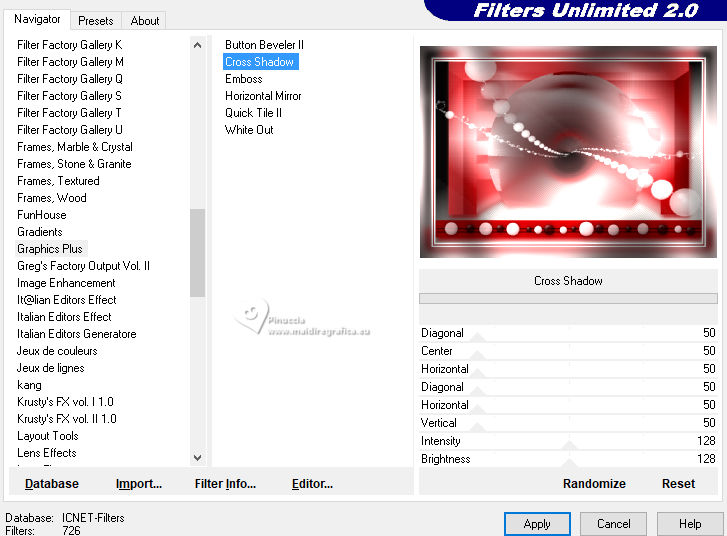
19. Effects>Plugins>Filters Unlimited 2.0 - Graphics Plus - Cross Shadow, default settings.
Selections>Invert.
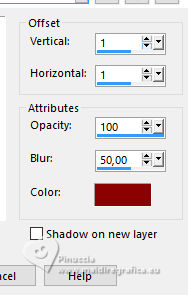
Effects>3D Effects>Drop Shadow, color 4 #8a0003.
Selections>Select None.
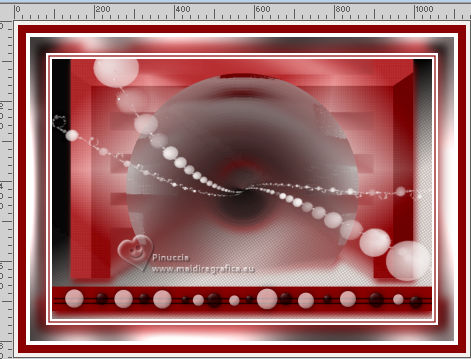
20. Image>Add borders, 20 pixels, symmetric, color 2 #f4f0ef.
Image>Add borders, 20 pixels, symmetric, color 4 #8a0003.
Image>Add borders, 10 pixels, symmetric, color 2 #f4f0ef.
21. Open the tube AnaRidzi1426 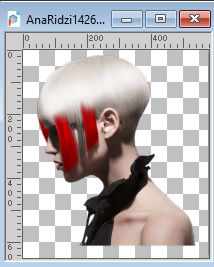
Edit>Copy.
Go back to your work and go to Edit>Paste as new layer.
Place  the tube in the lower left corner on the first edge. the tube in the lower left corner on the first edge.
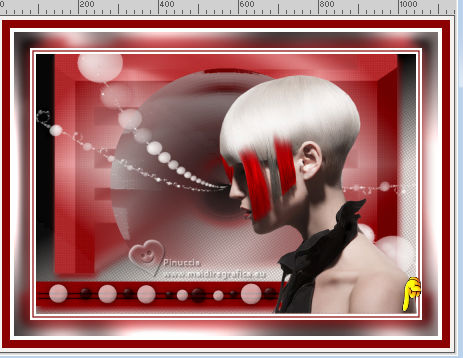
22. Open the wordart FFD_RW_wordart1 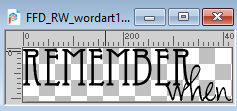
Edit>Copy.
Go back to your work and go to Edit>Paste as new layer.
Move  the text to your liking. the text to your liking.
23. Sign your work on a new layer.
Add the author and translator watermarks.
Layers>Merge>Merge All.
Image>Resize, 1000 pixels width, resize all layers checked.
Save as jpg.
For the tubes of these versions thanks
Luz Cristina
Callitubes


If you have problems or doubts, or you find a not worked link, or only for tell me that you enjoyed this tutorial, write to me.
29 January 2024

|

