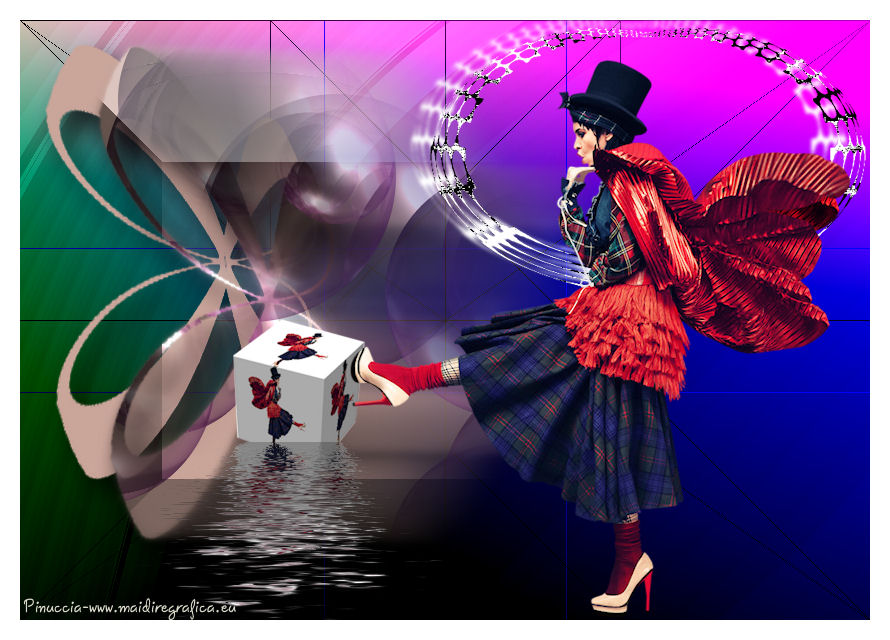
|
EVERYBODY


Thank you Aliciar for your invitation to translate your tutorials:

This tutorial was written with CorelX17 and translated with CorelX3, but it can also be made using other versions of PSP.
Since version PSP X4, Image>Mirror was replaced with Image>Flip Horizontal,
and Image>Flip with Image>Flip Vertical, there are some variables.
In versions X5 and X6, the functions have been improved by making available the Objects menu.
In the latest version X7 command Image>Mirror and Image>Flip returned, but with new differences.
See my schedule here
Material here
For the tube thanks Alies
(The links of the tubemakers here).
Plugins:
consult, if necessary, my filter section here
Flaming Pear - Flood here
Andromeda - Perspective here
Backgroundmaniac - Stripe n' More here
Balder Olrik - Compose 1 here
Sandflower Special "v" - Color Gradiant (to import in Unlimited) here
Ulead Effects - Particle here
Toadies - Sucking Toad Bevel II.2, 3D Checkers here
Alien Skin Eye Candy 5 Impact - Motion Trail here
Virtual Painter 4 here
Vizros 4 - Box here
Filters Unlimited 2.0 here
Filters Backgroundmaniac, Balder Olrik and Toadies can be used alone or imported into Filters Unlimited.
(How do, you see here)
If a plugin supplied appears with this icon  it must necessarily be imported into Unlimited it must necessarily be imported into Unlimited

You can change Blend Modes according to your colors.
In the newest versions of PSP, you don't find the foreground/background gradient (Corel_06_029).
You can use the gradients of the older versions.
The Gradient of CorelX here
Copy the preset  in the folder of the plugins Alien Skin Eye Candy 5 Impacts>Settings>Motion Trail. in the folder of the plugins Alien Skin Eye Candy 5 Impacts>Settings>Motion Trail.
One or two clic on the file (it depends by your settings), automatically the preset will be copied in the right folder.
why one or two clic see here
Copy the Selection in the Selection Folder.
1. Open a new transparent image 850 x 600 pixels.
Set your foreground color to #caa59a,
set your background color to #dbdaca.
Set your foreground color to a Foreground/Background Gradient, style Linear.
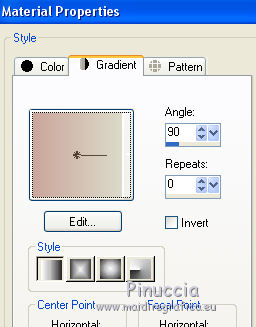
Flood Fill  the transparent image with your Gradient. the transparent image with your Gradient.
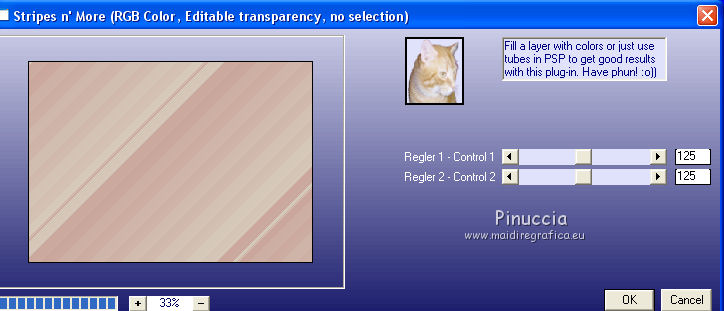
2. Effects>Plugins>Backgroundmaniac - Stripes n´More, default settings.
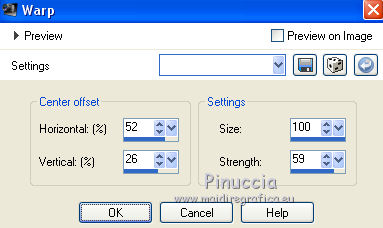
3. Effects>Distortion Effects>Warp
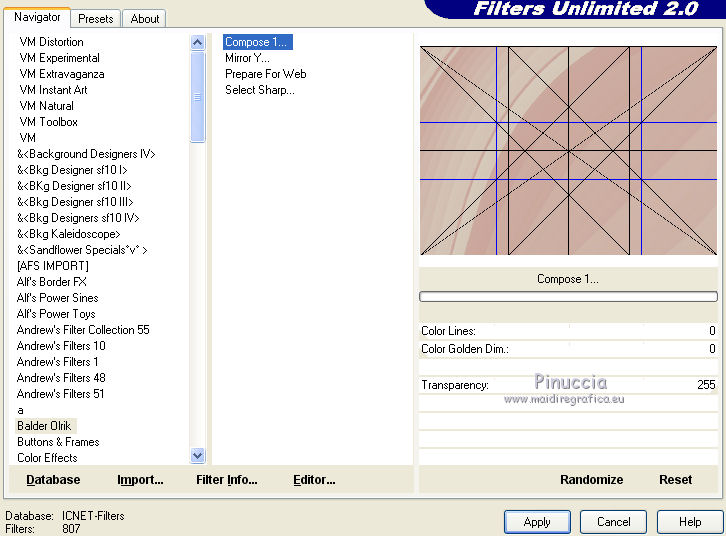
4. Effects>Plugins>Filters Unlimited 2.0 - Balder Olrik - Compose 1, default settings.
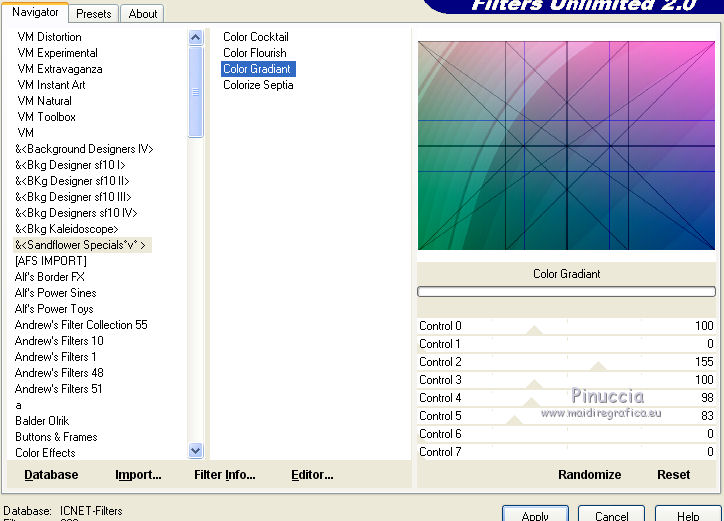
5. Effects>Plugins>Filters Unlimited 2.0 - &<Sandflower Specials "v"> - Color Gradiant.
6. Layers>New Raster Layer.
Selections>Load/Save Selection>Load Selection from Disk.
Look for and load the selection sel406_aliciar.
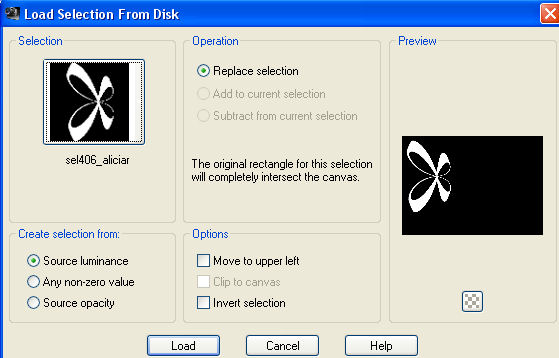
Set your foreground color to Color.
Flood Fill  the selection with your foreground color #caa59a. the selection with your foreground color #caa59a.
Selections>Select None.
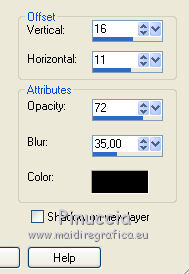
7. Effects>3D Effects>Drop Shadow.
8. Layers>Duplicate.
9. Effects>Plugins>Andromeda - Perspective.
Click on the button Presets
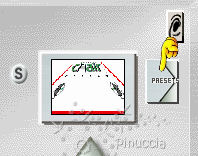
Set the settings and click on the sign at the bottom right to apply
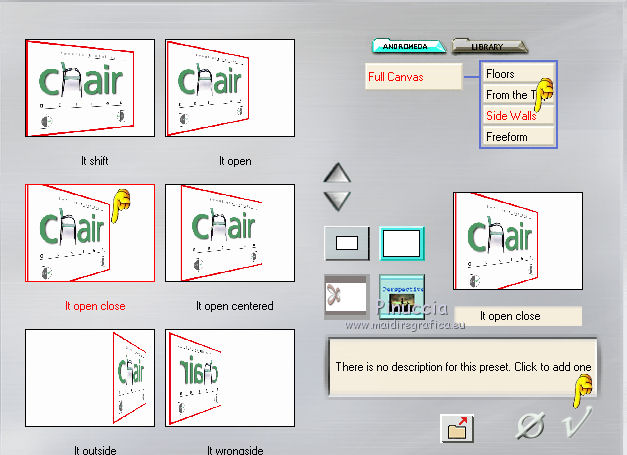
Again click on the sign at the bottom right to close.
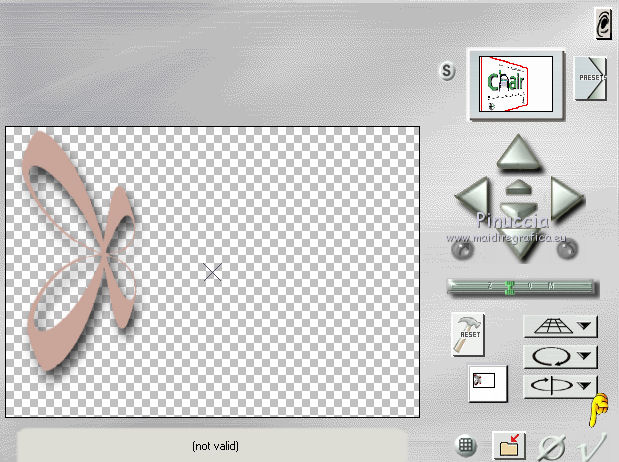
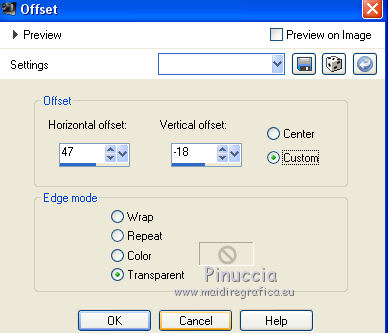
10. Effects>Image Effects>Offset.
 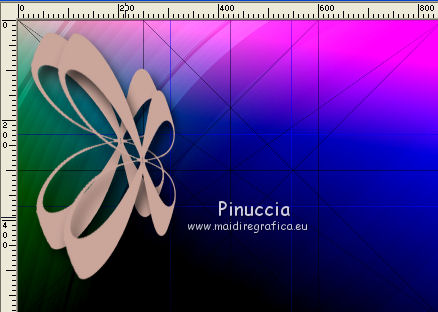
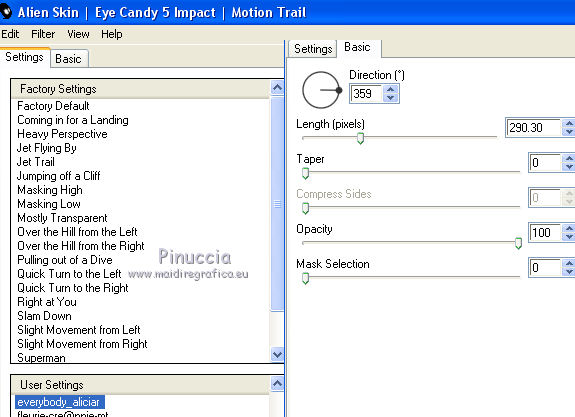
11. Effects>Plugins>Alien Skin Eye Candy 5 Impact - Motion Trail.
Select the preset everybody_aliciar and ok.
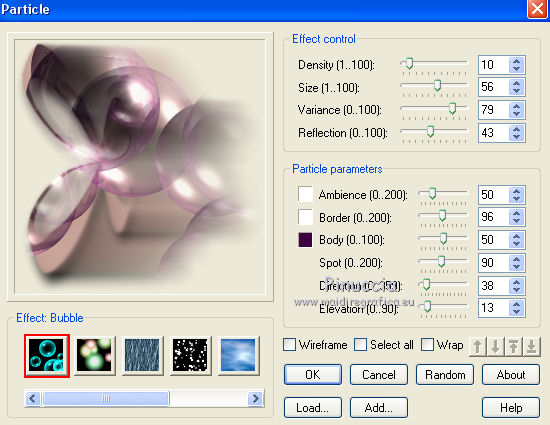
12. Effects>Plugins>Ulead Effects - Particle.
Effect Bubble
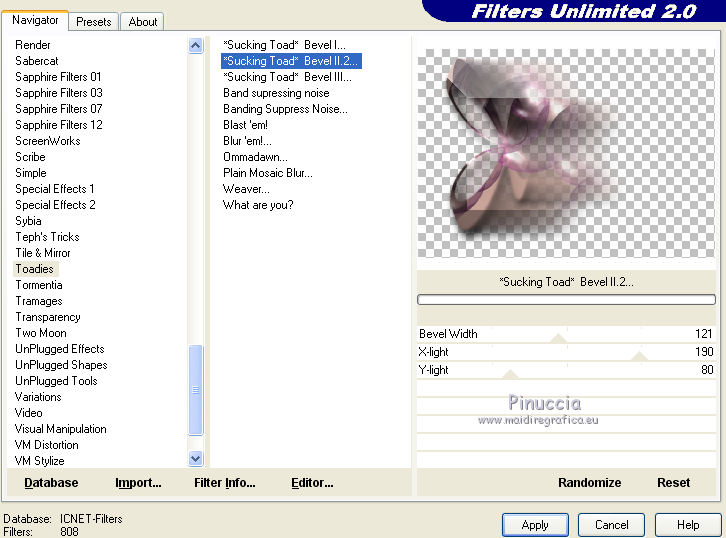
13. Effects>Plugins>Filters Unlimited 2.0 - Toadies - Sucking Toad Bevel II.2.
14. Layers>New Raster Layer.
Selections>Load/Save Selection>Load Selection from Disk.
Look for and load the selection sel407_aliciar.
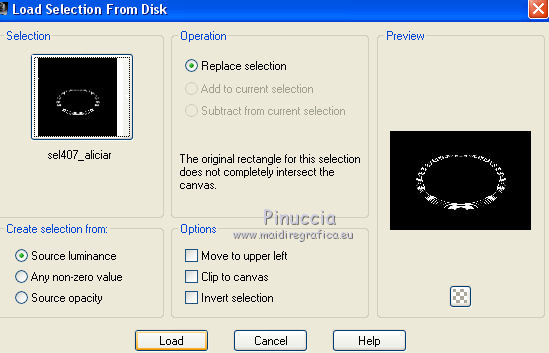
Flood Fill  the selection with your background color #dbdaca. the selection with your background color #dbdaca.
Selections>Select None.
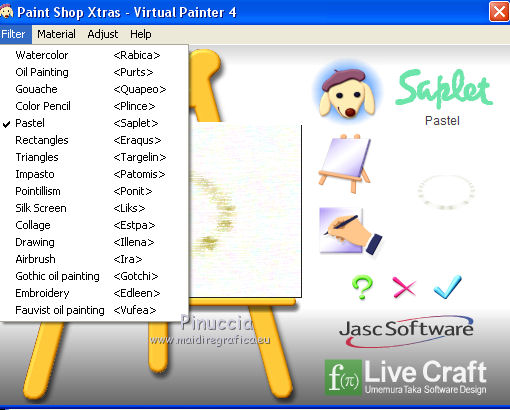
15. Effects>Plugins>Virtual Painter - Virtual Painter 4.
Filter: Pastel, default settings
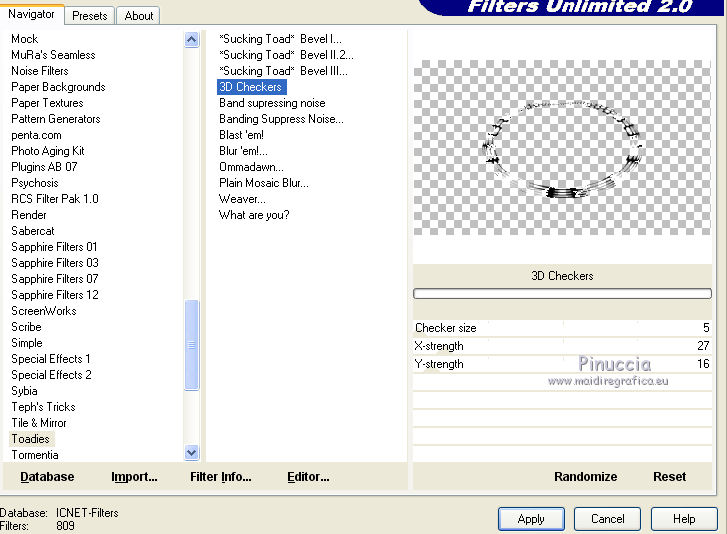
16. Effects>Plugins>Filters Unlimited 2.0 - Toadies - 3D Checkers, default settings.
17. Image>Resize, to 80%, resize all layers not checked.
Move  the image at the upper right. the image at the upper right.
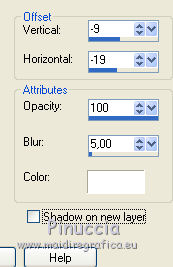
18. Effects>3D Effects>Drop Shadow, color white #ffffff.
*****
19. Open a new transparent image 850 x 600.
Open the tube Alies 1-20VR141-woman - Edit>Copy.
Go back to the transparent image and go to Edit>Paste as new layer.
20. Effects>Plugins>Vizros 4 - Box.
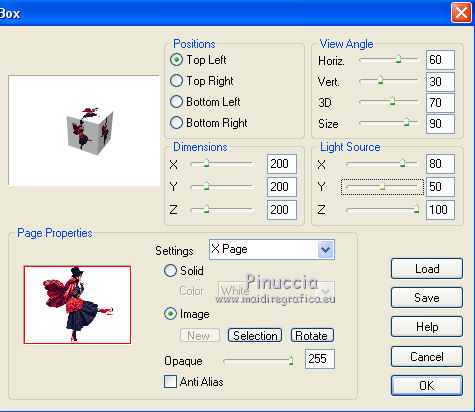
21. Activate the Freehand selection tool  , point to point, , point to point,
and select the cube.
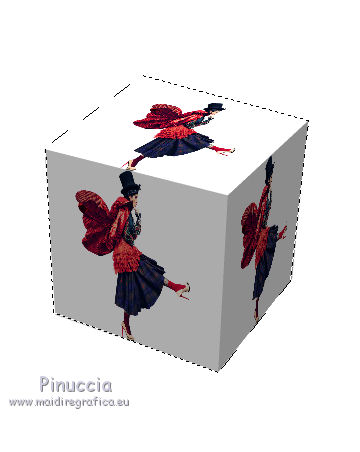
Keep selected.
Edit>Copy.
Go back to your original work and go to Edit>Paste as new layer.
Don't move it.
22. Image>Resize, 50%, resize all layers not checked (or according to your tube).
Effects>Image Effects>Offset.
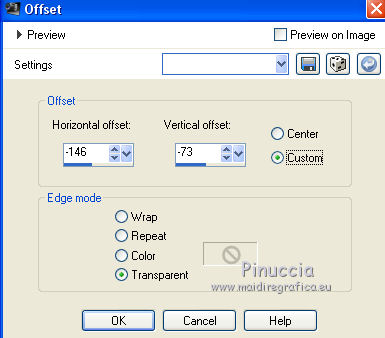
23. Effects>Plugins>Flaming Pear - Flood (change "Horizon", according to your tube).
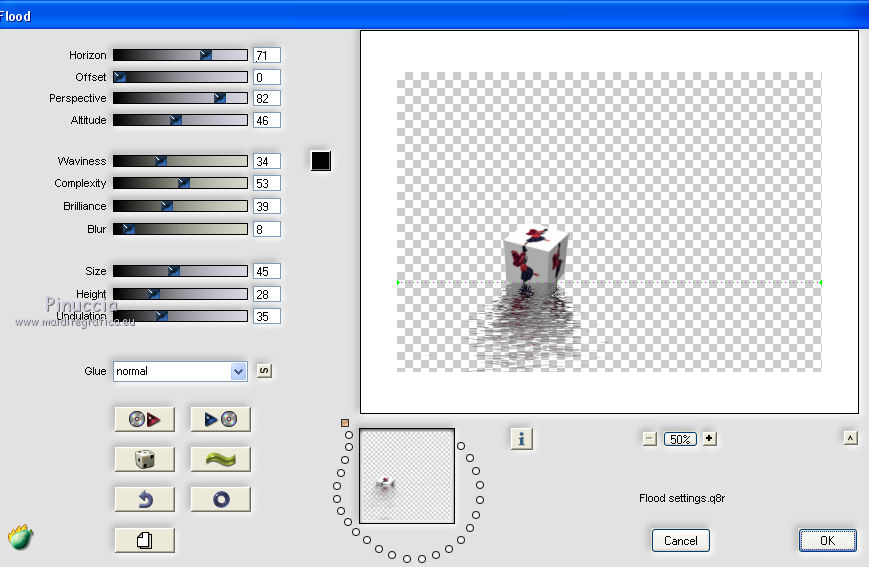
24. Activate again the tube Alies 1-2VR141-woman Edit>Copy.
Go back to the transparent image and go to Edit>Paste as new layer.
Image>Resize, to 90%, resize all layers not checked.
Image>Mirror.
Place  the tube with her shoe over the cube. the tube with her shoe over the cube.
26. Add a border at your choice.
27. Sign your work on a new layer.
28. Layers>Merge>Merge All and save as jpg.
little note about the watermark:
I don't ask to put watermark on the versions made by my translations.
But if you decide to use the watermark, I would appreciate that my work as translator was also respected.
For that, I added a new watermark to the material.

The tube of this version is by Alies
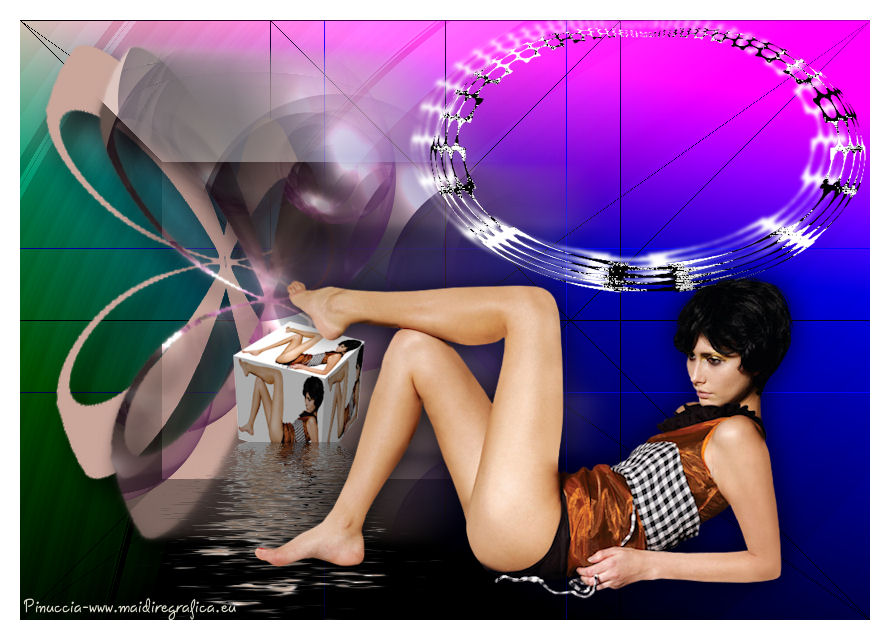

Your versions. Thanks
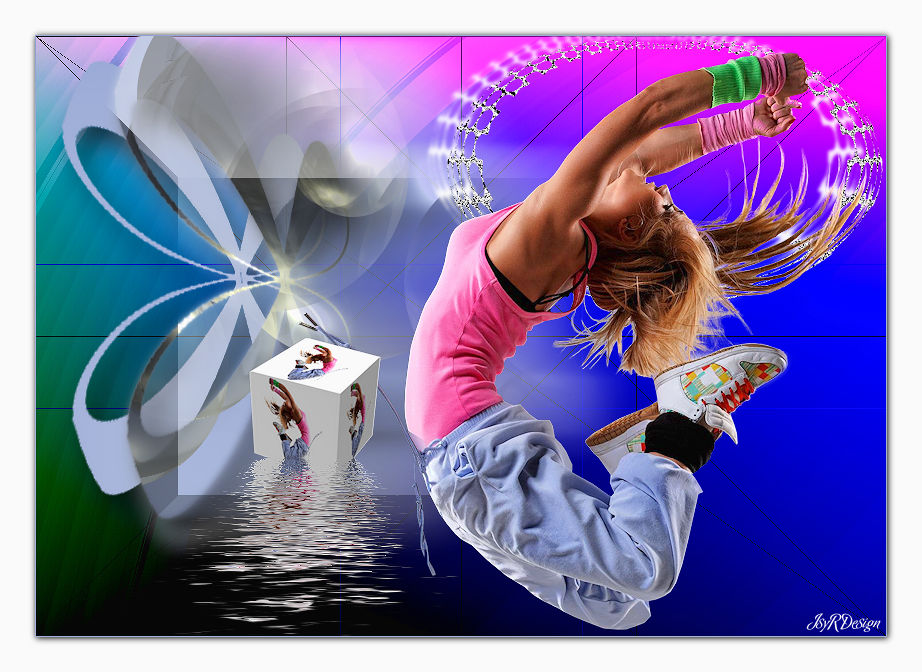
Isy
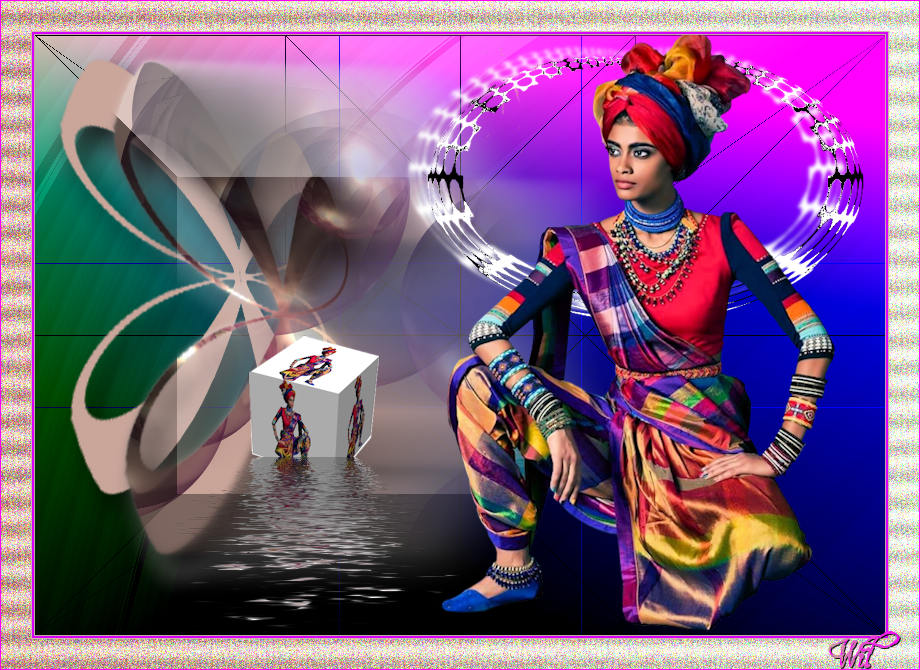
Wil
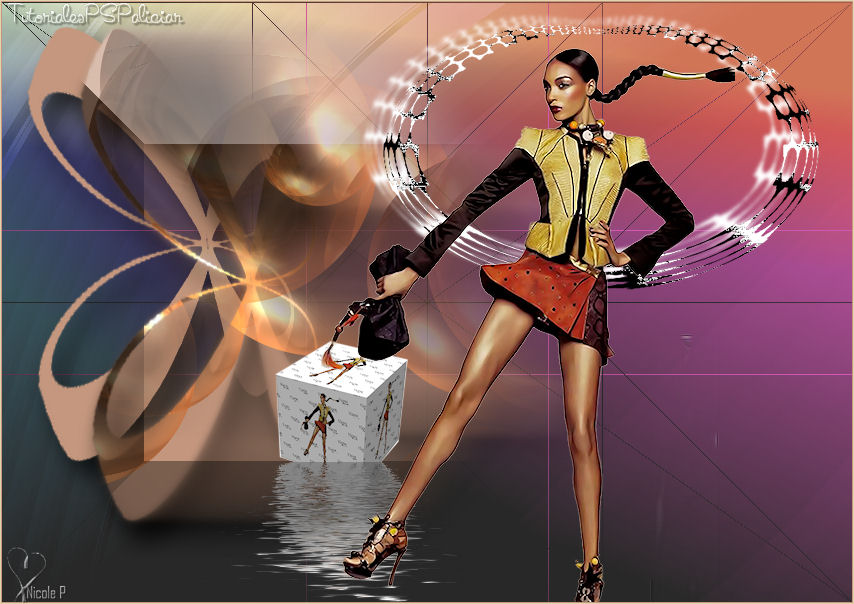
Nicole P.

If you have problems or doubts, or you find a not worked link, or only for tell me that you enjoyed this tutorial, write to me.
30 Janvier 2018
|

