|
FANTASIA 8


Thank you Aliciar for your invitation to translate your tutorials:

This tutorial was written with CorelX17 and translated with CorelX3, but it can also be made using other versions of PSP.
Since version PSP X4, Image>Mirror was replaced with Image>Flip Horizontal,
and Image>Flip with Image>Flip Vertical, there are some variables.
In versions X5 and X6, the functions have been improved by making available the Objects menu.
In the latest version X7 command Image>Mirror and Image>Flip returned, but with new differences.
See my schedule here
Material here
For the tube thanks Nicole
(The links of the tubemakers here).
Plugins:
consult, if necessary, my filter section here
Flaming Pear - Glitterato here
Ulead Effects - Particle here
Mura's Meister - Copies here
Alien Skin Eye Candy 5 Impact - Extrude here
Nik Software - Color Efex Pro here

You can change Blend Modes according to your colors.
Copy the preset  in the folder of the plugins Alien Skin Eye Candy 5 Impacts>Settings>Extrude. in the folder of the plugins Alien Skin Eye Candy 5 Impacts>Settings>Extrude.
One or two clic on the file (it depends by your settings), automatically the preset will be copied in the right folder.
why one or two clic see here
Copy the Gradient in the Gradients Folder.
Copy the Selection in the Selection Folder.
1. Open a new transparent image 850 x 600 pixels.
Set your Foreground color to Gradient and select the Gradient Goldgradient, style Linear.
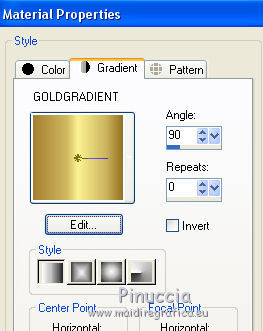
Flood Fill  l'image transparent with your Gradient. l'image transparent with your Gradient.
2. Layers>New Raster Layer.
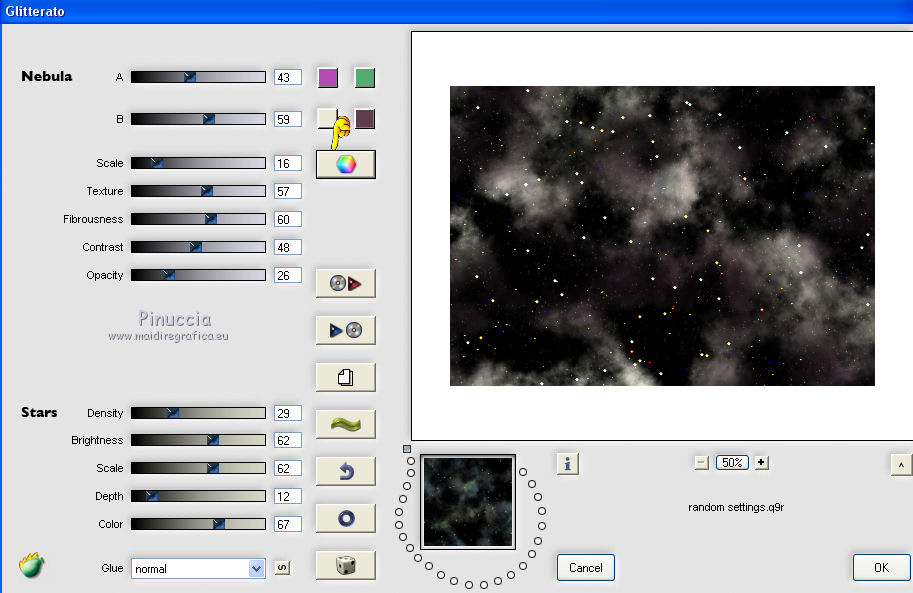
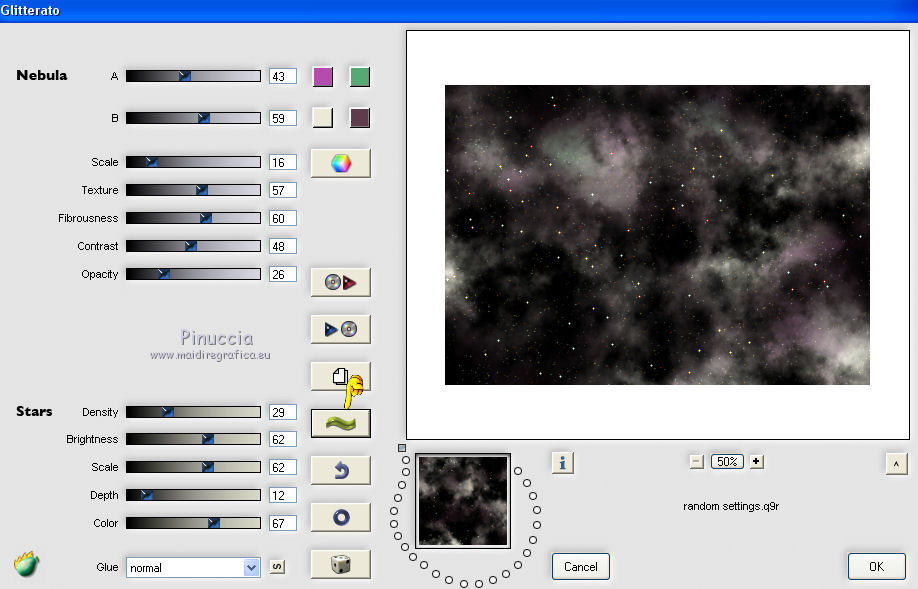
Effects>Plugins>Flaming Pear - Glitterato, at your choice.
Click on the colored dice to change the colors, until you see the colors you like better
If your want change the result, you can click on the wave, until you see the result your like better.
3. Effects>Plugins>Ulead Effects - Particle
select Bubble and set the settings;
under Particle parameters:
keep Ambience: color white #ffffff and click on the Border palette,
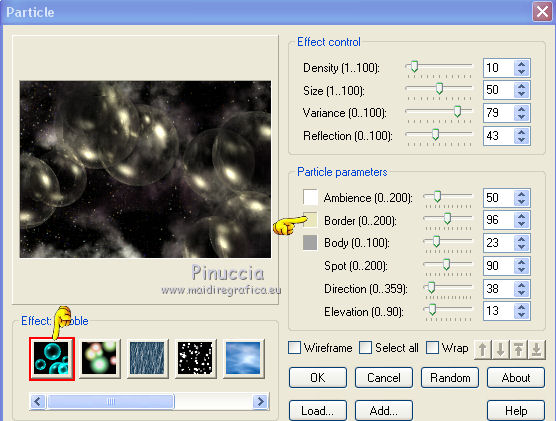
you'll get the material palette: click on Custom colors
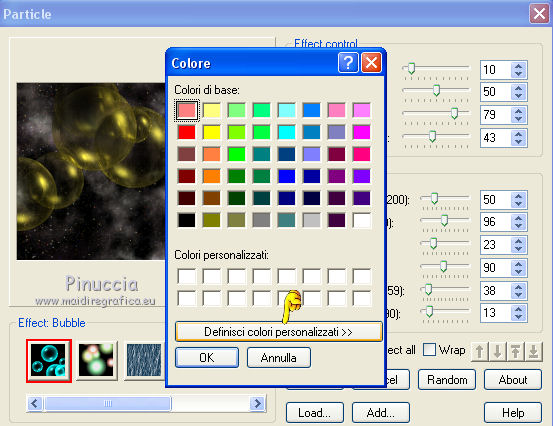
and place Rosso (red): 194; Verde (green): 184 and Blu (blu): 58; ok to apply
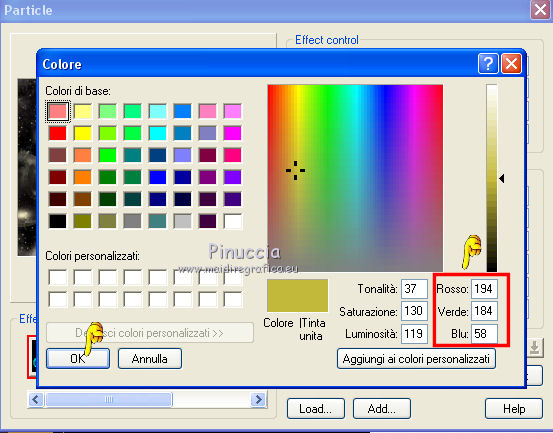
click on the Body color palette and repeat as above and ok.
To finish again ok to close.
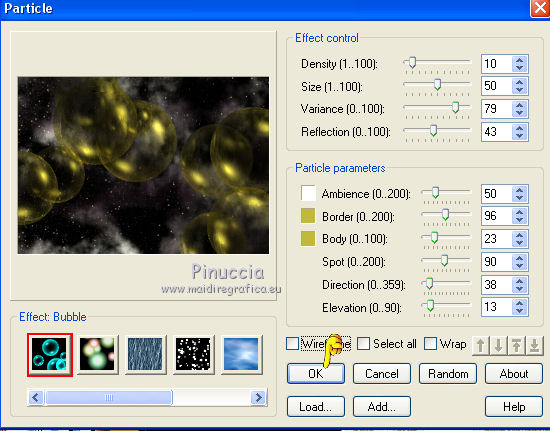
if you want to change the number and position of the balls, click on Random until you see the result you like best
4. Adjust>One Step Photo Fix.
Change the Blend Mode of this layer to Hard Light, or according to your colors.

5. Layers>New Raster Layer.
Selections>Load/Save Selection>Load Selection from Disk.
Look for and load the selection sel3946_aliciar.
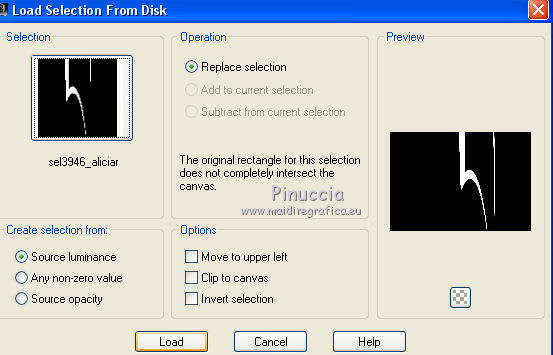
Flood Fill  the selection with the GoldGradient. the selection with the GoldGradient.
Selections>Select None.
6. Effects>Plugins>Mura's Meister - Copies.
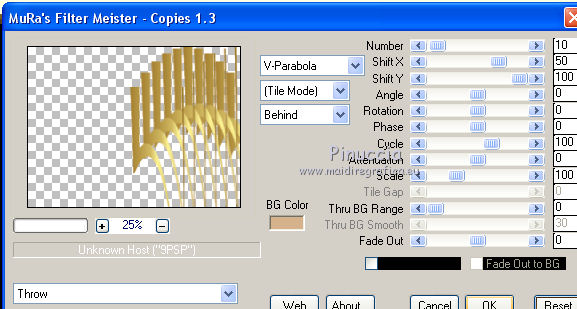
7. Layers>Duplicate.
Image>Mirror.
Layers>Merge>Merge Down.
8. Effects>Geometric Effects>Circle
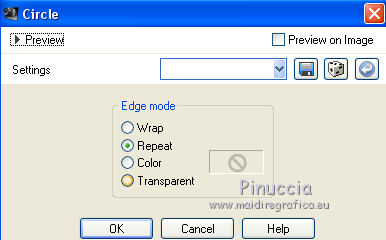
9. Image>Flip.
10. Effects>Plugins>Alien Skin Eye Candy 5 Impact - Extrude.
Select the preset fantasia8_aliciar and ok.
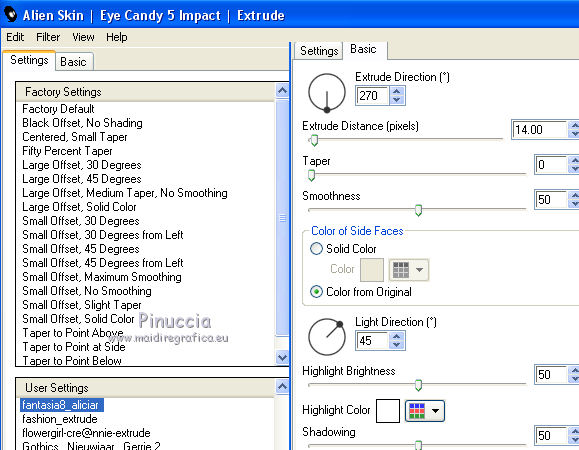
11. Effects>Plugins>Nik Software - Color Efex Pro
Bi-color filters - Color Set Green/Brown 1.
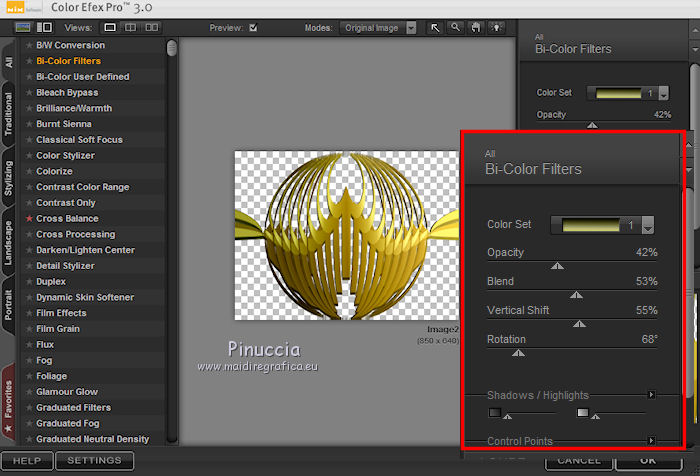
12. Open the tube nicole-femme-44-2012 - Edit>Copy.
Go back to your work and go to Edit>Paste as new layer.
1
13. Image>Add borders, 20 pixels, symmetric, color white #ffffff.
Activate the Magic Wand Tool 
and click on the border to select it.
Flood Fill  the selection with the GoldGradient. the selection with the GoldGradient.
Selections>Select None.
14. Sign your work on a new layer.
Layers>Merge>Merge All and save as jpg.
little note about the watermark:
I don't ask to put watermark on the versions made by my translations.
But if you decide to use the watermark, I would appreciate that my work as translator was also respected.
For that, I added a new watermark to the material.

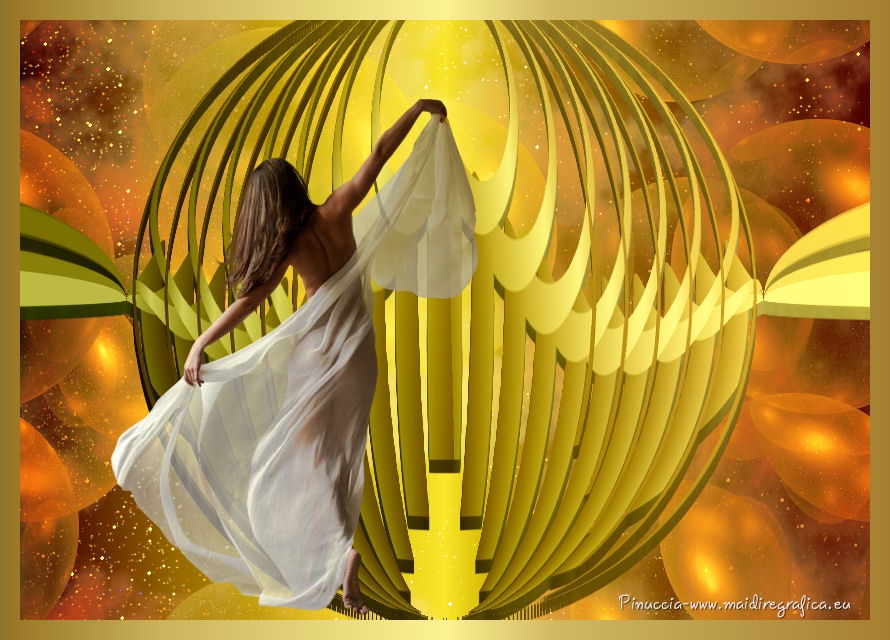
The tube of this version is by Anna.br
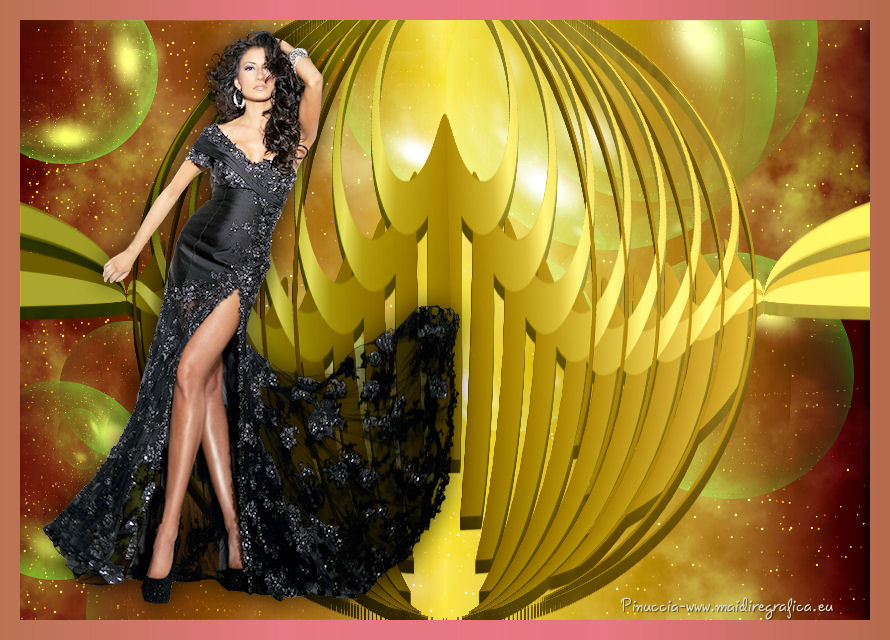

Your versions. Thanks
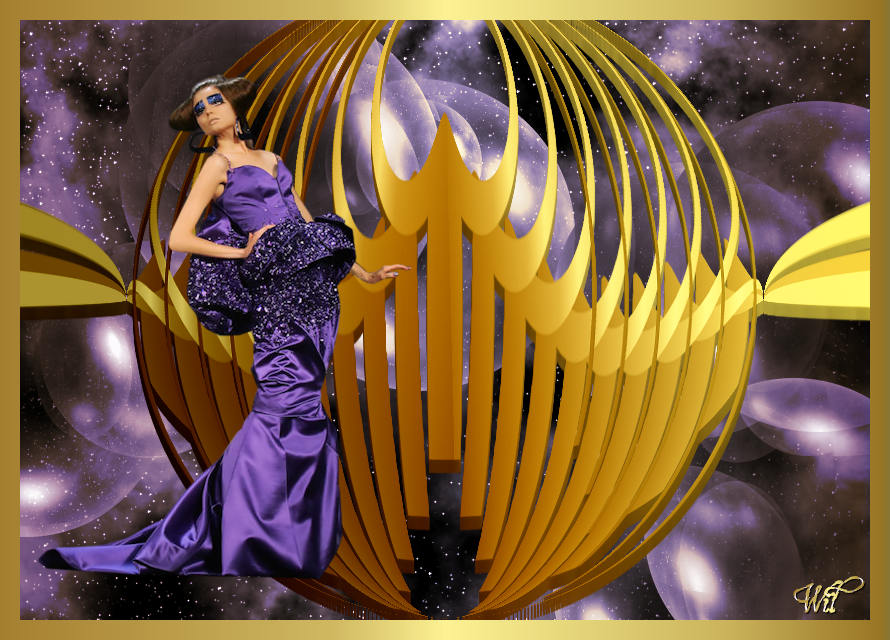
Wil
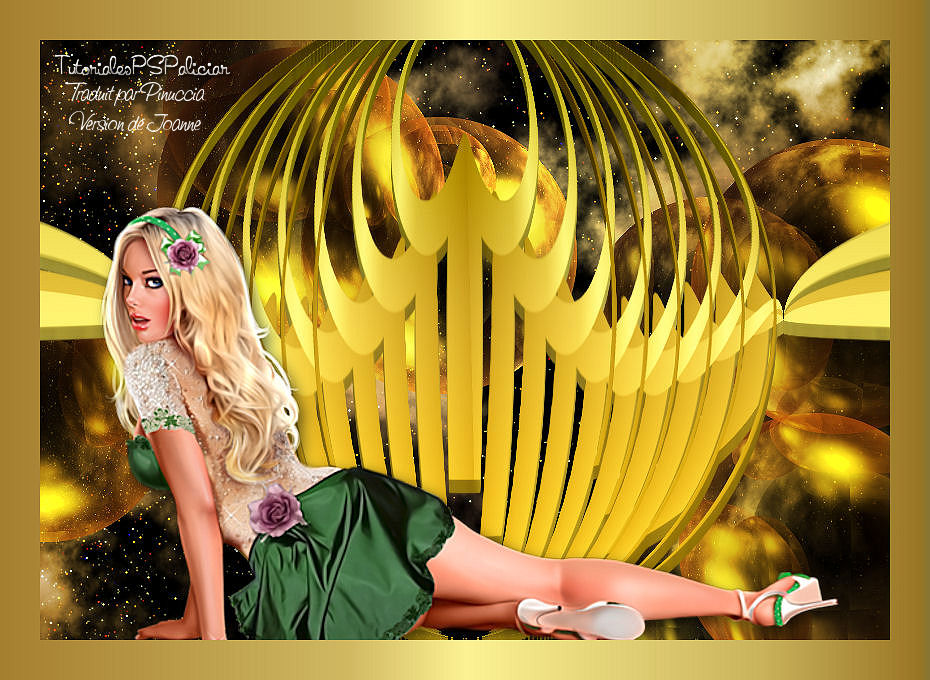
Joanne

If you have problems or doubts, or you find a not worked link, or only for tell me that you enjoyed this tutorial, write to me.
30 Janvier 2018
|


