|
BEL AUTOMNE
2nd part of the study of plugin VM Toolbox
 ENGLISH VERSION ENGLISH VERSION
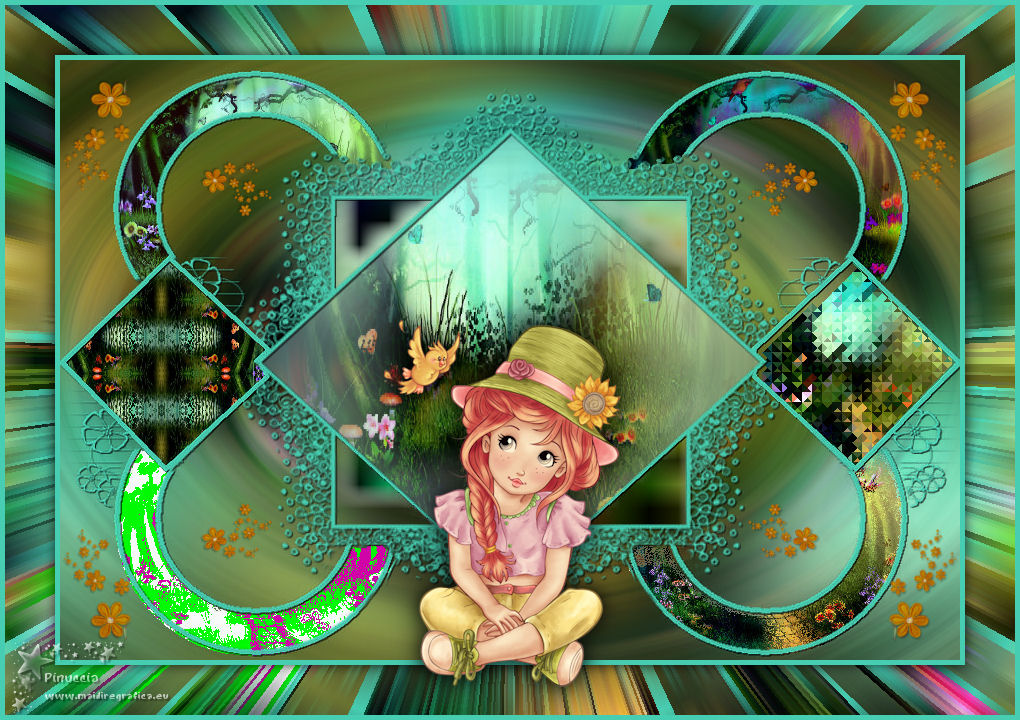
Here you find the original of this tutorial:

This tutorial was created with PSP2019 and translated with PSPX3 but it can also be made using other versions of PSP.
Since version PSP X4, Image>Mirror was replaced with Image>Flip Horizontal,
and Image>Flip with Image>Flip Vertical, there are some variables.
In versions X5 and X6, the functions have been improved by making available the Objects menu.
In the latest version X7 command Image>Mirror and Image>Flip returned, but with new differences.
See my schedule here
Italian translation here
Your versions here
Material here
the image is by Sonia and the mask is by Alyciane.
(The links of the tubemakers here).
Plugins
Filters Unlimited 2.0 here
VM Toolbox here
Filters VM Toolbox can be used alone or imported into Filters Unlimited.
(How do, you see here)
If a plugin supplied appears with this icon  it must necessarily be imported into Unlimited it must necessarily be imported into Unlimited

Open the mask in PSP and minimize it with the rest of the material.
1. Set your foreground color to #47cdb1.
2. Open Alpha_Bel Automne.
This image, that will be the basis of your work, is not empty,
but contains the selections saved on the alpha channel.
Flood Fill  with your foreground color #47cdb1. with your foreground color #47cdb1.
Selections>Select All.
Open the image by Sonia and go to Edit>Copy.
Go back to your work and go to Edit>Paste into Selection.
Selections>Select None.
3. Effects>Image Effects>Seamless Tiling, default settings.

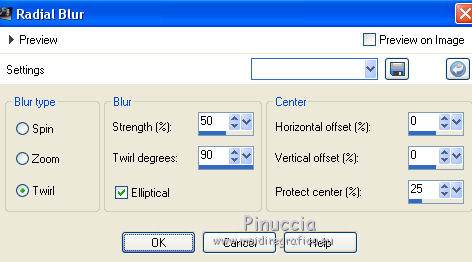
4. Adjust>Blur>Radial Blur.
5. Layers>New Raster Layer.
Flood Fill  with your foreground color #47cdb1. with your foreground color #47cdb1.
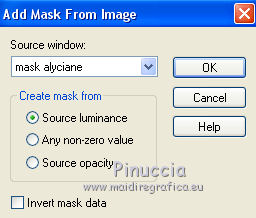
Layers>New Mask layer>From image
Open the menu under the source window and you'll see all the files open.
Select the mask mask_alyciane
Layers>Merge>Merge group.
Adjust>Sharpness>Sharpen.
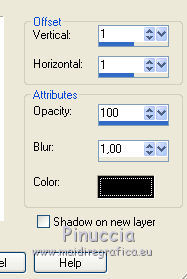
6. Effects>3D Effects>Drop Shadow.
7. Layers>New Raster Layer.
Selections>Load/Save Selection>Load Selection from Alpha Channel.
The selection #1 is immediately available. You just have to click Load.

Edit>Paste into Selection (the image by Sonia is still in memory).
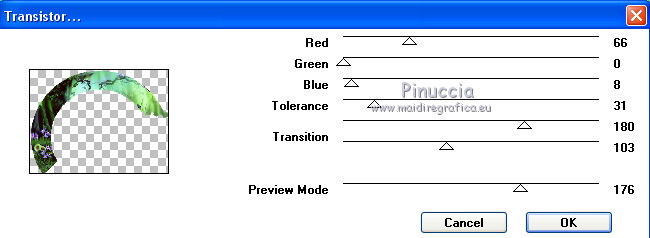
8. Effects>Plugins>VM Toolbox - Transistor
play with your colors if you are using another tube
Selections>Select None.
9. Stay on this layer.
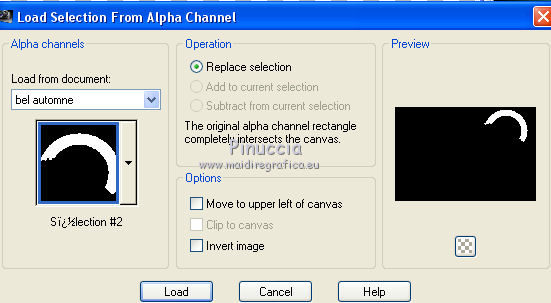
Selections>Load/Save Selection>Load Selection from Alpha Channel.
Open the selections menu and load Sélection#2.
Edit>Paste into Selection (the image by Sonia is still in memory).
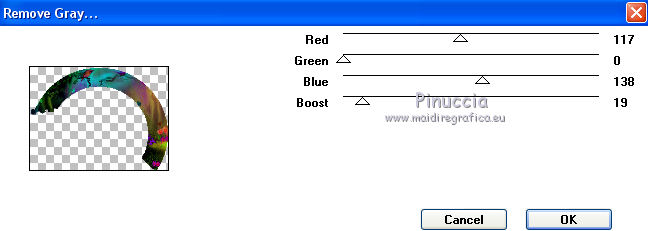
10. Effects>Plugins>VM Toolbox - Remove Gray
Selections>Select None.
11. Stay on this layer.
Selections>Load/Save Selection>Load Selection from Alpha Channel.
Open the selections menu and load Sélection#3.
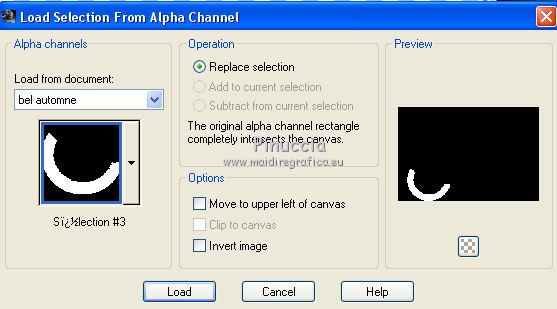
Edit>Paste into Selection (the image by Sonia is still in memory).
Effects>Plugins>VM Toolbox - Reductor (play with the colors if you are using another tube)
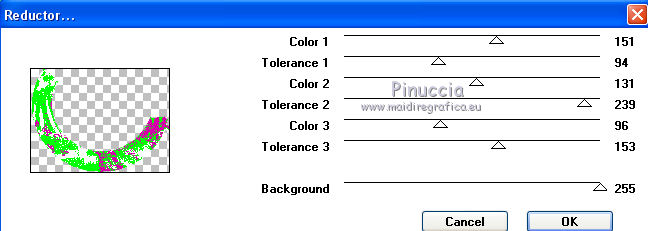
Selections>Select None.
12. On the same layer.
Selections>Load/Save Selection>Load Selection from Alpha Channel.
Open the selections menu and load Sélection#4.
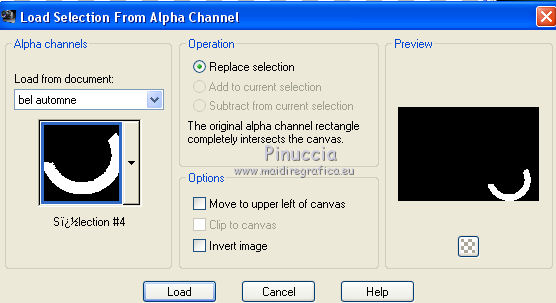
Edit>Paste into Selection the image by Sonia.
Effects>Plugins>VM Toolbox - Radial Noise.
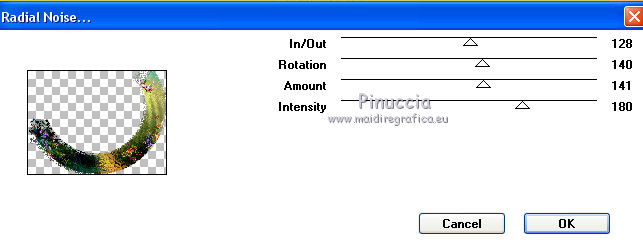
Selections>Select None.
13. On the same layer.
Selections>Load/Save Selection>Load Selection from Alpha Channel.
Open the selections menu and load Sélection#5.
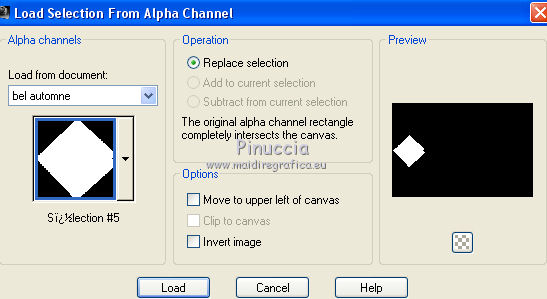
Edit>Paste into Selection the image by Sonia.
Effects>Plugins>VM Toolbox - Tiler.
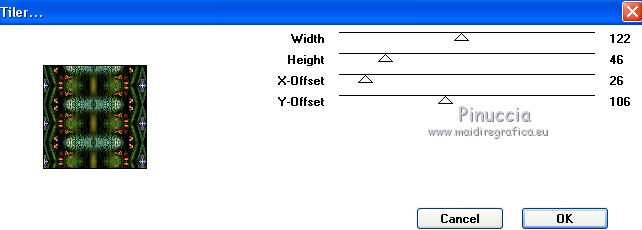
Selections>Select None.
14. On the same layer.
Selections>Load/Save Selection>Load Selection from Alpha Channel.
Open the selections menu and load Sélection#6.
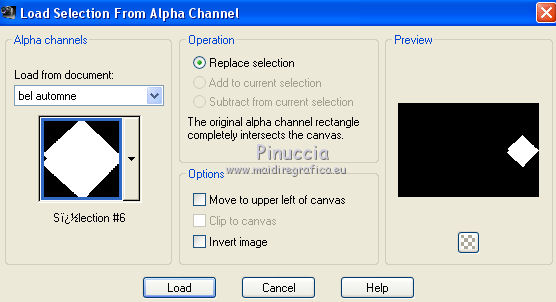
Edit>Paste into Selection the image by Sonia.
Effects>Plugins>VM Toolbox - Trimosaic.
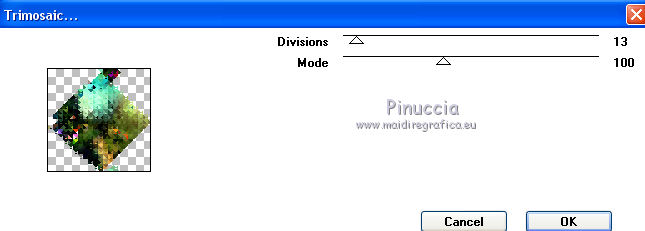
Selections>Select None.
15. On the same layer.
Selections>Load/Save Selection>Load Selection from Alpha Channel.
Open the selections menu and load Sélection#7.
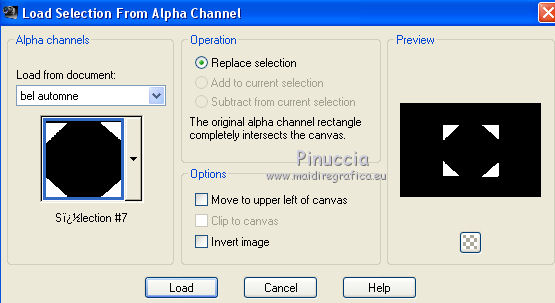
Edit>Paste into Selection the image by Sonia.
Effects>Plugins>VM Toolbox - Square Blur.
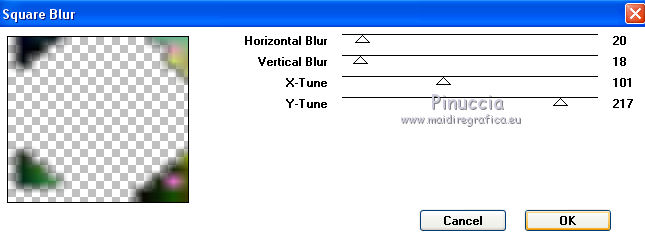
Selections>Select None.
16. On the same layer.
Selections>Load/Save Selection>Load Selection from Alpha Channel.
Open the selections menu and load Sélection#8.
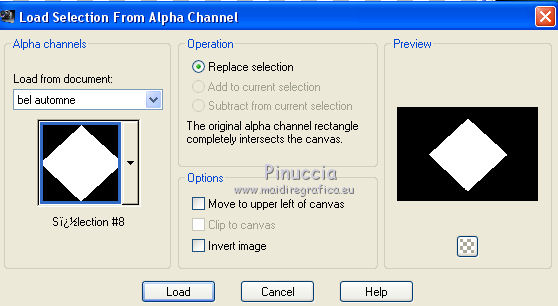
Edit>Paste into Selection the image by Sonia.
Effects>Plugins>VM Toolbox - Soft Border.
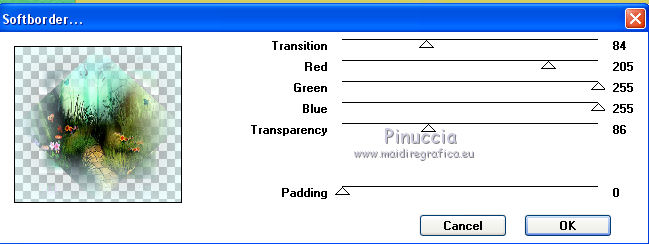
Selections>Select None.
17. Move this layer under the mask's layer.
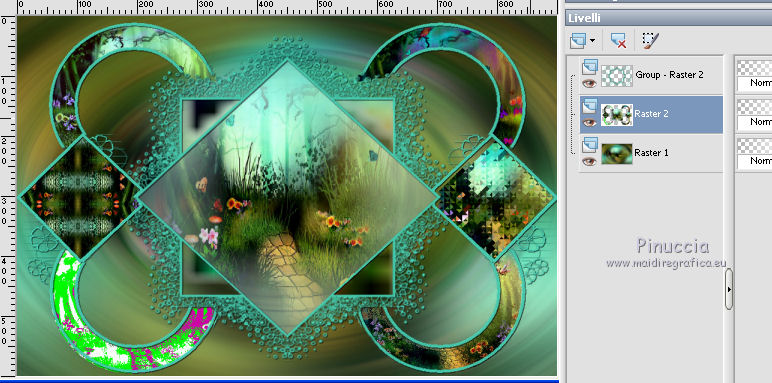
18. Layers>Merge>Merge All.
19. Image>Add borders, 5 pixels, symmetric, foreground color #47cdb1.
Selections>Select All.
Image>Add borders, 50 pixels, symmetric, color white.
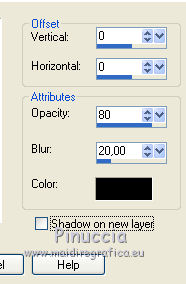
Effects>3D Effects>Drop Shadow, colore black.
Selections>Invert.
Edit>Paste into Selection (the image by Sonia is still in memory)
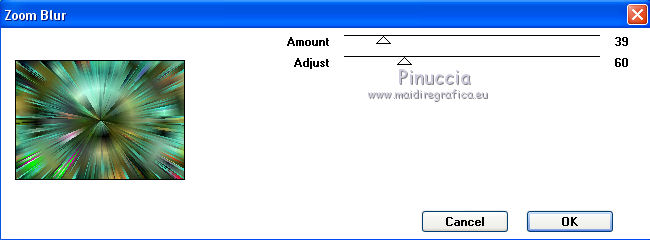
Effects>Plugins>VM Toolbox - Zoom Blur.
Selections>Invert.
Effects>3D Effects>Drop Shadow, same settings.

Selections>Select None.
Image>Add borders, 5 pixels, symmetric, foreground color #47cdb1.
Add your tubes and decos and sign your work.
Image>Resize, 900 pixels width, resize all layers not checked.
Save as jpg.
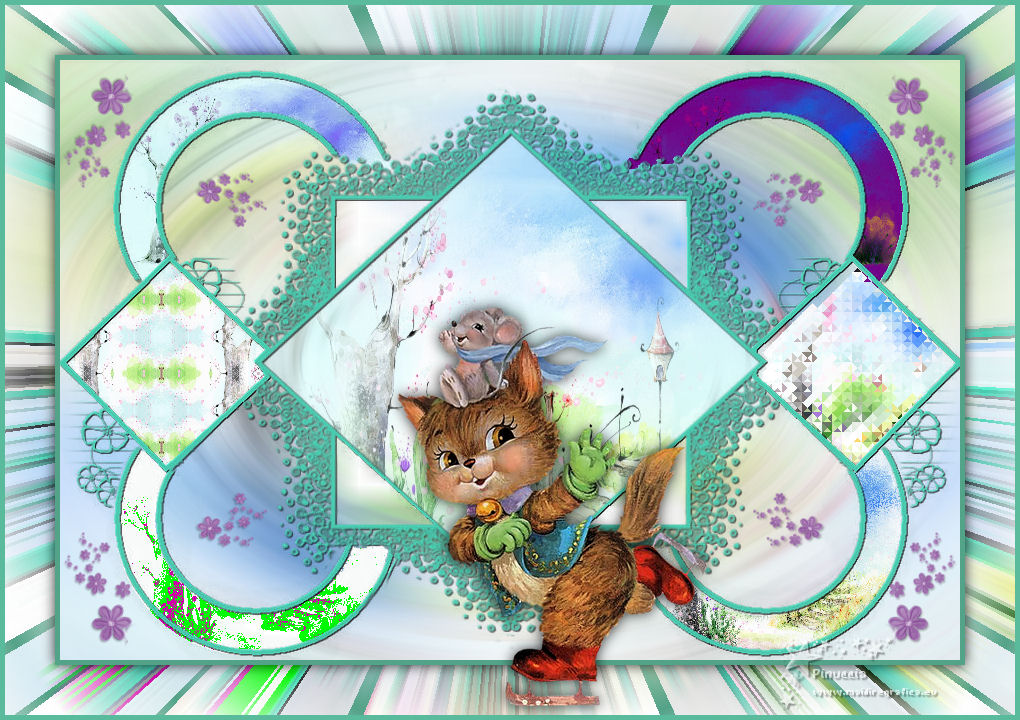
The tube of this version is by Lize
Il tube di questo esempio è di Lize

If you have problems or doubts, or you find a not worked link, or only for tell me that you enjoyed this tutorial, write to me.
My mail is in the menu on the top of the page.
19 November 2018
|
 ENGLISH VERSION

 ENGLISH VERSION
