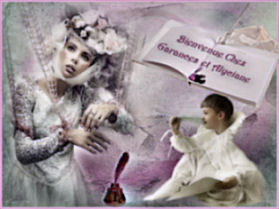
|
FIN DE L'ÉTÉ
STUDY OF VM TOOLBOX
 ENGLISH VERSION ENGLISH VERSION

Here you find the original of this tutorial:

This tutorial was created with PSP2018 and translated with PSPX3 but it can also be made using other versions of PSP.
Since version PSP X4, Image>Mirror was replaced with Image>Flip Horizontal,
and Image>Flip with Image>Flip Vertical, there are some variables.
In versions X5 and X6, the functions have been improved by making available the Objects menu.
In the latest version X7 command Image>Mirror and Image>Flip returned, but with new differences.
See my schedule here
Italian translation here
Material here
For the tube thanks Meridesign and for the mask Nenagarcia.
The rest of the material is by Alyciane.
Plugins
Filters Unlimited 2.0 here
VM Toolbox - in the material.
Filters VM Toolbox can be used alone or imported into Filters Unlimited.
(How do, you see here)
If a plugin supplied appears with this icon  it must necessarily be imported into Unlimited it must necessarily be imported into Unlimited

Open the masks in PSP and minimize them with the rest of the material.
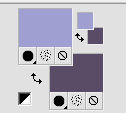
1. Set your foreground color to #9f9fd1,
and your background color to #5a4c67.
2. Open alpha fin_de_l'ete.
This image, that will be the basis of your work, is not empty,
but it contains the selections saved on the alpha channel.
3. Selections>Select All.
Open the jpg image "fond mer" and go to Edit>Copy.
Go back to your work and go to Edit>Paste into Selection.
Selections>Select None.
4. Effects>Image Effects>Seamless Tiling, default settings

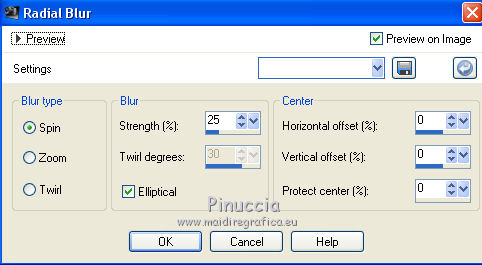
5. Adjust>Blur>Radial Blur.
6. Adjust>Blur>Gaussian Blur - radius 30.

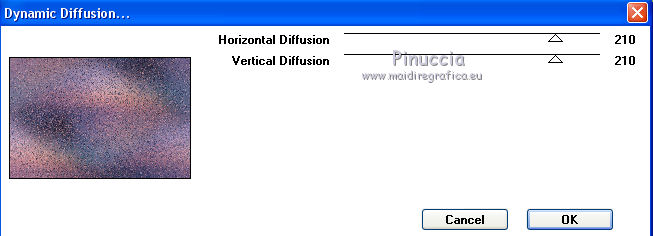
7. Effects>Plugins>VM Toolbox - Dyamic Diffusion.
8. Layers>New Raster Layer.
Flood Fill  the layer with your background color. the layer with your background color.
Layers>New Mask layer>From image
Open the menu under the source window and you'll see all the files open.
Select the mask mask aly
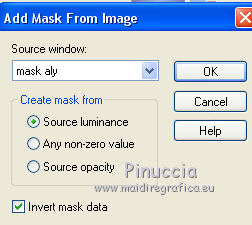
Layers>Duplicate.
Layers>Merge>Merge group.
Effects>Edge Effects>Enhance.
9. Layers>New Raster Layer.
Selections>Load/Save Selection>Load Selection from Alpha Channel.
The selection 1 is immediately available.
You have just to click Load.
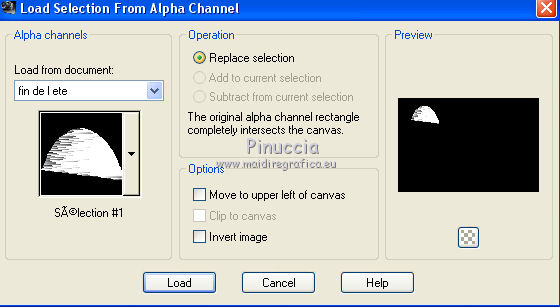
Edit>Paste into Selection (the jpg image fond mer is still in memory).
Effects>Plugins>VM Toolbox - Blast
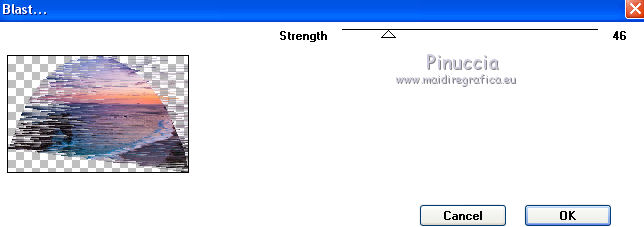
Selections>Select None.
Adjust>Sharpness>Sharpen.
10. Layers>New Raster Layer.
Selections>Load/Save Selection>Load Selection from Alpha Channel.
Open the selections menu and load sélection#2.
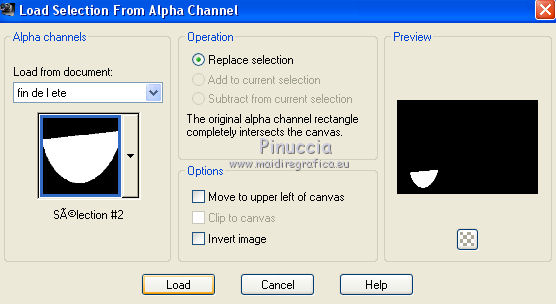
Edit>Paste into selection (the jpg image fond mer is always in memory)
Effects>Plugins>VM Toolbox - Brightness Noise.
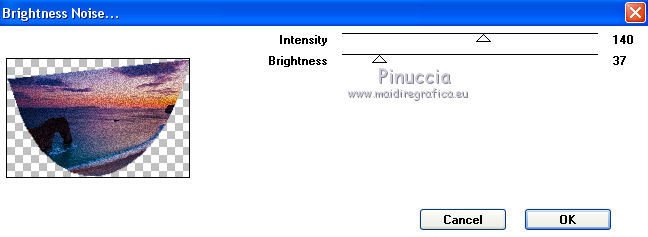
Selections>Select None.
Adjust>Sharpness>Sharpen.
11. Layers>New Raster Layer.
Selections>Load/Save Selection>Load Selection from Alpha Channel.
Open the selections menu and load sélection#3.
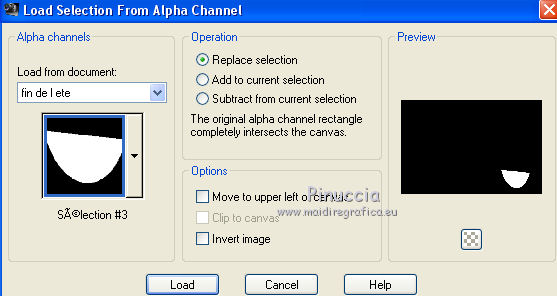
Edit>Paste into selection (the jpg image fond mer is always in memory)
Effects>Plugins>VM Toolbox - Colorama.
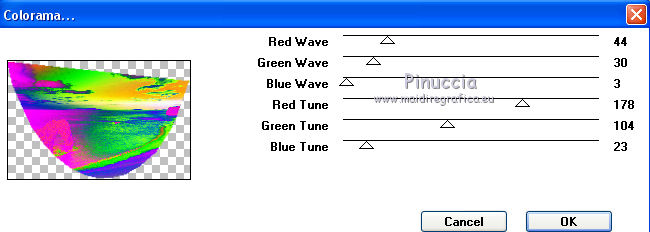
Selections>Select None.
Adjust>Sharpness>Sharpen.
12. Layers>New Raster Layer.
Selections>Load/Save Selection>Load Selection from Alpha Channel.
Open the selections menu and load sélection#4.
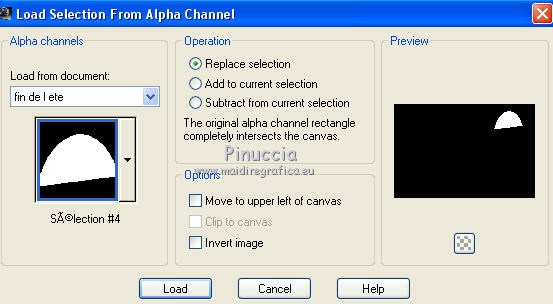
Edit>Paste into selection (the jpg image fond mer is always in memory)
Effects>Plugins>VM Toolbox - Dynamic Contrast.
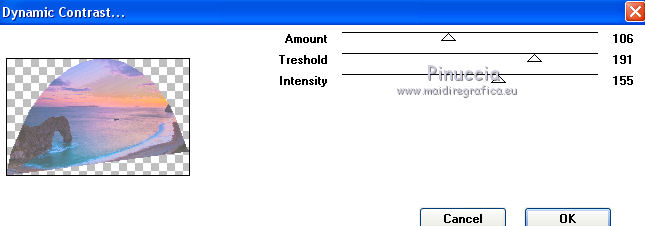
Selections>Select None.
Adjust>Sharpness>Sharpen.
13. Layers>New Raster Layer.
Selections>Load/Save Selection>Load Selection from Alpha Channel.
Open the selections menu and load sélection#5.
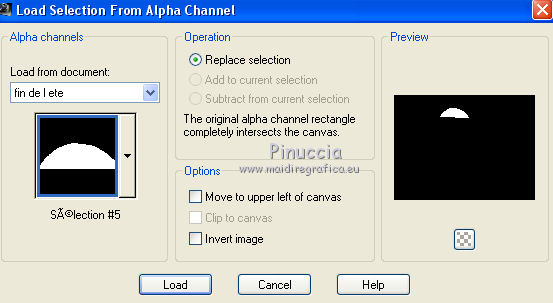
Edit>Paste into selection (the jpg image fond mer is always in memory)
Effects>Plugins>VM Toolbox - Lift the cover.
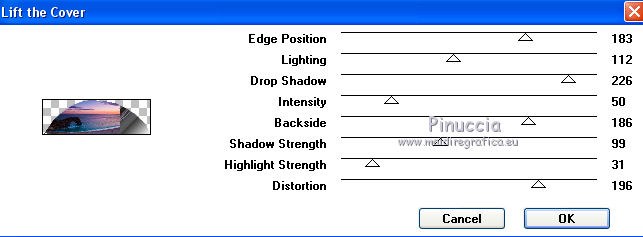
Selections>Select None.
Adjust>Sharpness>Sharpen.
14. Layers>New Raster Layer.
Selections>Load/Save Selection>Load Selection from Alpha Channel.
Open the selections menu and load sélection#6.
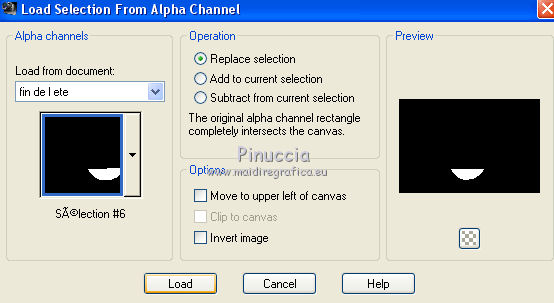
Edit>Paste into selection (the jpg image fond mer is always in memory)
Effects>Plugins>VM Toolbox - Mezzotinto Due.
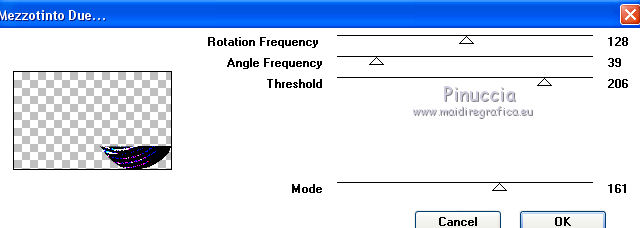
Selections>Select None.
Adjust>Sharpness>Sharpen.
15. Layers>New Raster Layer.
Selections>Load/Save Selection>Load Selection from Alpha Channel.
Open the selections menu and load sélection#7.
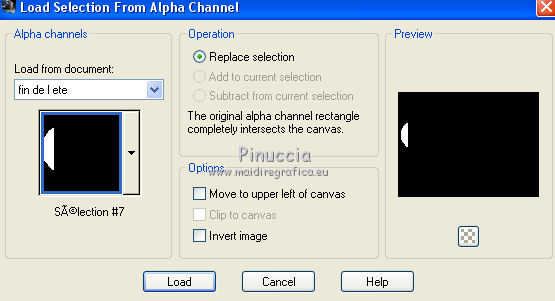
Edit>Paste into selection (the jpg image fond mer is always in memory)
Effects>Plugins>VM Toolbox - MirrororriM.
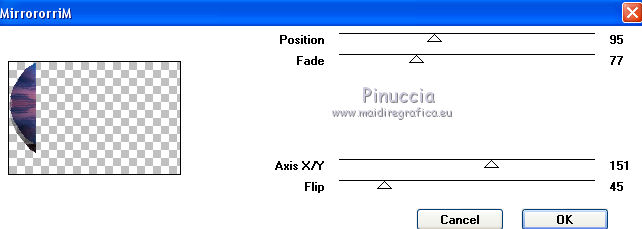
Selections>Select None.
Adjust>Sharpness>Sharpen.
16. Layers>New Raster Layer.
Selections>Load/Save Selection>Load Selection from Alpha Channel.
Open the selections menu and load sélection#8.
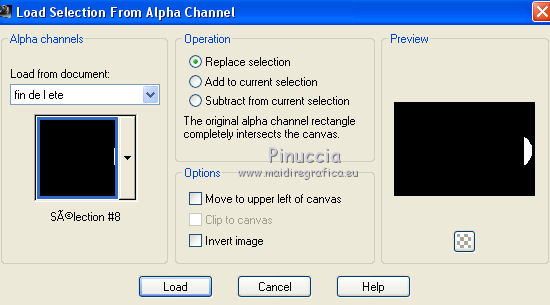
Edit>Paste into selection (the jpg image fond mer is always in memory)
Effects>Plugins>VM Toolbox - Motion Trail Wild.
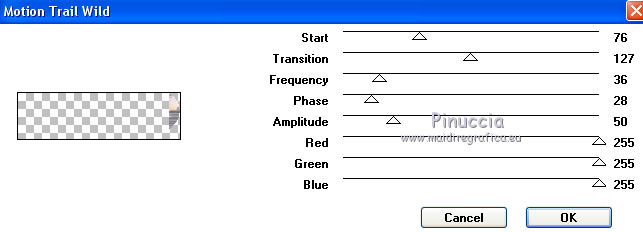
Selections>Select None.
Adjust>Sharpness>Sharpen.
17. Layers>New Raster Layer.
Selections>Load/Save Selection>Load Selection from Alpha Channel.
Open the selections menu and load sélection#9.
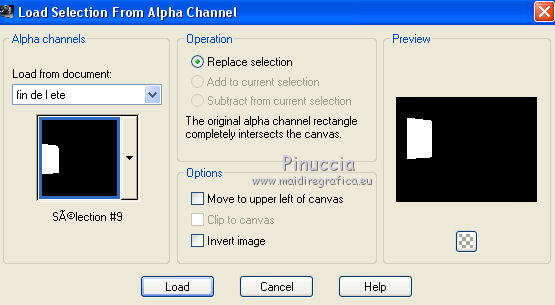
Edit>Paste into selection (the jpg image fond mer is always in memory)
Effects>Plugins>VM Toolbox - Print screen.
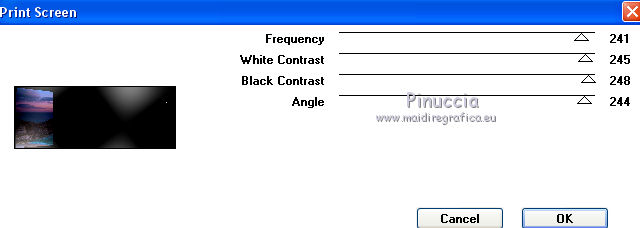
Selections>Select None.
Adjust>Sharpness>Sharpen.
18. Layers>New Raster Layer.
Selections>Load/Save Selection>Load Selection from Alpha Channel.
Open the selections menu and load sélection#10.
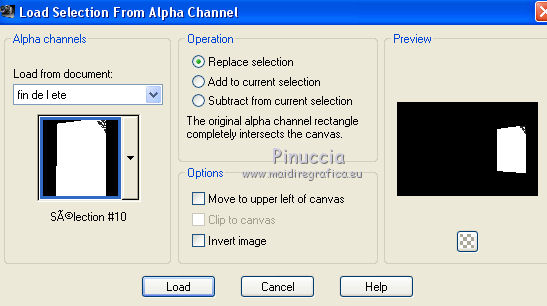
Edit>Paste into selection (the jpg image fond mer is always in memory)
Effects>Plugins>VM Toolbox - Radial Noise.
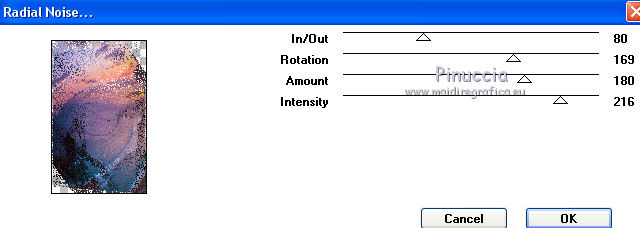
Selections>Select None.
Adjust>Sharpness>Sharpen.
19. Layers>New Raster Layer.
Selections>Load/Save Selection>Load Selection from Alpha Channel.
Open the selections menu and load sélection#11.
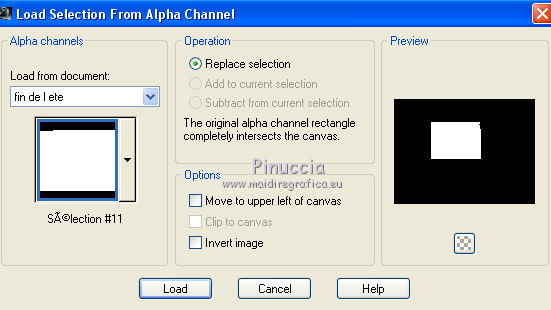
Edit>Paste into selection (the jpg image fond mer is always in memory)
Effects>Plugins>VM Toolbox - Radial Mosaic.
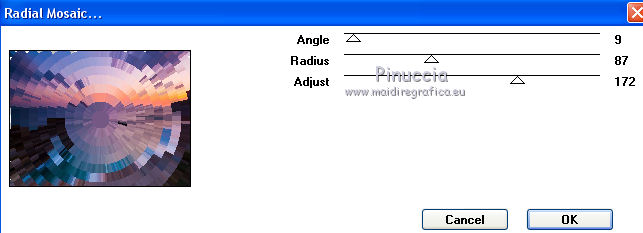
Selections>Select None.
Adjust>Sharpness>Sharpen.
Selections>Modify>Contract - 10 pixels.
Layers>New Raster Layer.
Open the misted psp fond mer and go to Edit>Copy.
Go back to your work and go to Edit>Paste into Selection.
Selections>Select None.
20. Open your visage and go to Edit>Copy.
Go back to your work and go to Edit>Paste as new layer.
Image>Resize, if it is necessary, resize all layers not checked.
Place  the tube in the middle. the tube in the middle.
21. Layers>New Raster Layer.
Set your foreground color to white #ffffff.
Flood Fill  the layer with color white. the layer with color white.
Layers>New Mask layer>From image
Open the menu under the source window
and select the mask nenagarcia
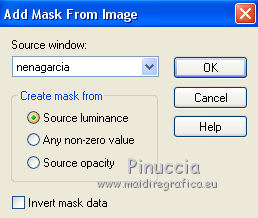
Layers>Merge>Merge group.
Edit>Cut (this cuts and keep in memory).
Selections>Load/Save Selection>Load Selection from Alpha Channel.
Open the selections menu and load nuovamente sélection#10.

Layers>New Raster Layer.
Edit>Paste into Selection.
Selections>Select None.
Layers>Duplicate.
Image>Miroir.
Layers>Merge>Merge Down.
Adjust>Sharpness>Sharpen.
22. Image>Add borders, 1 pixel, symmetric, background color.
Layers>Duplicate.
Image>Resize, to 90%, resize all layers not checked.
Activate the Magic Wand Tool 
and click in the transparent part to select it.
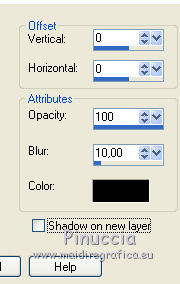
Effects>3D Effects>Drop Shadow.
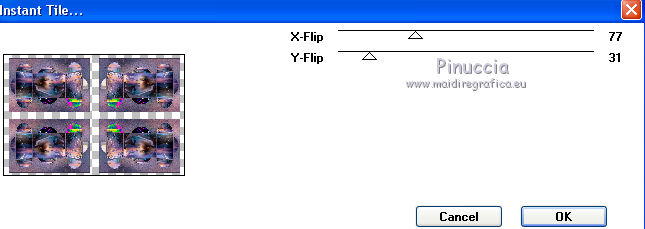
Effects>Plugins>VM Toolbox - Instant Tile.
Selections>Select None.
23. Image>Add borders, 1 pixel, symmetric, background color.
Sign your work and save in jpg.
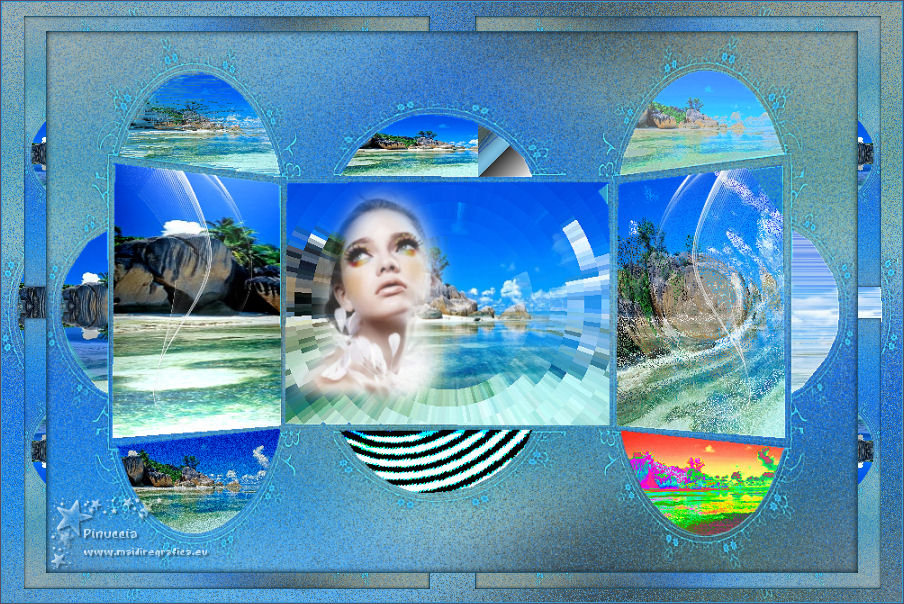
The tube of this version is by Yoka

If you have problems or doubts, or you find a not worked link, or only for tell me that you enjoyed this tutorial, write to me.
My mail is in the menu on the top of the page.
25 September 2018
My tutorials and my translations are registeredi
|
 ENGLISH VERSION

 ENGLISH VERSION
