|
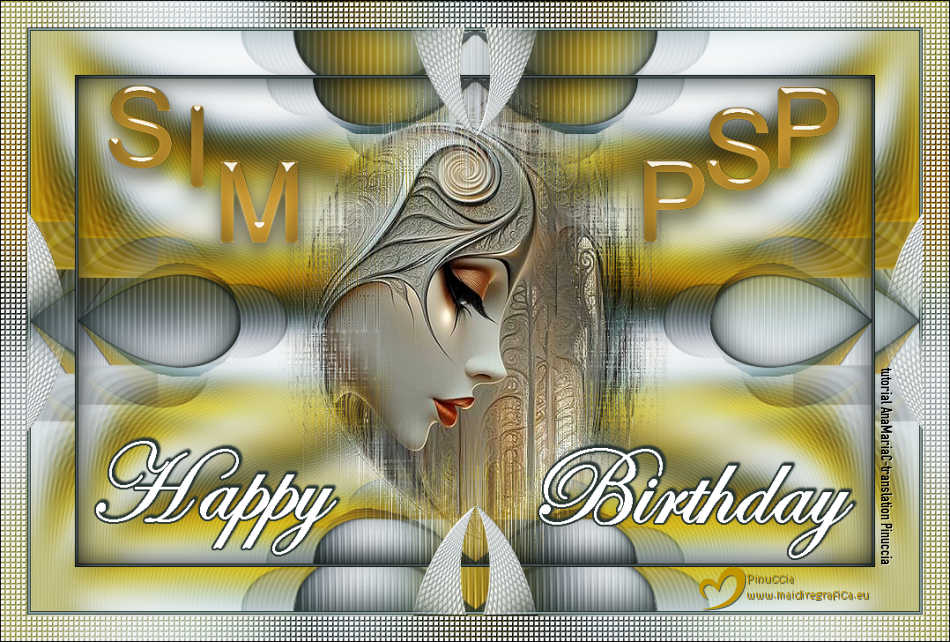
SIM PSP 6 AÑOS
HAPPY BIRTHDAY


Thanks SIM PSP Group for your invitation to translate your tutorials into english

This tutorial was written and translated with Psp2020, but it can also be made using other versions of PSP.
Since version PSP X4, Image>Mirror was replaced with Image>Flip Horizontal,
and Image>Flip with Image>Flip Vertical, there are some variables.
In versions X5 and X6, the functions have been improved by making available the Objects menu.
In the latest version X7 command Image>Mirror and Image>Flip returned, but with new differences.
See my schedule here

|
Special Note
PSP SIM and its Tutorial Authors ask the public:
- Please, we request that we maintain the originality of the tutorial,
refraining from adding or including unsolicited effects;
- The use of other images is permitted and encouraged,
but please don't modify the content of the original tutorial;
- Please acknowledge and attribute the valuable credits to those who write tutorials, make translations and create materials.
Carefully,
PSP SIM - Ana Maria C
|

For this tutorial, you will need:

The material is by Ana Maria C.
(The links of the tubemakers here).

Filters Unlimited 2.0 here
VM Extravaganza - Picture in a Picture here
Flaming Pear - Flexify 2 here
FM Tile Tools - Blend Emboss here
Mehdi - Wavy Lab 1.1. here
Filters VM Extravaganza can be used alone or imported into Filters Unlimited.
(How do, you see here)
If a plugin supplied appears with this icon  it must necessarily be imported into Unlimited it must necessarily be imported into Unlimited
Note:
The version of Flexify used by the author (Flexify-120) is in the material.
Iff you use another version of this plugin, the effect may not be the same as in the tutorial,
and the result may be different from what we show here, as some options or effects may vary depending on the version

You can change Blend Modes according to your colors.

1. Open Alpha Channel
Window>Duplicate or, on the keyboard, shift+D to make a copy.
Close the original.
The copy, that will be the basis of your work, is not empty,
but contains a selection saved to alpha channel.
2. Colors to works
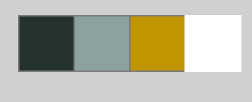
Foreground color #253330
Background color #8ca29e
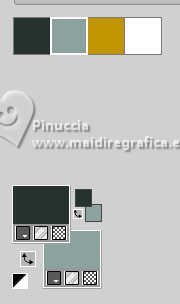
color 3: #c09500
color 4: #ffffff
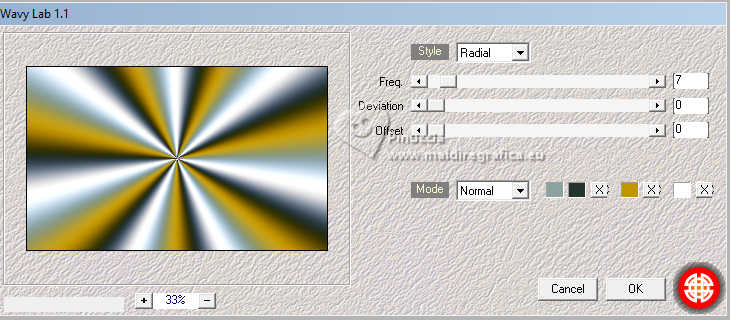
3. Effects>Plugins>Mehdi - Wavy Lab 1.1.
This filter creates gradients with the colors of your Materials palette.
The first is your background color, the second is your foreground color.
Change the last two colors created by the filtre:
the third color with the color 3 #c09500 and the fourth with the color white #ffffff.
4. Adjust>Blur>Gaussian Blur - radius 25.

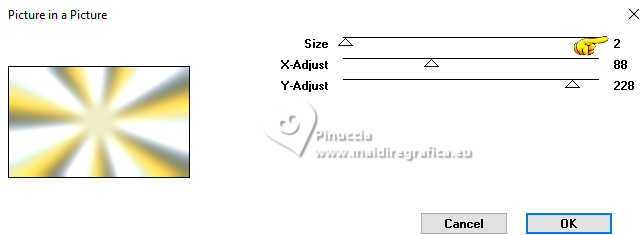
5. Effects>Plugins>VM Extravaganza - Picture in a Picture
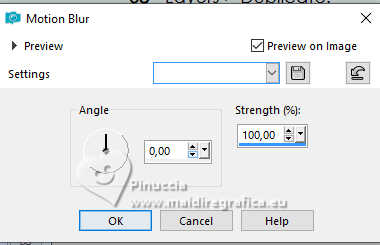
6. Adjust>Blur>Motion Blur.
7. Adjust>Sharpness>Sharpen More.
8. Layers>Duplicate.
Image>Resize, to 80%, resize all layers not checked.
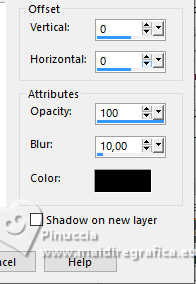
9. Effects>3D Effects>Drop Shadow, color black #000000.
10. Effects>Plugins>Flaming Pear - Flexify 2

11. Layers>Duplicate.
12. Effects>Image Effects>Seamless Tiling, default settings.

13. Layers>Duplicate.
Image> Resize, to 80%, resize all layers not checked.
14. Effects>Image Effects>Seamless Tiling, default settings.

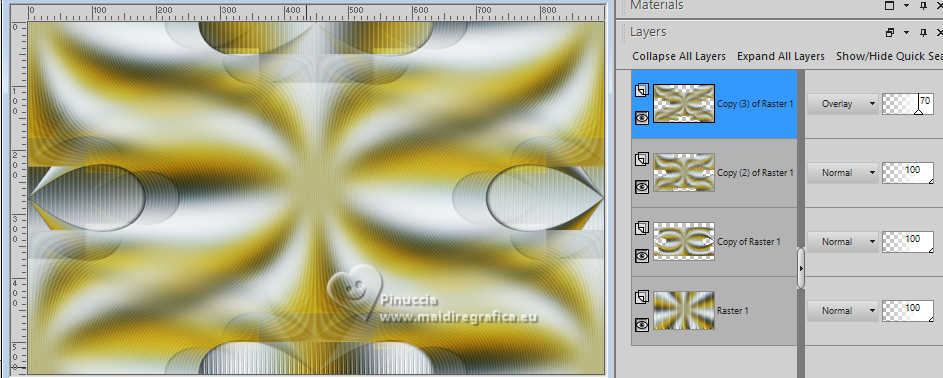
15. Layers>Properties>General>Blend Mode: Overlay - Opacity: 70%
16. Selections>Load/Save Selections>Load Selection from Alpha Channel.
The selection #selection1 is immediately available. You just have to click Load.
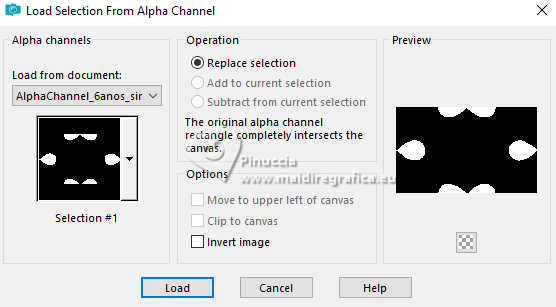
Press CANC on the keyboard 
Keep selected.
17. Layers>New Raster Layer.
18. Effects>3D Effects>Cutout, foreground color.
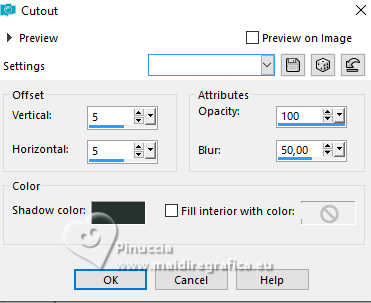
Repeat Effects>3D Effects>Cutout, vertical and horizontal -5.
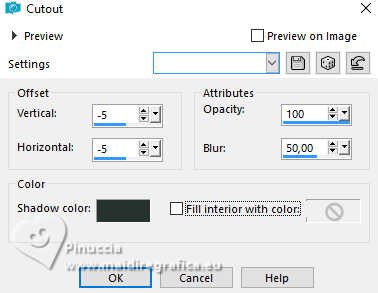
Selections>Selection None.
19. Layers>Merge>Merge Down.
Edit>Repeat Merge Down.
20. Activate the layer Copy of Raster 1.
Adjust>Sharpness>Sharpen More.
21. Layers>Properties>General>Blend Mode: Multiply - Opacity: 70%
22. We have this
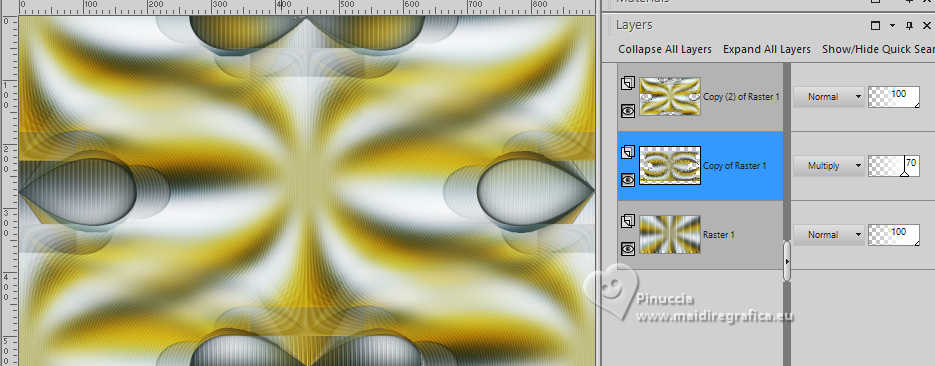
Activate your top layer Copy (2) of Raster 1.
23. Effects>Reflection Effects>Rotating Mirror.

24. Edit>Copy Special>Copy Merged.
25. Image>Add Borders, 1 pixel, symmetric, foreground color.
Image>Add Borders, 2 pixels, symmetric, background color.
Image>Add Borders, 1 pixel, symmetric, foreground color.
26. Selections>Select All.
Image>Add Borders, 50 pixels, symmetric, whatever color.
27. Selections>Invert.
Edit>Paste Into Selection.
28. Effects>3D Effects>Drop Shadow, color #000000.

Selections>Select None.
29. Edit>Copy.
30. Image>Add Borders, 1 pixel, symmetric, foreground color.
Image>Add Borders, 2 pixels, symmetric, background color.
Image>Add Borders, 1 pixel, symmetric, foreground color.
31. Selections>Select All.
Image>Add Borders, 30 pixels, symmetric, color white #ffffff.
Selections>Invert.
32. Edit>Paste Into Selection.
Adjust>Blur>Gaussian Blur, radius 25

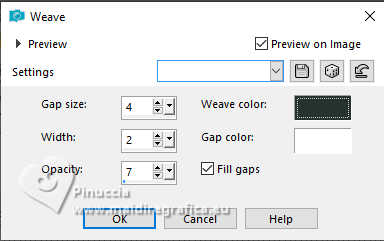
33. Effects>Texture Effects>Weave
weave color: foreground color
gap color: white #ffffff.
34. Selections>Promote Selection to Layer.
Selections>Select None.
35. Layers>Duplicate.
Activate the layer Promoted Selection.
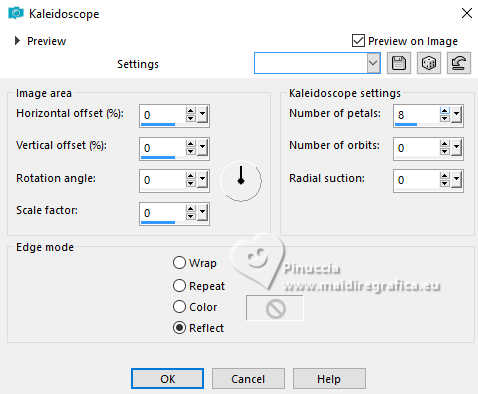
35. Effects>Reflections Effects>Kaleidoscope.
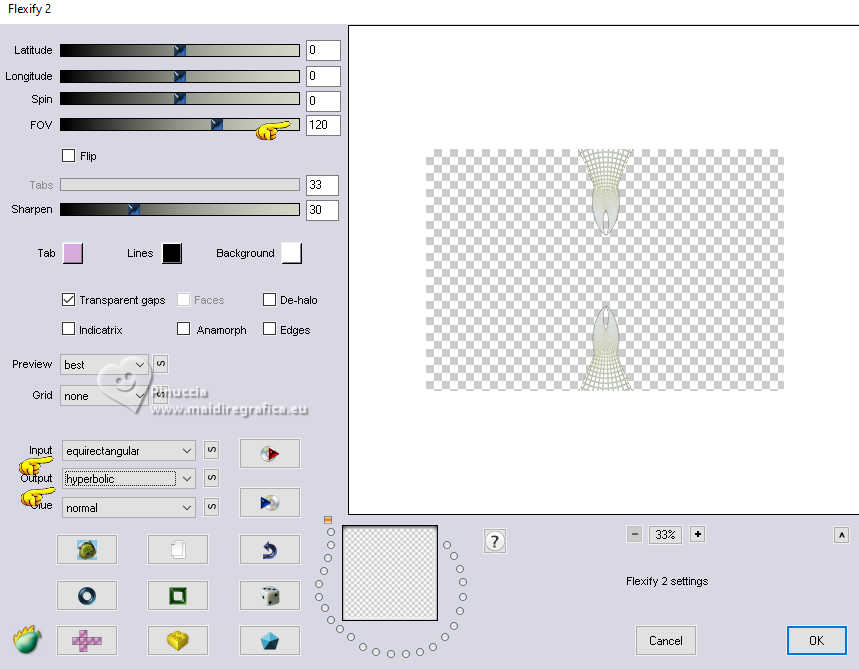
37. Effects>Plugins>Flaming Pear - Flexify.
This is the filter screen with the version used by the tutorial author.

and this should be the result
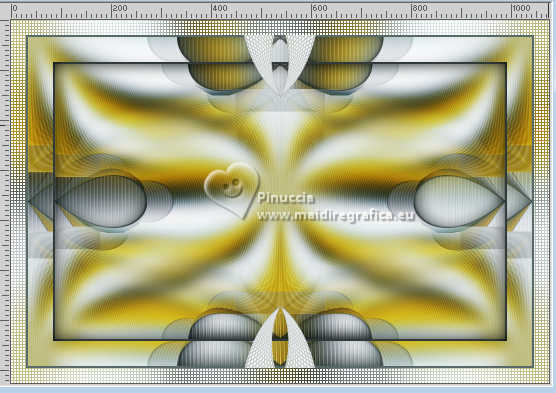
This time the result with the most recent version used to translate the tutorial is not the same.
If you have problems with the filter,
copy/paste as a new layer the file I added in the material 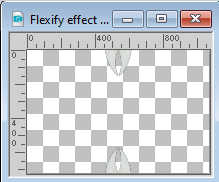
In this case, don't forget to delete the layer Promoted Selection.
38. Effects>Image Effects>Seamless Tiling, default settings.

39. Close the background layer.
Layers>Merge>Merge Visible.
40. Effects>Plugins>FM Tile Tools - Blend Emboss, default settings.

41. Open and activate your background layer.
Open Misted-Mulher36_byAnaMariaC 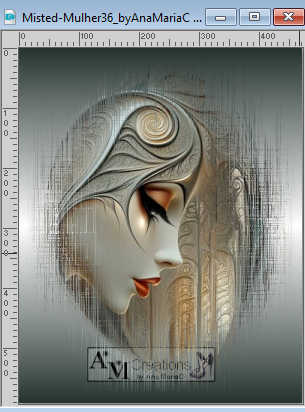
Edit>Copy.
Go back to your work and go to Edit>Paste As New Layer.
Image>Resize, if necessary, for the supplied tube it is not.
Adjust>Sharpness>Sharpen.
Edit>Repeat Sharpen.
42. Open SimPsp_byAnaMariaC 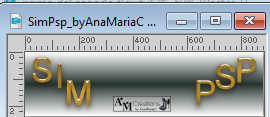
Edit>Copy.
Go back to your work and go to Edit>Paste As New Layer.
Pick Tool 
Position X: 95,00 - Position Y: 77,00.

43. Open Titulo HappyBirthday_byAnaMariaC 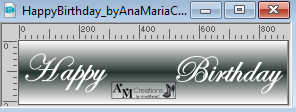
Edit>Copy.
Go back to your work and go to Edit>Paste as new layer.
Pick Tool 
Position X: 108,00 - Position Y: 499,00.

M key to deselect the Tool.
44. Selections>Select All.
Selections>Float.
Selections>Defloat.
Selections>Modify>Expand, 2 pixels.
45. Layers>New Raster Layer.
Flood Fill  with your foreground color. with your foreground color.
46. Layers>Arrange>Move Down.
Selections>Select None.
Activate the layer Raster 3.
Layers>Merge>Merge Down.
47. Effects>3D Effects>Drop Shadow, foreground color.
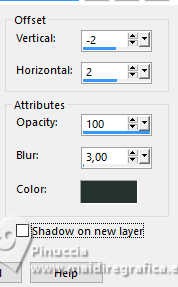
48. Image>Add borders, 1 pixel, symmetric, color black #000000.
49. Resize, if you want.
Sign your work and save as jpg.
For the tube of this version thanks PqnaAlice


 Your versions.Thanks Your versions.Thanks

Marion
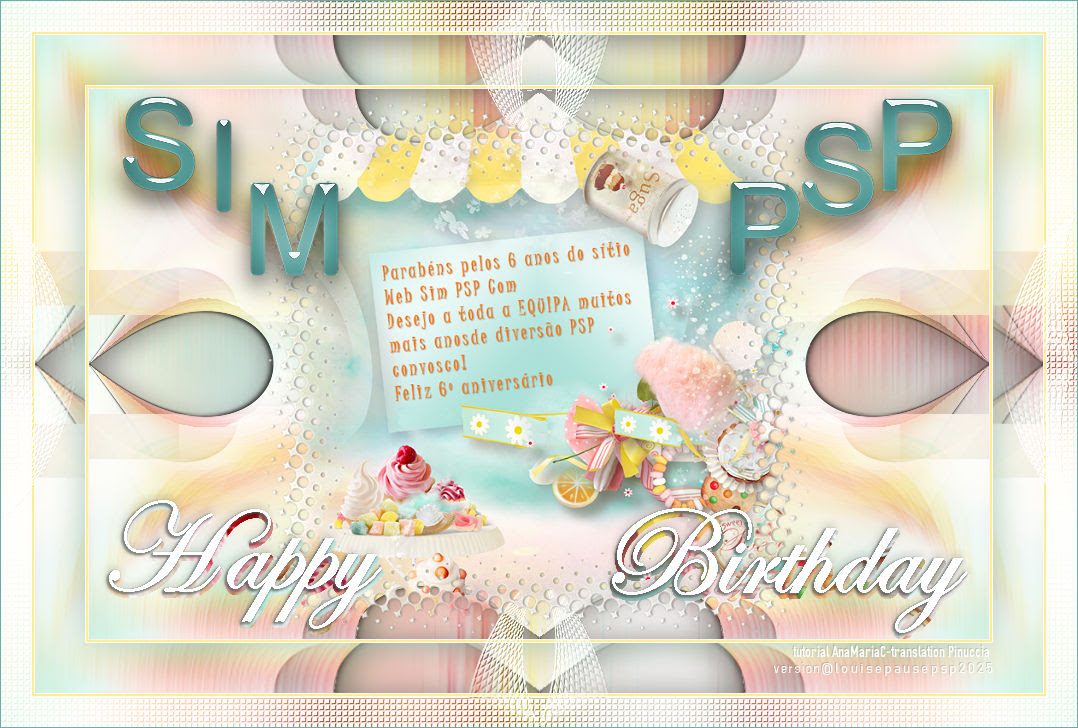
Louise
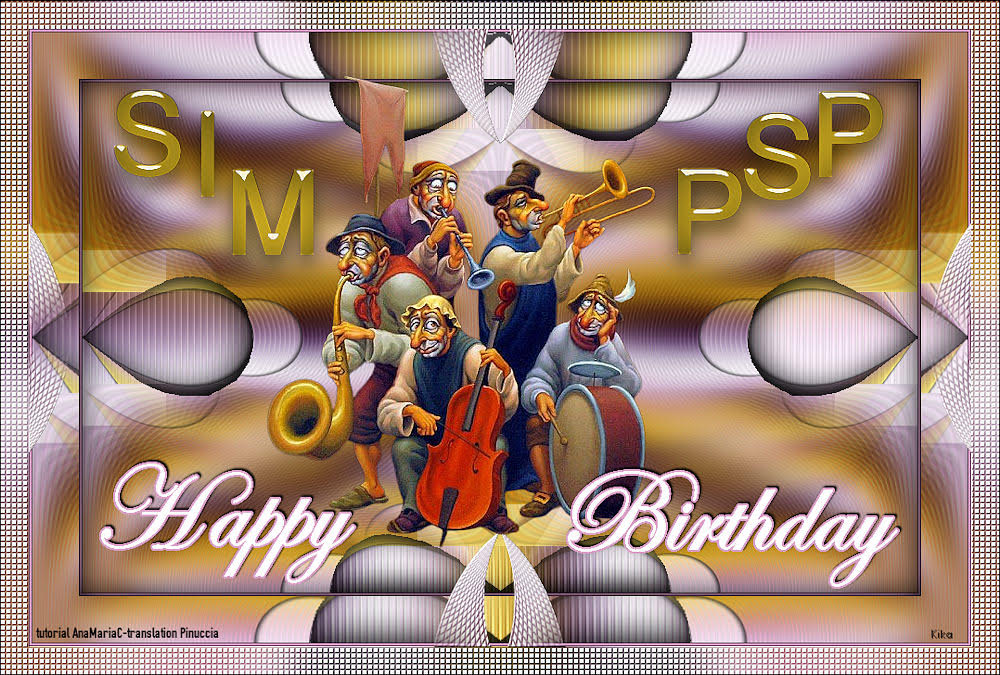
Kika


If you have problems or doubts, or you find a not worked link,
or only for tell me that you enjoyed this tutorial, write to me.
26 June 2025

|

