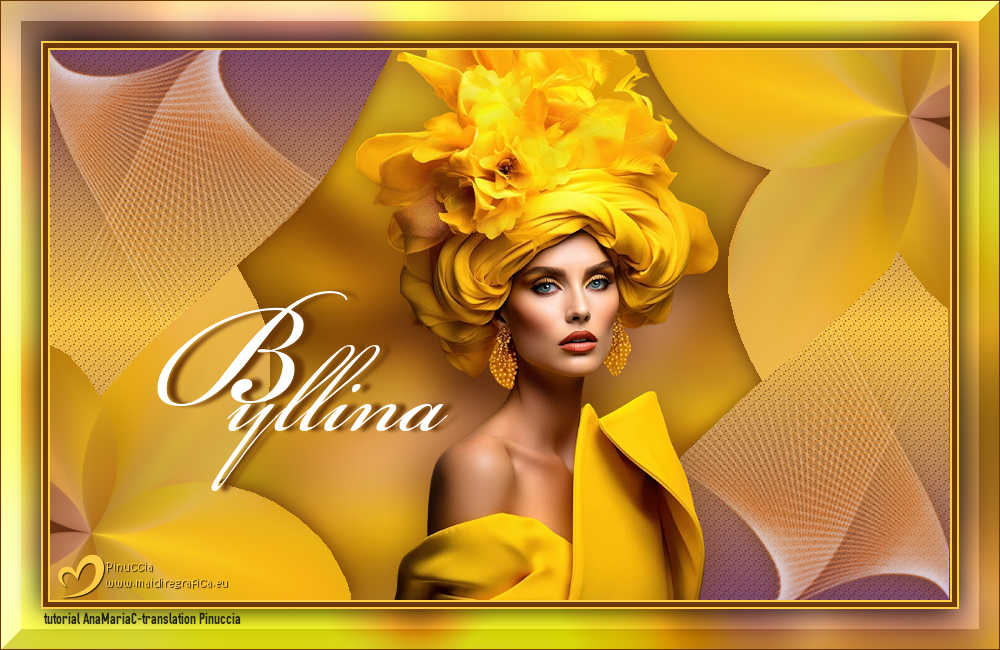
|
BYLLINA


Thanks SIM PSP Group for your invitation to translate your tutorials into english

This tutorial was written and translated with Psp2020, but it can also be made using other versions of PSP.
Since version PSP X4, Image>Mirror was replaced with Image>Flip Horizontal,
and Image>Flip with Image>Flip Vertical, there are some variables.
In versions X5 and X6, the functions have been improved by making available the Objects menu.
In the latest version X7 command Image>Mirror and Image>Flip returned, but with new differences.
See my schedule here

|
Special Note
PSP SIM and its Tutorial Authors ask the public:
- Please, we request that we maintain the originality of the tutorial,
refraining from adding or including unsolicited effects;
- The use of other images is permitted and encouraged,
but please don't modify the content of the original tutorial;
- Please acknowledge and attribute the valuable credits to those who write tutorials, make translations and create materials.
Carefully,
PSP SIM - Ana Maria C
|

For this tutorial, you will need:

The material is by Ana Maria C.
(The links of the tubemakers here).

Filters Unlimited 2.0 here
Graphics Plus - Cross Shadow here
Flaming Pear - Flexify 2 here
Mehdi - Sorting Tiles here
Filters Graphics plus can be used alone or imported into Filters Unlimited.
(How do, you see here)
If a plugin supplied appears with this icon  it must necessarily be imported into Unlimited it must necessarily be imported into Unlimited

You can change Blend Modes according to your colors.
In the newest versions of PSP, you don't find the foreground/background gradient (Corel_06_029).
You can use the gradients of the older versions.
The Gradient of CorelX here

1. Choose 3 colors to work.

Foreground color #6c3807
Background color #fecd48
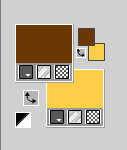
color 3: #7d4b6d
2. Set your foreground color to a foreground/Background Gradient, style Radial.
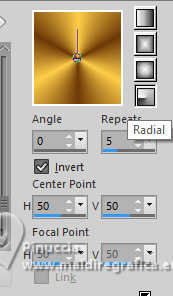
3. Open Byllina_AlphaChannel_byAnaMariaC.
This image, that will be the basis of your work, is not empty,
but contains the selections saved to alpha channel.
4. Flood Fill  the transparent image with your Gradient. the transparent image with your Gradient.
5. Effects>Image Effects>Seamless Tiling.

6. Layers>New Raster Layer.
Selections>Select All.
Open tube03_Mulher_byAnaMariaC 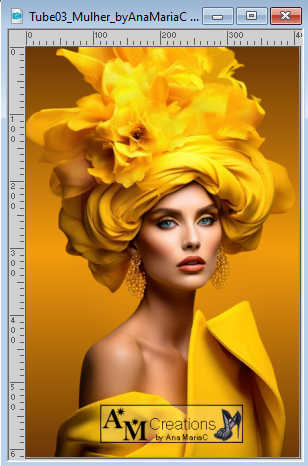
Edit>Copy.
Go back to your work and go to Edit>Paste Into Selection.
Selections>Select None.
7. Effects>Image Effects>Seamless Tiling.

8. Adjust>Blur>Gaussian Blur - radius 20.

Layers>Merge>Merge Down.
Layers>Duplicate.
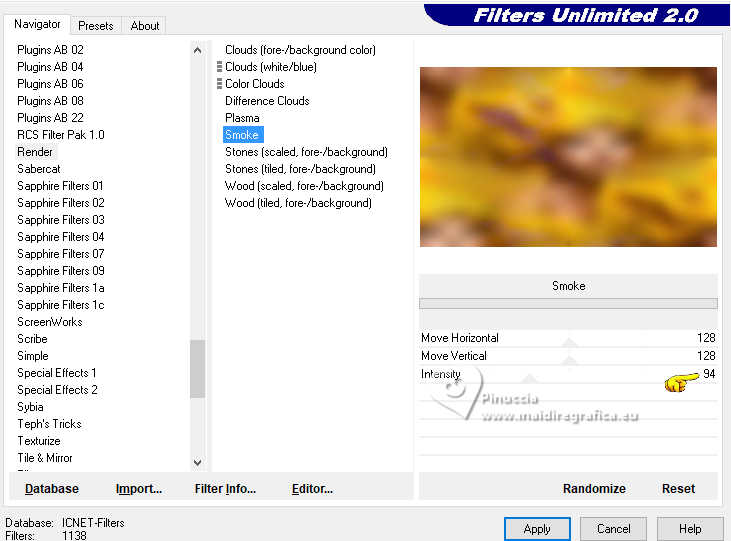
9. Effects>Plugins>Filters Unlimited 2.0 - Render - Smoke.
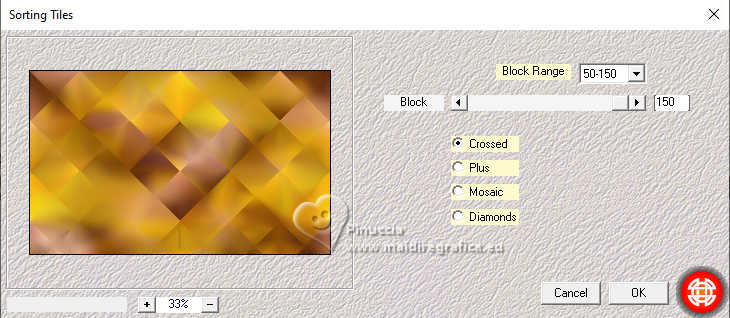
10. Effects>Plugins>Mehdi - Sorting Tile.
11. Effects>Reflection Effects>Rotating Mirror.

12. Selections>Load/Save Selections>Load Selection From Alpha Channel.
The selection Selection #1 is immediately available. You just have to click Load.
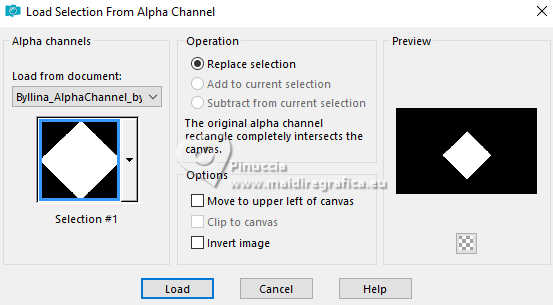
Press CANC on the keyboard 
Selections>Select None.
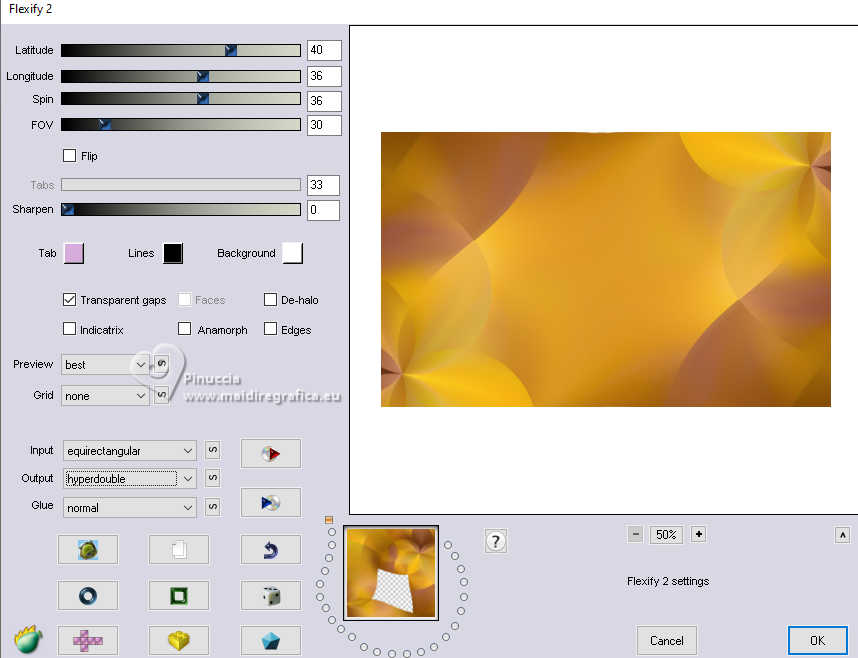
13. Effects>Plugins>Flaming Pear - Flexify 2.
14. Selections>Load/Save Selections>Load Selection From Alpha Channel
Open the selections menu and load the selection Selection #2
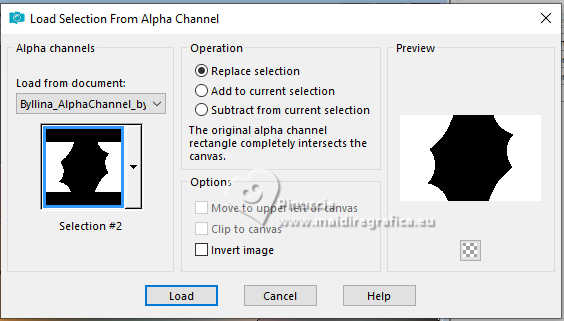
Selections>Promote Selection to layer.
Selections>Select None.
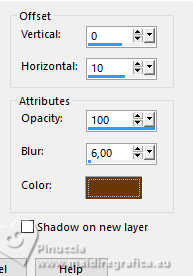
15. Effects>3D Effects>Drop Shadow, foreground color.
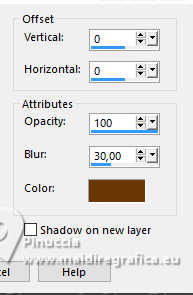
16. Layers>New Raster Layer.
17. Selections>Load/Save Selections>Load Selection From Alpha Channel
Open the selections menu and load the selection Selection #3
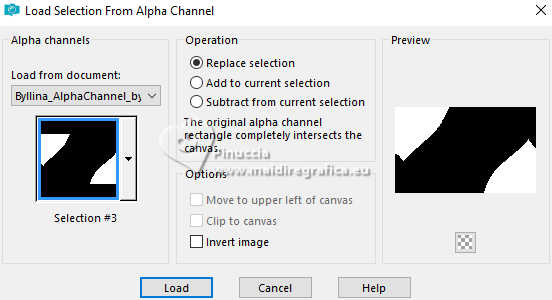
18. Set your foreground color to the color 3,
and change the settings of your Gradient: style Linear.
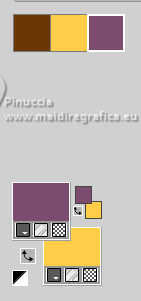 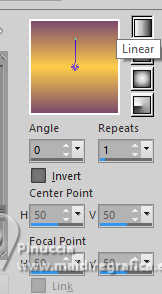
Flood Fill  the selection with your Gradient. the selection with your Gradient.
Set again your foreground color to the color 1.

19. Effects>Texture Effects>Weave
weave color: foreground color.
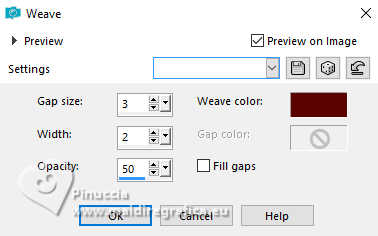
Layers>New Raster Layer.
20. Open Decor_byAnaMariaC 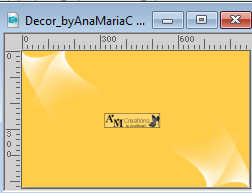
Edit>Copy.
go back to your work and go to Edit>Paste Into Selection.
Selections>Select None.
Layers>Properties>General>Opacity: 70%
Effects>3D Effects>Drop Shadow, foreground color.

Adjust>Sharpness>Sharpen.
21. Adjust>Hue and Saturation>Colorize
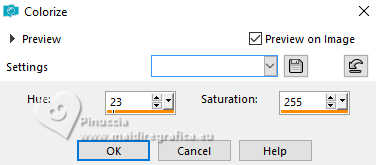
22. Activate the layer Copy of Raster 1.
Delete.
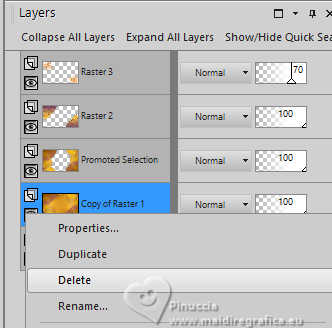
23. Activate your top layer, Raster 3.
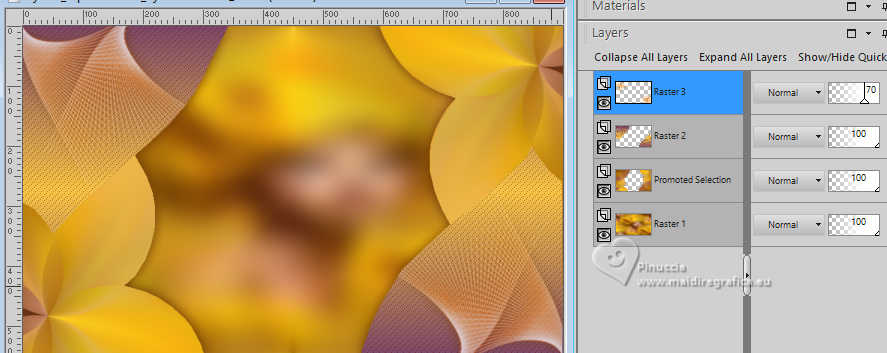
24. Open Tube03_Mulher_byAnaMariaC
Edit>Copy.
Go back to your work and go to Edit>Paste As New Layer.
25. Image>Resize - to 90%, resize all layers not checked.
Adjust>Sharpness>Sharpen.
Place  the tube in the center. the tube in the center.
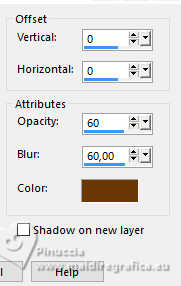
Effects>3D Effects>Drop Shadow, foreground color or at your choice.
26. Open the text 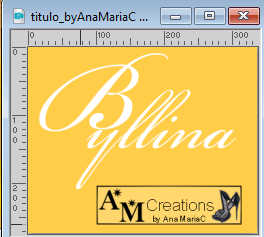
Edit>Copy
Go back to your work and go to Edit>Paste As New Layer.
Effects>3D Effects>Drop Shadow, foreground color or at your choice.
Place  the text to your liking. the text to your liking.
27. Image>Add Borders, 2 pixels, symmetric, background color #fecd48.
Image>Add Borders, 5 pixels, symmetric, foreground color #6c3807.
Image>Add Borders, 2 pixels, symmetric, background color #fecd48.
28. Edit>Copy
Selections>Select All.
29. Image>Add Borders, 40 pixels, symmetric, whatever color.
30 Selections>Invert.
Edit>Paste Into Selection.
Adjust>Blur>Gaussian Blur - radius 20.

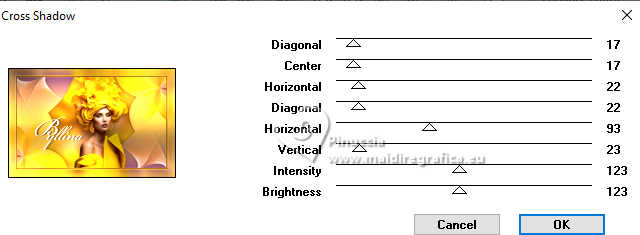
31. Effects>Plugins>Graphics Plus - Cross Shadow.
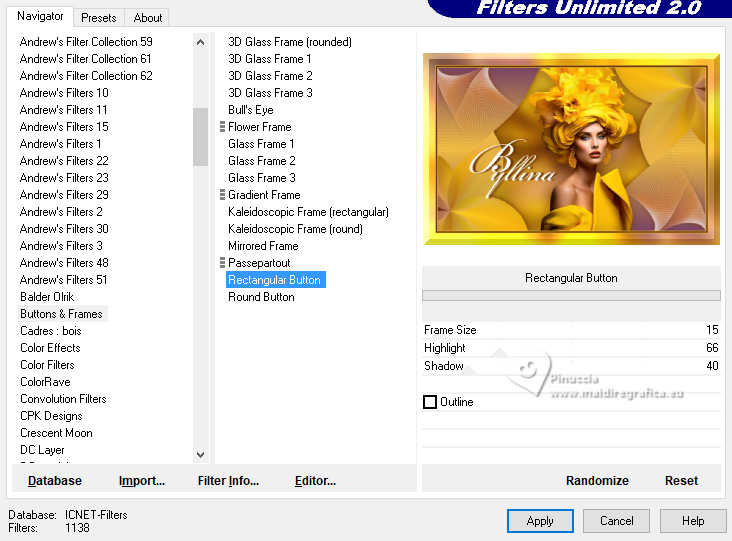
32- Effects>Plugins>Filters Unlimited 2.0 - Buttons & Frames - Rectangular Button.
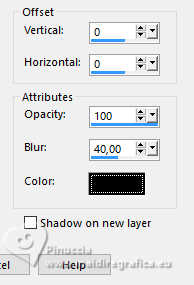
33. Selections>Invert.
Effects>3D Effects>Drop Shadow, color black #000000.
Selections>Select None.
34. Image>Add Borders, 1 pixel, symmetric, foreground color #6c3807.
35. Image>Resize, if you want.
Sign your work and save as jpg.
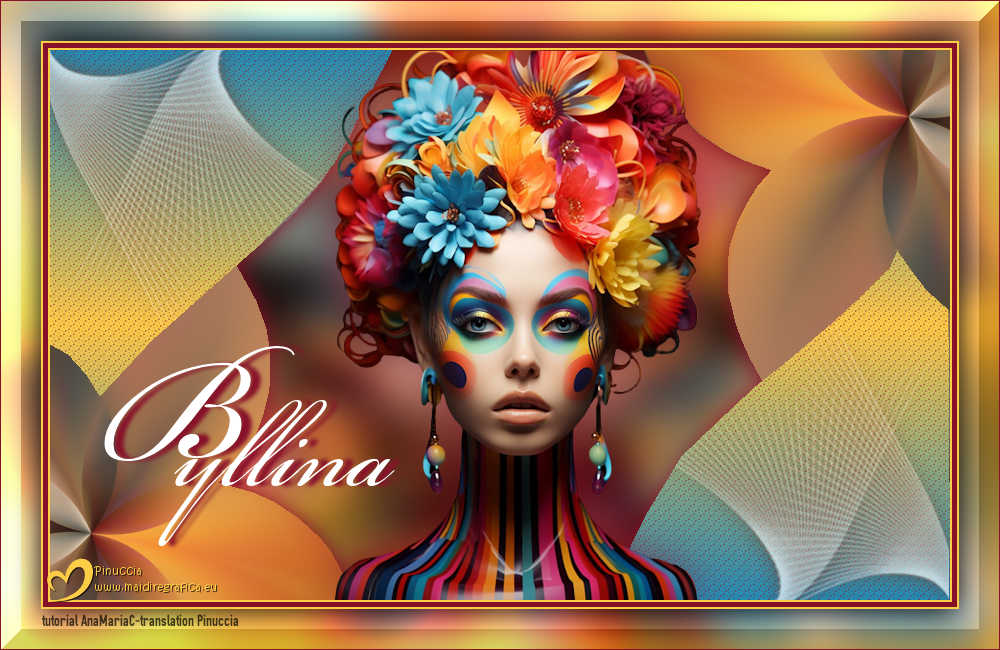

 Your versions.Thanks Your versions.Thanks

Marion
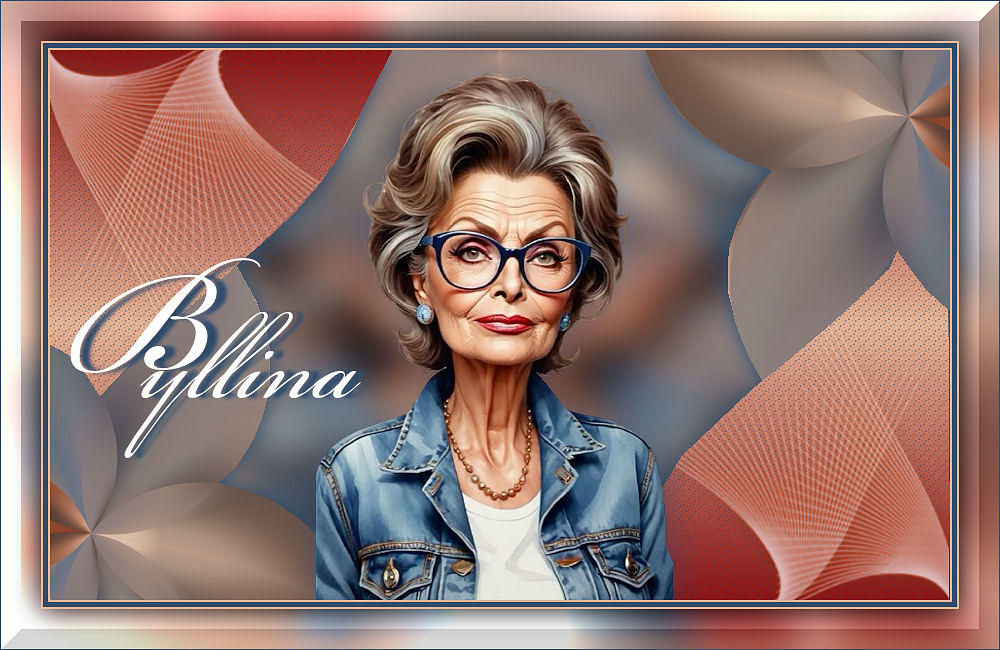
Kika
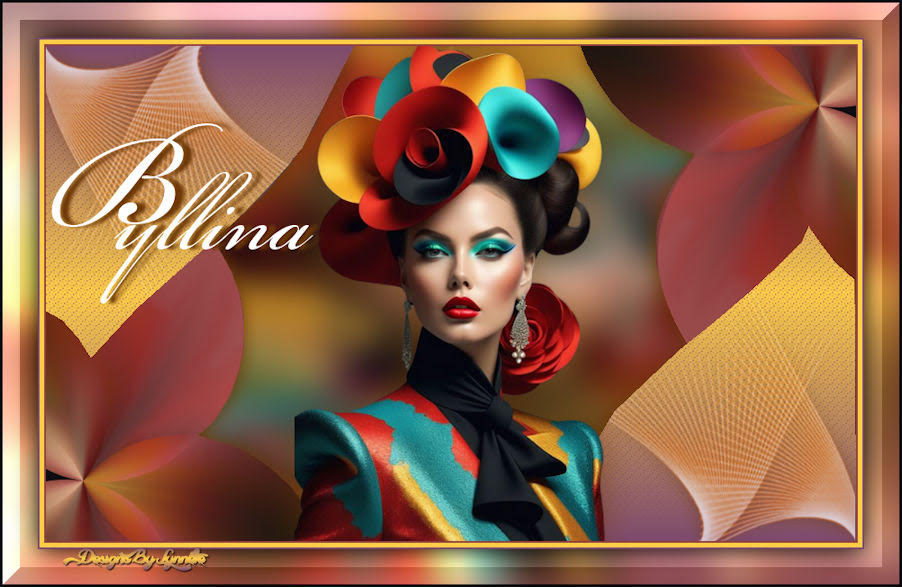
Lynnette
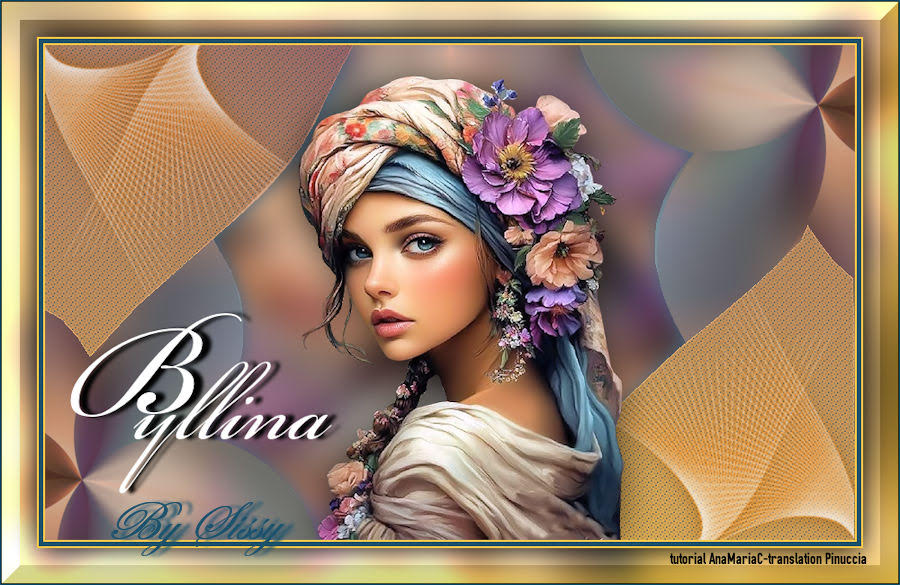
Sissy


If you have problems or doubts, or you find a not worked link,
or only for tell me that you enjoyed this tutorial, write to me.
1 Juin 2025

|

