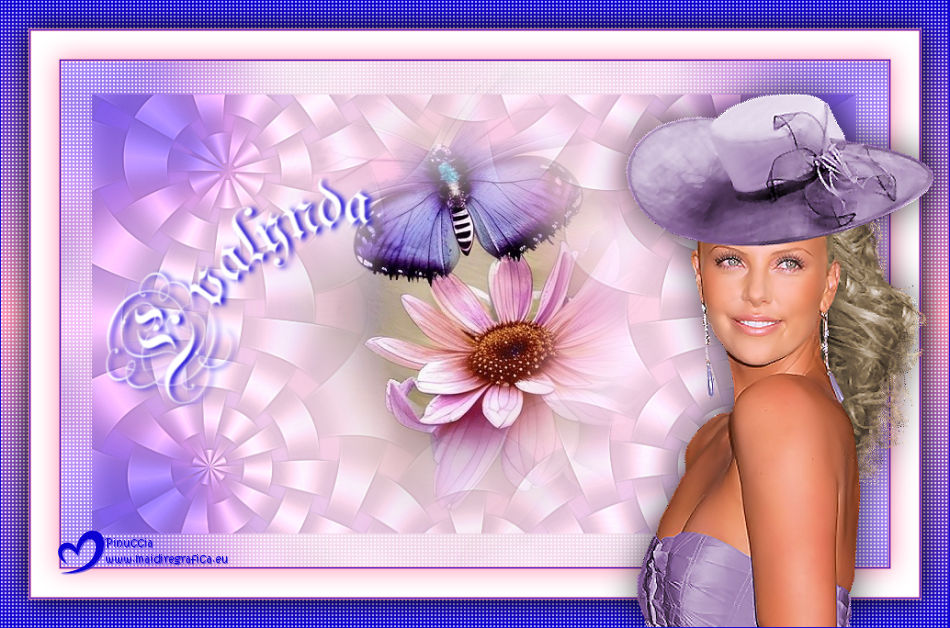
|
EVALYNDA


Thanks SIM PSP Group for your invitation to translate your tutorials into english

This tutorial was written and translated with Psp2020, but it can also be made using other versions of PSP.
Since version PSP X4, Image>Mirror was replaced with Image>Flip Horizontal,
and Image>Flip with Image>Flip Vertical, there are some variables.
In versions X5 and X6, the functions have been improved by making available the Objects menu.
In the latest version X7 command Image>Mirror and Image>Flip returned, but with new differences.
See my schedule here

|
Special Note
PSP SIM and its Tutorial Authors ask the public:
- Please, we request that we maintain the originality of the tutorial,
refraining from adding or including unsolicited effects;
- The use of other images is permitted and encouraged,
but please don't modify the content of the original tutorial;
- Please acknowledge and attribute the valuable credits to those who write tutorials, make translations and create materials.
Carefully,
PSP SIM - Ana Maria C
|

For this tutorial, you will need:

The material is by Ana Maria C.
(The links of the tubemakers here).

Filters Unlimited 2.0 here
VM Natural - Weave Distortion here
Flaming Pear - Flexify 2 here
Forest AFS - sqborder2 here
Transparency - Eliminate Black here
Filters VM Natural, Transparency and AFS IMPORT can be used alone or imported into Filters Unlimited.
(How do, you see here)
If a plugin supplied appears with this icon  it must necessarily be imported into Unlimited it must necessarily be imported into Unlimited

You can change Blend Modes according to your colors.
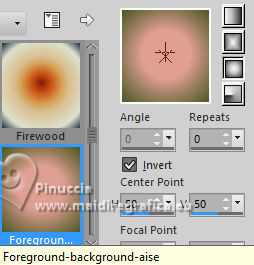
In the newest versions of PSP, you don't find the foreground/background gradient (Corel_06_029).
You can use the gradients of the older versions.
The Gradient of CorelX here

Copy the Gradient in the Gradients Folder.
Copy the Selection in the Selections Folder.
1. Choose 2 colors to work.
Foreground color #0c02d2
Background color #fe94b7
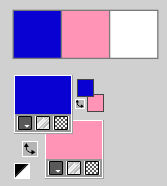
color 3: #ffffff
2. Set your foreground color to Gradient, and select the gradient Foreground/Background-aise, style Sunburst.
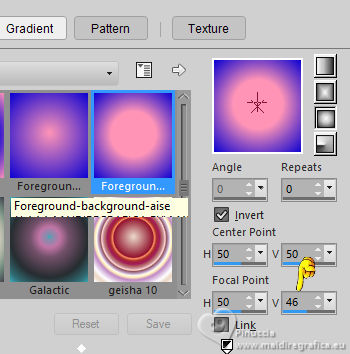
If you are using other colors, the gradient will also change color.
3. Open a new transparent image 900 x 550 pixels.
4. Flood Fill  the transparent image with your Gradient. the transparent image with your Gradient.
5. Layers>Duplicate.
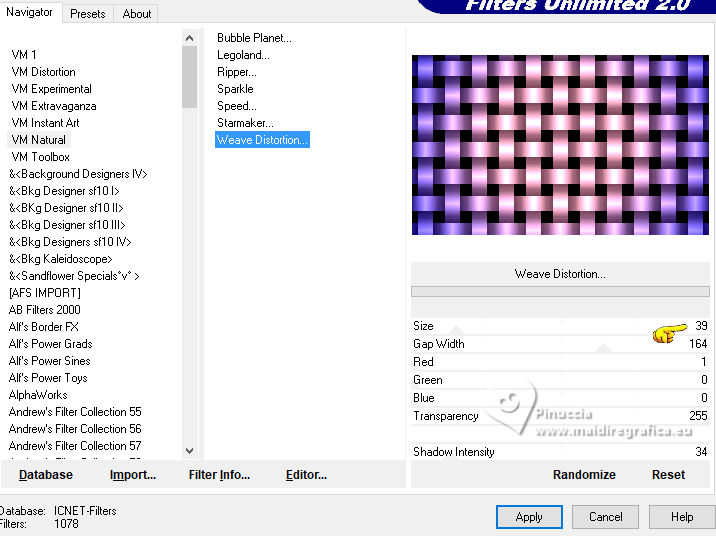
Effects>Plugins>Filters Unlimited 2.0 - VM Natural - Weave Distortion...
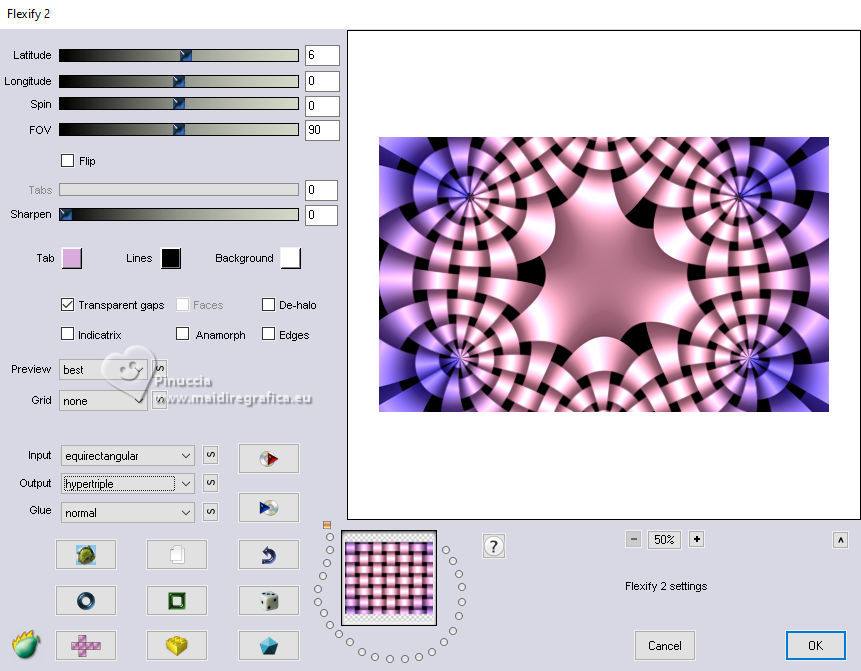
6. Effects>Plugins>Flaming Pear - Flexify 2.
7. Effects>Plugins>Transparency - Eliminate Black.
8. Layers>Duplicate.
Adjust>Blur>Gaussian Blur - radius 30.

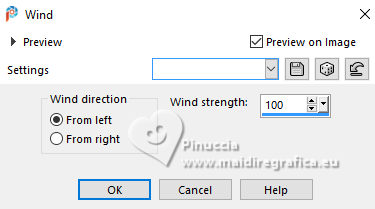
9. Effects>Distortion Effects>Wind - from left, strength 100.
10. Layers>Merge>Merge Down.
Adjust>Sharpness>Sharpen More.
11. Open the tube Misted_Flor_16AnaMC 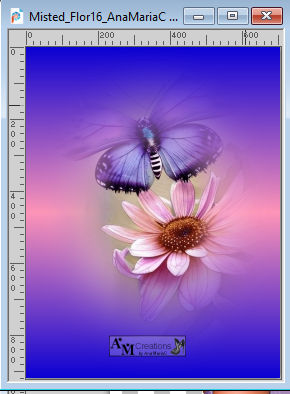
Edit>Copy.
Go back to your work and go to Edit>Paste As New Layer.
Image>Resize, to 70%, resize all layers not checked.
Adjust>Sharpness>Sharpen.
12. Activate your Pick Tool 
Position X: 188,00 - Position Y: -42,00.

Note: Here the position may vary depending on the size of the misted you choose.
In my version I did not use the Pick to position.
13. Activate the layer below, Copy of Raster 1.
14. Selections>Load/Save Selections>Load Selection From Disk
Look for and load the selection Evalynda_AnaMC
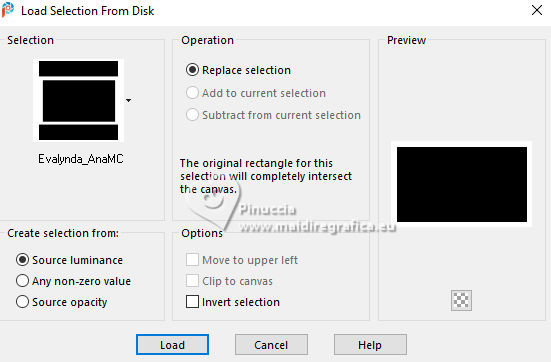
15. Adjust>Blur>Gaussian Blur - radius 20

Selections>Promote Selection to layer.
16. Effects>Plugins>Filters Unlimited 2.0 - Forest AFS - sqborder 2.
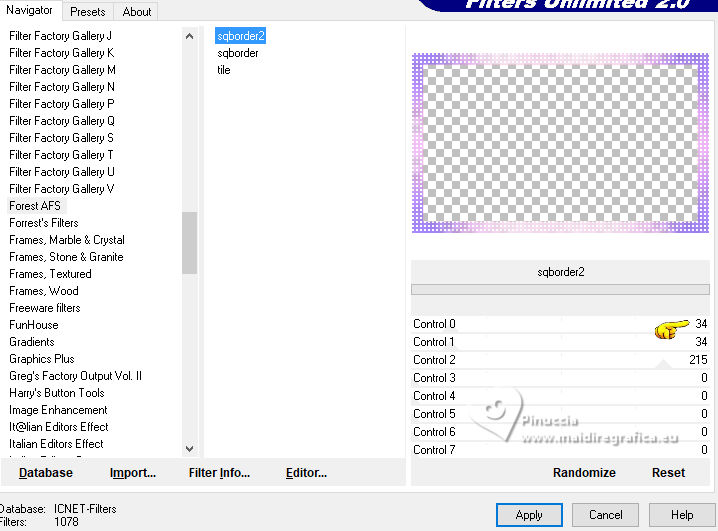
Selections>Select None.
17. Image>Add Borders, 1 pixel, symmetric, background color #fe94b7.
Image>Add Borders, 1 pixel, symmetric, foreground color #0c02d2.
Image>Add Borders, 1 pixel, symmetric, background color #fe94b7.
Selections>Select All.
18. Image>Add Borders, 30 pixels, symmetric, color white #ffffff.
Image>Add Borders, 1 pixel, symmetric, background color #fe94b7.
Image>Add Borders, 1 pixel, symmetric, foreground color #0c02d2.
Image>Add Borders, 1 pixel, symmetric, background color #fe94b7.
19. Effects>3D Effects>Drop Shadow, background color #fe94b7.
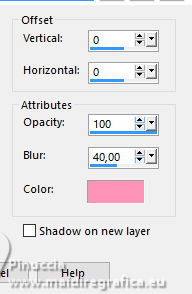
Selections>Select All.
20. Image>Add Borders, 30 pixels, symmetric, whatever color.
Selections>Invert.
21. Set your foreground color to a Foreground/Background Gradient, style Linear.
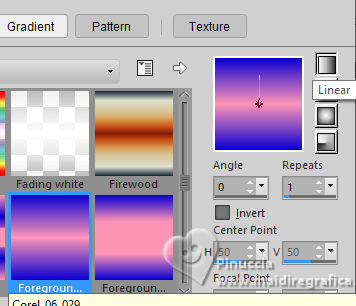
Flood Fill  the selection with your Gradient. the selection with your Gradient.
22. Effects>Plugins>Filters Unlimited 2.0 - Forest AFS - sqborder2.
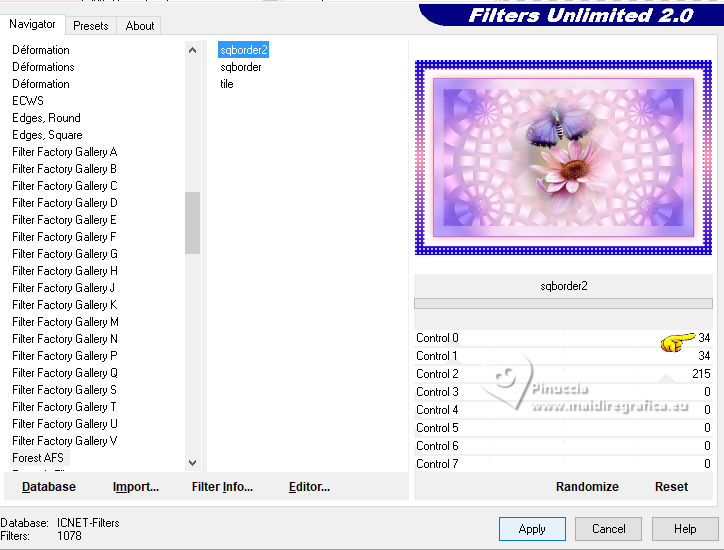
23. Selections>Invert.
Effects>3D Effects>Drop Shadow, color #000000.
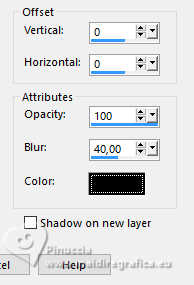
Selections>Select None.
24. Open your main tube 0_4ea8b_801f5f78_XL_nisanforum 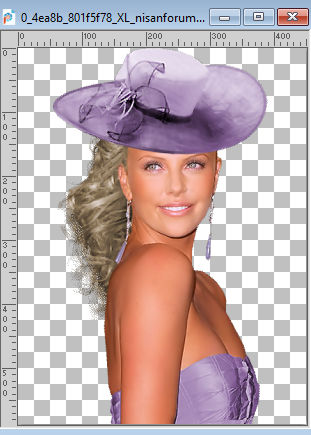
Edit>Copy.
Go back to your work and go to Edit>Paste As New Layer.
Image>Mirror>Mirror Horizontal.
Resize and place the tube to your liking.
Adjust>Sharpness>Sharpen.
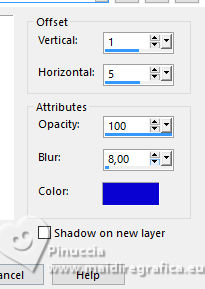
Effects>3D Effects>Drop Shadow, with thes settings, or to your liking.
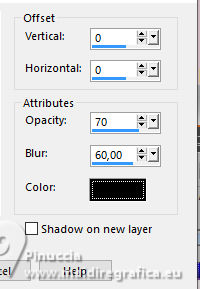
25. Open the text worArt_titulo_byAnaMaria 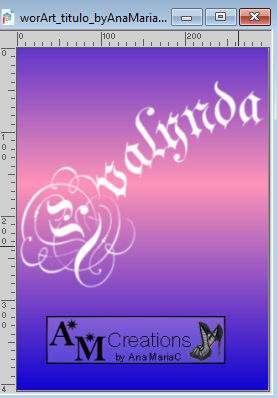
Edit>Copy.
Go back to your work and go to Edit>Paste As New Layer.
Move  the text to the left, or to your liking. the text to the left, or to your liking.
Effects>3D Effects>Drop shadow, foreground color #0c02d2, or to your liking.
26. Image>Add Borders, 1 pixel, symmetric, foreground color #0c02d2.
27. Image>Resize, if you want.
Sign your work and save as jpg.
The tube of this version is mine
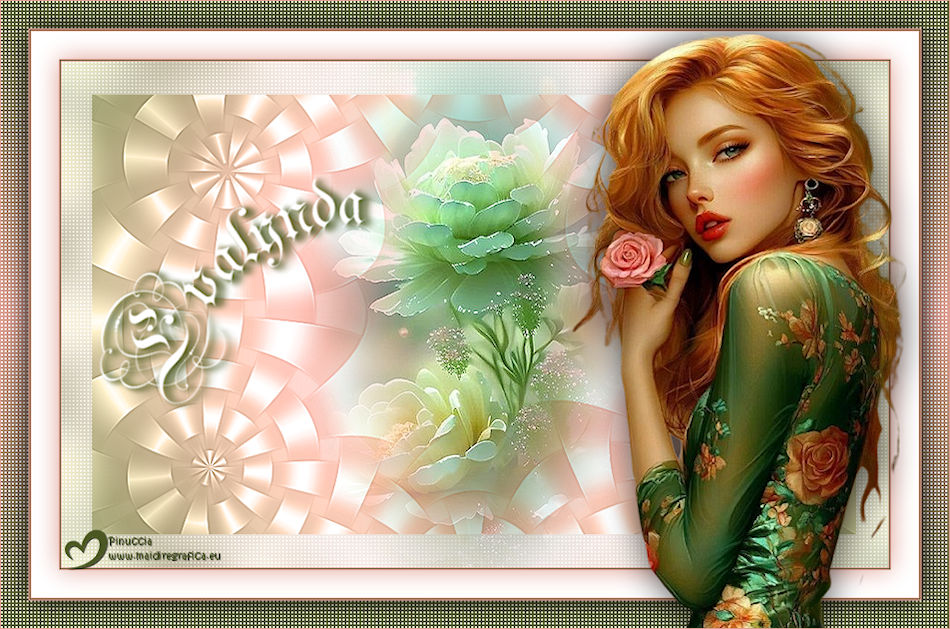

 Your versions.Thanks Your versions.Thanks
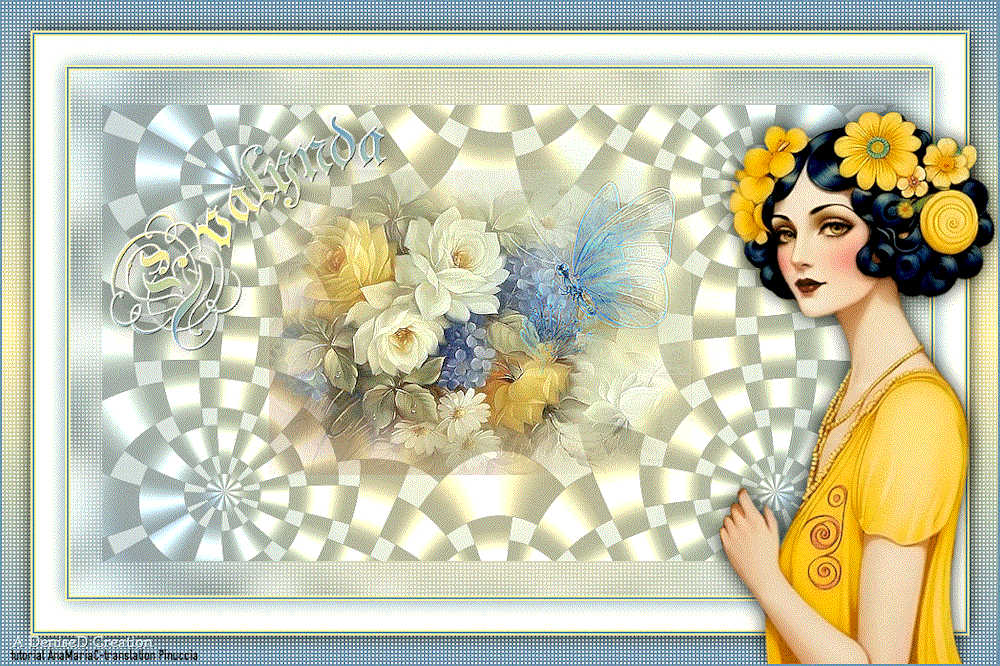
DeniseD
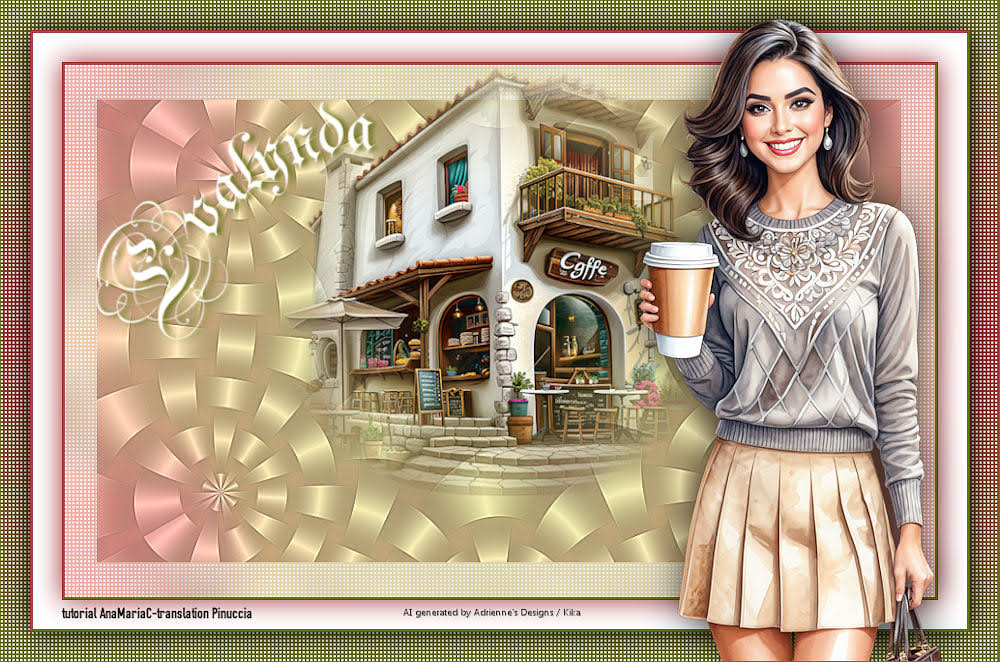
Kika
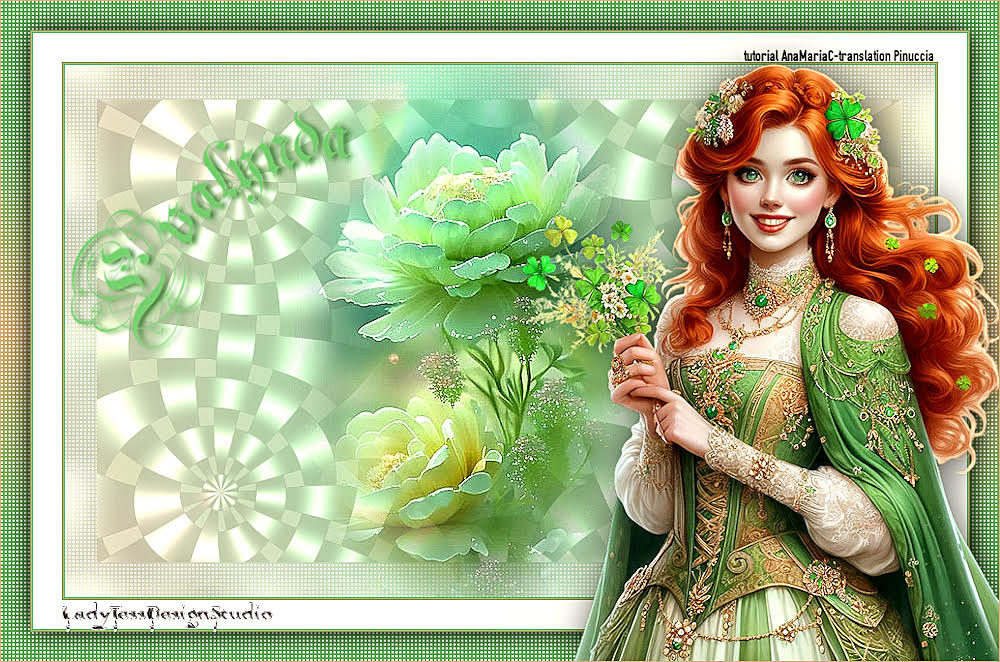
Lady Tess
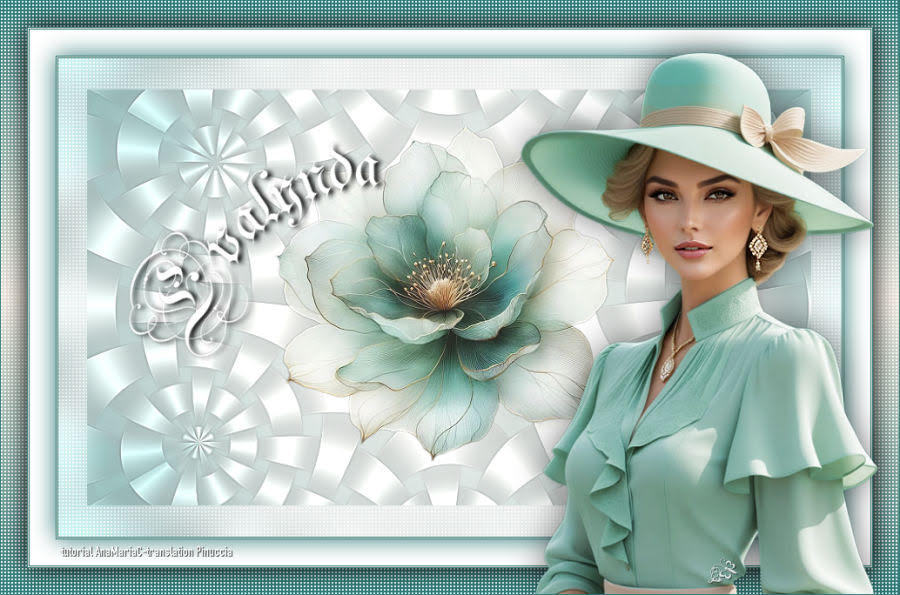
Jolcsi


If you have problems or doubts, or you find a not worked link,
or only for tell me that you enjoyed this tutorial, write to me.
26 February 2025

|

