|
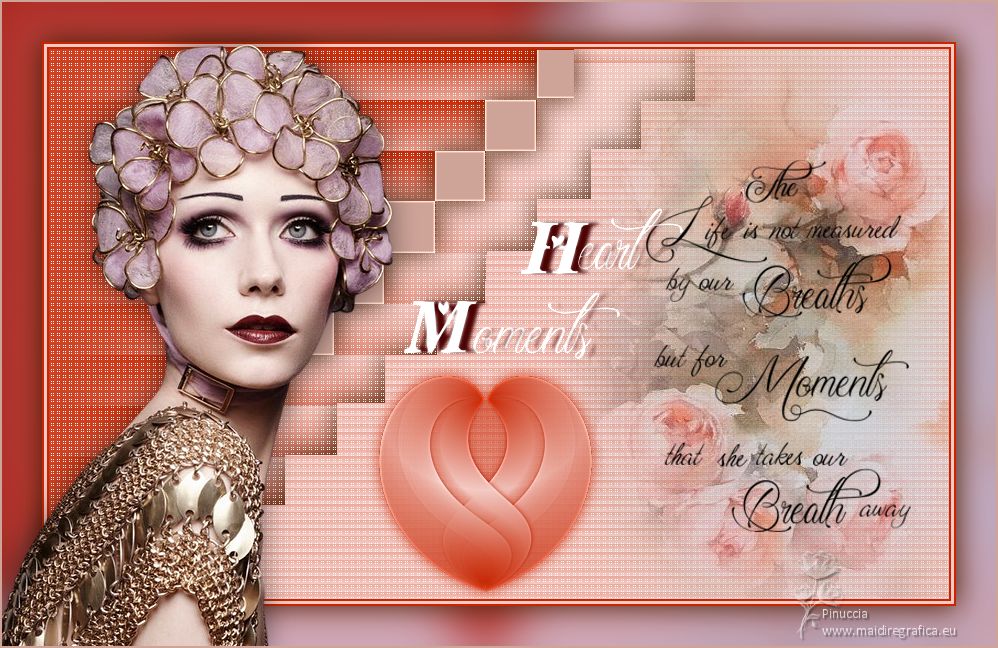
HEART MOMENTS


Thanks SIM PSP Group for your invitation to translate your tutorials into english

This tutorial was written with PSPX9 and translated with PspX17, but it can also be made using other versions of PSP.
Since version PSP X4, Image>Mirror was replaced with Image>Flip Horizontal,
and Image>Flip with Image>Flip Vertical, there are some variables.
In versions X5 and X6, the functions have been improved by making available the Objects menu.
In the latest version X7 command Image>Mirror and Image>Flip returned, but with new differences.
See my schedule here
For this tutorial, you will need:

For the tubes thanks PqnaAlice and Callitubes, for the mask thanks Narah.
The rest of the material is by AnaMariaC
(The links of the tubemakers here).

consult, if necessary, my filter section here
Filters Unlimited 2.0 here
Carolaine and Sensibility - CS-LDots here
Graphics Plus - Tindet Glass here
Flaming Pear - Flexify 2.0 here
Toadies - Weaver here
Filters Graphics Plus and Toadies can be used alone or imported into Filters Unlimited.
(How do, you see here)
If a plugin supplied appears with this icon  it must necessarily be imported into Unlimited it must necessarily be imported into Unlimited

You can change Blend Modes according to your colors.
In the newest versions of PSP, you don't find the foreground/background gradient (Corel_06_029).
You can use the gradients of the older versions.
The Gradient of CorelX here

Copy the Selections in the Selections Folder.
Open the mask in PSP and minimize it with the rest of the material.
1. Choose 4 colors from your material.
Foreground color #c82602
background color #f4cbc4
color 3 #481b00
color 4 #cea498

2. Set your foreground color to a Foreground/Background Gradient, style Radial.
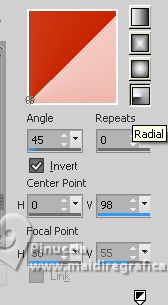
3. Open a new transparent image 900 x 550 pixels.
Flood Fill  the transparent image with your Gradient. the transparent image with your Gradient.
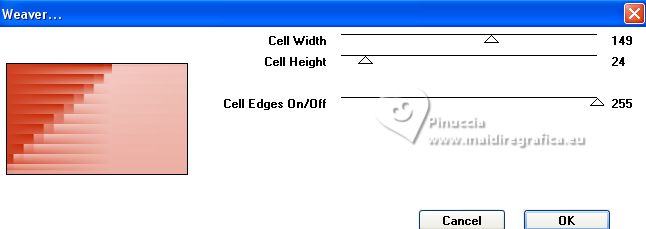
4. Effects>Plugins>Toadies - Weaver.
5. Layers>New Raster Layer.
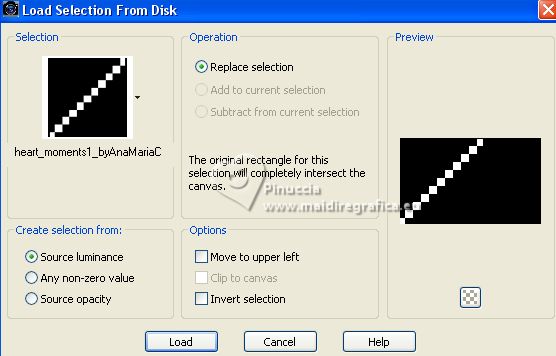
Selections>Load/Save Selection>Load Selection from Disk.
Look for and load the selection heart1_byAnaMariaC
Set your foreground color to color 4 #cea398  . .
Flood Fill  the selection with your foreground color. the selection with your foreground color.
Adjust>Sharpness>Sharpen More.
Selections>Select None.
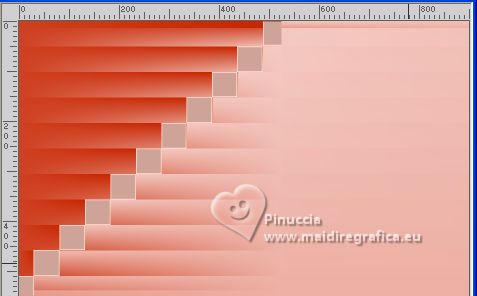
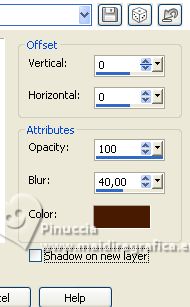
Effects>3D Effects>Drop Shadow, color 3 #481b00.
6. Layers>New Raster Layer.
Selections>Load/Save Selection>Load Selection from Disk.
Look for and load the selection heart2_byAnaMariaC
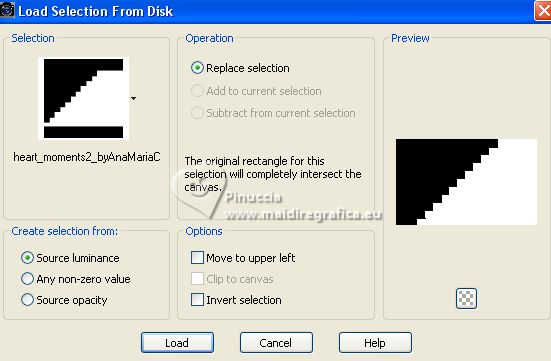
Flood Fill  the selection with your background color #f4cbc4. the selection with your background color #f4cbc4.
Effects>3D Effects>Drop Shadow, same settings.

7. Effects>Texture Effects>Blinds - first foreground color #c82602.
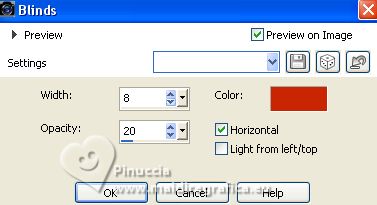
Selections>Select None.
8. Effects>Plugins>Carolaine and Sensibility - CS-LDots.
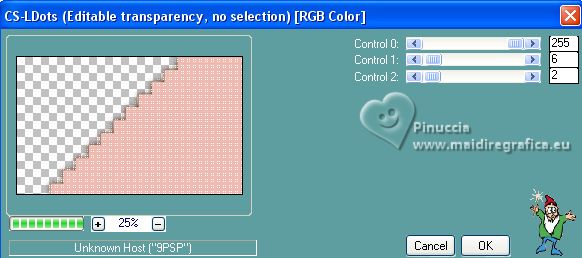
Repeat the Plugin another time.
Layers>Merge>Merge Down.
9. Activate the layer Raster 1.
Effects>Plugins>Carolaine and Sensibility - CS-LDots, same settings.
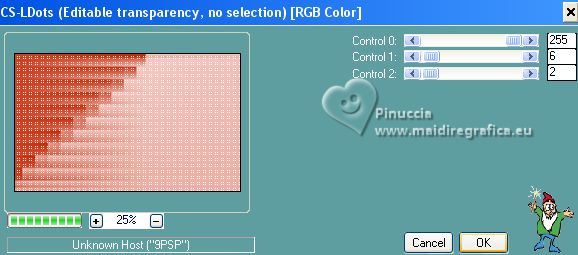
Repeat the Plugin another time.
10. Activate your top layer, Raster 2.
Open the misted Clallitubes_flores69 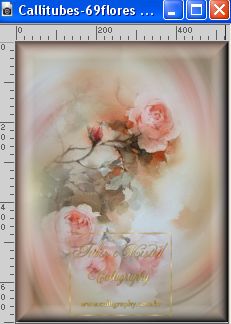
Edit>Copy.
Go back to your work and go to Edit>Paste as new layer.
Move  the tube to the right side. the tube to the right side.
11. Open the wordart textobyAnaMariaC 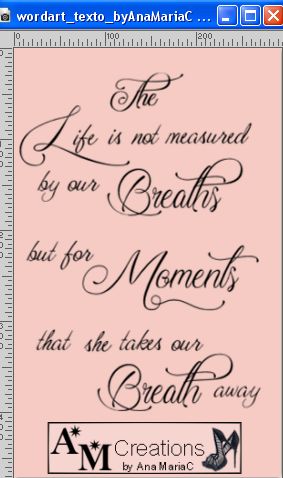
Edit>Copy.
Go back to your work and go to Edit>Paste as new layer.
Move  the tube over the misted. the tube over the misted.
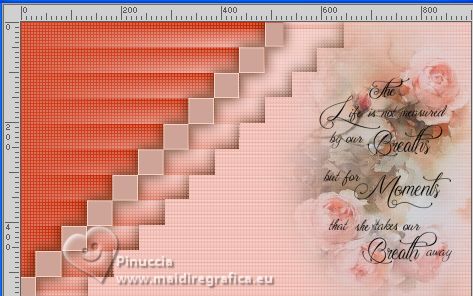
Layers>Merge>Merge Down.
12. Layers>New Raster Layer.
Set again your foreground color to the firt color #c82602
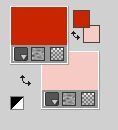
and change the settings of your Gradient, style Linear, Invert not checked.
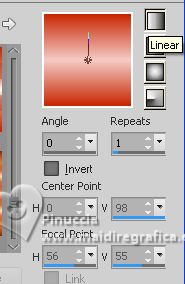
Flood Fill  the layer with your Gradient. the layer with your Gradient.
13. Layers>New Mask layer>From image
Open the menu under the source window and you'll see all the files open.
Select the mask Narah_mask_0858 .
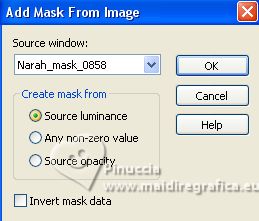
Layers>Merge>Merge Group.
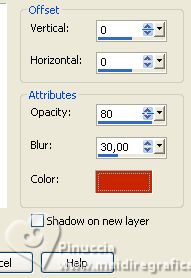
Effects>3D Effects>Drop Shadow, foreground color.
14. Layers>Duplicate.
Image>Mirror.
Layers>Merge>Merge Down.
15. Effects>Plugins>Flaming Pear - Flexify 2.
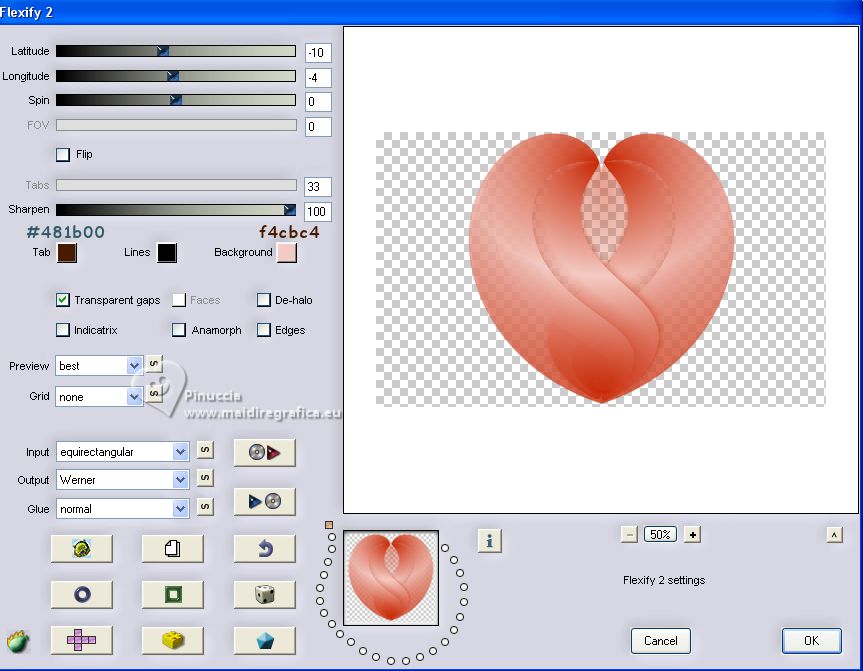
Image>Resize, 40%, resize all layers not checked.
Adjust>Sharpness>Sharpen More.
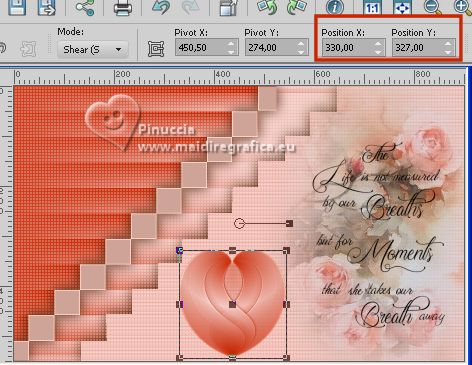
16. K key to activate your Pick Tool 
and set Position X: 330,00 and Position Y: 327,00
M key to deselect the Tool
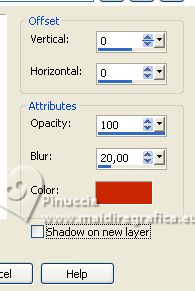
Effects>3D Effects>Drop Shadow, foreground color.
17. Edit>Copy Special>Copy Merged.
Layers>Merge>Merge visible.
18. Image>Add borders, 2 pixels, symmetric, foreground color #c82602.
Image>Add borders, 3 pixels, symmetric, background color #f4cbc4.
Image>Add borders, 2 pixels, symmetric, foreground color #c82602.
Selections>Select All.
19. Image>Add borders, 40 pixels, symmetric, whatever color.
Selections>Invert.
Edit>Paste into Selection.
Adjust>Blur>Gaussian Blur - radius 20.

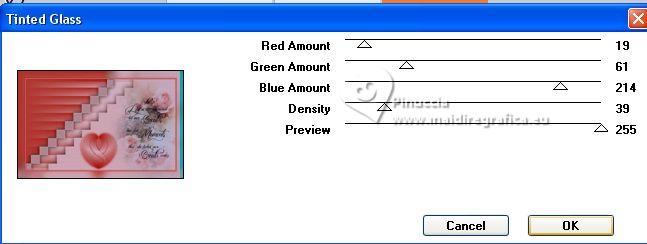
20. Effects>Plugins>Graphics Plus - Tinted Glass.
21. Selections>Invert.
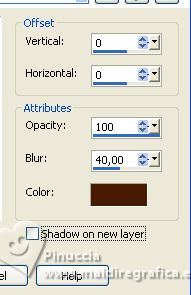
Effects>3D Effects>Drop Shadow, color 3 #481b00.
Selections>Select None.
22. Open your main tube 1034MulherByPqna&Alice 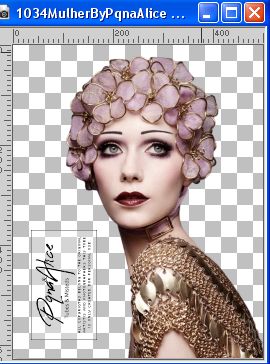
Edit>Copy.
Go back to your work and go to Edit>Paste as new layer.
Image>Mirror.
Adjust>Sharpness>Sharpen.
Move  the tube to the left side. the tube to the left side.
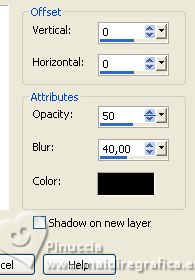
Effects>3D Effects>Drop Shadow, color #000000, or to your liking.
23. Open WorArt_título_Heart Moments 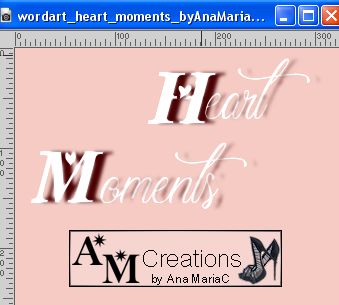
Edit>Copy.
Go back to your work and go to Edit>Paste as new layer.
Place  the tube to your liking. the tube to your liking.
For me: Pick Tool 
Position X: 402,00 and Position Y: 204,00

Colorize, according to your work
24. Image>Add borders, 2 pixels, symmetric, color 4 #cea398  . .
25. Image>Resize, if you want.
Sign your work and save as jpg.
For the tube of this version thanks Jewel.
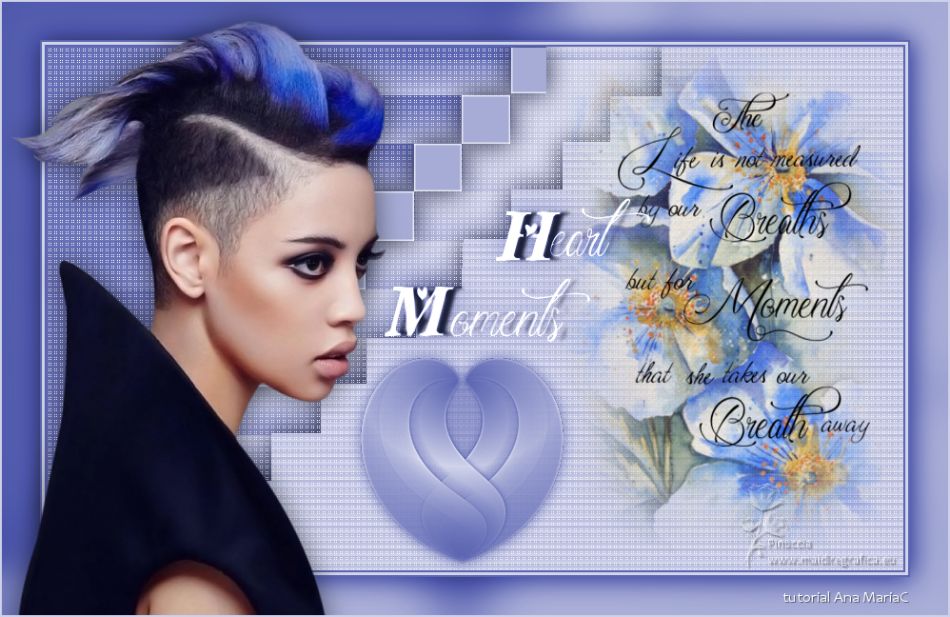


If you have problems or doubts, or you find a not worked link, or only for tell me that you enjoyed this tutorial, write to me.
10 July 2023

|

