|
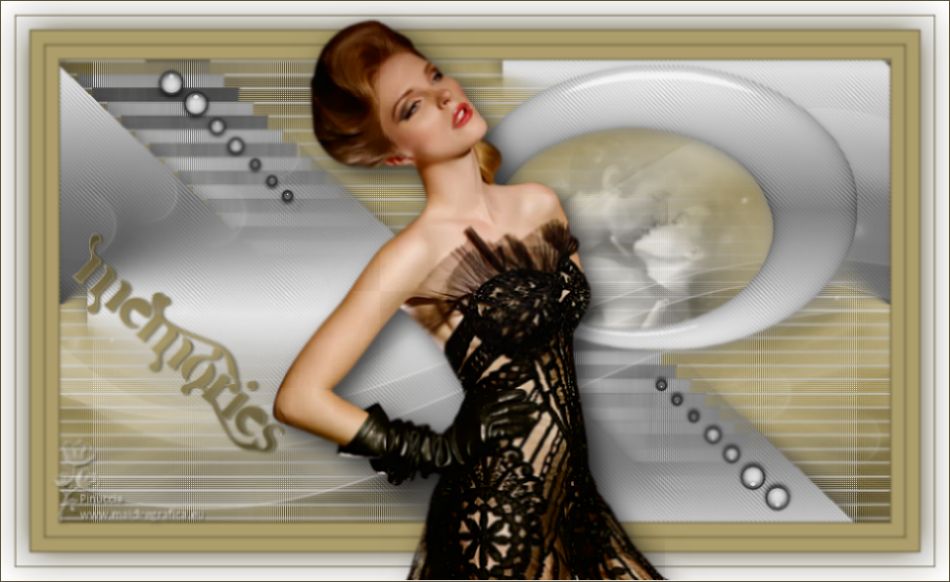
MEMORIES


Thanks SIM PSP Group for your invitation to translate your tutorials into english

This tutorial was written with PSPX2 and translated with PspX7, but it can also be made using other versions of PSP.
Since version PSP X4, Image>Mirror was replaced with Image>Flip Horizontal,
and Image>Flip with Image>Flip Vertical, there are some variables.
In versions X5 and X6, the functions have been improved by making available the Objects menu.
In the latest version X7 command Image>Mirror and Image>Flip returned, but with new differences.
See my schedule here
For this tutorial, you will need:

For the tube and the mask thanks Jessica and Silvie.
The rest of the material is by AnaMariaC
(The links of the tubemakers here).

consult, if necessary, my filter section here
Filters Unlimited 2.0 here
Crescent Moon - Tri-Mirror-Tile here
Alpha Works - Horizontal Fade Out here
&<Bkg Designer sf10I> - Cruncher (to import in Unlimited) here
It@lian Editors Effect - Effetto Tv here
Carolaine and Sensibility - CS-DLines here
Filters Crescent Moon, Alpha Works and It@lian Editors can be used alone or imported into Filters Unlimited.
(How do, you see here)
If a plugin supplied appears with this icon  it must necessarily be imported into Unlimited it must necessarily be imported into Unlimited

You can change Blend Modes according to your colors.
In the newest versions of PSP, you don't find the foreground/background gradient (Corel_06_029).
You can use the gradients of the older versions.
The Gradient of CorelX here

Copy the preset Emboss 3 in the Presets Folder.
Copy the Selections in the Selections Folder.
Open the mask in PSP and minimize it with the rest of the material.
1. Choose 2 colors from your material.
Extra color: 3 #ceae7f.
color 4: #ffffff.

2. Set your foreground color to #0602a2,
and your background color to #f6c99e.
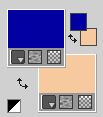
3. Set your foreground color to a Foreground/Background Gradient, style Linear.
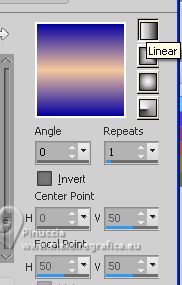
4. Open a new transparent image 900 x 500 pixels.
Flood Fill  the transparent image with your Gradient. the transparent image with your Gradient.
5. Layers>Duplicate.
Effects>Plugins>Filters Unlimited 2.0 - Crescent Moon>Tri-Mirror-Tile.
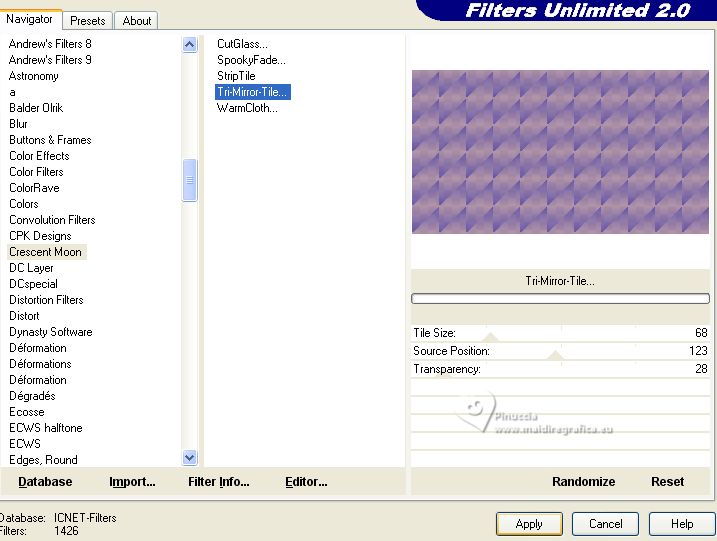
6. Change the Blend Mode of this layer to Dissolve.
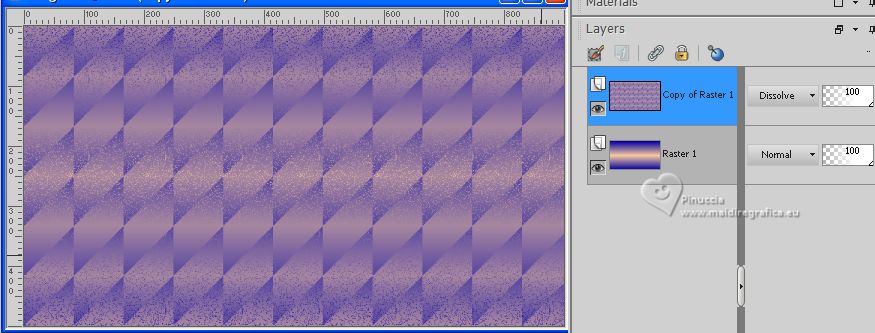
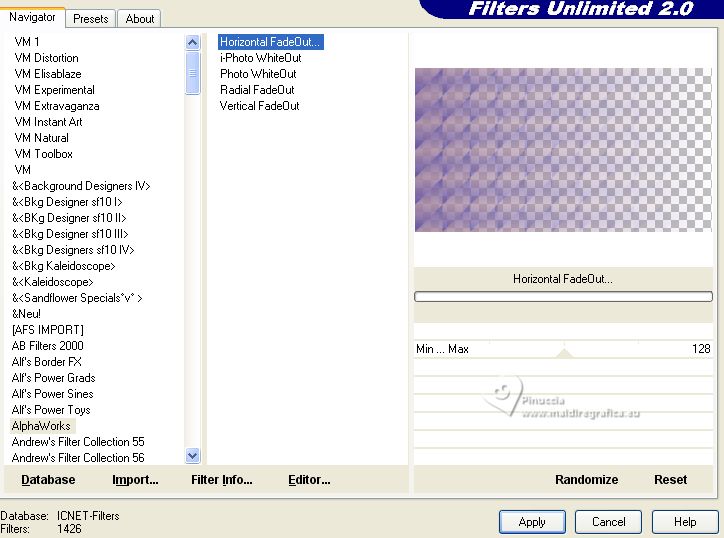
7. Effects>Plugins>Filters Unlimited 2.0 - Alpha Works>Horizontal FadeOut, default settings.
8. Layers>Merge>Merge Down.
9. Selections>Select All.
Open the tube spdesignersclubtube04byjessica-vi 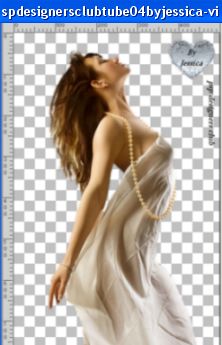
Erase the watermark and go to Edit>Copy.
Minimize the tube.
Go back to your work and go to Edit>Paste into Selection.
Selections>Select None.
10. Effects>Image Effects>Seamless Tiling - Side by Side.

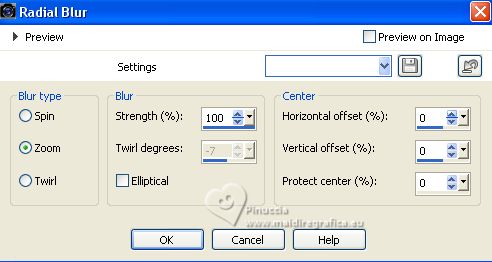
11. Adjust>Blur>Radial Blur.
12. Effects>Edge Effects>Enhance More.
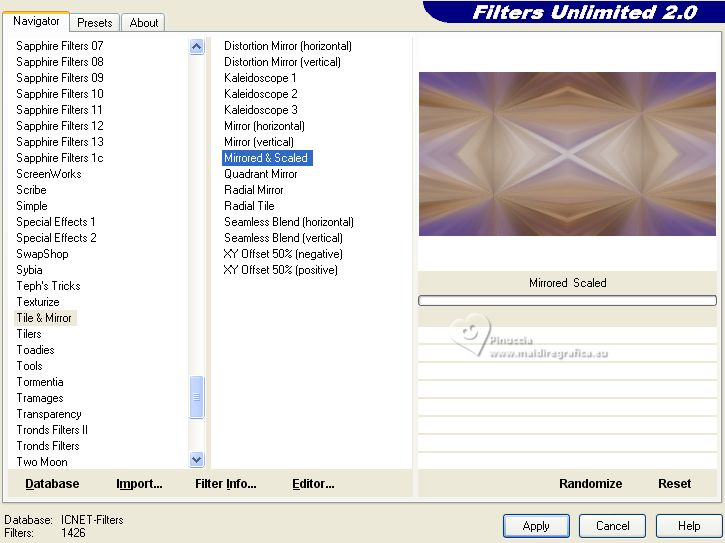
13. Effects>Plugins>Unlimited 2>Tile & Mirror - Mirrored & Scaled
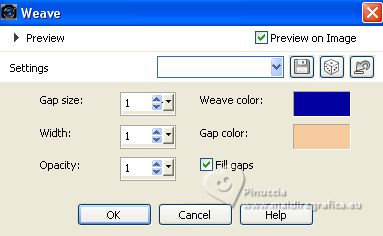
14. Effects>Texture Effects>Weave
weave color: foreground color
gap color: background color.
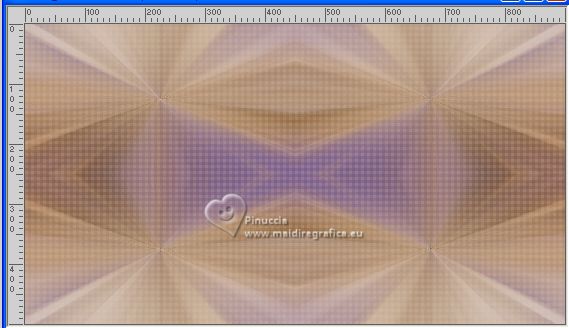
15. Effects>Plugins>Simple - Half Wrap.
This effect works without window; result
16. Effects>Image Effects>Seamless Tiling, default settings.

17. Layers>Duplicate.
Change the Blend Mode of this layer to Hard Light.
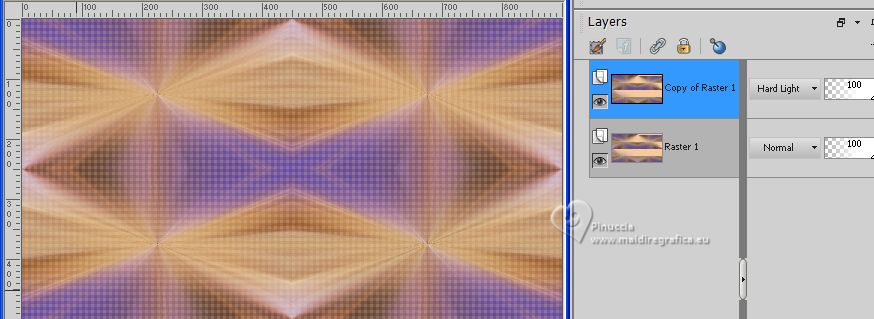
Layers>Merge>Merge Down.
18. Layers>Duplicate.
Image>Mirror>Mirror Vertical (Image>Flip).
Layers>Merge>Merge Down.
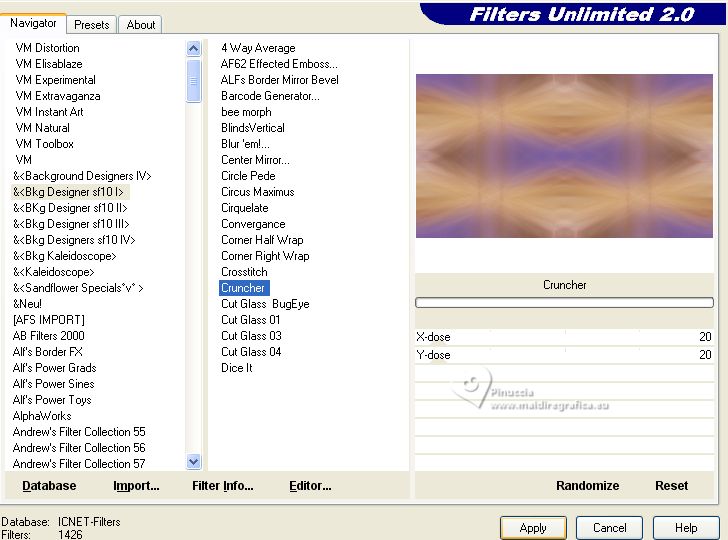
19. Effects>Plugins>Unlimited 2.0 - &<Bkg Designer sf10I> - Cruncher, default settings.
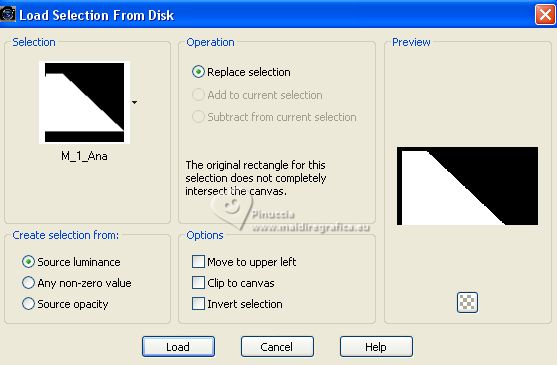
20. Selections>Load/Save Selections>Load Selection from Disk.
Look for and load the selection M_1_Ana
21. Layers>New Raster Layer.
Flood Fill  the selection with your Gradient. the selection with your Gradient.
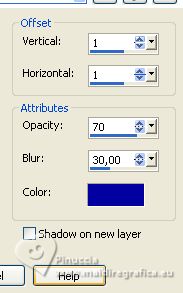
22. Effects>3D Effects>Drop Shadow, foreground color #0602a2
Selections>Select None.
23. Effects>Image Effects>Seamless Tiling, default settings.

24. Activate the layer Raster 1.
Selections>Load/Save Selections>Load Selection from Disk.
Look for and load the selection M_2_Ana
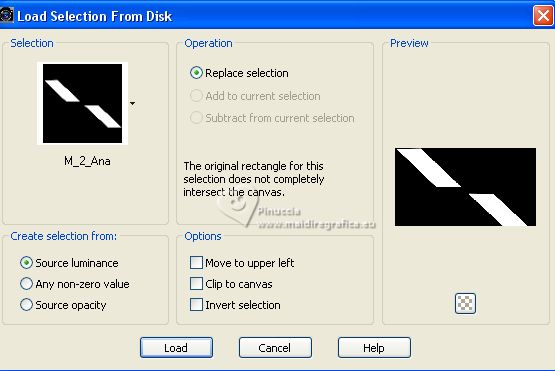
Sélections>Transformer la sélection en calque.
Sélections>Désélectionner tout.
25. Effects>Plugins>It@lian Editors Effect . Effetto Tv.
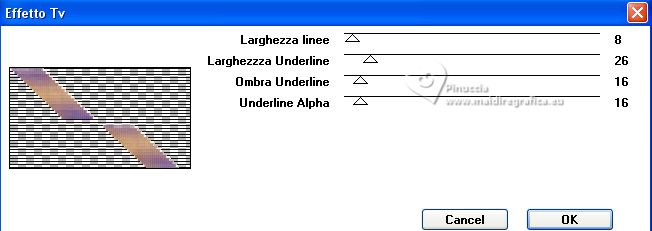
Note: If you want, you can colorize this layer according to your colors.
This is optional.
26. Activate your top Layer, Raster 2.
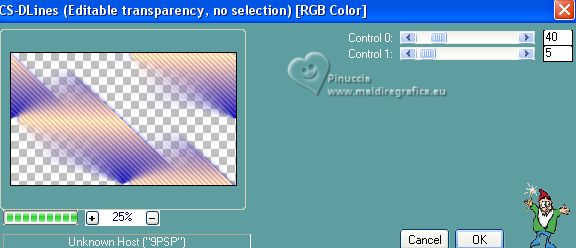
Effects>Plugins>Carolaine and Sensibility>CS-DLines.
27. Ouvrir decor_1_class_byAnaMariaC 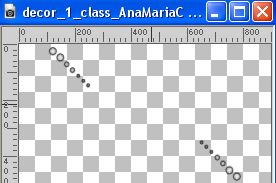
Edit>Copy.
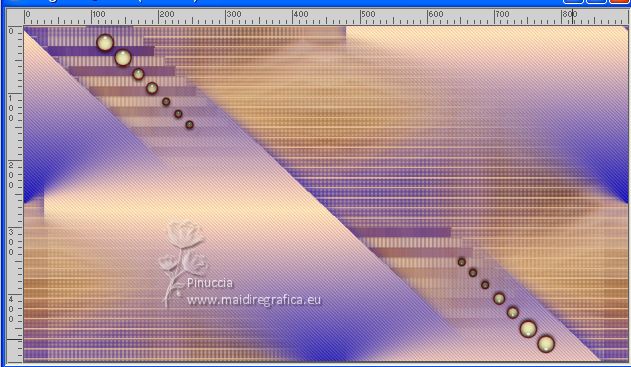
Go back to your work and go to Edit>Paste as new layer.
You can colorize if; for my example:
Adjust>Hue and Saturation>Colorize
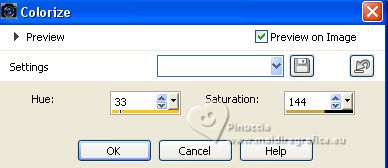
for my second version I used
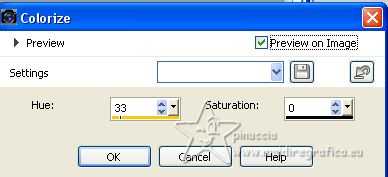
Or Copy/Paste as new layer the colored deco decor_1_class_byAnaMariaC 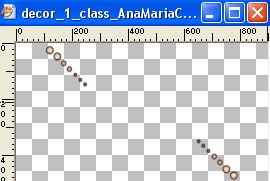
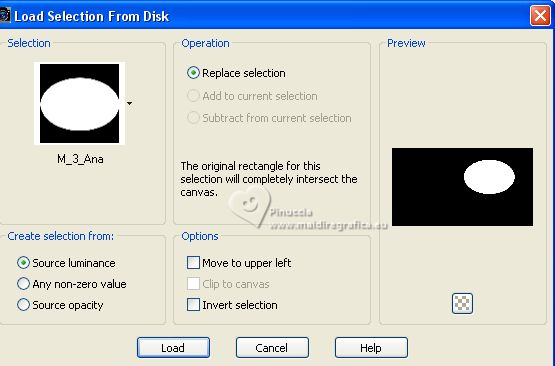
28. Selections>Load/Save Selections>Load Selection from Disk.
Look for and load the selection M_3_Ana
29. Set your foreground color with the extra color 3  . .
Layers>New Raster Layer.
Flood Fill  the layer with the extra foreground color. the layer with the extra foreground color.
30. Open the misted misted_byAnamariac 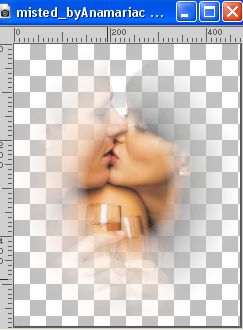
Edit>Copy.
Go back to your work and go to Edit>Paste into Selection.
31. Reduce the opacity of this layer to 70%.
Adjust>Sharpness>Sharpen.
32. Layers>New Raster Layer.
Effects>3D Effects>Cutout, first foreground color #0602a2
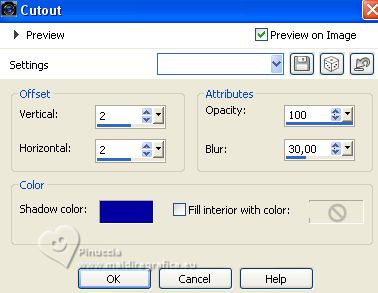
Repeat Cutout, vertical and horizontal -2.
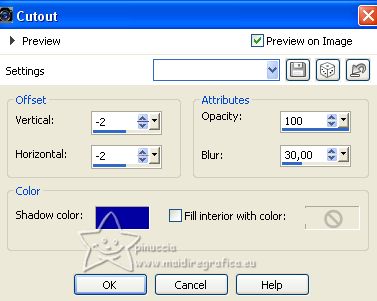
Selections>Select None.
33. Set your foreground color to #ffffff.
Layers>New Raster Layer.
Flood Fill  the layer with color white. the layer with color white.
34. Layers>New Mask layer>From image
Open the menu under the source window and you'll see all the files open.
Select the mask Silvie_Mask_Deco_purple .
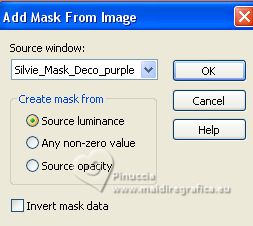
Layers>Merge>Merge Group.
35. Effects>User Defined Filter - select the preset Emboss 3 and ok.

36. Reduce the opacity of this layer to 50%.
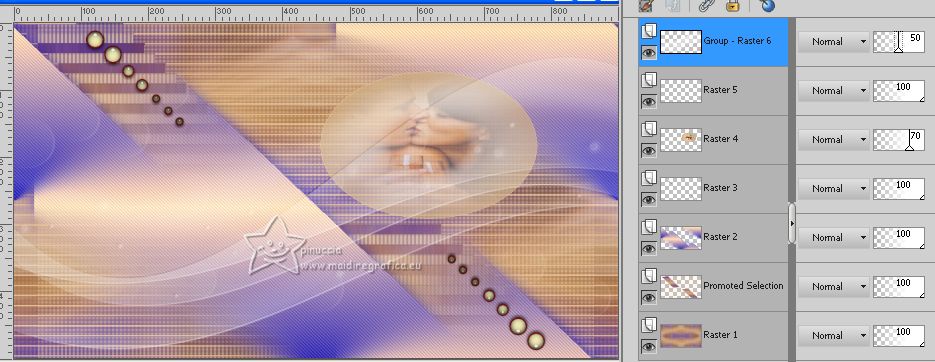
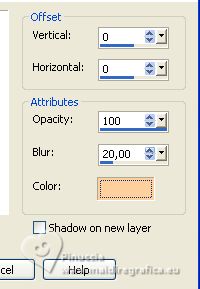
37. Effects>3D Effects>Drop Shadow, background color #fed09e.
38. Open decor_2_class_AnaMariaC 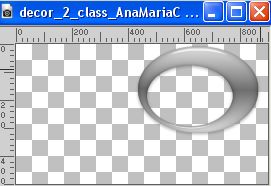
If you are using the same colors of the tutorial,
copy/paste as new layer the colored deco decor_2_class_AnaMariaC 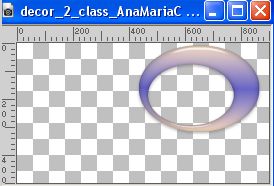
39. Activate your Pick Tool 
and set Position X: 418,00 and Position Y: -2,00

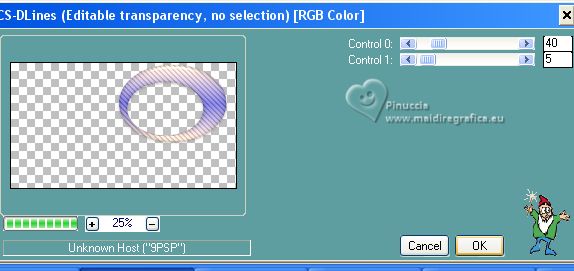
40. Effects>Plugins>Carolaine and Sensibility - CS-DLines, default settings.
41. For the borders, set your foreground color to color 1 #0602a2,
and your background color to the extra color 3 #f2d9b2.
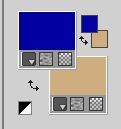
Image>Add borders 1 pixels, symmetric, foreground color #0602a2.
Image>Add borders, 15 pixels, symmetric, background extra color 3 #f2d9b2.
Image>Add borders 1 pixels, symmetric, foreground color #0602a2.
Image>Add borders, 15 pixels, symmetric, background extra color 3 #f2d9b2.
42. Selections>Select All.
Image>Add borders 1 pixels, symmetric, foreground color #0602a2.
Image>Add borders, 15 pixels, symmetric, color 4 #ffffff.
Image>Add borders 1 pixels, symmetric, foreground color #0602a2.
Image>Add borders, 15 pixels, symmetric, color 4 #ffffff.
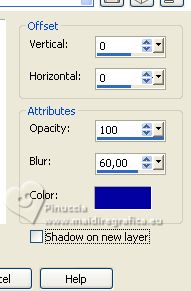
43. Effects>3D Effects>Drop Shadow, foreground color #06a0a2.
44. Activate again your main tube spdesignersclubtube04byjessica-vi
Edit>Copy.
Go back to your work and go to Edit>Paste as new layer.
Image>Resize, to 85%, resize all layers not checked.
Adjust>Sharpness>Sharpen.
Place  the tube to your liking. the tube to your liking.
Effects>3D Effects>Drop Shadow, at your choice.
45. Open the wordart art worArt_memories_byAnaMariaC 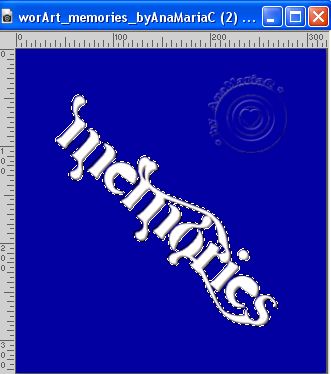
Set again your background color to #f6c99e,
and your background color to the initial Gradient.
 
Flood Fill  the selection with your Gradient. the selection with your Gradient.
46. Effects>3D Effects>Drop Shadow, color #000000.
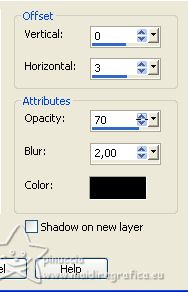
Selections>Select None.
Edit>Copy, and close the tube without saving changes.
Go back to your work and go to Edit>Paste as new layer.
Place  the wordart to your liking. the wordart to your liking.
47. Image>Add Borders - 1 pixel, symmetric, foreground color #0602a2.
48. Image>Resize, if you want.
Sign your work and save as jpg.
For the tube of this version thanks NaiseM and Crystal


If you have problems or doubts, or you find a not worked link, or only for tell me that you enjoyed this tutorial, write to me.
20 July 2023

|


