|
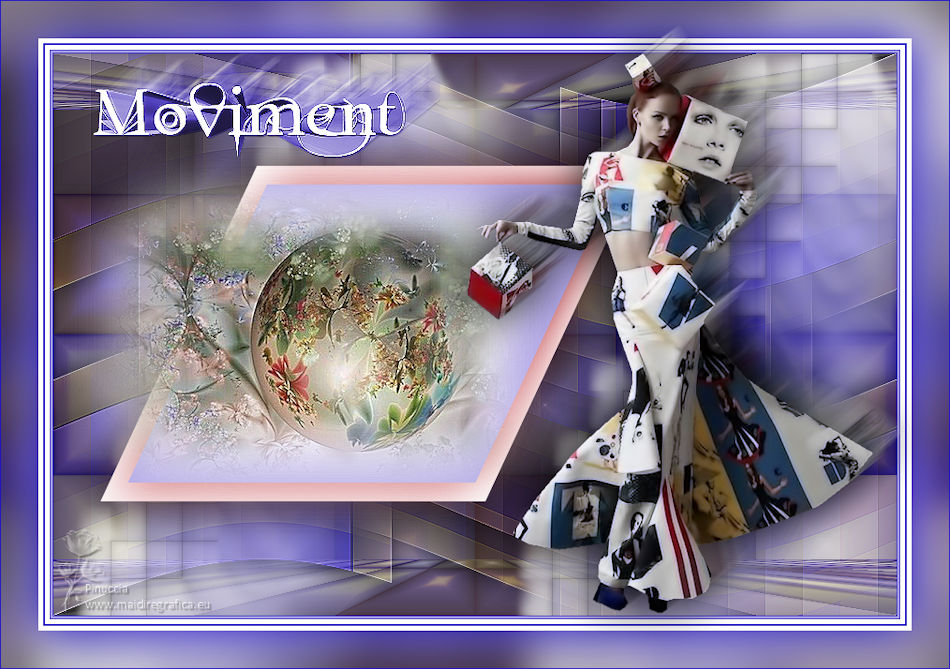
MOVIMENT


Thanks SIM PSP Group for your invitation to translate your tutorials into english

This tutorial was written with PSP2020 and translated with PspX9, but it can also be made using other versions of PSP.
Since version PSP X4, Image>Mirror was replaced with Image>Flip Horizontal,
and Image>Flip with Image>Flip Vertical, there are some variables.
In versions X5 and X6, the functions have been improved by making available the Objects menu.
In the latest version X7 command Image>Mirror and Image>Flip returned, but with new differences.
See my schedule here
For this tutorial, you will need:

Thanks for the tubes Calligraphy.
The rest of the material is by AnaMariaC
(The links of the tubemakers here).

consult, if necessary, my filter section here
Filters Unlimited 2.0 here
Alien Skin Eye Candy 5 Impact - Motion Trail here
Mura's Meister - Perspective Tiling here
It@lian Editors Effect - Effetto Fantasma here
Toadies - Plain Mosaic Blur here
Mehdi - Sorting Tiles here
Filters It@lian Editors and Toadies can be used alone or imported into Filters Unlimited.
(How do, you see here)
If a plugin supplied appears with this icon  it must necessarily be imported into Unlimited it must necessarily be imported into Unlimited

You can change Blend Modes according to your colors.
In the newest versions of PSP, you don't find the foreground/background gradient (Corel_06_029).
You can use the gradients of the older versions.
The Gradient of CorelX here

Copy the Gradient in the Gradients Folder.
Copy the Selections in the Selections Folder.
1. Colors

Choose 2 colors from your material
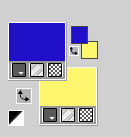
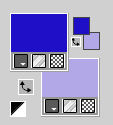
Set your foreground color to #1f11c6,
and your background color to #fff670.
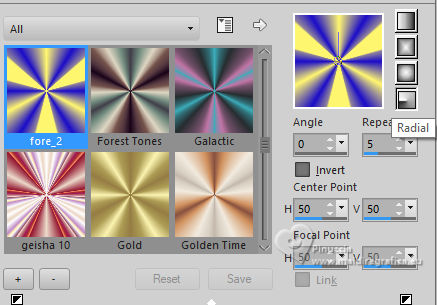
2. Set your foreground color to Gradient and select the gradient fore_2, style Radial.
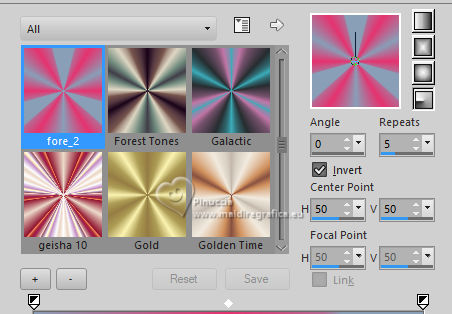
Note: if you use other colors, also the Gradient will change colors
3. Open a new transparent image 900 x 600 pixels.
Flood Fill  the transparent image with your Gradient. the transparent image with your Gradient.
4. Adjust>Blur>Gaussian Blur - radius 20.

5. Selections>Select All.
Open the tube Callitube-563mulheres 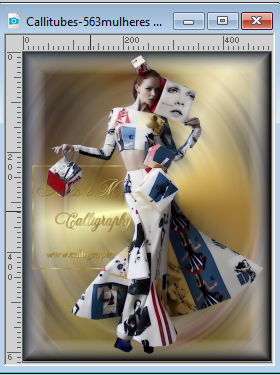
Edit>Copy.
Go back to your work and go to Edit>Paste into Selection.
Selections>Select None.
6. Effects>Image Effects>Seamless Tiling, default settings.

7. Adjust>Blur>Radial Blur.
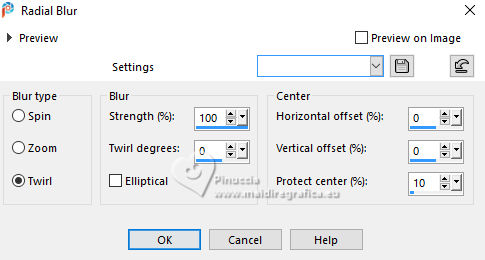
Effects>Edge Effects>Enhance More.
8. Layers>Duplicate.
Close this layer and activate the layer below Raster 1.
9. Effects>Plugins>Mehdi - Sorting Tiles.

10. Open and activate your top layer, Copy of Raster 1.
Change the Blend Mode of this layer to Hard Light.
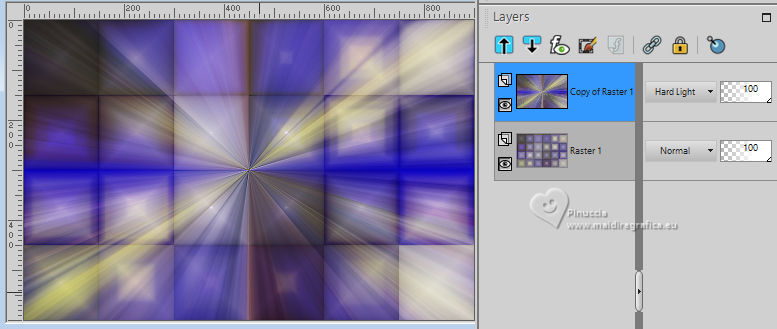
Image>Resize, to 75%, resize all layers not checked.
11. Effects>Plugins>It@lian Editors Effect - Effetto Fantasma.
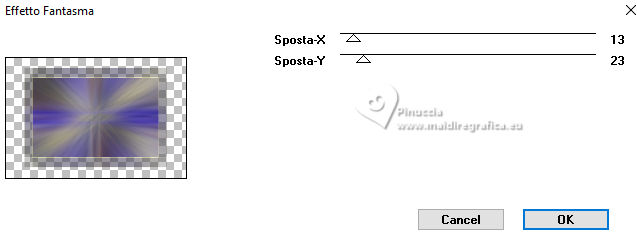
Effects>Image Effects>Seamless Tiling, default settings.

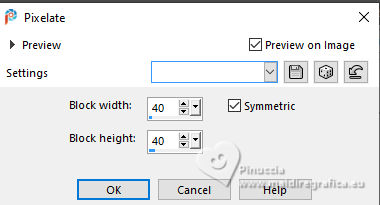
12. Effects>Distortion Effects>Pixelate.
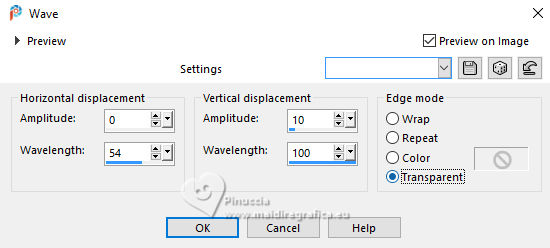
13. Effects>Distortion Effects>Wave.
Effects>Edge Effects>Enhance.
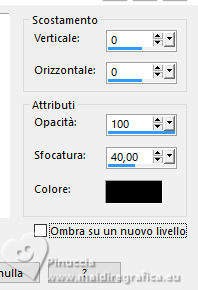
Effects>3D Effects>Drop Shadow, color #000000.
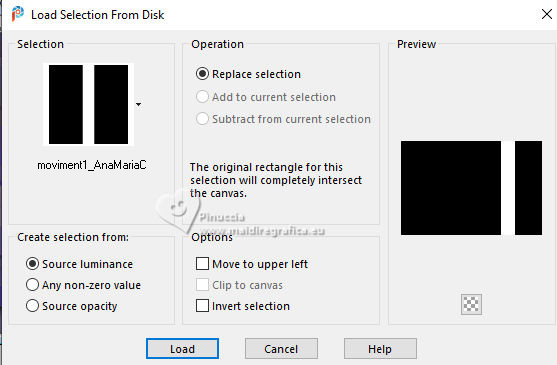
14. Selections>Load/Save Selection>Load Selection from Disk.
Look for and load the selection moviment1_AnaMariaC
15. Foreground color #1f11c6.
Change your background color with #ffffff.
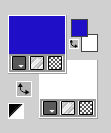
Set your foreground color to a Foreground/Background Gradient, style Linear.
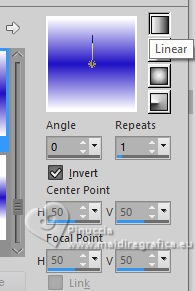
Layers>New Raster Layer.
Flood Fill  the selection with your new Gradient. the selection with your new Gradient.
16. Selections>Modify>Select Selection Borders.
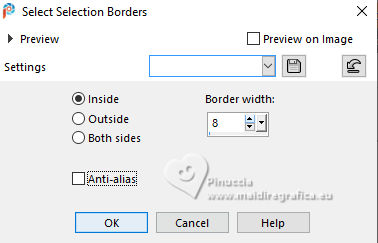
Flood Fill  the selection with your background color #ffffff. the selection with your background color #ffffff.
Selections>Select None.
17. Effects>Geometric Effects>Skew.
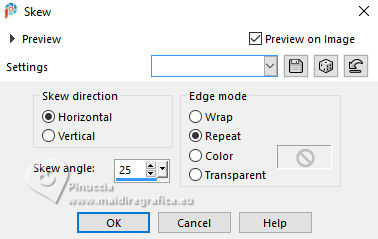
18. Effects>Plugins>Toadies - Plain Mosaic Blur.
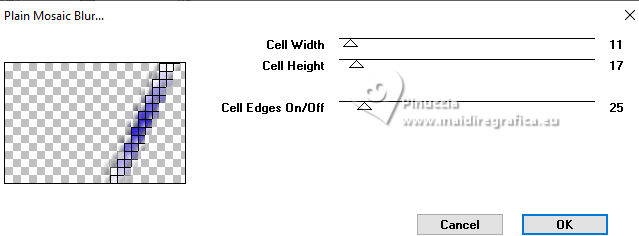
19. Layers>Duplicate.
K key to activate your Pick Tool 
and set Position X: 24,00 (Position X is ok: 0,00)
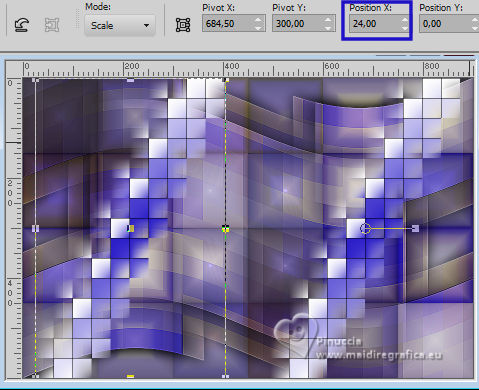
Layers>Merge>Merge Down.
20. Effects>Plugins>Alien Skin Eye Candy 5 Impact - Motion Trail.
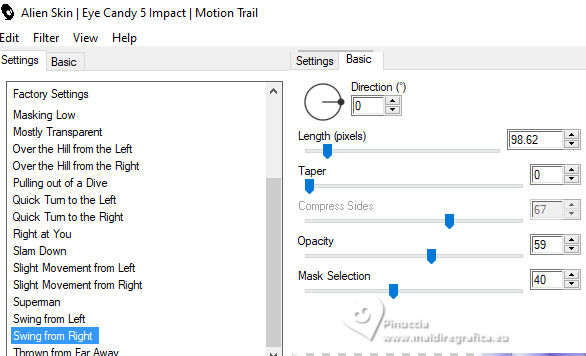
Repeat the Effects another time.
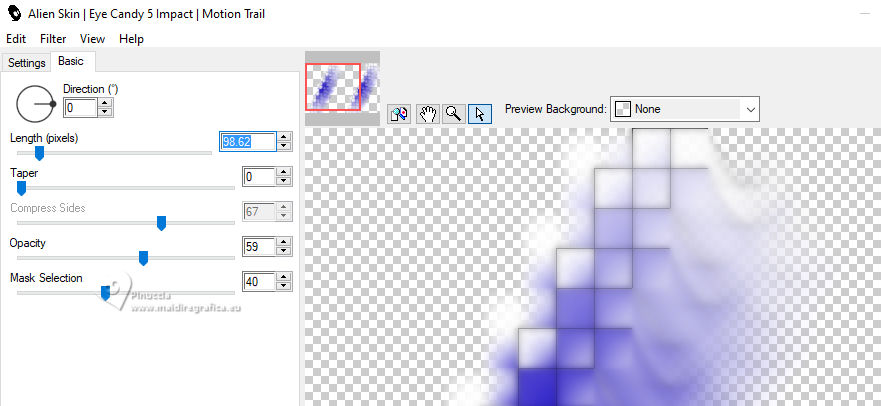
Reduce the opacity of this layer to 70%.
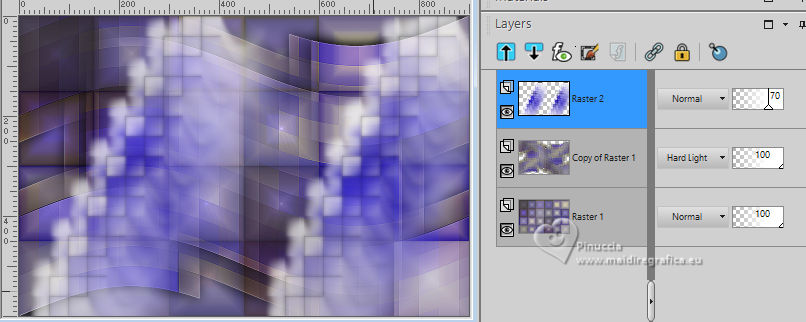
21. Layers>New Raster Layer.
Selections>Load/Save Selection>Load Selection from Disk.
Look for and load the selection quadro_byAnaMariaC
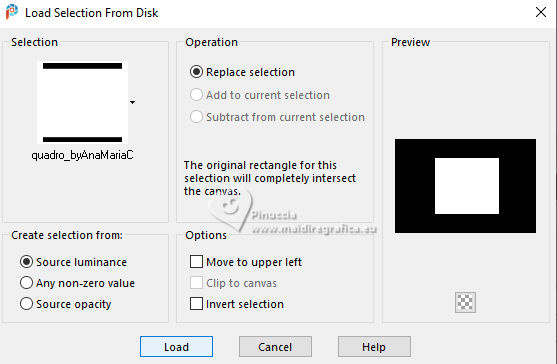
Flood Fill  the selection with your background color #ffffff. the selection with your background color #ffffff.
22. Selections>Modify>Contract - 20 pixels.
Press CANC on the keyboard 
Set your foreground color to color 3 #b2a8e7.
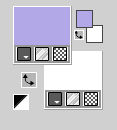
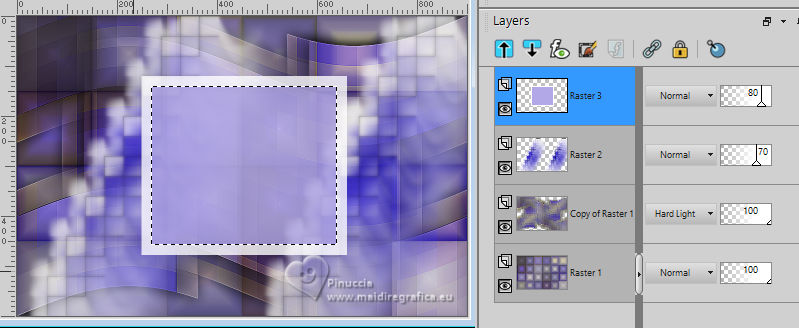
Flood Fill  the selection with your foreground color. the selection with your foreground color.
Reduce the opacity of this layer to 80%.
Keep selected
23. Layers>New Raster Layer.
Open the misted Callitubes02fractal 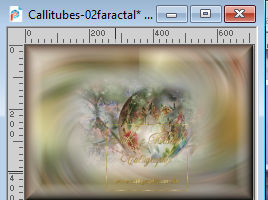
Edit>Copy.
Go back to your work and go to Edit>Paste into selection.
Adjust>Sharpness>Sharpen More.
Layers>New Raster Layer.
Note: If your misted as a dark shadow, apply a Drop Shadow with the color #ffffff.
24. Effects>3D Effects>Drop Shadow, color 4 #b82228.
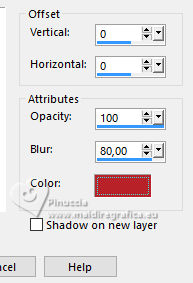
Layers>Merge>Merge Down - 2 times.
Selections>Select None.
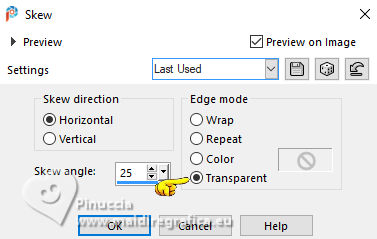
25. Effects>Geometric Effects>Skew.
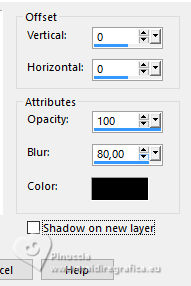
Effects>3D Effects>Drop Shadow, color #000000.
Objects>Align>Left.
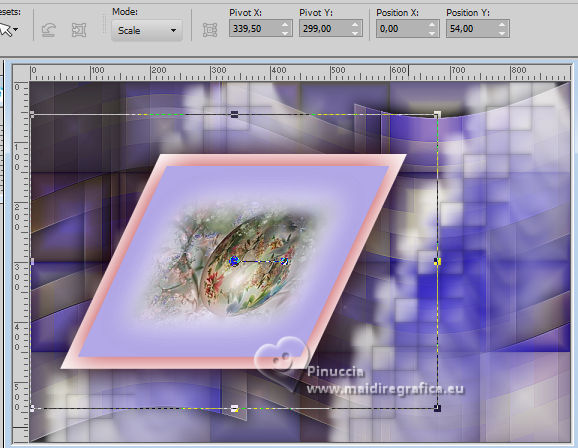
26. Edit>Paste as new layer - the tube
Callitubes02fractal is still in memory.
Objects>Align>Left.
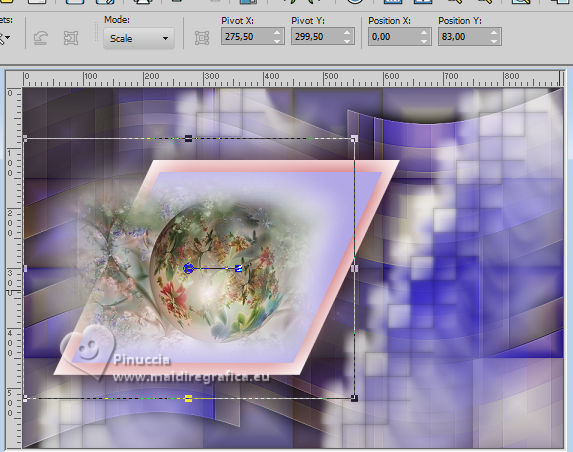
Adjust>Sharpness>Sharpen More.
Layers>Merge>Merge Down.
27. Activate your bottom layer, Raster 1.
Layers>Duplicate.
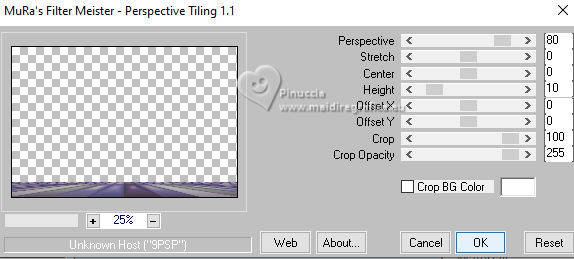
28. Effects>Plugins>Mura's Meister - Perspective Tiling
it is not necessary change the color that you see in the case Crop BG color;
don't worry
Effects>Reflection Effects>Rotating Mirror, default settings.

Adjust>Sharpness>Sharpen.
29. Activate your Magic Wand Tool 

Note: If you want to see better, close the other layers (Layer>View>Current Only).
Click in the transparent part to select it.
Press 4 times CANC on the keyboard 
Selections>Select None.
To open the closed layers: Layers>View>All.
don't forget to set again the feather of your Magic Wand tool to 0
30. Layers>Duplicate.
Image>Mirror>Mirror Vertical.
Effects>Reflection Effects>Rotating Mirror, default settings.

Adjust>Sharpness>Sharpen.
Layers>Merge>Merge Down.
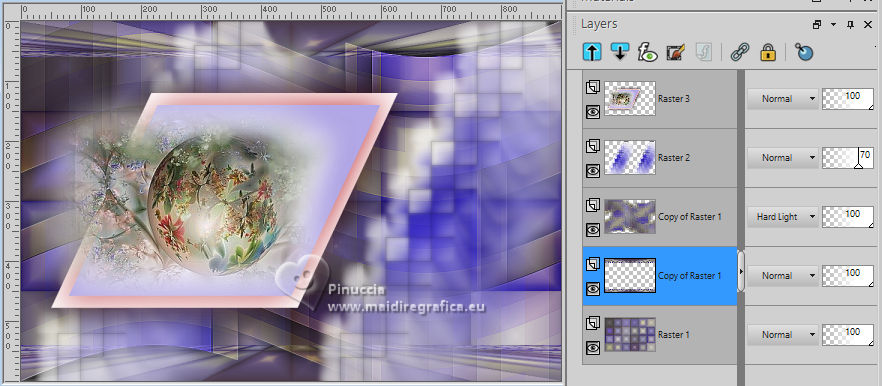
31. Your tag and the layers.
32. Edit>Copy Special>Copy Merged.
33. For the borders, set again your foreground color to #1f11c6,
and your background color to color 3 #b2a8e7.
Image>Add borders, 1 pixel, symmetriche, foreground color #1f11c6.
Image>Add borders, 2 pixels, symmetric, color 3 #b2a8e7.
Image>Add borders, 1 pixel, symmetric, foreground color #1f11c6.
34. Image>Add borders, 5 pixels, symmetric, color white #ffffff.
Image>Add borders, 1 pixel, symmetric, foreground color #1f11c6.
Image>Add borders, 5 pixels, symmetric, color white #ffffff.
35. Selections>Select All.
Image>Add borders, 40 pixels, symmetric, whatever color.
Selections>Invert.
Edit>Paste into Selection
36. Adjust>Blur>Gaussian Blur - radius 20.

Selections>Invert.
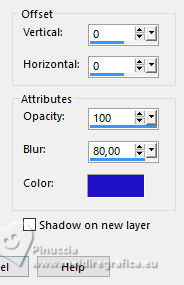
Effects>3D Effects>Drop Shadow, foreground color #1f11c6, or to your liking.
Selections>Select None.
37. Activate again the woman's tube Callitubes-563mulheres
Edit>Copy.
Go back to your work and go to Edit>Paste as new layer.
Move  the tube to the right side. the tube to the right side.
Effects>3D Effects>Drop Shadow, color #000000, or to your liking.

38. Layers>Duplicate.
Activate the layer below, Raster 2.
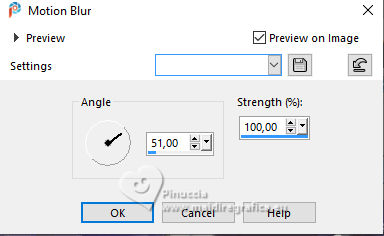
Adjust>Blur>Motion Blur
Adjust>Sharpness>Sharpen.
39. Open the text WordArt_Título 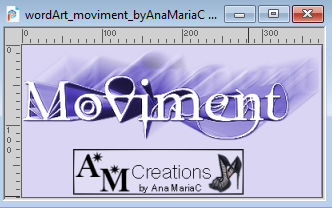
Edit>Paste.
Go back to your work and go to Edit>Paste as new layer.
Adjust>Sharpness>Sharpen.
Colorize, if necessary.
Move  the text to your liking. the text to your liking.
40. Image>Add borders, 1 pixel, symmetric, foreground color #1f11c6.
41. If you want: Image>Resize, at your choice.
42. Sign your work and save as jpg.
For the tube of this version thanks NaiseM.
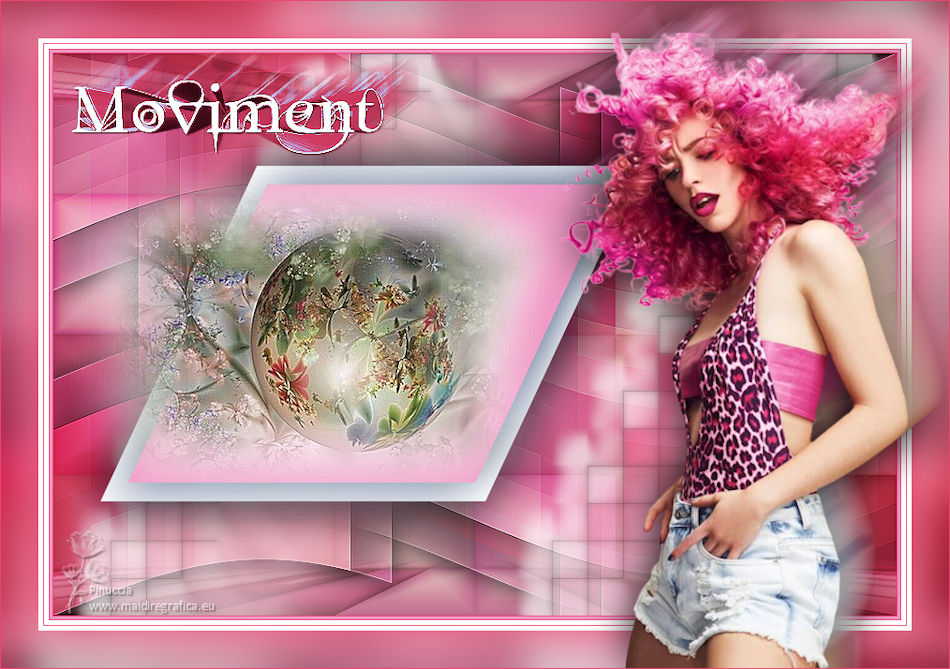

Your versions. Thanks
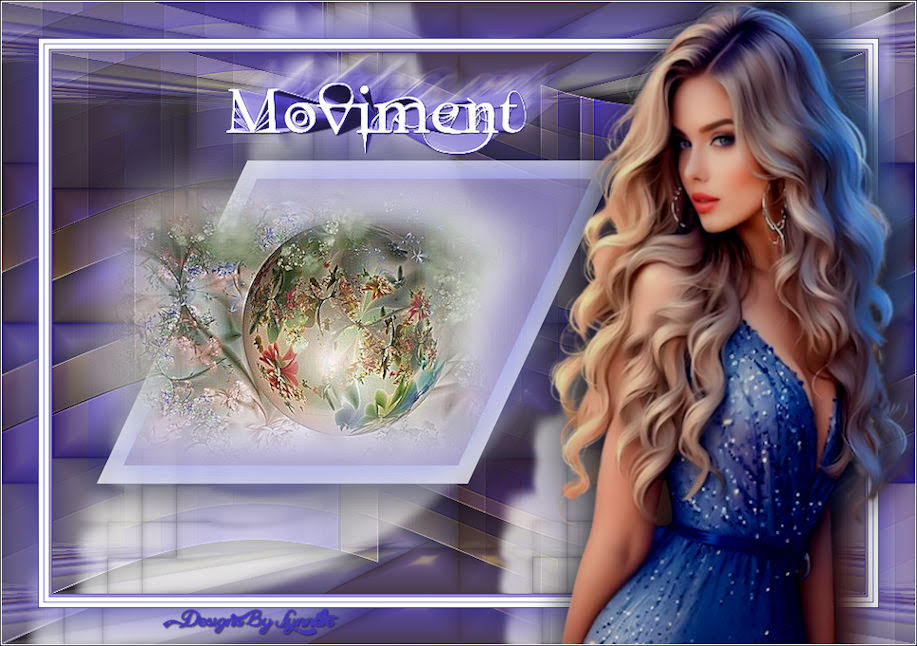
Lynnette
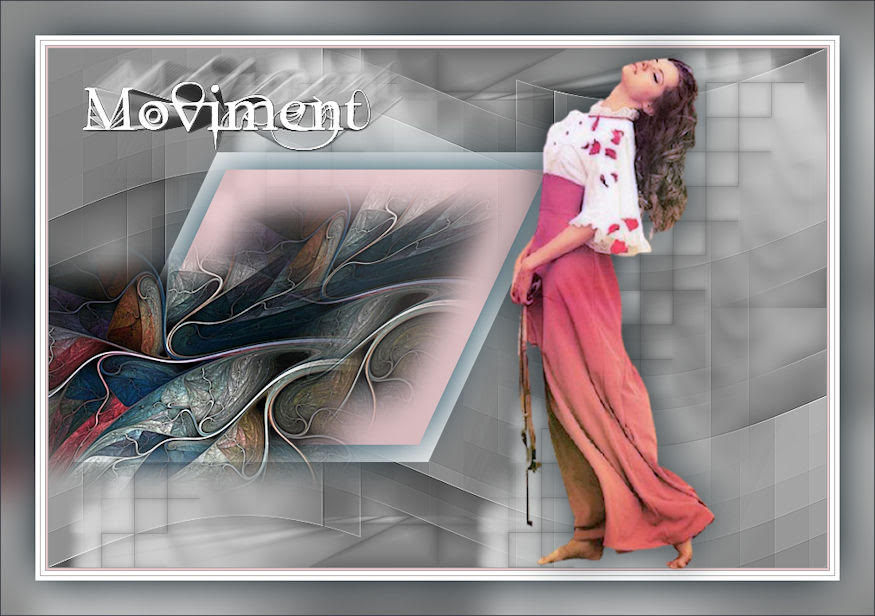
Di@ne
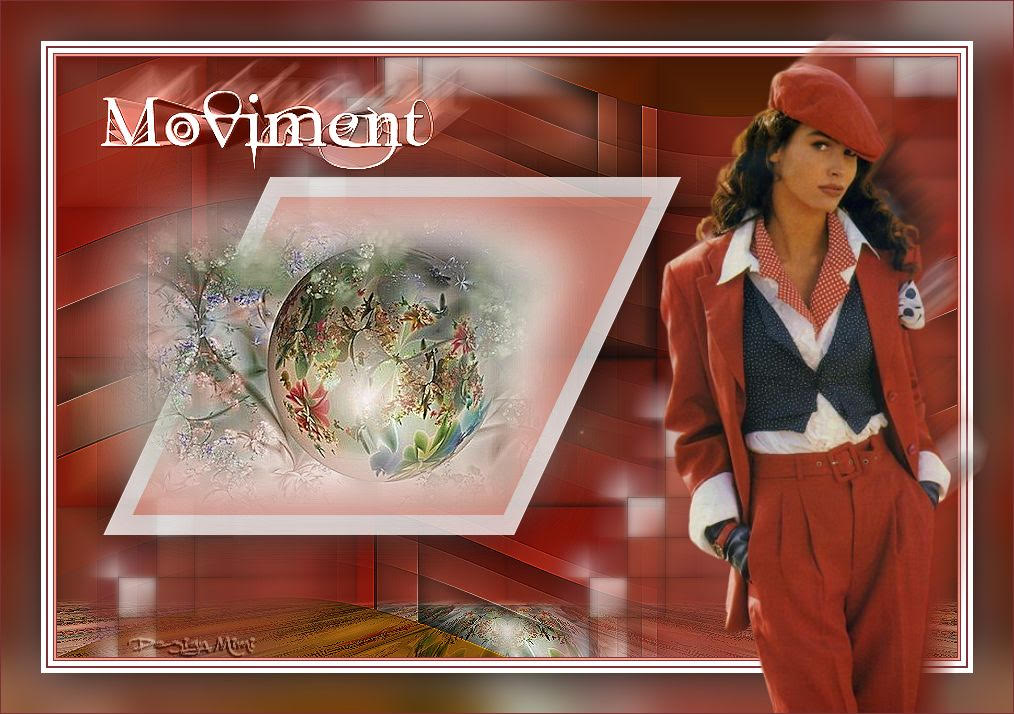
Mimi
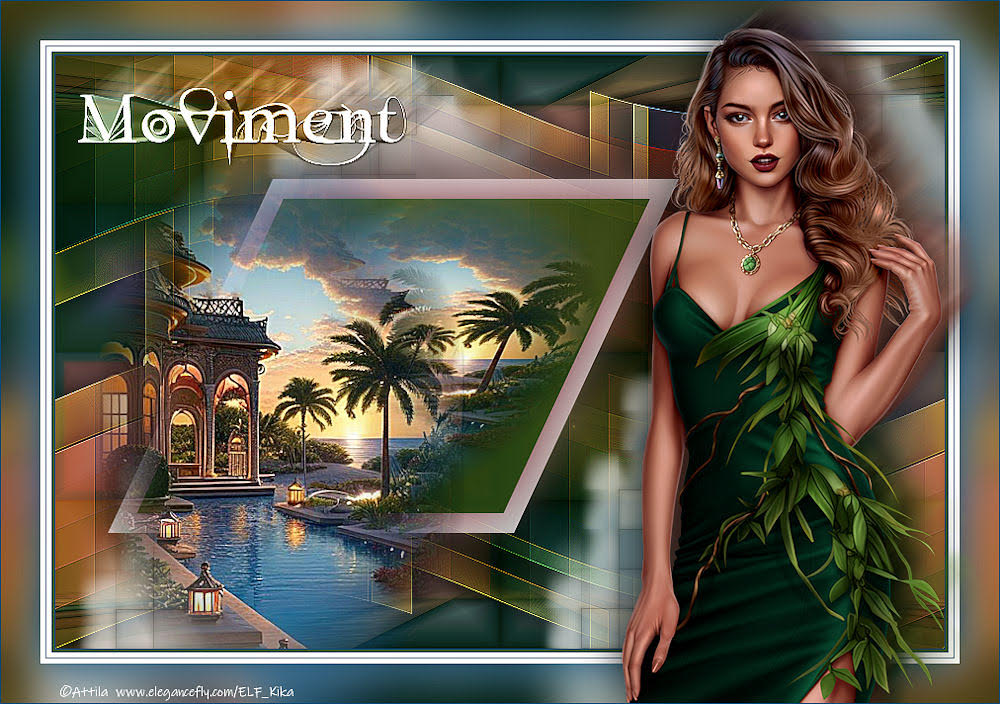
Kika
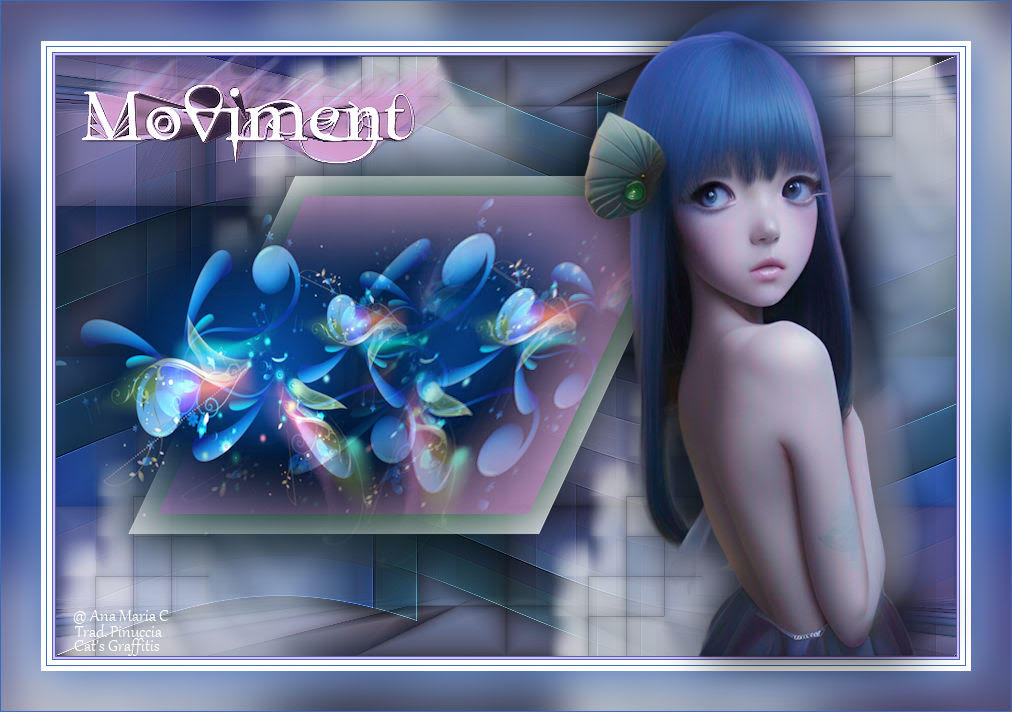
Cat's Graffitis
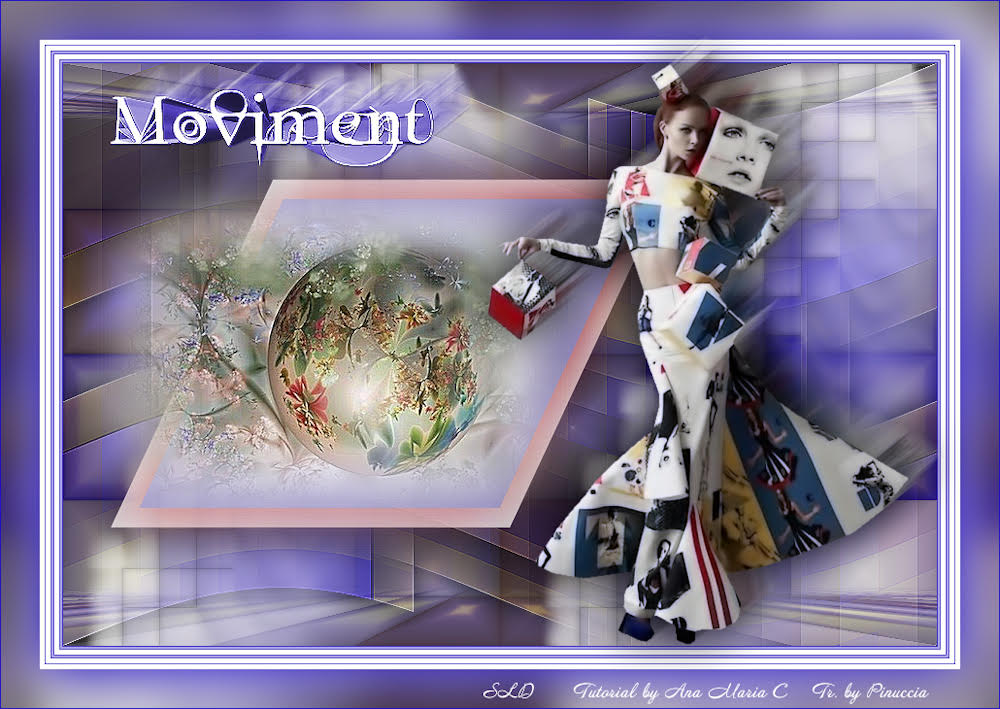
Sue
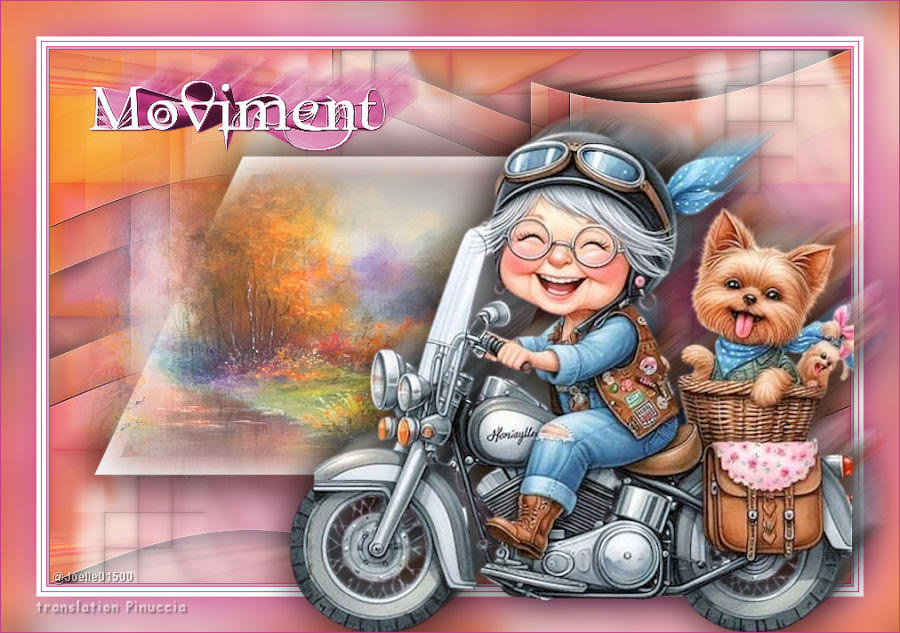
Joelle


If you have problems or doubts, or you find a not worked link, or only for tell me that you enjoyed this tutorial, write to me.
11 November 2023

|

