|
NAMASTÊ


Thanks SIM PSP Group for your invitation to translate your tutorials into english

This tutorial was written and translated with Psp2020, but it can also be made using other versions of PSP.
Since version PSP X4, Image>Mirror was replaced with Image>Flip Horizontal,
and Image>Flip with Image>Flip Vertical, there are some variables.
In versions X5 and X6, the functions have been improved by making available the Objects menu.
In the latest version X7 command Image>Mirror and Image>Flip returned, but with new differences.
See my schedule here

|
Special Note
PSP SIM and its Tutorial Authors ask the public:
- Please, we request that we maintain the originality of the tutorial,
refraining from adding or including unsolicited effects;
- The use of other images is permitted and encouraged,
but please don't modify the content of the original tutorial;
- Please acknowledge and attribute the valuable credits to those who write tutorials, make translations and create materials.
Carefully,
PSP SIM - Ana Maria C
|

For this tutorial, you will need:

For the misted thanks NenaSilva.
The rest of the material is by Ana Maria C.
(The links of the tubemakers here).

Filters Unlimited 2.0 here
Transparency - Eliminate Black here
Transparency - Eliminate White here
Graphics Plus - Cross Shadow, Colorize, Panel Strips here
Sabercat - Sabers Navaho here
FM Tile Tools - Blend Emboss here
Filters Graphics plus, Transparency et Sabercat can be used alone or imported into Filters Unlimited.
(How do, you see here)
If a plugin supplied appears with this icon  it must necessarily be imported into Unlimited it must necessarily be imported into Unlimited

You can change Blend Modes according to your colors.
In the newest versions of PSP, you don't find the foreground/background gradient (Corel_06_029).
You can use the gradients of the older versions.
The Gradient of CorelX here

Copy the selections in the Selections Folder.
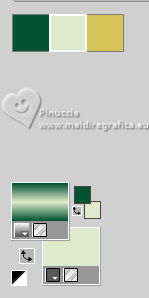
1. Choose 3 colors to work.
Foreground color #035434
Background color #dfe9cb
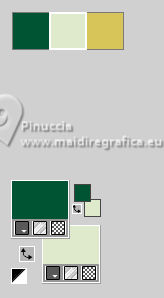
color 3: #d7c559.
Set your foreground color to a foreground/Background Gradient, style Linear.
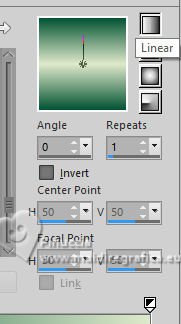
2. Open a new transparent image 900 x 550 pixels.
Flood Fill  the transparent image with your Gradient. the transparent image with your Gradient.
3. Layers>New Raster Layer.
Selections>Select All.
4. Open the tube ns-paisagem0830 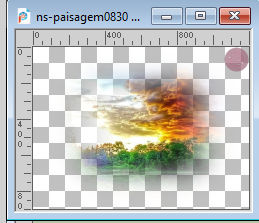
Erase the watermark and go to Edit>Copy.
Go back to your work and go to Edit>Paste Into Selection.
Selections>Select None.
5. Effects>Image Effects>Seamless Tiling - default settings.

Layers>Merge>Merge Down.
6. Adjust>Blur>Gaussian Blur - radius 30

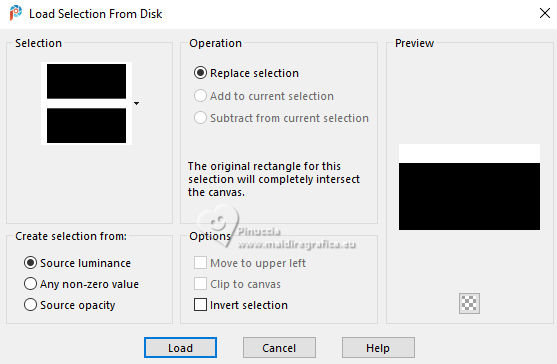
7. Selections>Load/Save Selections>Load Selection From Disk.
Look for and load the selection Namaste1_byAnaMariaC
8. Set your background color with the color 3 #d7c559,
and keep the foreground color with the Linear Gradient.
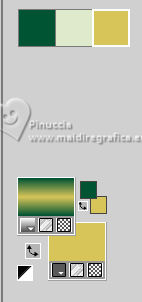
9. Layers>New Raster Layer.
Flood Fill  the selection with your Gradient. the selection with your Gradient.
10. Selections>Select None.
Layers>Duplicate.
Image>Mirror>Mirror Vertical.
Layers>Merge>Merge Down.
11. Layers>Properties>General>Blend Mode: Luminance - Opacity: 100%
12. Effects>Distortion Effects>Warp
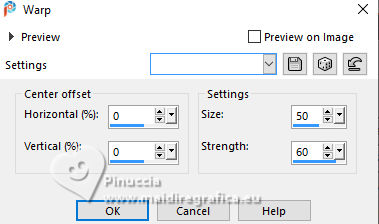
Edit>Repeat Warp.
13. Layers>Duplicate.
14. Selections>Load/Save Selections>Load Selection From Disk.
Look for and load the selection Namaste2_byAnaMariaC
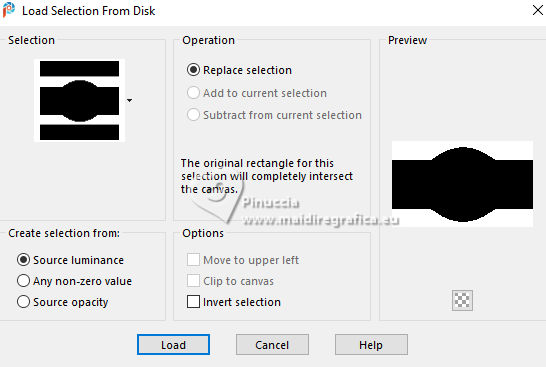
15. Effects>Plugins>Sabercat - Sabers Navaho.
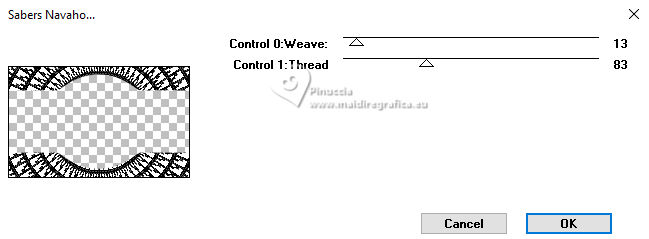
16. Effects>Plugins>Transparency - Eliminate Black.
17. Effects>Plugins>Transparency>Eliminate White.
Adjust>Sharpness>Sharpen More.
18. Effects>Plugins>Graphics Plus - Colorize.
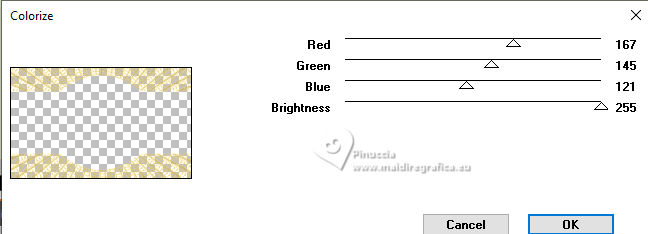
19. Effects>Plugins>FM Tile Tools - Blend Emboss, default settings.

20. Selections>Invert.
Layers>New Raster Layer.
Edit>Paste into Selection - the misted ns-paisagem0830 is still in memory.
21. Adjust>Sharpness>Sharpen More.
Selections>Select None.
22. Activate the layer Raster 1.
Layers>Duplicate.
23. Effects>Plugins>Graphics Plus - Panel Stripes.
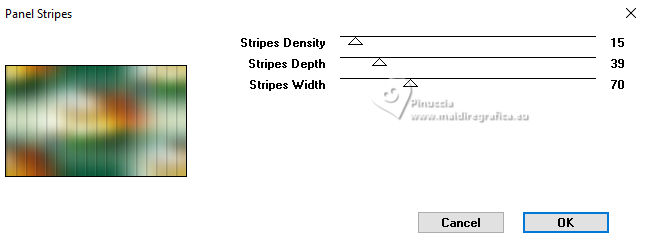
Layers>Properties>General>Blend Mode: Normal - Opacity: 50%
24. Effects>Plugins>Graphics Plus - Cross Shadow.
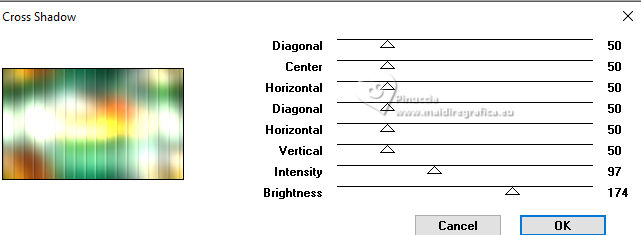
25. Activate the layer Raster 1.
Open decor_rio_de_luz_byAnaMariaC 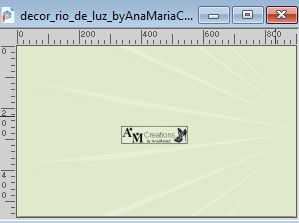
Edit>Copy.
Go back to your work and go to Edit>Paste As New Layer.
26. Activate the layer Copy of Raster 1.
27. Open decor_namaste_byAnaMariaC 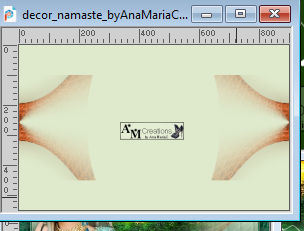
Edit>Copy.
Go back to your work and go to Edit>Paste As New Layer.
Adjust>Hue and Saturation>Colorize to your liking.
Adjust>Sharpness>Sharpen More.
28. Activate the layer Raster 2.
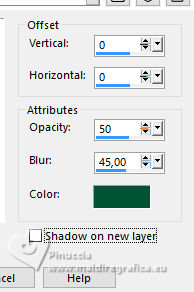
Effects>3D Effects>Drop Shadow, foreground color #035434.
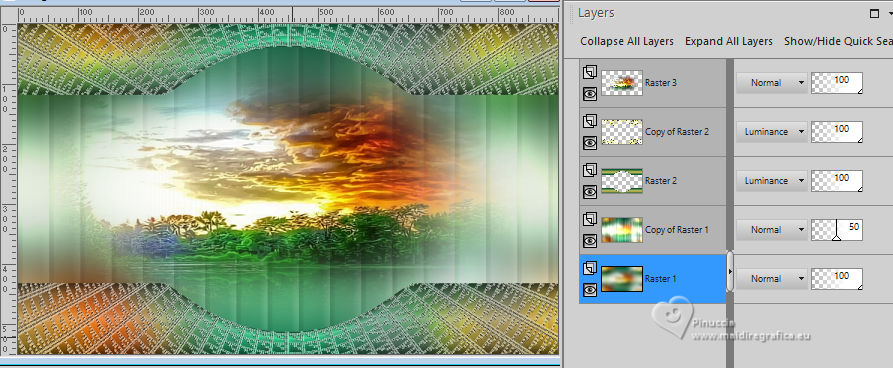
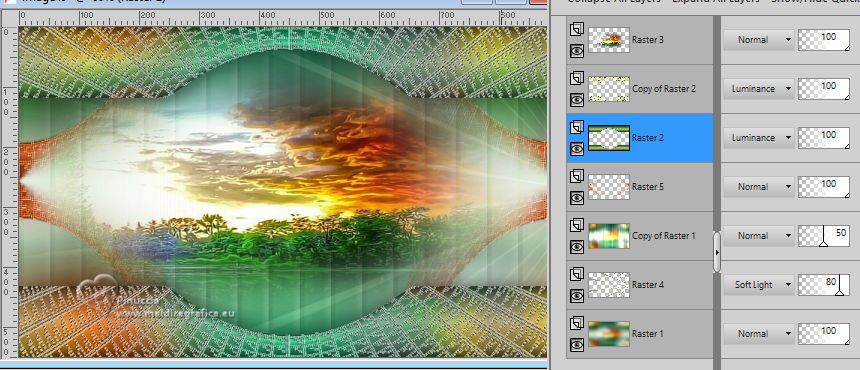
29. Your tag and the layers
30. For the borders, set again your background color with the color #dfe9cb,
and keep your foreground color with the Linear Gradient.
Image>Add Borders, 2 pixels, symmetric, background color.
Image>Add Borders, 4 pixels, symmetric, foreground color.
Image>Add Borders, 2 pixels, symmetric, background color.
31. Selections>Select All.
Image>Add Borders, 40 pixels, symmetric, foreground color #035434.
Selections>Invert.
Selections>Promote Selection to Layer.
32. Layers>New Raster Layer.
Flood Fill  the selection with your Gradient. the selection with your Gradient.
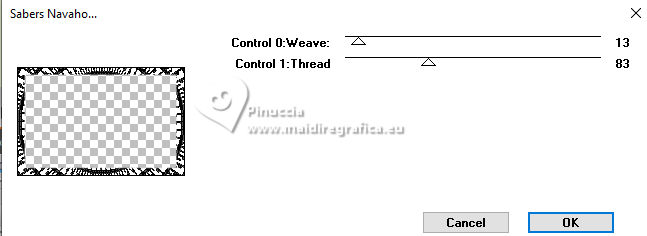
33. Effects>Plugins>Sabercat - Sabers Navaho.
34. Effects>Plugins>Transparency - Eliminate Black.
35. Effects>Plugins>Transparency - Eliminate White.
Effects>Edge>Enhance More.
36. Selections>Invert.
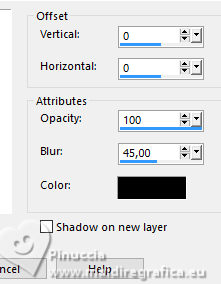
Effects>3D Effects>Drop Shadow, color #000000.
Selections>Select None.
Layers>Merge>Merge Down.
37. Open your main tube mulher-01_namaste-byAnaMariaC 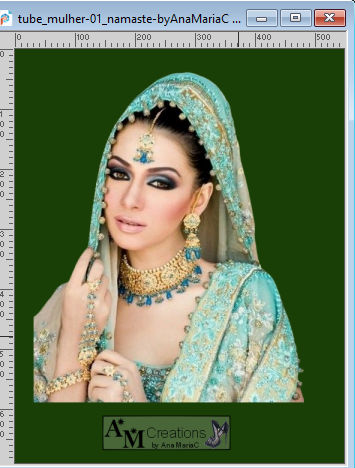
Edit>Copy.
Go back to your work and go to Edit>Paste as new layer.
Image>Resize, if necessary - for the provided tube is is not.
Place  the tube to your liking. the tube to your liking.
Adjust>Sharpness>Sharpen.
Drop Shadow, at your choice; for me
Effetti>Effetti 3D>Drop Shadow, color #000000.
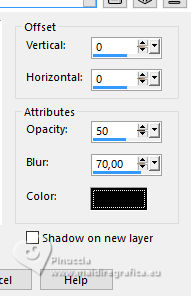
38. Open titulo_namaste_byAnaMariaC 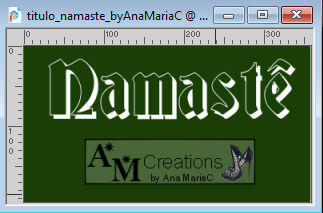
Edit>Copy.
Go back to your work and go to Edit>Paste as new layer.
Place  the tube to your liking. the tube to your liking.
Drop Shadow at your choise; for me
Effects>3D Effects>Drop Shadow, foreground color #035434.
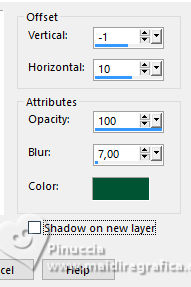
39. Image>Add Borders, 1 pixel, symmetric, foreground color #035434.
40. Image>Resize, if you want.
Sign your work and save as jpg.
Version with my tubes from Pinterest images.
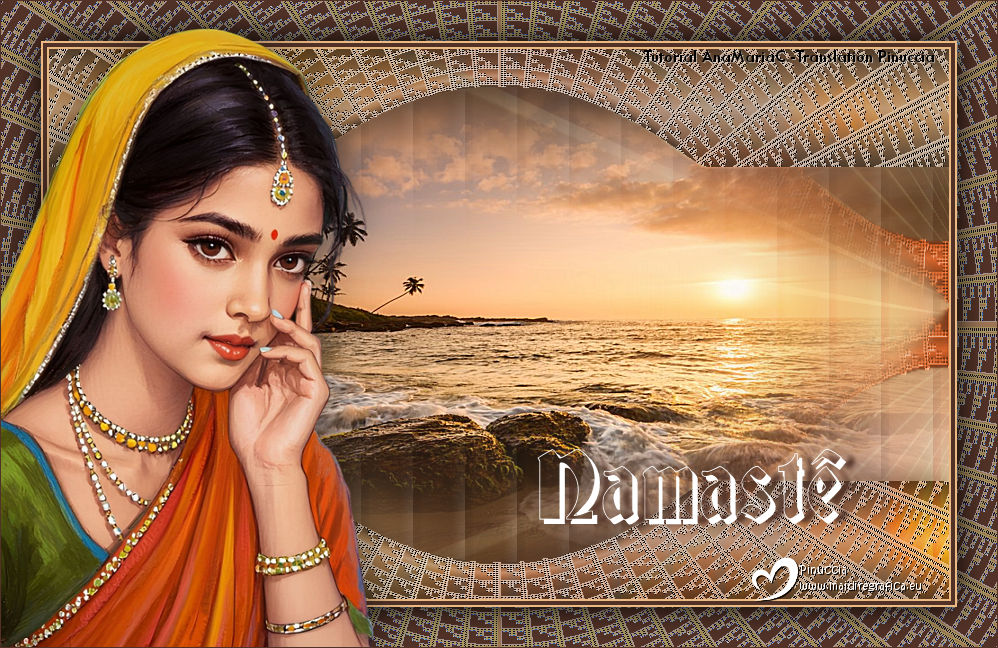

 Your versions.Thanks Your versions.Thanks
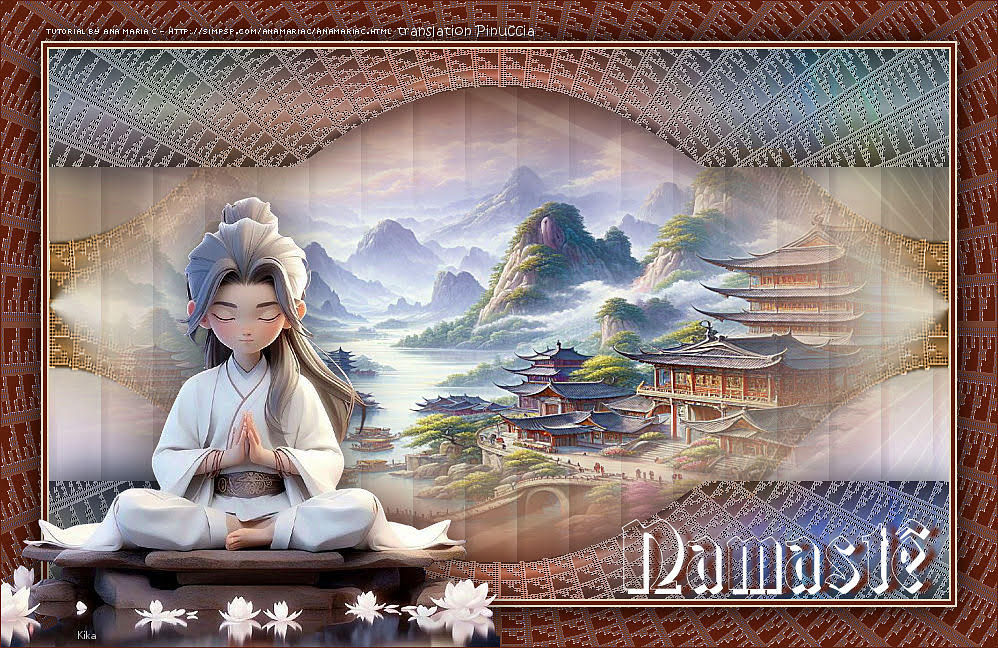
Kika


If you have problems or doubts, or you find a not worked link,
or only for tell me that you enjoyed this tutorial, write to me.
4 November 2025

|


