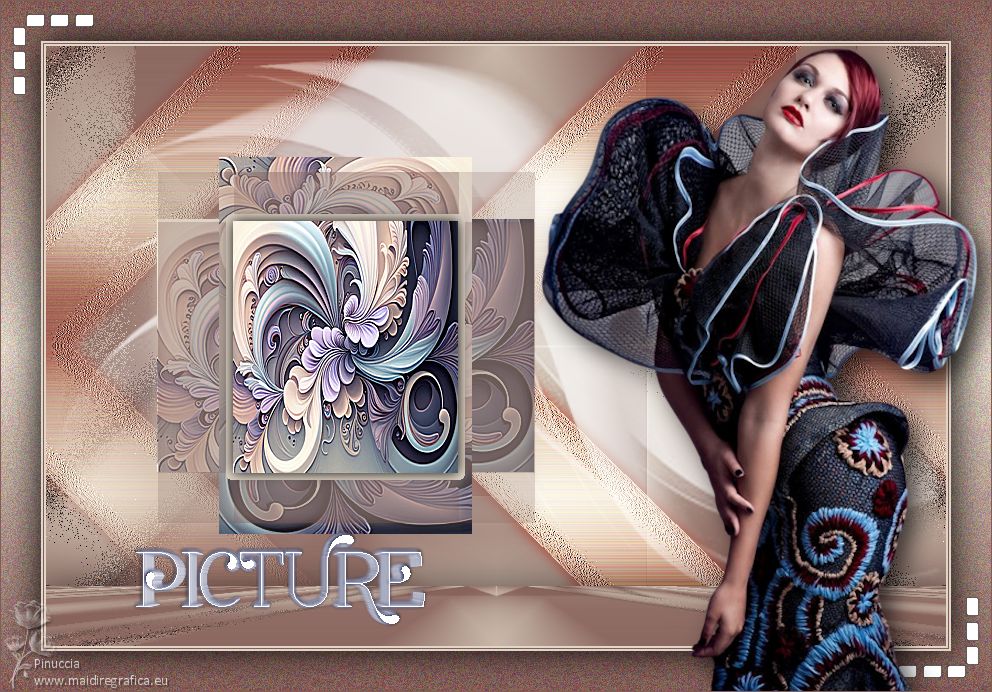
|
PICTURE


Thanks SIM PSP Group for your invitation to translate your tutorials into english

This tutorial was written with PSPX9 and translated with PspX17, but it can also be made using other versions of PSP.
Since version PSP X4, Image>Mirror was replaced with Image>Flip Horizontal,
and Image>Flip with Image>Flip Vertical, there are some variables.
In versions X5 and X6, the functions have been improved by making available the Objects menu.
In the latest version X7 command Image>Mirror and Image>Flip returned, but with new differences.
See my schedule here
For this tutorial, you will need:

Thanks for the tube and the mask PqnaAlice and Nikita.
The rest of the material is by AnaMariaC
(The links of the tubemakers here).

consult, if necessary, my filter section here
Filters Unlimited 2.0 here
Mura's Meister - Perspective Tiling here
It@lian Editors Effect - Effetto Fantasma here
Mehdi - Sorting Tiles here
Simple - Pizza Slice Mirror here
Toadies - Blast'n Bur here
Filters It@lian Editors, Simple and Toadies can be used alone or imported into Filters Unlimited.
(How do, you see here)
If a plugin supplied appears with this icon  it must necessarily be imported into Unlimited it must necessarily be imported into Unlimited

You can change Blend Modes according to your colors.
In the newest versions of PSP, you don't find the foreground/background gradient (Corel_06_029).
You can use the gradients of the older versions.
The Gradient of CorelX here

Copy the Selections in the Selections Folder.
Open the mask in PSP and minimize it with the rest of the material.
1. Choose two colors from your material
Foreground color #e0d7c6,
Background color #825c56
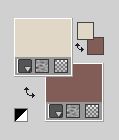
Color 3 #ffffff.
2. Set your foreground color to a Foreground/Background Gradient, style Linear.
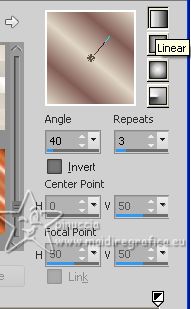
3. Open a new transparent image 900 x 600 pixels.
Flood Fill  the transparent image with your Gradient. the transparent image with your Gradient.
4. Adjust>Blur>Gaussian Blur - radius 20.

Effects>Plugins>Mehdi - Sorting Tiles.
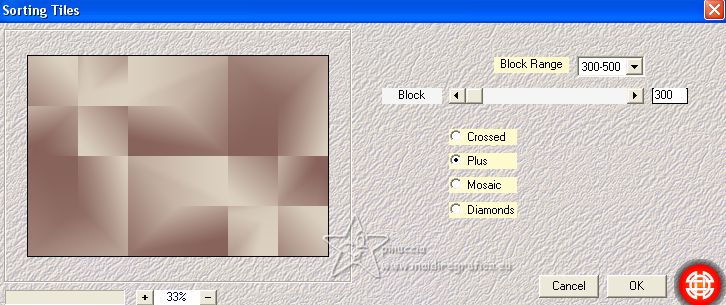
5. Effects>Image Effects>Seamless Tiling, default settings.

Adjust>Sharpness>Sharpen More.
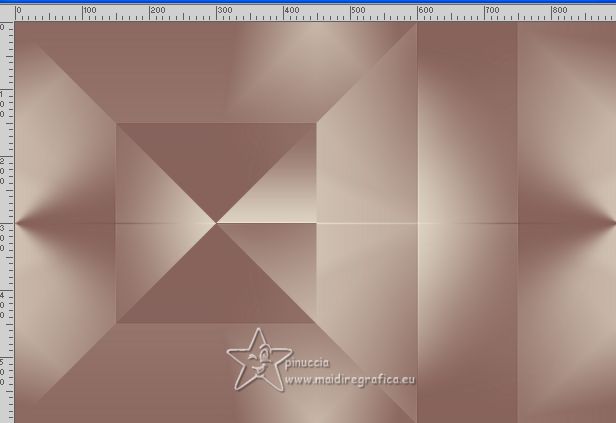
Effects>Plugins>Simple - Pizza Slice Mirror
This effect works without window; result.
6. Selections>Load/Save Selection>Load Selection from Disk.
Look for and load the selection Picture_1_byAnaMariaC
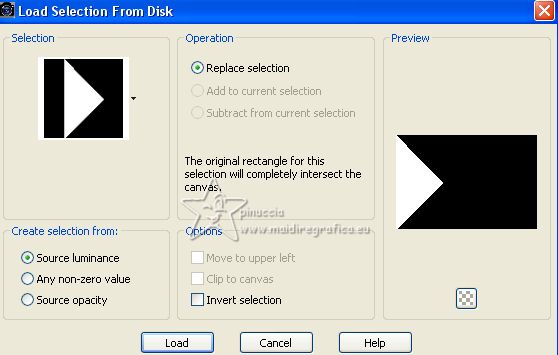
Selections>Promote Selection to Layer.
Selections>Select None.
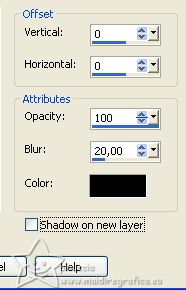
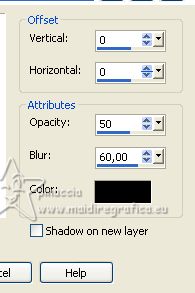
Effects>3D Effects>Drop Shadow, color black.
7. Effects>Plugins>Toadies - Blast'n Blur.
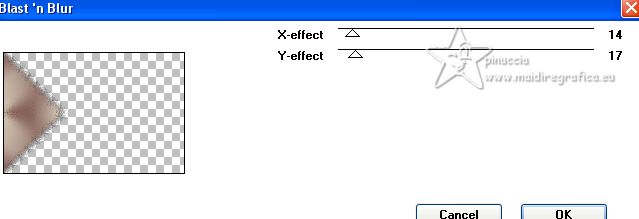
Adjust>Sharpness>Sharpen More.
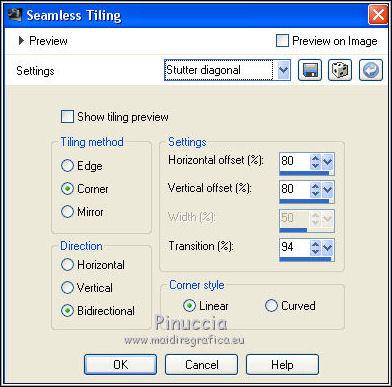
8. Effects>Image Effects>Seamless Tiling - Stutter diagonal.
9. Layers>Duplicate.
Image>Mirror>Mirror Horizontal.
Change the Blend Mode of this layer to Dissolve.
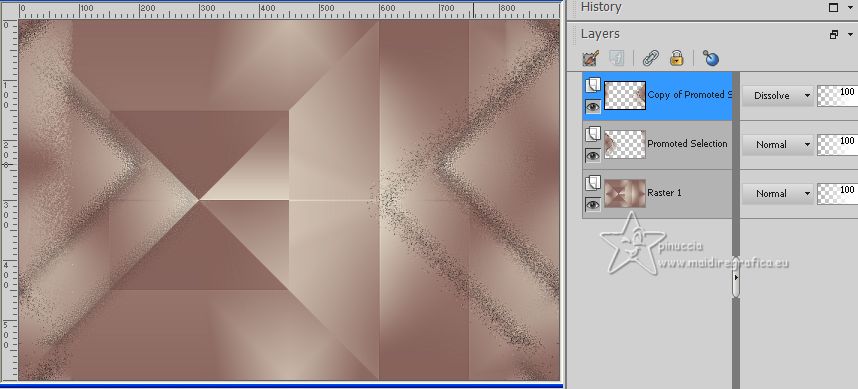
Layers>Merge>Merge Down.
Edit>Repeat Layer Merge Down.
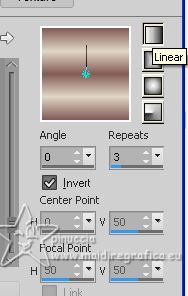
10. Change the settings of your Gradient:
Selections>Load/Save Selection>Load Selection from Disk.
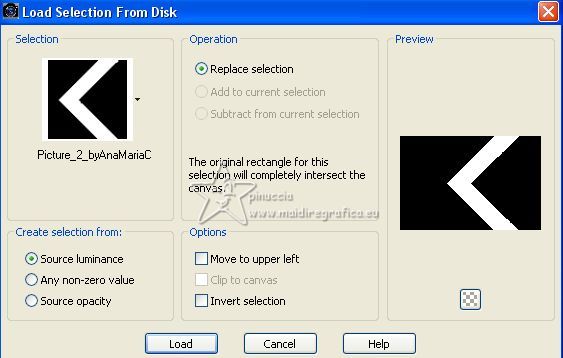
Look for and load the selection Picture_2_byAnaMariaC
Layers>New Raster Layer.
Flood Fill  the selection with your Gradient. the selection with your Gradient.
11. Effects>Artistic Effects>Enamel.
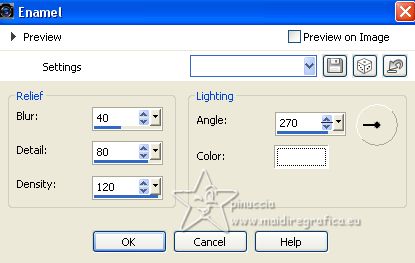
Adjust>Sharpness>Sharpen More.
Selections>Select None.
12. Effects>3D Effects>Drop Shadow, background color
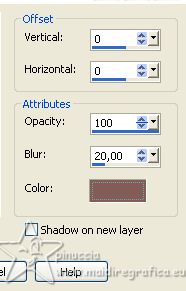
Layers>Duplicate.
Effects>Image>Effects>Seamless Tiling - Side by Side.

13. Change the Blend Mode of this layer to Hard Light.
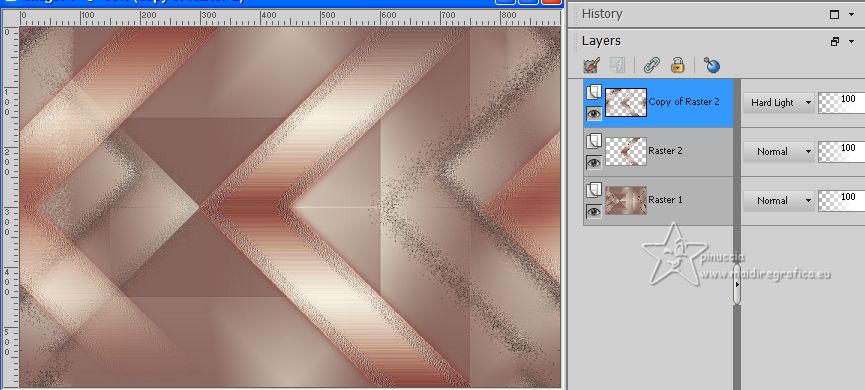
Layers>Merge>Merge Down.
14. Set your foreground color to color white #ffffff.
Layers>New Raster Layers.
Flood Fill  the layer with color white. the layer with color white.
Layers>New Mask layer>From image
Open the menu under the source window and you'll see all the files open.
Select the mask 1250182098_nikita_masque
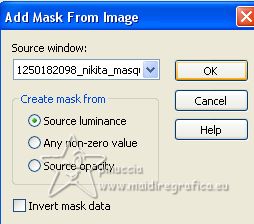
Layers>Merge>Merge Group.
Reduce the opacity of this layer to 50%.
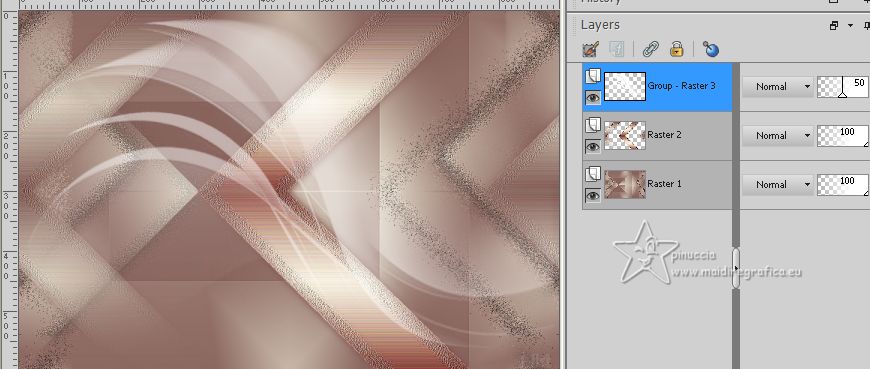
Layers>Merge>Merge Down.
15. Selections>Load/Save Selection>Load Selection from Disk.
Look for and load the selection Picture_3_byAnaMariaC
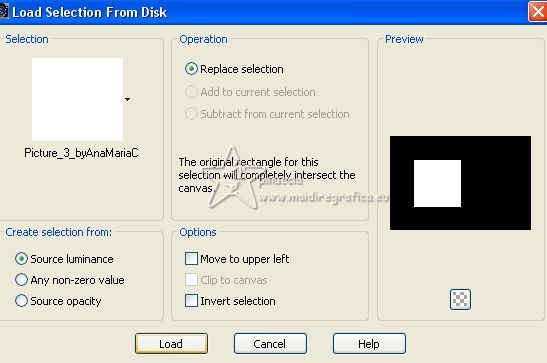
Layers>New Raster Layer.
Flood Fill  the selection with your background color. the selection with your background color.
Selections>Select None.
16. Effects>Plugins>It&64;lian Editors Effects - Effetto Fantasma.
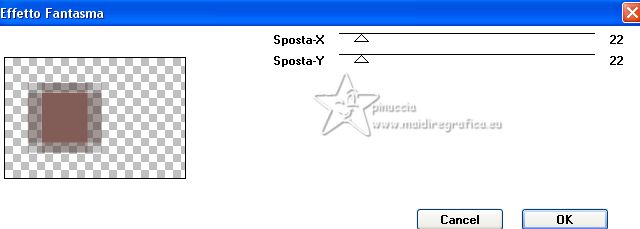
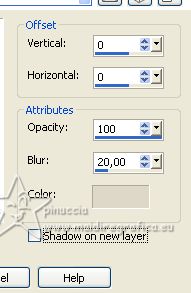
Effects>3D Effects>Drop Shadow, foreground color.
17. Selections>Load/Save Selection>Load Selection from Disk.
Look for and load the selection Picture_4_byAnaMariaC
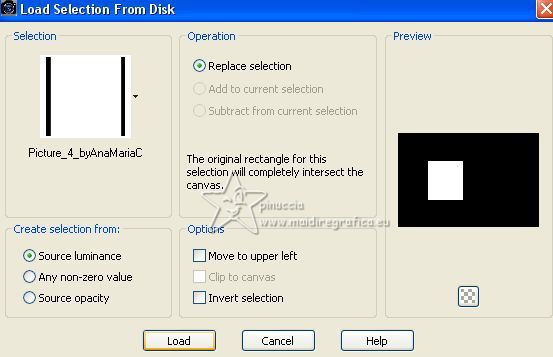
Layers>New Raster Layer.
Selections>Modify>Expand - 7 pixels.
Set again your foreground color to #e0d7c6.
Flood Fill  the selection with your foreground color. the selection with your foreground color.
18. Selections>Modify>Contract - 7 pixels.
Press CANC on the keyboard 
Effects>3D Effects>Drop Shadow, color black.

Layers>Merge>Merge Down.
19. Open the image imagem ai-generated-g16ffa0eba_640 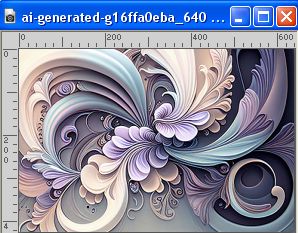
Edit>Copy.
Go back to your work and go to Edit>Paste Into Selections.
Adjust>Sharpness>Sharpen More.
Selections>Select None.
20. Layers>New Raster Layer.
Selections>Load/Save Selections>Load Selection From Disk.
Look for and load the selection Picture_5_byAnaMariaC
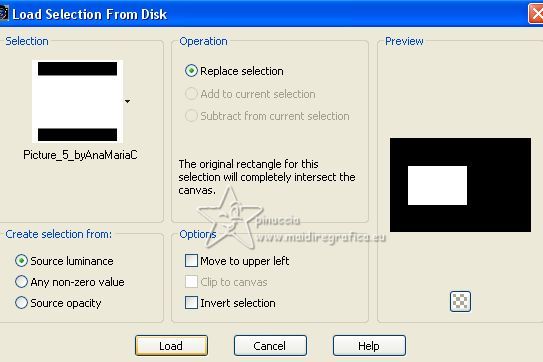
Edit>Paste Into Selection (the image is still in memory).
21. Adjust>Sharpness>Sharpen More.
Layers>Arrange>Move Down.
Selections>Select None.
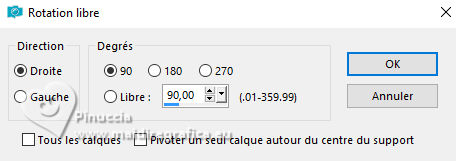
22. Layers>Duplicate.
Image>Free Rotate - 90 degrees à droite.
23. Close the layers Raster 1 and Raster 2.
Layers>Merge>Merge Visible.
Layers>View>All.
24. Activate the layer Raster 2.
Change the Blend Mode of this layer to Hard Light.
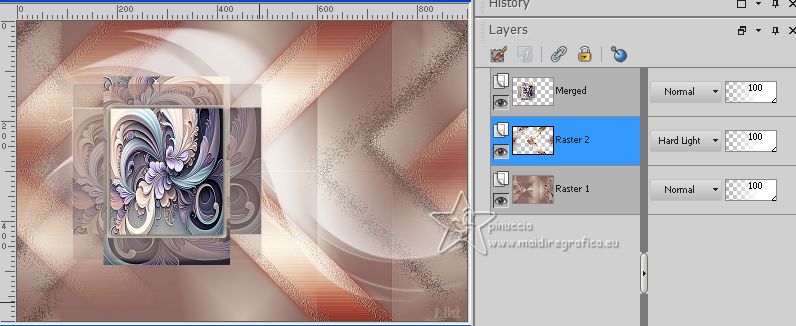
25. Activate your top layer, Merged.
Effects>3D Effects>Drop Shadow, color black.

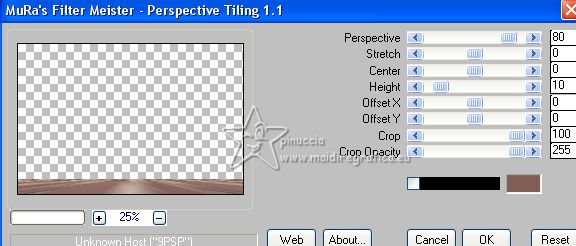
26. Activate the layer Raster 1.
Layers>Duplicate.
Effects>Plugins>Mura's Meister - Perspective Tiling
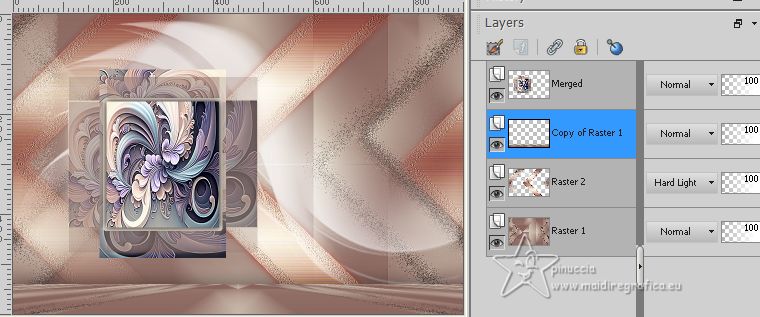
27. Effects>Reflection Effects - Rotating Mirror

28. Effects>3D Effects>Drop Shadow, color black.

Layers>Arrange>Move Up.
29. Image>Add borders, 2 pixels, symmetric, foreground color.
Image>Add borders, 1 pixel, symmetric, background color.
Image>Add borders, 2 pixels, symmetric, foreground color.
30. Selections>Select All.
Image>Add Borders, 40 pixels, symmetric, whatever color.
Selections>Invert.
Set your foreground color to a Foreground/Background Gradient, style Linear.
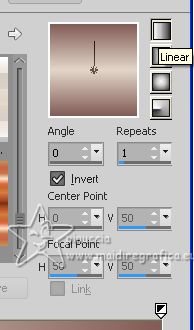
Flood Fill  the selection with your gradient. the selection with your gradient.
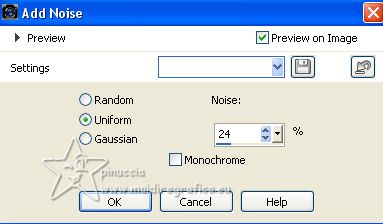
31. Adjust>Add/Remove Noise>Add Noise.
32. Selections>Invert.
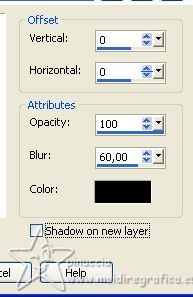
Effects>3D Effects>Drop Shadow, color black.
Selections>Select None.
33. Open Decor_branco_picture_byAnaMariaC 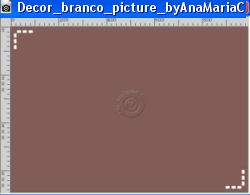
Edit>Copy.
Go back to your work and go to Edit>Paste as new layer.
34. Open your main tube 1032MulherByPqnaAlice 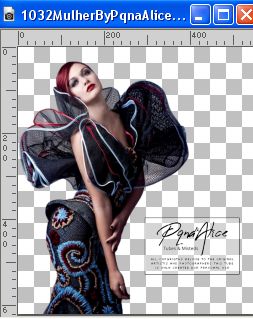
Edit>Copy.
Go back to your work and go to Edit>Paste as new layer.
Resize, if necessary - I resized to 110%, resize all layers not checked.
Move  the tube to the right side. the tube to the right side.
Adjust>Sharpness>Sharpen.
35. Effects>3D Effects>Drop Shadow, color black.
36. Open titulo_byAnaMariaC 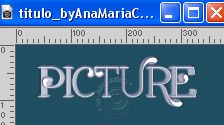
Edit>Copy.
Go back to your work and go to Edit>Paste as new layer.
Move  the text to the left. the text to the left.
Colorize it to your liking.
37. Image>Add borders, 1 pixel, symmetric, background color.
38. Image>Resize, if you want.
Sign your work and save as jpg.
For the tube of this version thanks NaiseM.
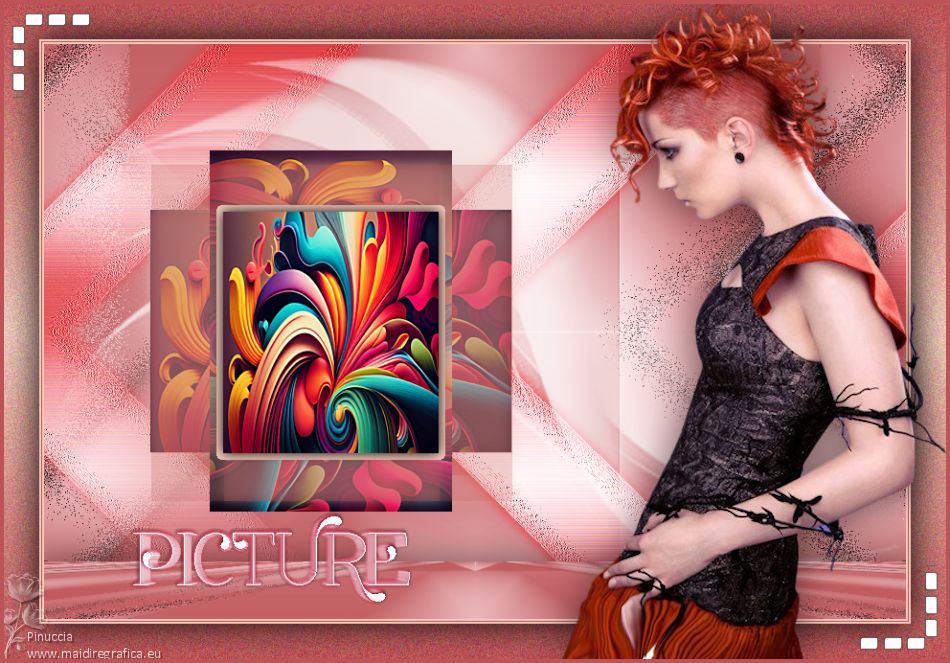

Your versions. Thanks
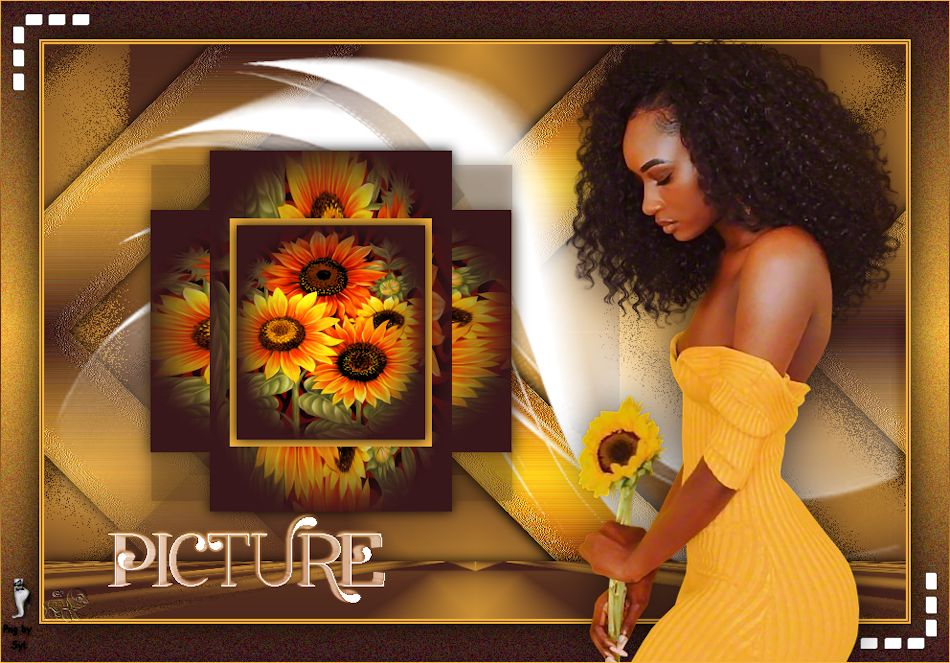
Pia


If you have problems or doubts, or you find a not worked link, or only for tell me that you enjoyed this tutorial, write to me.
10 July 2023

|

