|
CIDABEN - SIM 5 AÑOS
INSPIRANDO CRIATIVIDADE


Thanks Cidaben and SIM PSP Group for your invitation to translate your tutorials into english

This tutorial was written and translated with Psp2020, but it can also be made using other versions of PSP.
Since version PSP X4, Image>Mirror was replaced with Image>Flip Horizontal,
and Image>Flip with Image>Flip Vertical, there are some variables.
In versions X5 and X6, the functions have been improved by making available the Objects menu.
In the latest version X7 command Image>Mirror and Image>Flip returned, but with new differences.
See my schedule here

|
Special Note
PSP SIM and its Tutorial Authors ask the public:
- Please, we request that we maintain the originality of the tutorial,
refraining from adding or including unsolicited effects;
- The use of other images is permitted and encouraged,
but please don't modify the content of the original tutorial;
- Please acknowledge and attribute the valuable credits to those who write tutorials,
make translations and create materials.
Carefully,
PSP SIM and Cidaben
|

For this tutorial, you will need:

(The links of the tubemakers here).

consult, if necessary, my filter section here
Filters Unlimited 2.0 here
&<Bkg Designer sf10IV> - @BlueBerryPie (to import in Unlimited) here
AP [Lines] - Lines SilverLining here
Carolaine and Sensibility here
Toadies - Darwin here
Graphics Plus - Cross Shadow here
Filters Toadies and Graphics Plus can be used alone or imported into Filters Unlimited.
(How do, you see here)
If a plugin supplied appears with this icon  it must necessarily be imported into Unlimited it must necessarily be imported into Unlimited

You can change Blend Modes according to your colors.
In the newest versions of PSP, you don't find the foreground/background gradient (Corel_06_029).
You can use the gradients of the older versions.
The Gradient of CorelX here

Copy the Preset Double Vision in the Presets Folder.
Copy the Selections in the Selections Folder.
1. Choose 3 colors to work.
Set your foreground color to #4f070b
and your background color to #e38b8f.
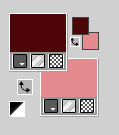
color 3: white #ffffff.
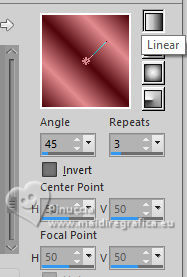
Set your foreground color to a Foreground/Background Gradient, style Linear.
2. Open a new transparent image 950 x 650 pixels.
Flood Fill  the transparent image with your Gradient. the transparent image with your Gradient.
3. Adjust>Blur>Gaussian Blur - radius 40.

4. Selections>Select All.
Selections>Modify>Contract - 50 pixels.
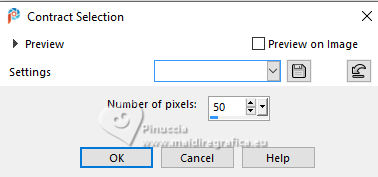
Selections>Invert.
5. Effects>Plugins>AP [Lines] - Lines - SilverLining.
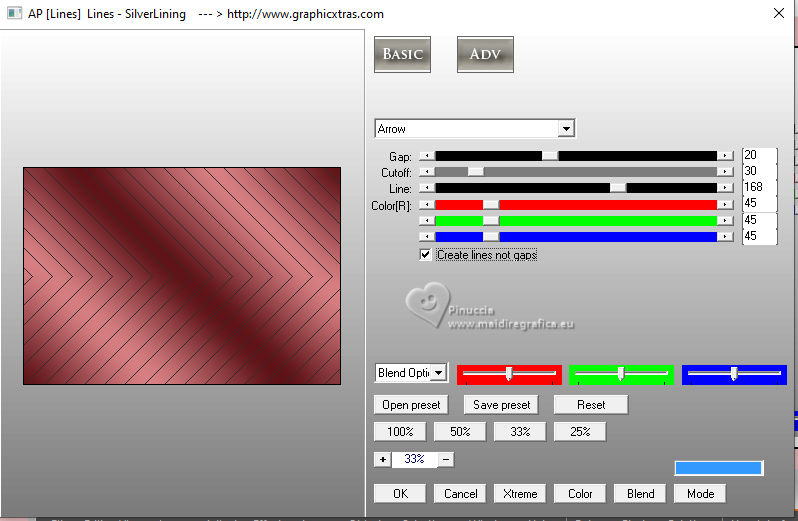
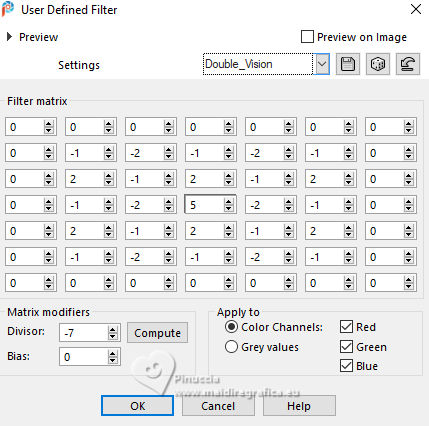
Effects>Used Defined Filter - select the preset Double_Vision
6. Selections>Invert.
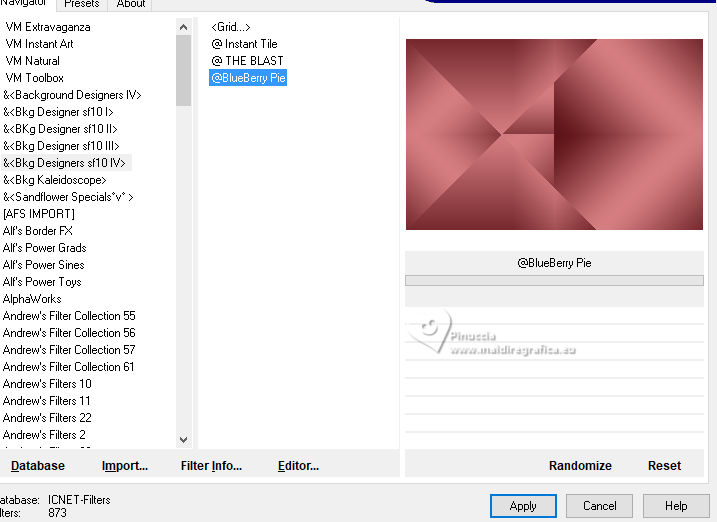
Effects>Plugins>Filters Unlimited 2.0 - &<Bkg Designers sf10IV> - @BlueBerryPie.
7. Selections>Promote Selection to Layer.
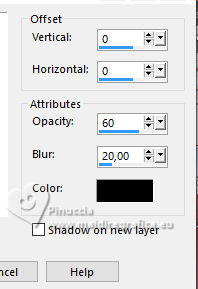
Effects>3D Effects>Drop Shadow - color black #000000.
Selections>Select None.
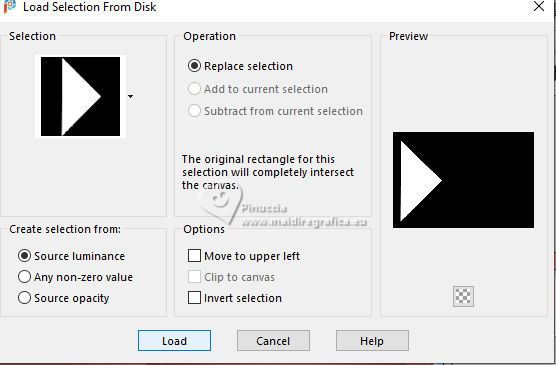
8. Selections>Load/Save Selections>Load Selection From Disk.
Look for and load the selection Selections_5Anos_CBen1
Selections>Promote Selection to Layer.
Effects>Plugins>Caroline and Sensibility - CS-DLines
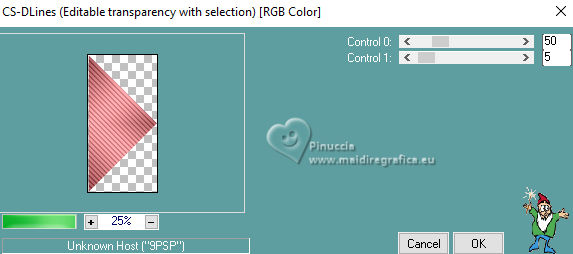
Effects>3D Effects>Drop Shadow, same settings.

Selections>Select None.
9. Activate the layer Promoted Selection.
Selections>Load/Save Selections>Load Selection From Disk.
Look for and load the selection Selections_5Anos_CBen 2
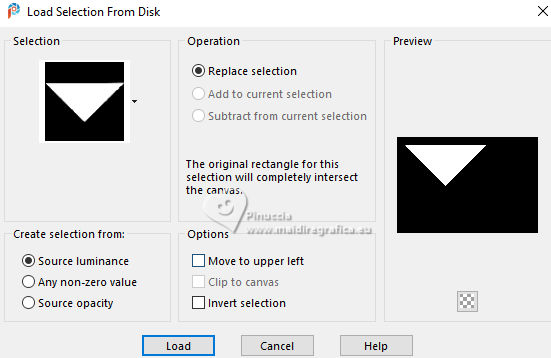
Selections>Promote Selection to Layer.
Effects>Caroline and Sensibility>CS-LDots
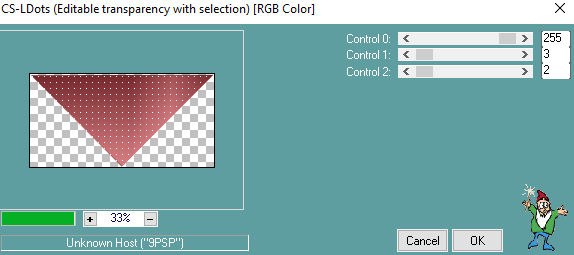
Effects>Edge Effects>Enhance.
Effects>3D Effects>Drop Shadow, same settings.

Selections>Select None.
10. Activate the layer Promoted Selection.
Selections>Load/Save Selections>Load Selection From Disk
Look for and load the selection Selections_5Anos_CBen 3
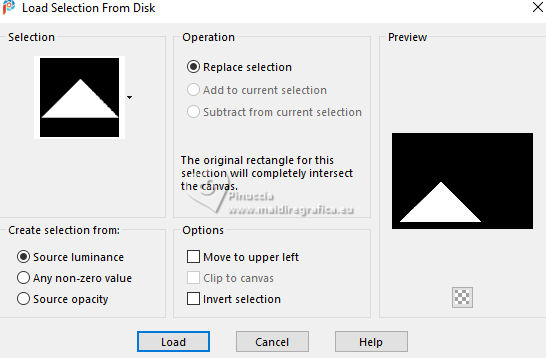
Selections>Promote Selection to Layer.
Effects>Texture Effects>Weave
weave color: dark foreground color #4f070b,
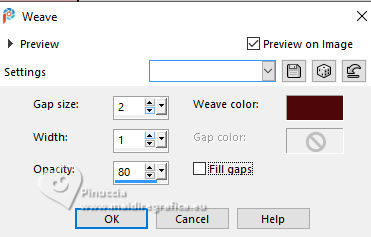
Adjust>Sharpness>Sharpen.
Effects>3D Effects>Drop Shadow, same settings.

Selections>Select None.
11. Activate your top layer (Promoted Selection1).
Layers>Merge>Merge Down - 2 times.
12. Activate the layer Promoted Selection.
Effects>Plugins>Filters Unlimited 2.0 - Toadies - Darwin, default settings.
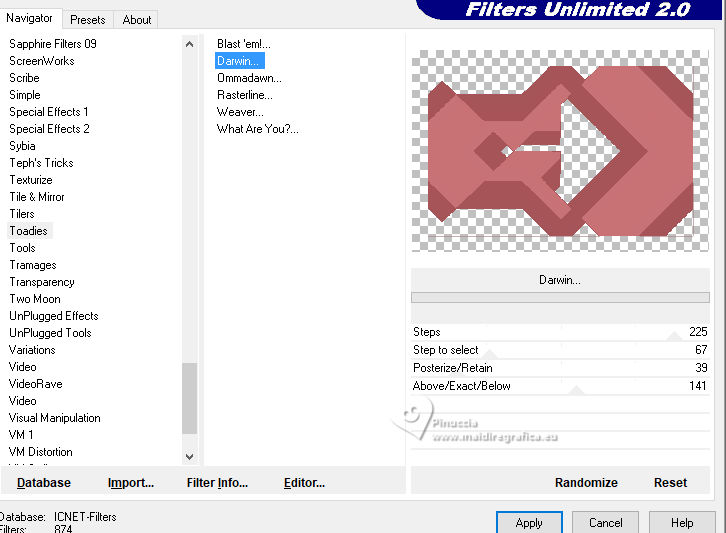
Note: for this effect your foreground color should be a dark one,
and your Background color should be a light one.
For my second version I used foreground color: #3a231a and background color: #d7916b
13. You are on the layer Promoted Selection.
Layers>New Raster Layer.
Selections>Load/Save Selections>Load Selection From Disk.
Look for and load the selection Selections_5Anos_CBen 4
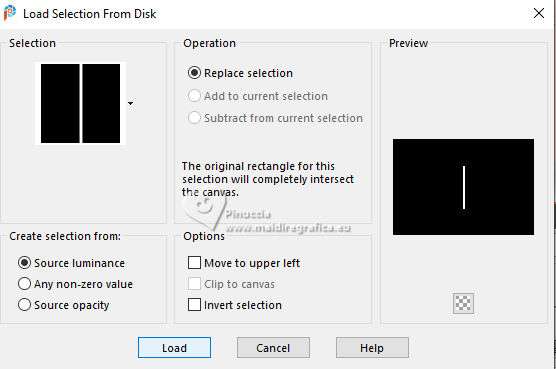
Flood Fill  the selection with your Gradient. the selection with your Gradient.
Selections>Select None.
Effects>Texture Effects>Fine Leather - Foreground color #4f070b.
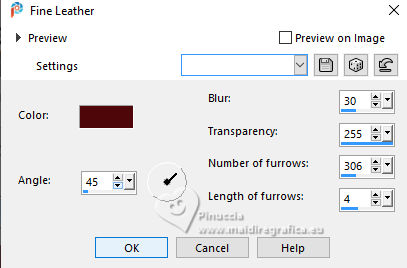
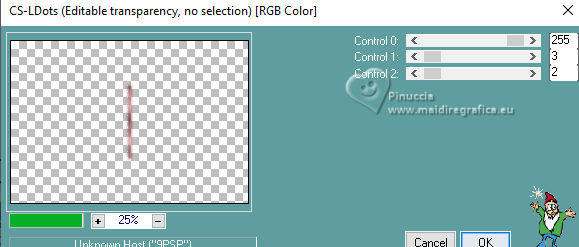
Effects>Carolaine and Sensibility>CS-LDots
14. Activate the layer Promoted Selection.
Selections>Load/Save Selections>Load Selection From Disk.
Look for and load the selection Selections_5Anos_CBen 5
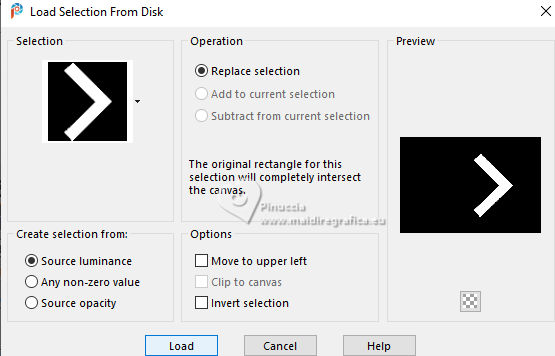
Effects>Plugins>AP [Linesb - Lines SilverLining.
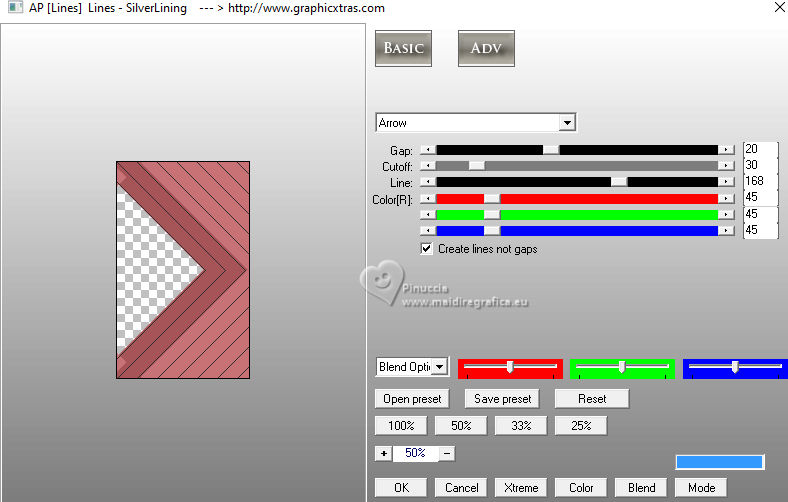
Effects>Used Defined Filter - Double_Vision

Adjust>Sharpness>Sharpen.
Effects>3D Effects>Drop Shadow, same settings.

Selections>Select None.
15. Open Título_5anos_CBen 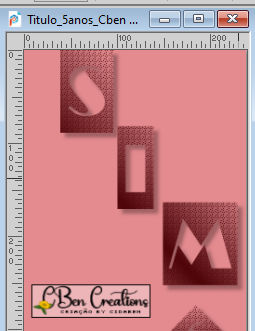
Edit>Copy.
Go back to your work and go to Edit>Paste As New Layer.
Pick Tool 
Position X: 633,00 - Position Y: 65,00

Adjust>Sharpness>Sharpen.
16. Open Misted_5anos_CBen 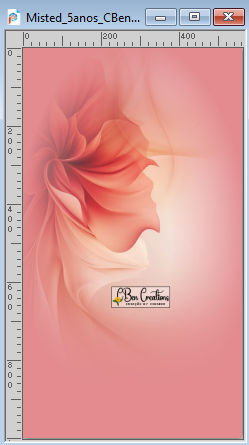
Edit>Copy.
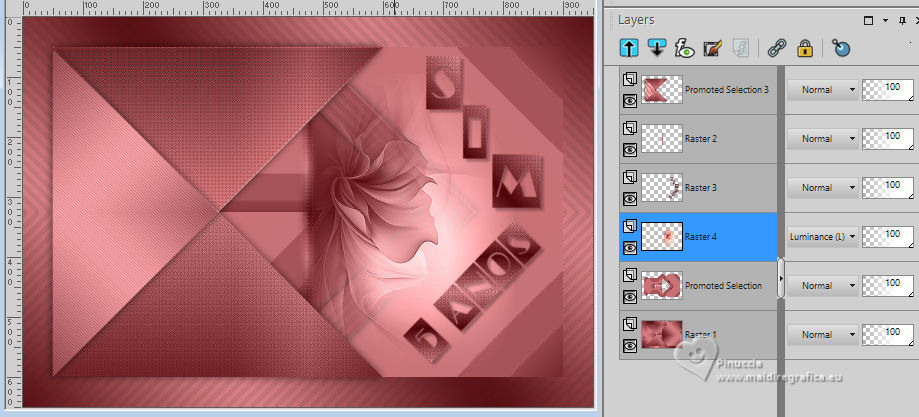
Go back to your work and go to Edit Paste As New Layer.
Image>Resize - 60%, resize all layers not checked.
Pick Tool 
Position X: 481,00 - Position Y: 96,00

Layers>Arrange>Move Down.
Change the Blend Mode of this layer to Luminance(L).
Effects>Edge Effects>Enhance.
17. Activate your top layer (Promoted Selection3).
Open Misted_MulherRosa_5anos_CBen 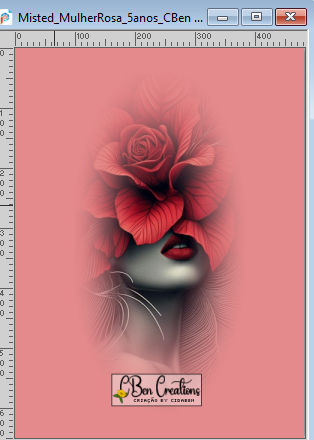
Edit>Copy.
Go back to your work and go to Edit>Paste As New Layer.
Pick Tool 
Position X: 56,00 - Position Y: 45,00

Layer> Duplicate.
Layers>Merge>Merge Down.
Change the Blend Mode of this layer to Luminance(L).
Adjust>Sharpness>Sharpen.
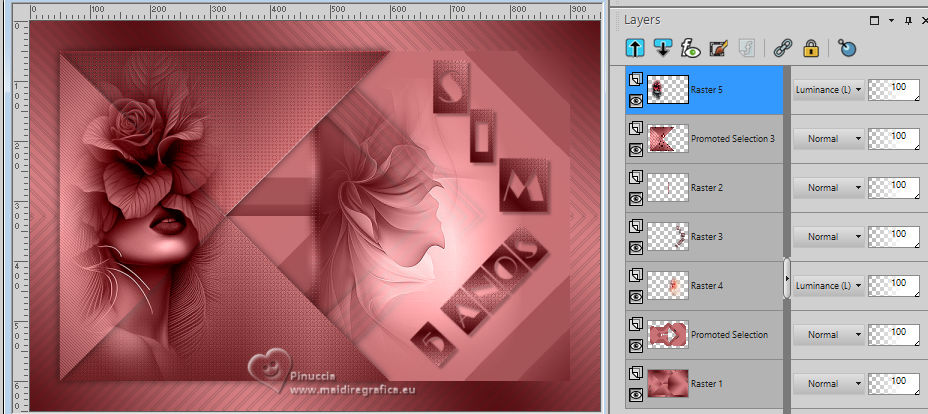
18. Your tag and the layers.
19. Image>Add borders, 1 pixel, symmetric, foreground color #4f070b.
Image>Add borders, 2 pixels, symmetric, background color #e38b8f.
Image>Add borders, 1 pixel, symmeetric, foreground color #4f070b.
20. Selections>Select All.
Image>Add Borders>10 pixels, symmetric, background color #e38b8f.
Selections>Invert.
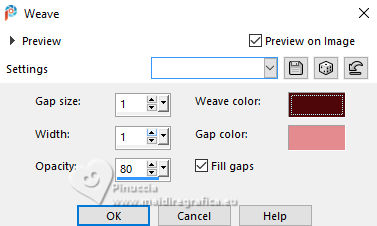
21. Effects>Texture Effects>Weave
weave color: foreground color
gap color: background color
Selections>Select None.
22. Image>Add Borders>Symmetric - 1 pixels, foreground color #4f070b.
Selections>Select All.
Edit>Copy
Image>Add Borders>Symmetric - 35 pixels, whatever color.
Selections>Invert.
Edit>Paste Into Selection.
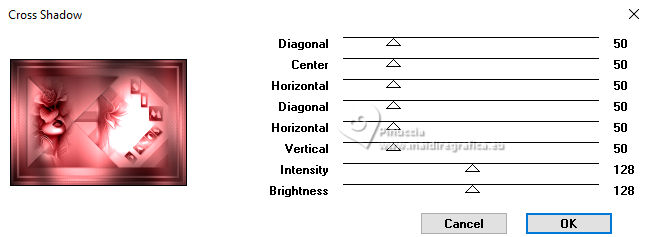
Effects>Graphics Plus>Cross Shadow - default settings.
Selections>Select None.
23. Open Título2_5anos_CBen 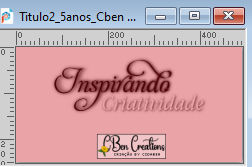
Edit>Copy.
Go back to your work and go to Edit>Paste As New Layer.
Pick Tool 
Position X: 286,00 - Position Y: 527,00

24. Image>Add Borders, 1 pixel, symmetric, foreground color #4f070b.
25. Sign your work.
Save as jpg.
For the tubes of these versions thanks
Yvonne

Mentali


 Your versions. Thanks Your versions. Thanks

Baby

Baby

Louise


If you have problems or doubts, or you find a not worked link, or only for tell me that you enjoyed this tutorial, write to me.
30 June 2024
|

