|
SIM PSP 6 YEARS
CREATING SHAPES

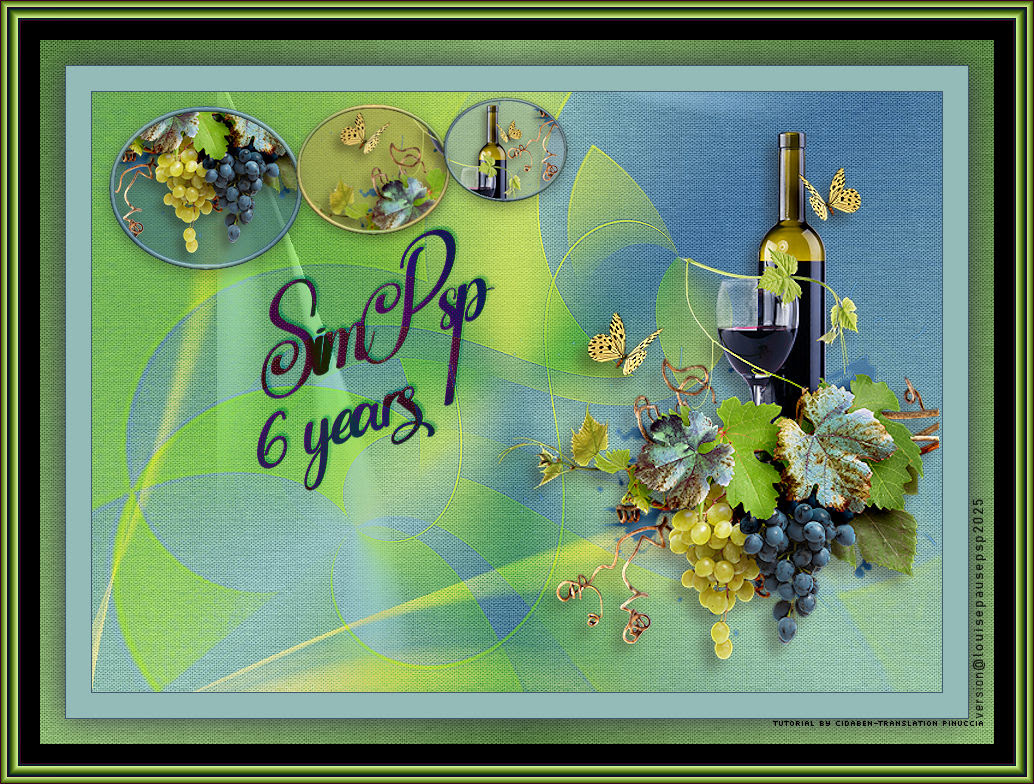
Thanks Cidaben and SIM PSP Group for your invitation to translate your tutorials into english
 SimPsp 6 Years Creating Shapes
We are celebrating 6 years of SimPsp creating tutorials with shapes,
colors and an ever-new design.
Covering the world on the networks with creativity.
SimPsp has been inspiring joy and excitement for 6 years for those who admire our tutorials.
This tutorial was written and translated with Psp2022, but it can also be made using other versions of PSP.
Since version PSP X4, Image>Mirror was replaced with Image>Flip Horizontal,
and Image>Flip with Image>Flip Vertical, there are some variables.
In versions X5 and X6, the functions have been improved by making available the Objects menu.
In the latest version X7 command Image>Mirror and Image>Flip returned, but with new differences.
See my schedule here
|
Special Note
PSP SIM and its Tutorial Authors ask the public:
- Please, we request that we maintain the originality of the tutorial,
refraining from adding or including unsolicited effects;
- The use of other images is permitted and encouraged,
but please don't modify the content of the original tutorial;
- Please acknowledge and attribute the valuable credits to those who write tutorials,
make translations and create materials.
Carefully,
PSP SIM and Cidaben
|

For this tutorial, you will need:

For the mask thanks Narah.
The rest of the material by CidaBen
(The links of the tubemakers here).

consult, if necessary, my filter section here
Filters Unlimited 2.0 here
Flaming Pear - Flexify 2 here
AAA Frames - Frame Works here

You can change Blend Modes according to your colors.
In the newest versions of PSP, you don't find the foreground/background gradient (Corel_06_029).
You can use the gradients of the older versions.
The Gradient of CorelX here

Copy the selection in the Selections Folder.
Open the masks in PSP and minimize them with the rest of the material.
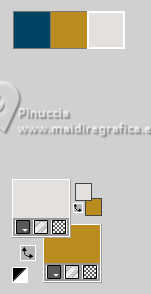
1. Choose 3 colors to work.
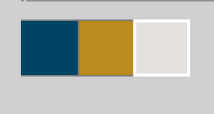
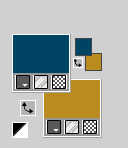
Set your foreground color to #004564
and your background color to #ba8c20.
color 3 #e4e0dd
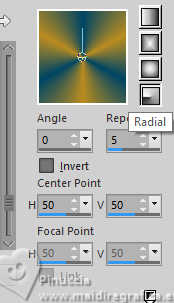
Set your foreground color to a Foreground/Background Gradient, style Radial.
2. Open a new transparent image 850 x 600 pixels.
Flood Fill  the transparent image with your gradient. the transparent image with your gradient.
Adjust>Blur>Gaussian Blur - radius 15.

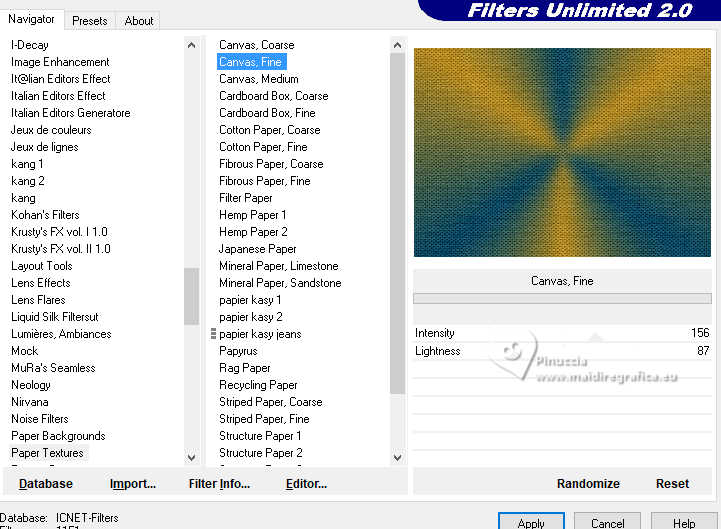
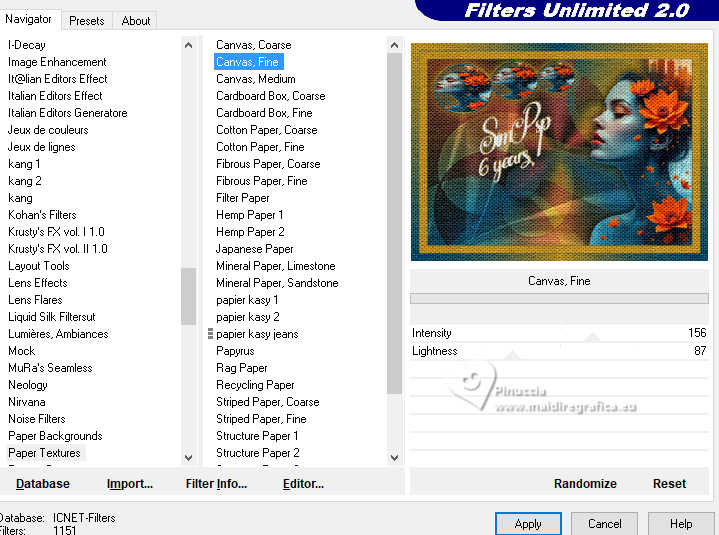
Effects>Plugins>Filters Unlimited - Paper Textures - Canvas,Fine, default settings.
3. Layers>New Raster Layer.
Close the layer Raster 1.
Activate the layer Raster 2.
Flood Fill  the layer with your Gradient. the layer with your Gradient.

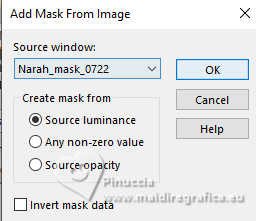
4. Layers>New Mask layer>From image
Open the menu under the source window and you'll see all the files open.
Select the mask Narah_mask_0722
Effects>Edge Effects>Enhance.
Layers>Merge>Merge Group.
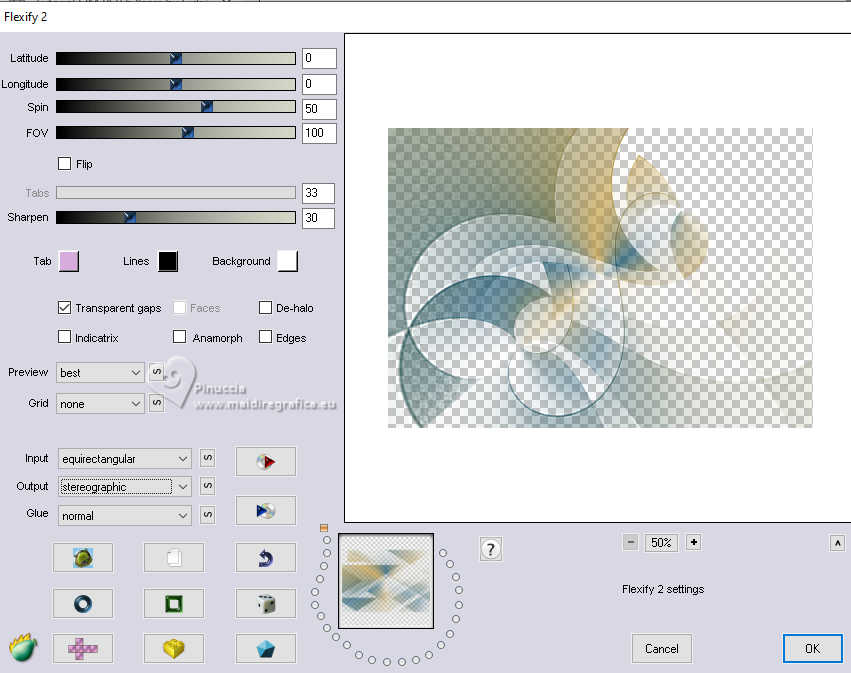
5. Effects>Plugins>Flaming Pear - Flexify 2
6. Open the layer Raster 1 and stay on the layer of the mask, Raster 2.
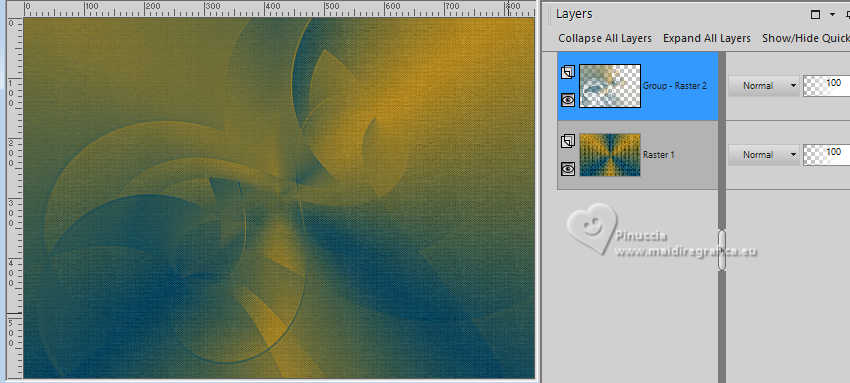
Layers>Properties>General>Blend Mode: Difference>Opacity: 100.
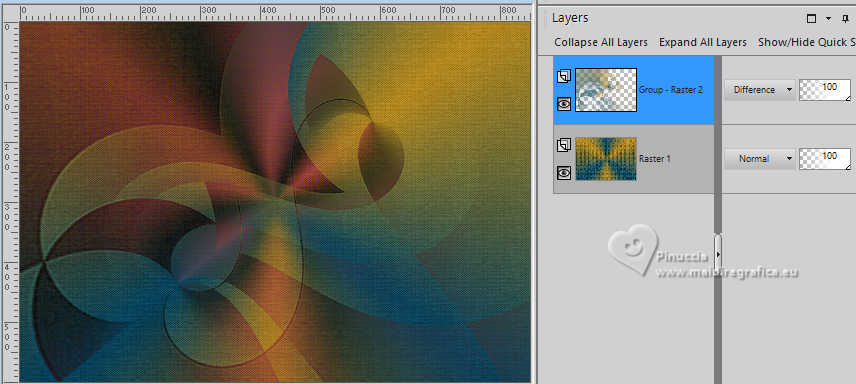
****In the second version Cideban used Blend Mode: Burn>Opacity 100%.
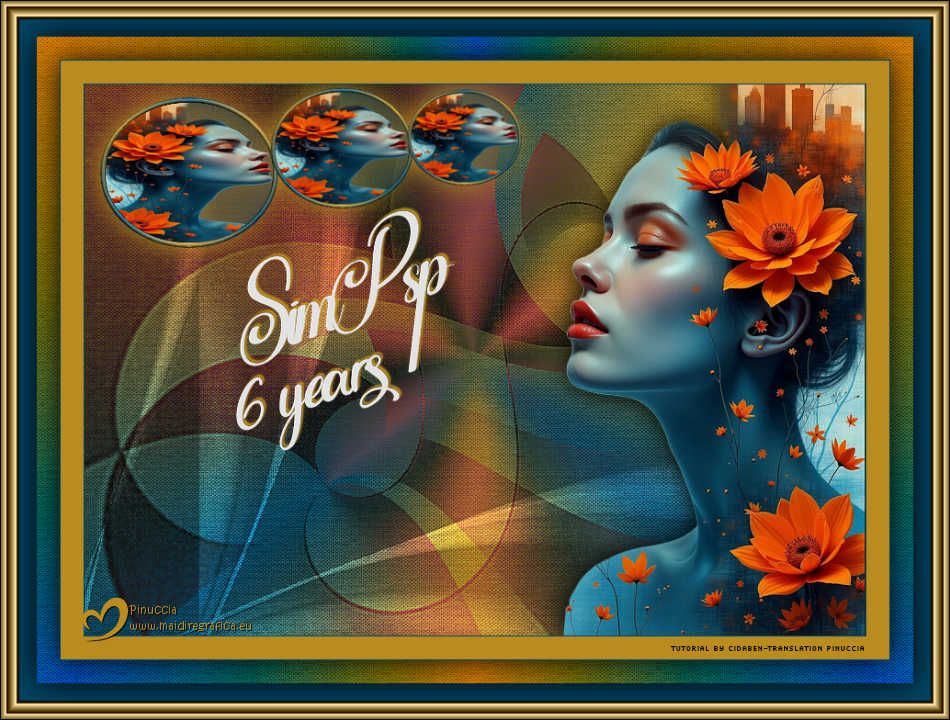
7. Open Tube_Mulher6Years_CBen 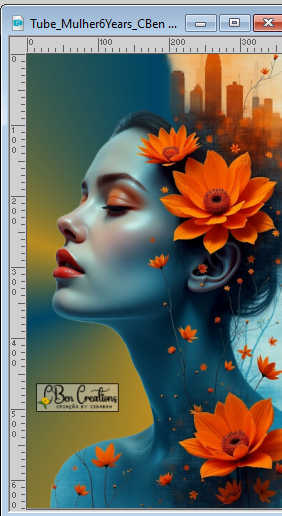
Edit>Copy.
Go back to your work and go to Edit>Paste as new layer.
Image>Resize, if necessary if you use another tube, resize all layers not checked.
Pick Tool 
Position X: 521,00 - Position Y: -39.,00.

Adjust>Sharpness>Sharpen.
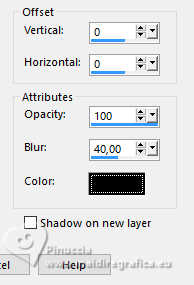
Effects>3D Effects>Drop Shadow, color black #000000.
8. Layers>New Raster Layer.
Set your foreground color to the color 3 #e4e0dd.
Flood Fill  the layer with your foreground color. the layer with your foreground color.
Layers>New Mask layer>From image
Open the menu under the source window
and select the mask Narah_Mask_1254
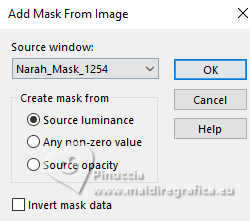
Layers>Merge>Merge Group.
9. Image>Mirror>Mirror Vertical (Image>Flip).
Layers>Arrange>Move Down.
Layers>Properties>General>Blend mode: Overlay>Opacity: 100.
Effects>Edge Effects>Enhance More.
10. Layers Duplicate.
Image>Free Rotate - 90 degrees to right.
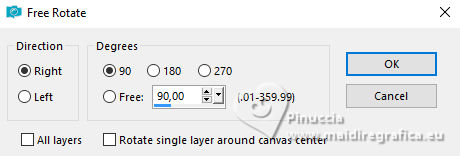
Image>Mirror>Mirror Vertical (Image>Flip).
Layers Merge>Merge Down.
11. Layers>New Raster Layer.
Selections>Load/Save Selections>Load Selection from Disk.
Look for and load the selection 6Years_CBen1
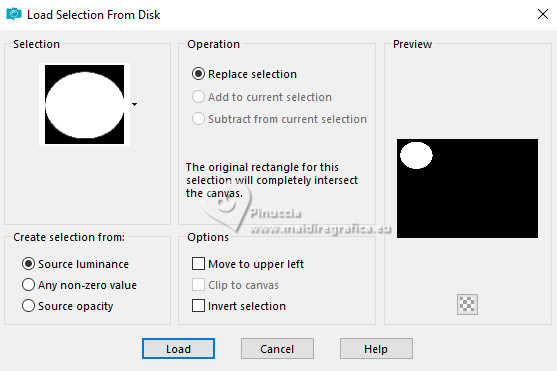
Selections>Modify>Select Selections Borders.
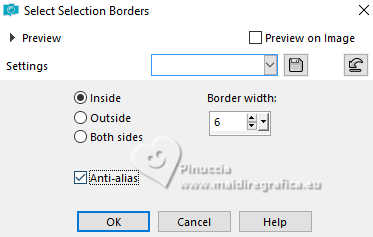
Set again your foreground color to the first color to have again the Radial Gradient.
 
Flood Fill  the selection with your Gradient. the selection with your Gradient.
Effects>3D Effects>Inner Bevel.
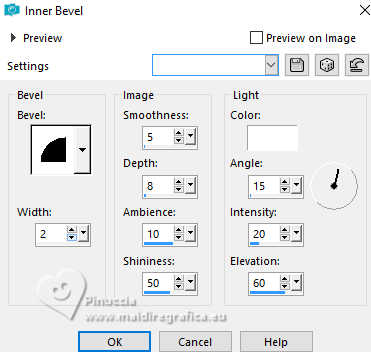
Selections>Select None.
12. Activate your Magic Wand Tool  , tolerance and feather 0, , tolerance and feather 0,
and click in the circle to select it.
Layers>New Raster Layer.
Selections>Modify>Expand - 2 pixels.
Set your foreground color to Color.
Reduce the opacity of your Flood Fill Tool to 50,
Flood Fill  the selection with your foreground color. the selection with your foreground color.
Set again the opacity of your Flood Fill Tool to 100.
13. Open the Tube_Mulher6Years_CBen.
Image>Mirror>Mirror Horizontal.
Edit>Copy.
Go back to your work and go to Edit>Paste Into Selection.
Layers>Arrange>Move Down.
Activate the layer Raster 3.
Layers>Merge>Merge Down.
Adjust>Sharpness>Sharpen.
Selections>Select None.
14. Layers>Duplicate
Image>Resize, to 80%, resize all layers not checked.
Pick Tool 
Position X: 202,00 - Position Y: 3,00.

15. Layers>Duplicate
Image>Resize, to 80%, resize all layers not checked.
Pick Tool 
Position X: 351,00 - Position Y: 5,00.

Layers>Merge>Merge Down - 2 times.
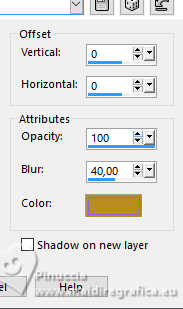
Effects>3D Effects>Drop Shadow, background color #ba8c20.
16. Open Titulo_6Years_CBen2 
Edit>Copy.
Go back to your work and go to Edit>Paste as new layer.
Pick Tool 
Position X: 165,00 - Position Y: 136,00.

Effects>3D Effects>Drop Shadow, background color #ba8c20.
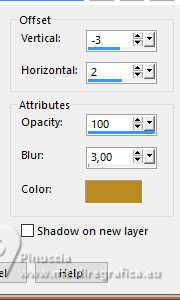
Adjust>Sharpness>Sharpen.
17. Image>Add Borders, 1 pixel, symmetric, foreground color #004564.
Image>Add Borders, 25 pixels, symmetric, background color #ba8c20.
Image>Add Borders, 1 pixel, symmetric, foreground color #004564.
18. Selections>Select All.
Image>Add Borders, 25 pixels, symmetric, whatever color.
Selections>Invert.
Set again your foreground color to the Gradient.

Flood Fill  with your Gradient. with your Gradient.
19. Effects>Plugins>Filters Unlimited 2.0 - Paper Textures - Canvas,Fine, default settings.
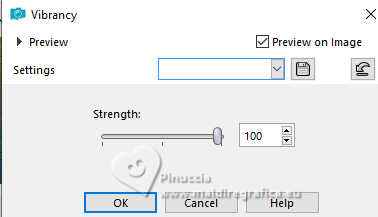
Adjust>Hue And Saturation>Vibrancy.
Selections>Invert.
Effects>3D Effects>Drop Shadow, color black #000000.

20. Selections Select All.
Image>Add Borders, 40 pixels, symmetric, foreground color #004564.
Effects>3D Effects>Drop Shadow, color black #000000.

Selections>Invert.
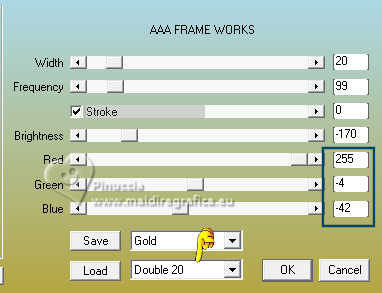
Effects>AAA Frames>Frame Works.

***In her second version, Cidaben used:
Selections>Select None.
21. Sign your work and save as jpg.
For the tube of this version thanks Wieskes


 Your versions. Thanks Your versions. Thanks

Louise


If you have problems or doubts, or you find a not worked link, or only for tell me that you enjoyed this tutorial, write to me.
26 June 2025

|


 SimPsp 6 Years Creating Shapes


 the transparent image with your gradient.


 , tolerance and feather 0,


 Your versions. Thanks