|
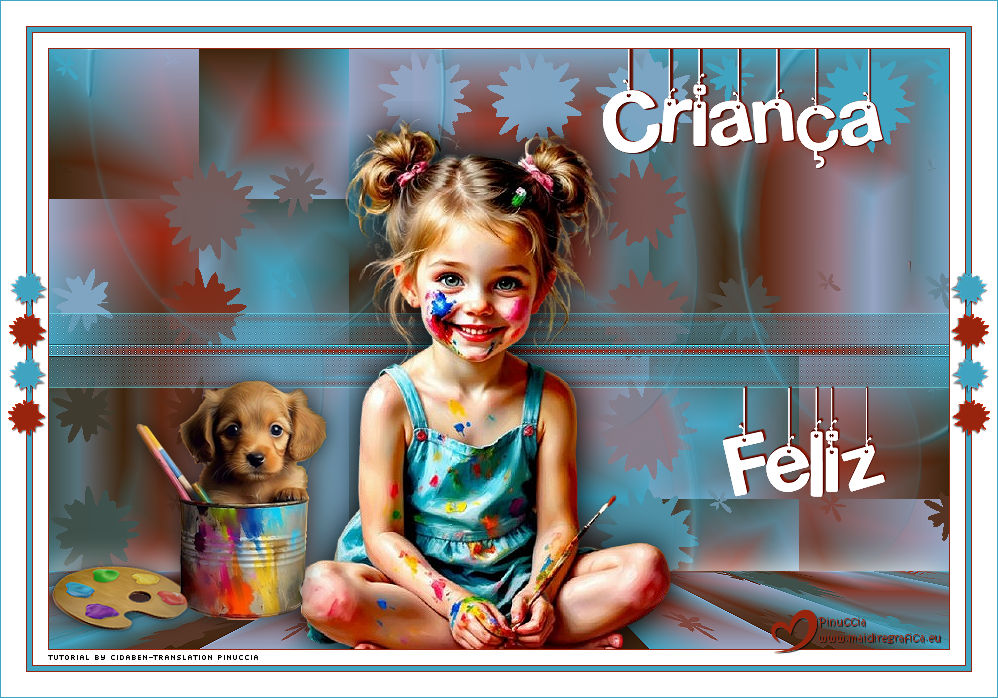
CRIANÇA FELIZ
 HAPPY CHILD HAPPY CHILD

Thanks Cidaben and SIM PSP Group for your invitation to translate your tutorials into english

This tutorial was written and translated with Psp2022, but it can also be made using other versions of PSP.
Since version PSP X4, Image>Mirror was replaced with Image>Flip Horizontal,
and Image>Flip with Image>Flip Vertical, there are some variables.
In versions X5 and X6, the functions have been improved by making available the Objects menu.
In the latest version X7 command Image>Mirror and Image>Flip returned, but with new differences.
See my schedule here
|
Special Note
PSP SIM and its Tutorial Authors ask the public:
- Please, we request that we maintain the originality of the tutorial,
refraining from adding or including unsolicited effects;
- The use of other images is permitted and encouraged,
but please don't modify the content of the original tutorial;
- Please acknowledge and attribute the valuable credits to those who write tutorials,
make translations and create materials.
Carefully,
PSP SIM and Cidaben
|

For this tutorial, you will need:

For the mask thanks Narah.
The rest of the material is by CidaBen
(The links of the tubemakers here).

consult, if necessary, my filter section here
Filters Unlimited 2.0 here
Mehdi. Sorting Tiles here
Alien Skin Eye Candy 5 Impact. Extrude here
VM Texture. Dribble here
Mura's Seamless. Emboss at Alpha here
Carolaine and Sensibility. CS-LDots here
Mura's Meister. Perspective Tiling here
It@lian Editors Effect. Effetto Fantasma here
Filters VM Texture, Mura's Seamless and It@lian Editors can be used alone or imported into Filters Unlimited.
(How do, you see here)
If a plugin supplied appears with this icon  it must necessarily be imported into Unlimited it must necessarily be imported into Unlimited

You can change Blend Modes according to your colors.
In the newest versions of PSP, you don't find the foreground/background gradient (Corel_06_029).
You can use the gradients of the older versions.
The Gradient of CorelX here

Copy the selection in the Selections Folder.
Open the mask in PSP and minimize it with the rest of the material.
1. Choose 2 colors to work.
Set your foreground color to #99240d
and your background color to #3fa5c3.
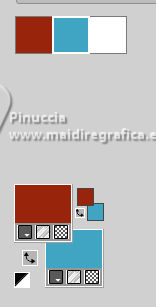
color 3 #ffffff
Set your foreground color to a Foreground/Background Gradient, style Rectangular.
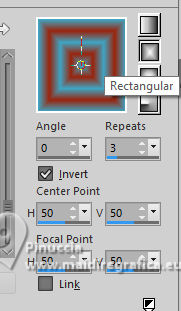
2. Open a new transparent image 900 x 600 pixels.
Flood Fill  the transparent image with your Gradient. the transparent image with your Gradient.
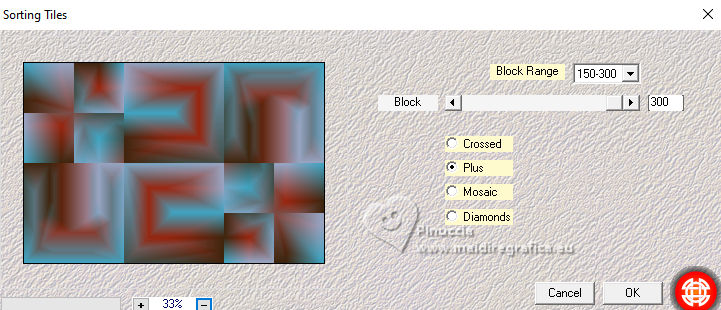
3. Effects>Plugin>Mehdi>Sorting Tiles.
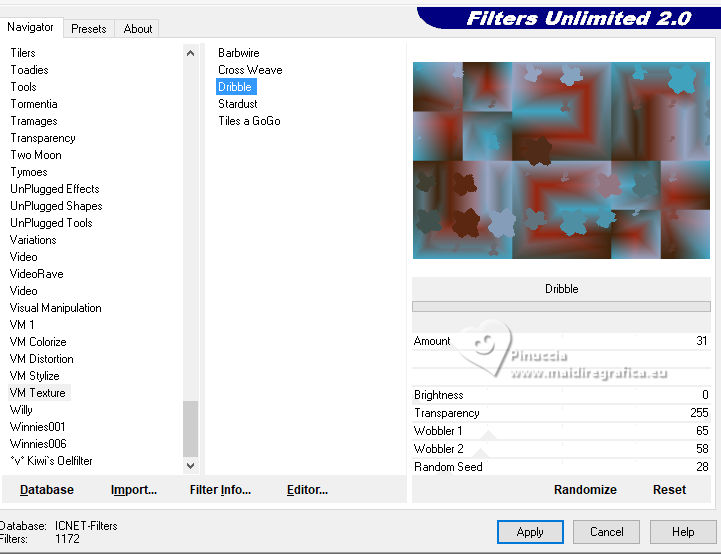
4. Effects>Plugins>Filters Unlimited 2.0 - VM Texture - Dribble.
5. Layers>New Raster Layer.
Flood Fill  the layer with your background color #3fa5c3. the layer with your background color #3fa5c3.
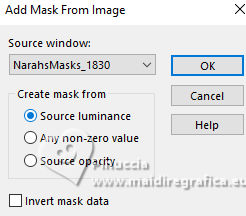
Layers>New Mask layer>From image
Open the menu under the source window and you'll see all the files open.
Select the mask NarahMasks_1830
Layers>Merge>Merge Group.
6. Layers>Properties>General>Opacity: 50%.
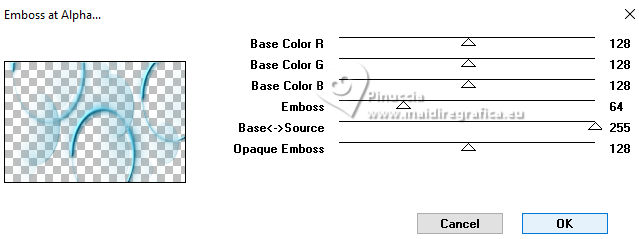
Effects>Plugins>Mura's Seamless - Emboss at Alpha
7. Activate the layer Raster 1.
Layers>Duplicate.
Layers>Arrange>Bring To Top.
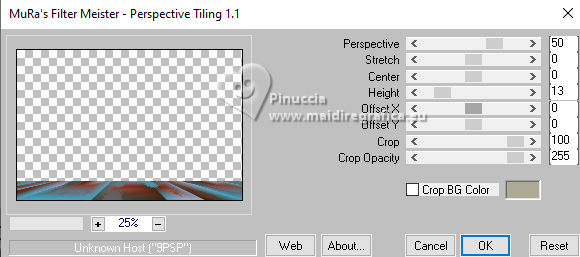
Effects>Plugins>Mura's Meister - Perspective Tiling.
8. Effects>Reflection Effects>Rotating Mirror.

9. Adjust>Sharpness>Sharpen.
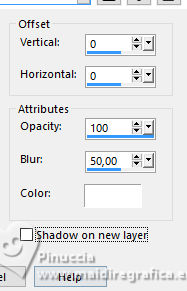
Effects>3D Effects>Drop Shadow, color white #ffffff.
10. Open the main tube Tube_CriancaFeliz_CBen 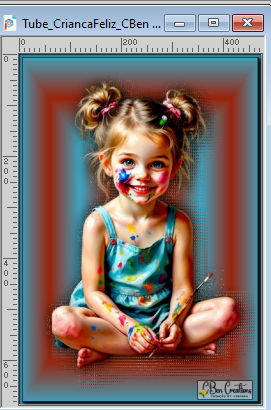
Edit>Copy.
Go back to your work and go to Edit>Paste as new Layer.
Image>Mirror>Mirror Horizontal.
Place  the tube to your liking. the tube to your liking.
Adjust>Sharpness>Sharpen.
Effects>3D Effects>Drop Shadow, at your choice.
11. Open the tube Deco1_CriancaFeliz_CBen 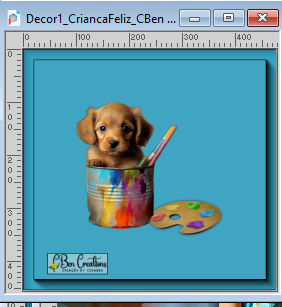
Edit>Copy.
Go back to your work and go to Edit>Paste as new Layer.
Pick Tool 
Position X: -1,00 - Position Y: 331,00

Adjust>Sharpness>Sharpen.
Effects>3D Effects>Drop Shadow, at your choice.
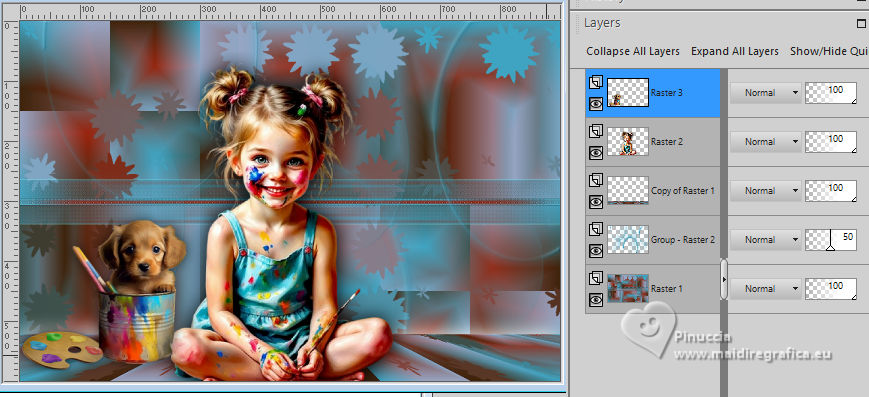
12. Close the layers Raster 3, Raster 2, Raster Copy of Raster 1.
Activate the layer Raster 1.
Layers>New Raster Layer.
Selections>Load/Save Selection>Load Selection From Disk.
Look for and load the selection Sel_CF_CBen
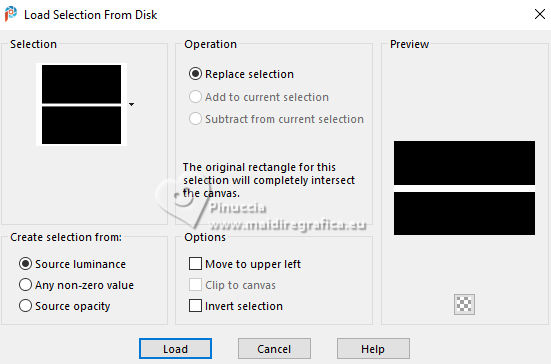
Flood Fill  the selection with your Gradient. the selection with your Gradient.

13. Effects>Plugin>Carolaine and Sensibility - CS-LDots.
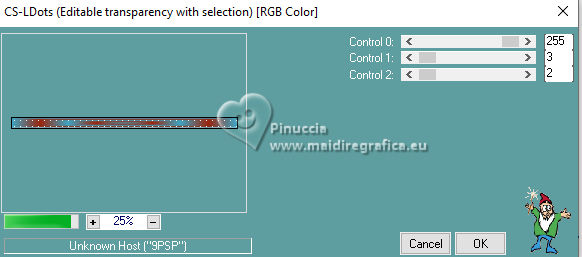
Selections>Select None.
14. Effects>Plugins>It@lian Editors Effect - Effetto Fantasma.
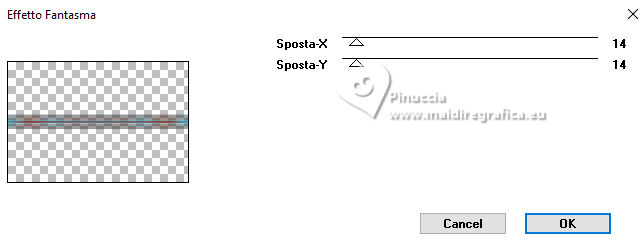
Effects>Edge Effects>Enhance.
Layers>Merge>Merge Down
Layers>View>All, to open the closed layers.
15. Activate your top layer, Raster 3.
16. Open Titulo_CriancaFeliz_CBen 
Edit>Copy.
Go back to your work and go to Edit>Paste as new Layer
Pick Tool 
Position X: 553,00 - Position Y: -8,00.

Effects>Plugins>Alien Skin Eye Candy 5 Impact - Extrude
both colors: foreground color
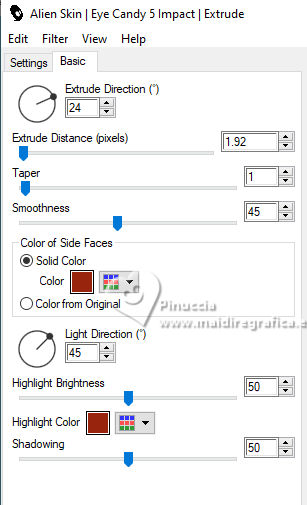
Adjust>Sharpness>Sharpen.
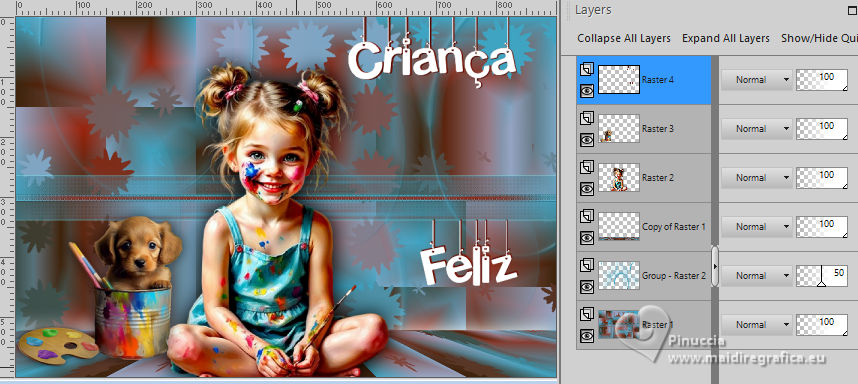
17. Image>Add Borders, 1 pixel, symmetric, foreground color #99240d.
Image>Add Borders, 15 pixels, symmetric, color white #ffffff.
Image>Add Borders, 1 pixel, symmetric, foreground color #99240d.
Image>Add Borders, 5 pixels, symmetric, background color #3fa5c3.
Image>Add Borders, 1 pixel, symmetric, foreground color #99240d.
Image>Add Borders, 25 pixels, symmetric, color white #ffffff.
18. Open Decor2_CriancaFeliz_CBen 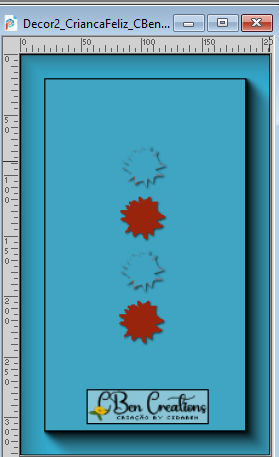
Edit>Copy.
Go back to your work and go to Edit>Paste as new Layer.
Pick Tool 
Position X: 6,00 - Position Y: 271,00.

Layers>Duplicate.
Image>Mirror>Mirror Horizontal.
Layers>Merge>Merge Down.
Adjust>Sharpness>Sharpen.
19. Image>Add Borders, 1 pixel, symmetric, background color #3fa5c3.
20. Open Credit-Tutorial_byCidaBen and go to Edit>Copy.
Go back go your work and go to Edit>Paste as new Layer.
Place  to your liking. to your liking.
Don't forget the translator's credit.
21. Sign your work and save as jpg.
Version with my tube from a Pinterest's image.


 Your versions. Thanks Your versions. Thanks

Lady Tess
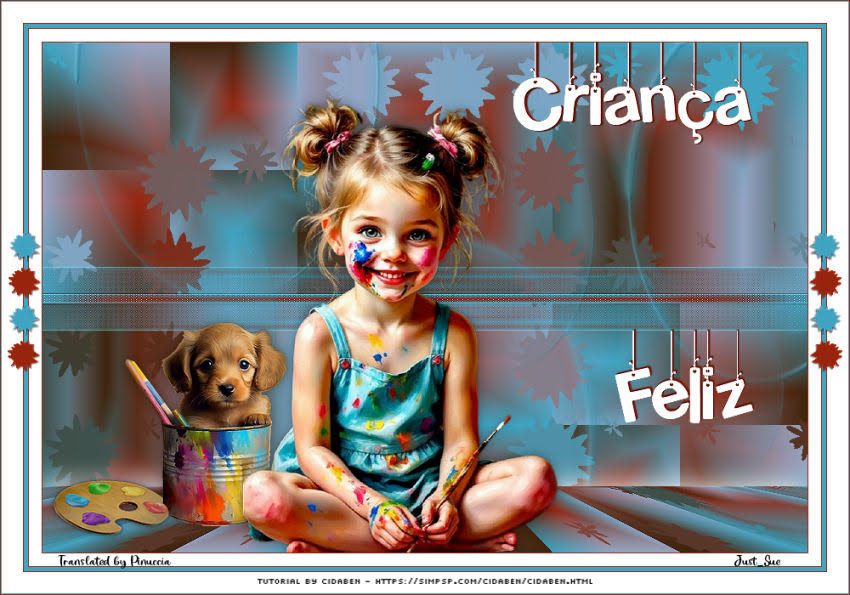
Sue


If you have problems or doubts, or you find a not worked link, or only for tell me that you enjoyed this tutorial, write to me.
23 September 2025

|
 HAPPY CHILD

 HAPPY CHILD