|
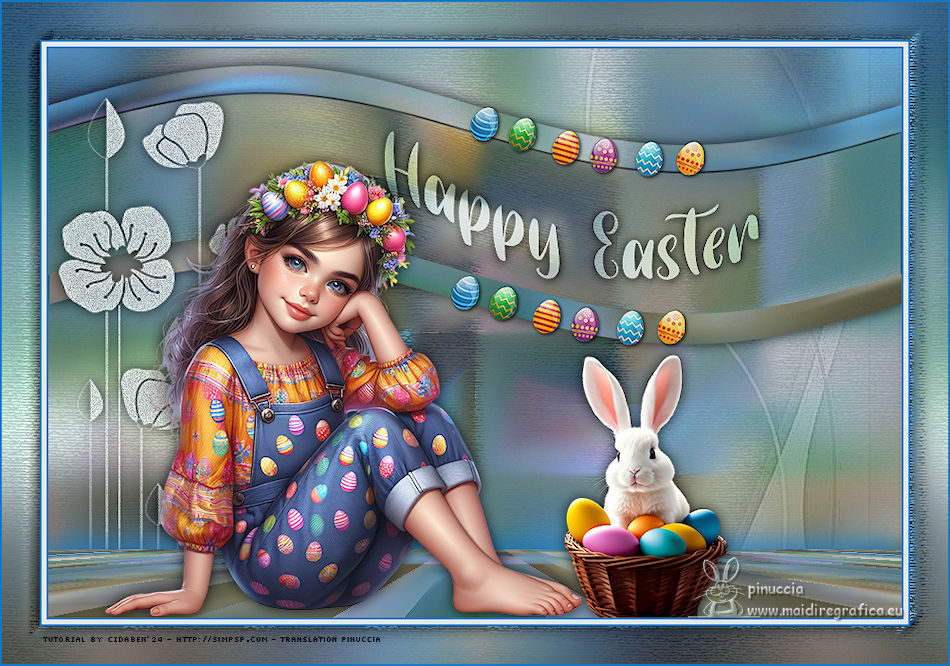
HAPPY EASTER


Thanks Cidaben and SIM PSP Group for your invitation to translate your tutorials into english

This tutorial was written and translated with Psp2020, but it can also be made using other versions of PSP.
Since version PSP X4, Image>Mirror was replaced with Image>Flip Horizontal,
and Image>Flip with Image>Flip Vertical, there are some variables.
In versions X5 and X6, the functions have been improved by making available the Objects menu.
In the latest version X7 command Image>Mirror and Image>Flip returned, but with new differences.
See my schedule here

|
Special Note
PSP SIM and its Tutorial Authors ask the public:
- Please, we request that we maintain the originality of the tutorial,
refraining from adding or including unsolicited effects;
- The use of other images is permitted and encouraged,
but please don't modify the content of the original tutorial;
- Please acknowledge and attribute the valuable credits to those who write tutorials,
make translation and create materials.
Carefully,
PSP SIM and Cidaben
|

For this tutorial, you will need:

Thanks for the tubes AigenbyCaz and CalliTubes and for the masks Narah and Beatrice.
The rest of the material is by Cidaben
(The links of the tubemakers here).

consult, if necessary, my filter section here
Filters Unlimited 2.0 here
Mehdi - Sorting Tiles here
Artistiques - Pastels here
Graphics Plus - Cross Shadow here
Mura's Meister - Perspective Tiling here
Filters Graphics Plus can be used alone or imported into Filters Unlimited.
(How do, you see here)
If a plugin supplied appears with this icon  it must necessarily be imported into Unlimited it must necessarily be imported into Unlimited

You can change Blend Modes according to your colors.
In the newest versions of PSP, you don't find the foreground/background gradient (Corel_06_029).
You can use the gradients of the older versions.
The Gradient of CorelX here

Open the masks in PSP and minimize them with the rest of the material.
1. Choose two colors to work.
Set your foreground color to #1078c4
and your background color to #e0eaea.
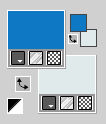
Set your foreground color to a Foreground/Background Gradient, style Linear.
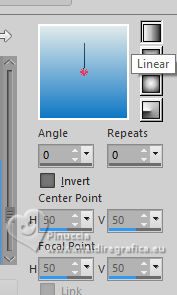
2. Open AlphaChannel_HappyEaster
Window>Duplicate or, on the keyboard, shift+D to make a copy.

Close the original.
The copy, that will be the basis of your work, is not empty,
but contains the selections saved to alpha channel.
Flood Fill  the transparent image with your Gradient. the transparent image with your Gradient.
3. Selections>Select All.
4. Open the landscape misted CalliTubes-321paisagens 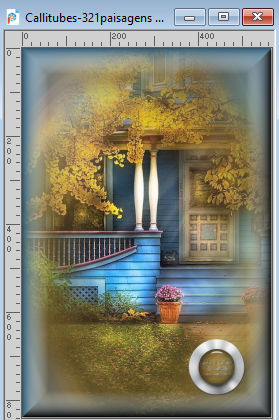
Edit>Copy.
Go back to your work and go to Edit>Paste into Selection.
Selections>Select None.
5. Effects>Image Effects>Seamless Tiling, default settings.

6. Adjust>Blur>Radial Blur.
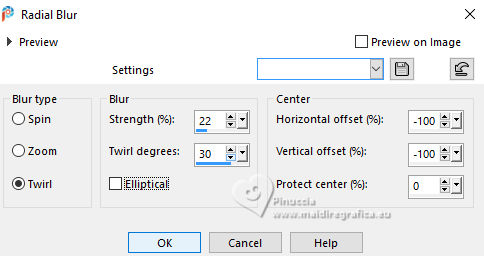
7. Effects>Plugins>Mehdi - Sorting Tiles.
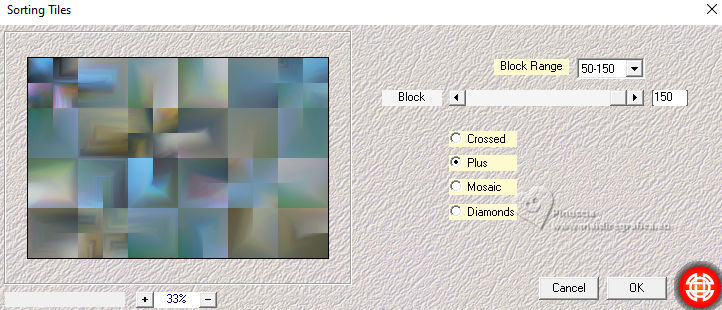
8. Effects>Edge Effects>Enhance.
Layers>Duplicate.
9. Adjust>Blur>Radial Blur.
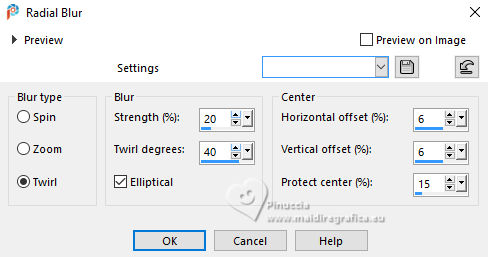
Adjust>Sharpness>Sharpen More.
10. Effects>Plugins>Artistiques - Pastels
if you use the english version (the result doesn't change)
Effects>Plugins>Artistics - Rough Pastels
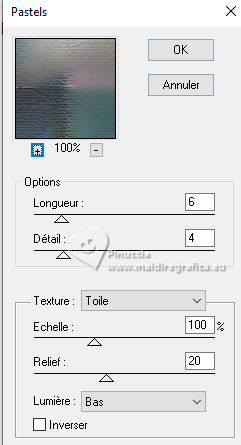 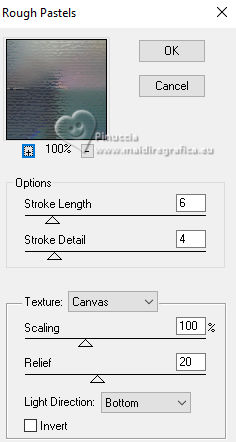
11. Selections>Load/Save Selection>Load Selection from Alpha Channel.
The selection Selection#1 is immediately available. You just have to click Load
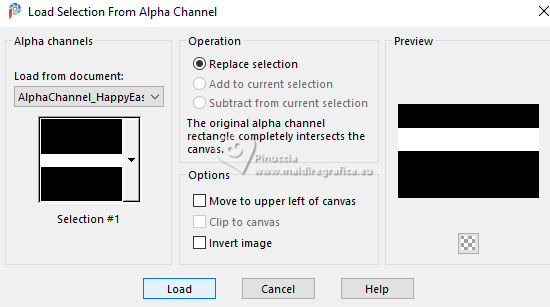
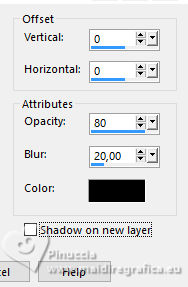
Selections>Promote Selection to Layer.
Selections>Select None.
Effects>3D Effects>Drop Shadow, color #000000.
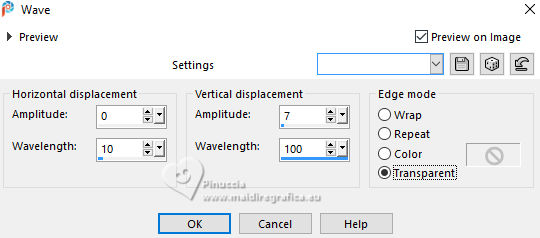
12. Effects>Distortion Effects>Wave.
13. Edit>Copy Special>Copy merged
Layers>New Raster Layer.
Selections>Load/Save Selection>Load Selection from Alpha Channel.
Open the selections menu and load the selection Selection #2
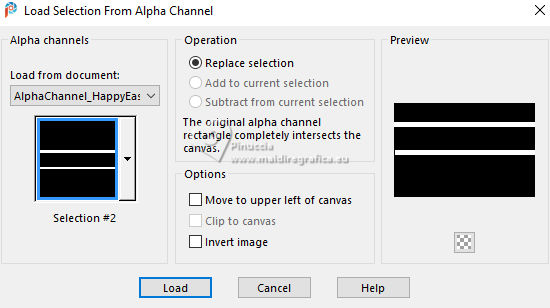
Edit>Paste into Selection
Selections>Select None.
Effects>Distortion Effects>Wave, same settings.

Layers>Merge>Merge Down.
Effects>3D Effects>Drop shadow, same settings.

K key to activate your Pick Tool 
keep Position X: 0,00 and set Position Y: 2,00.

14. Layers>New Raster Layer.
Flood fill  with your background color #e0eaea. with your background color #e0eaea.
15. Layers>New Mask layer>From image
Open the menu under the source window and you'll see all the files open.
Select the mask MASK BG 385
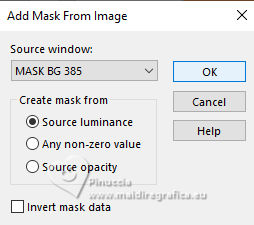
Layers>Merge>Merge Group.
Adjust>Add/Remove Noise>Add Noise.
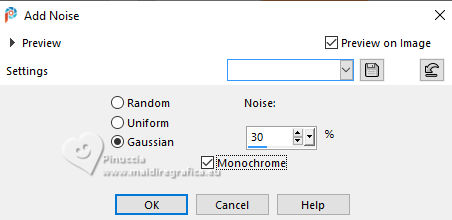
Effects>3D Effects>Drop Shadow, same settings.

Ajust>Sharpness>Sharpen.
16. Open Titulo_HappyEaster_byCidaBen 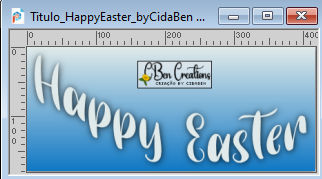
Edit>Copy.
Go back to your work and go to Edit>Paste as new layer.
Pick Tool 
and set Position X: 344,00 and Position Y: 76,00.

Change the Blend mode of this layer to Overlay
and reduce the opacity to 80%.
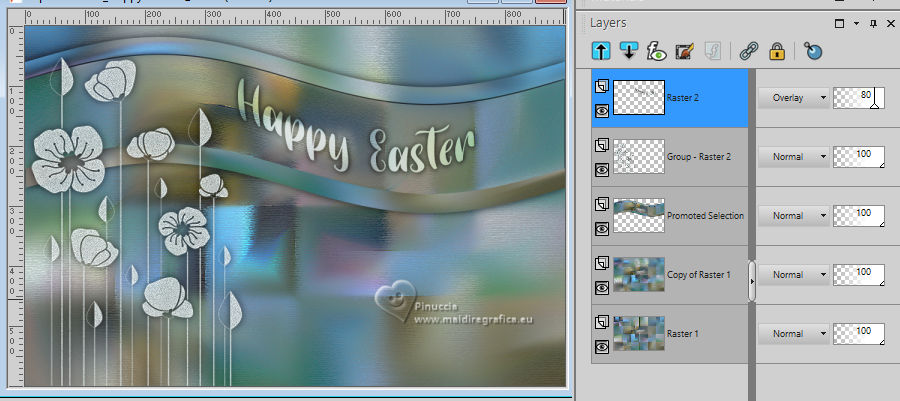
in my second version I changed the Blend Mode to Luminance (legacy) and reduced the opacity to 80%
Adjust>Sharpness>Sharpen.
18. Open Decor_HappyEaster_byCidaBen 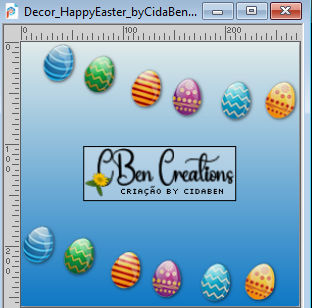
Edit>Copy.
Go back to your work and go to Edit>Paste as new layer.
Pick Tool 
and set Position X: 423,00 and Position Y: 59,00.

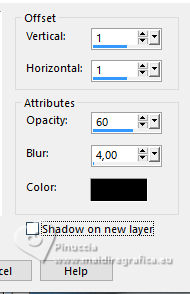
Effects>3D Effects>Drop Shadow, color #000000.
Adjust>Sharpness>Sharpen.
18. Activate the layer Copy of Raster 1.
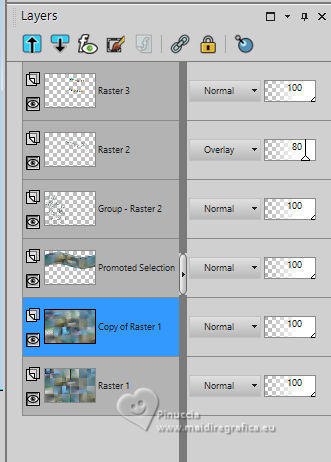
Layers>New Raster Layer.
Flood fill  the layer with your background color #e0eaea. the layer with your background color #e0eaea.
Layers>New Mask layer>From image
Open the menu under the source window
and select the mask Narah_Mask1471
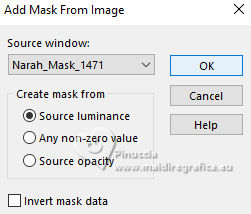
Layers>Merge>Merge Group.
Image>Mirror>Mirror horizontal.
Effects>Edge Effects>Enhance More.
19. Activate the layer Raster 1.
Layers>Arrange>Bring to top.
Effects>Plugins>Mura's Meister - Perspective Tiling.
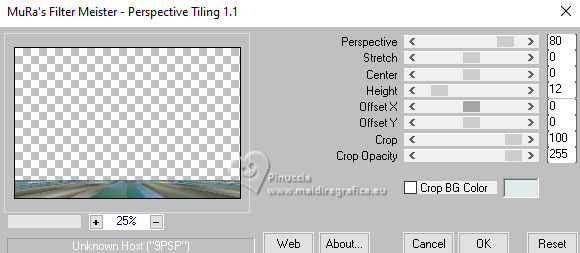
Effects>Reflection Effects>Rotating Mirror, default settings.

Effects>3D Effects>Drop Shadow, foreground color #1078c4.

Edit>Repeat Drop Shadow.
20. Open aigenbycaz_eastergirl23 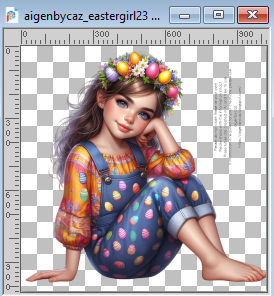
Erase the watermark and go to Edit>Copy.
Go back to your work and go to Edit>Paste as new layer.
Image>Resize, 50%, resize all layers not checked.
Adjust>Sharpness>Sharpen.
Move  the tube to the left side. the tube to the left side.
Effects>3D Effects>Drop shadow, color #000000.

21. Open Tube_Decor_HappyEaster_byCidaBen 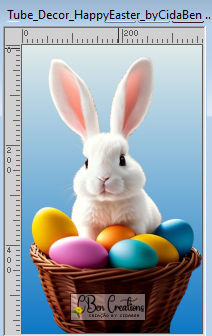
Edit>Copy.
Go back to your work and go to Edit>Paste as new layer.
Image>Resize, 50%, resize all layers not checked.
Adjust>Sharpness>Sharpen.
Move  to your liking. to your liking.
Effects>3D Effects>Drop shadow, same settings.

22. Edit>Copy Special>Copy Merged
23. Image>Add borders, 2 pixels, symmetric, foreground color #1078c4.
Image>Add borders, 5 pixels, symmetric, background color #e0eaea.
Image>Add borders, 2 pixels, symmetric, foreground color #1078c4.
24. Selections>Select All.
Image>Add borders, 40 pixels, symmetric, whatever color.
Selections>Invert.
Edit>Paste into Selection
Adjust>blur>Gaussian Blur - radius 50
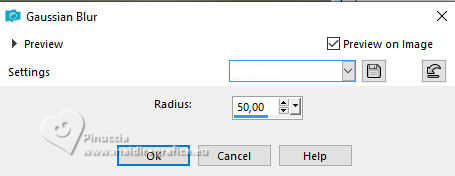
Effects>Reflection Effects>Rotating Mirror.

Effects>Plugins>Graphics Plus - Cross Shadow.

Selections>Invert.
Effects>3D Effects>Drop Shadow, same settings.

Edit>Repeat Drop Shadow.
25. Selections>Invert.
Effects>Plugins>Artistiques - Pastels, same settings
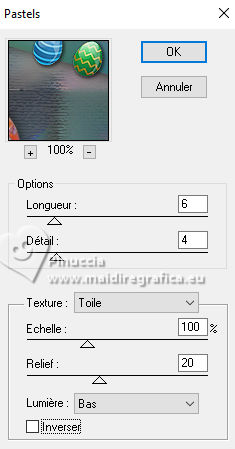
Selections>Select None.
26. Image>Add borders, 2 pixels, symmetric, foreground color #1078c4.
27. Sign your work and save as jpg.
For the tubes of this version thanks Adrienne


 Your versions. Thanks Your versions. Thanks

Katalin

Castorke
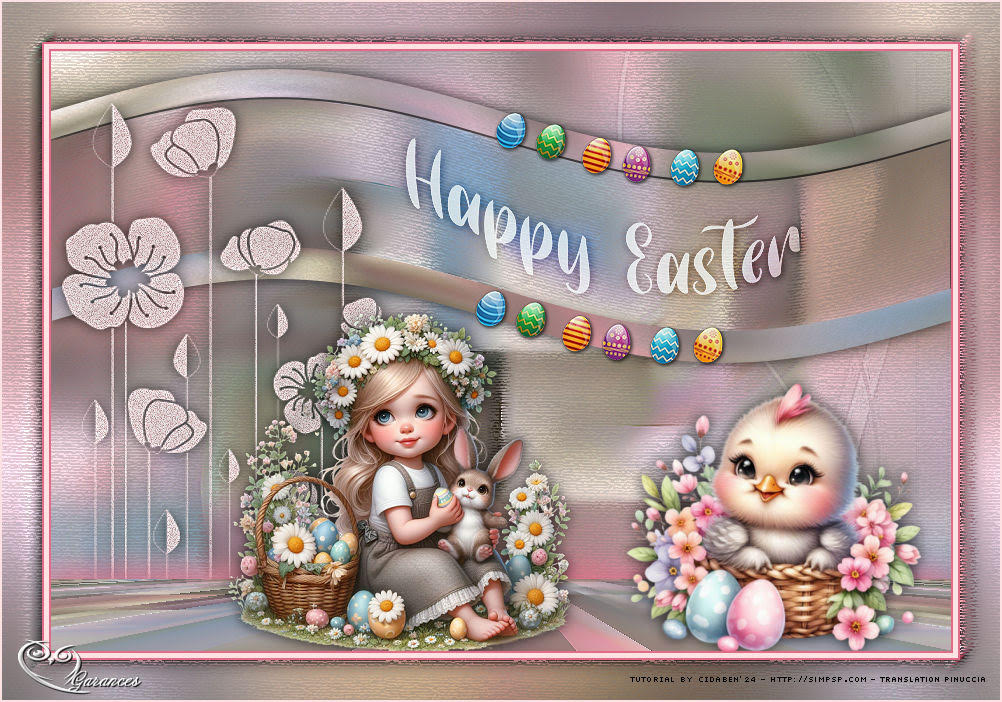
Garances
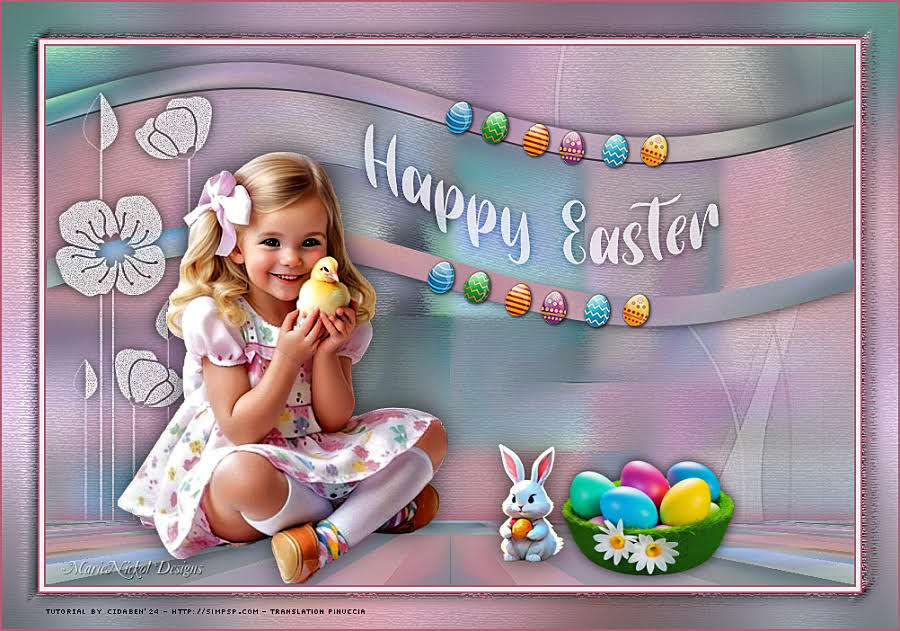
Marie Nickol

Marisella

Silvie

Joelle

Baby


If you have problems or doubts, or you find a not worked link, or only for tell me that you enjoyed this tutorial, write to me.
17 March 2024

|

