|
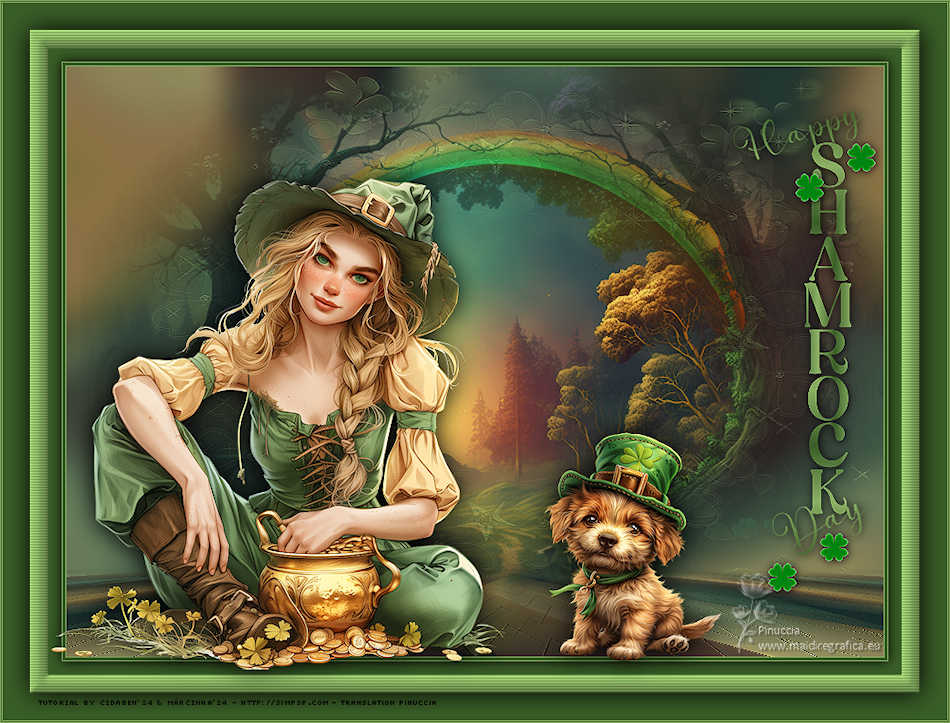
HAPPY SHAMROCK


Thanks Cidaben and SIM PSP Group for your invitation to translate your tutorials into english

This tutorial was written with Psp2022 and translated with Psp2020, but it can also be made using other versions of PSP.
Since version PSP X4, Image>Mirror was replaced with Image>Flip Horizontal,
and Image>Flip with Image>Flip Vertical, there are some variables.
In versions X5 and X6, the functions have been improved by making available the Objects menu.
In the latest version X7 command Image>Mirror and Image>Flip returned, but with new differences.
See my schedule here

For this tutorial, you will need:

(The links of the tubemakers here).

consult, if necessary, my filter section here
Filters Unlimited 2.0 here
Mehdi - Sorting Tiles here
Flaming Pear - Swerve - in the material.
Two Moon - Quilt here
Alien Skin Eye Candy 5 Impact - Perspective Shadow here
Mura's Meister - Perspective Tiling here
Filters Two Moon can be used alone or imported into Filters Unlimited.
(How do, you see here)
If a plugin supplied appears with this icon  it must necessarily be imported into Unlimited it must necessarily be imported into Unlimited

You can change Blend Modes according to your colors.
In the newest versions of PSP, you don't find the foreground/background gradient (Corel_06_029).
You can use the gradients of the older versions.
The Gradient of CorelX here

Copy the Selection in the Selections Folder.
Open the mask in PSP and minimize it with the rest of the material.
1. Choose two colors to work.
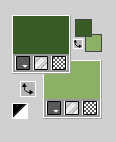
Set your foreground color to #395d27
and your background color to #8cb065.
2. Open a new transparent image 900 x 650 pixels.
Selections>Select All.
Open the image paper2 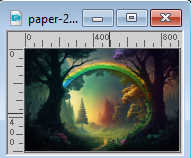
Edit>Copy.
Go back to your work and go to Edit>Paste into Selection.
Selections>Select None.
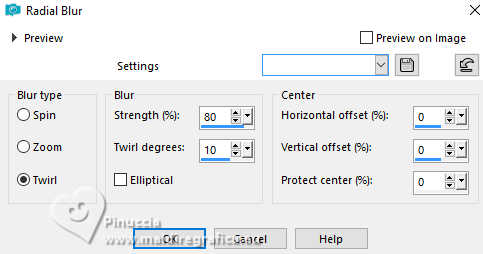
3. Adjust>Blur>Radial Blur.
Effects>Edge Effects>Enhance More.
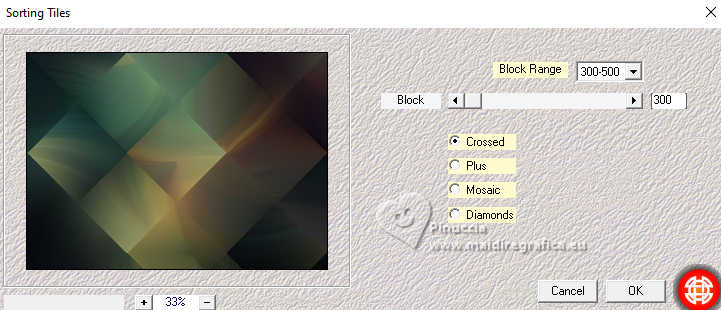
4. Effects>Plugins>Mehdi - Sorting Tiles.
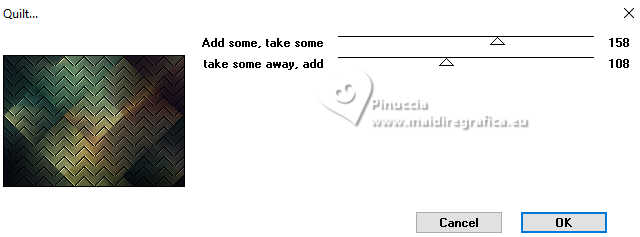
5. Effects>Plugins>Two Moon - Quilt
6. Effects>Image Effects>Seamless Tiling.

Layers>Duplicate.
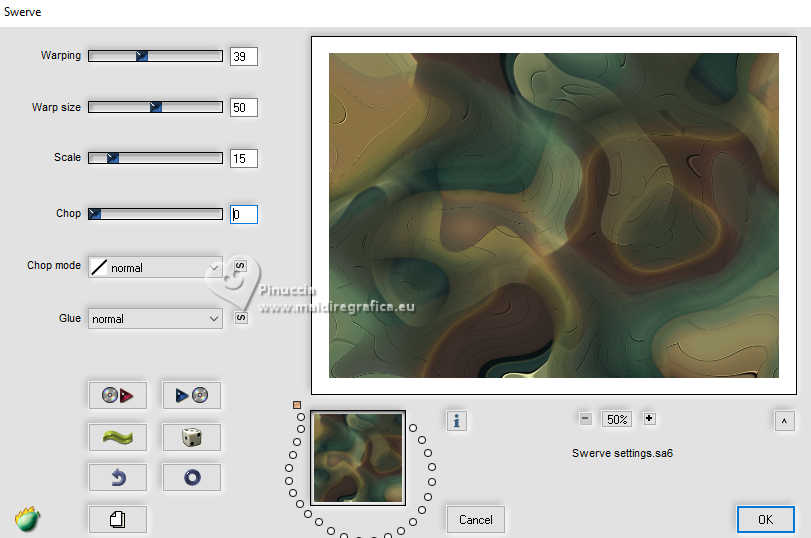
7. Effects>Plugins>Flaming Pear - Swerve
the version used in this tutorial is in the material
8. Adjust>Blur>Gaussian Blur - radius 15.

9. Layers>New Raster Layer.
Flood Fill  the layers with your background color #8cb065. the layers with your background color #8cb065.
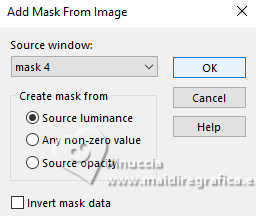
Layers>New Mask layer>From image
Open the menu under the source window and you'll see all the files open.
Select the mask Mask4
Layers>Merge>Merge Group.
Reduce the opacity of this layer to 40%.
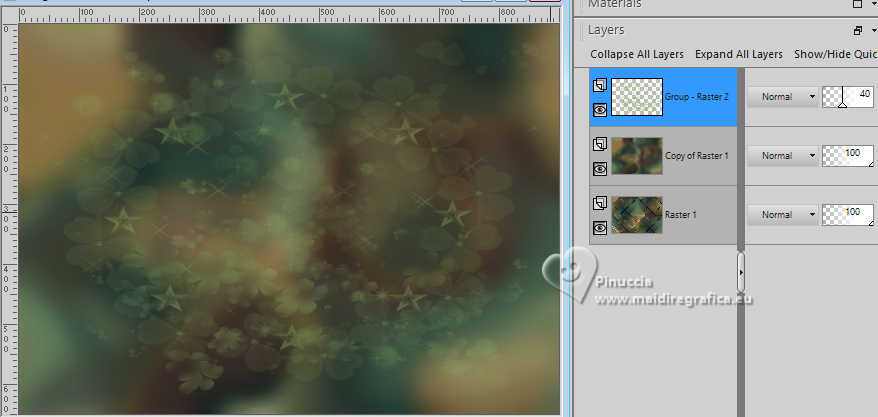
Image>Mirror>Mirror Vertical (Image>Flip)
Effects>Edge Effects>Enhance.
10. Open paper2_Mask 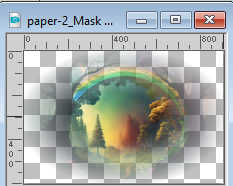
Edit>Copy.
Go back to your work and go to Edit>Paste as new layer.
Layers>Merge>Merge Down (Merge the paper2_Mask layer with the Mask's layer)
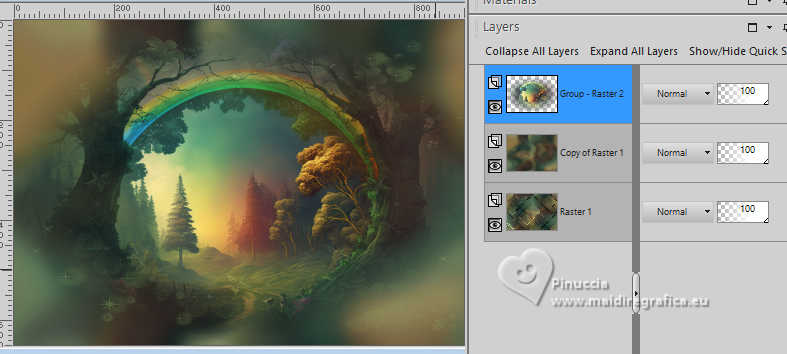
K key to activate your Pick Tool 
and set Position X: 16,00 and Position Y: -5,00.
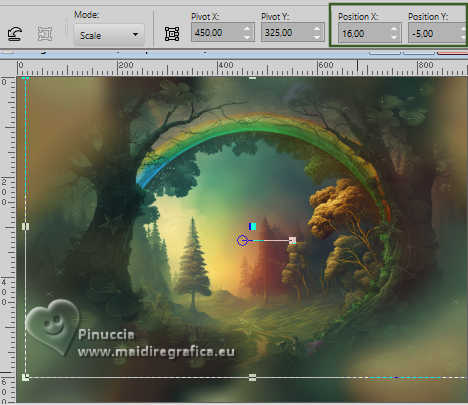
Adjust>Sharpness>Sharpen.
I used the 20-20 mask to form the Image paper2_Mask, with my other image
11. Activate the layer Raster 1.
Layers>Arrange>Bring to Top.
Effects>Plugins>Mura's Meister - Perspective Tiling
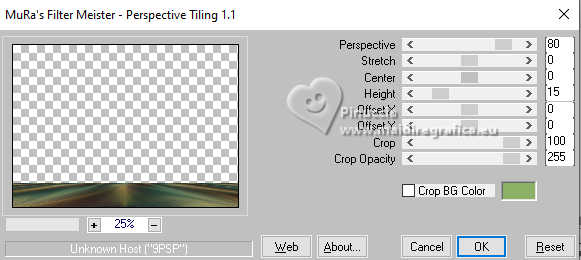
12. Activate your Magic Wand Tool  , tolerance and feather 20, , tolerance and feather 20,
and click in the transparent part to select it.
Press 6 times CANC on the keyboard 
Selections>Select None.
Effects>Reflection Effects>Rotating Mirror.

Adjust>Sharpness>Sharpen.
Don't forget to set again the Feather of your Magic Wand Tool to 0
13. Image>Add borders, 1 pixel, symmetric, background color #8cb065.
Image>Add borders, 3 pixels, symmetric, foreground color #395d27.
Image>Add borders, 1 pixel, symmetric, background color #8cb065.
Selections>Select All.
Image>Add borders, 15 pixels, symmetric, foreground color #395d27.
Effects>3D Effects>Drop Shadow, color black #000000.
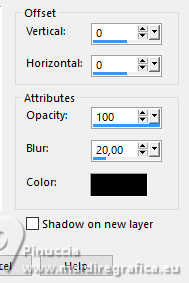
Selections>Select None.
14. Selections>Select All.
Image>Add borders, 20 pixels, symmetric, background color #8cb065.
Selections>Invert.
Effects>Texture Effects>Blinds, foreground color #395d27.
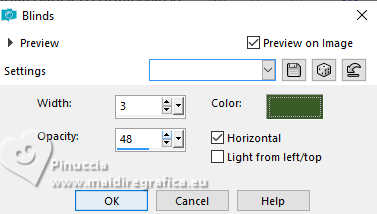
15. Effects>3D Effects>Inner Bevel.
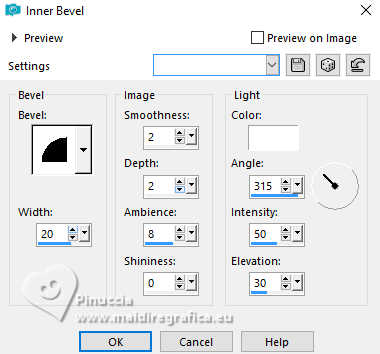
Selections>Select None.
16. Selections>Select All.
Image>Add borders, 30 pixels, symmetric, foreground color #395d27.
Effects>3D Effects>Drop Shadow, color black #000000.
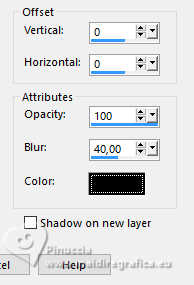
Selections>Select None.
17. Open the tube Irish Kisses Tubes 1 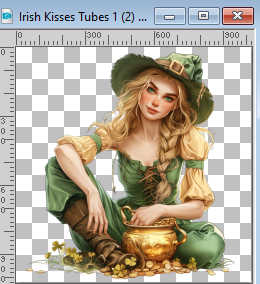
Edit>Copy.
Go back to your work and go to Edit>Paste as new layer.
Image>Resize, 55%, resize all layers not checked.
Pick Tool 
Position X: 53,00 and Position Y: 193,00.

Adjust>Sharpness>Sharpen.
Effects>3D Effects>Drop Shadow, color black #000000.

18. Open the deco tube Irish Kisses Element(68) 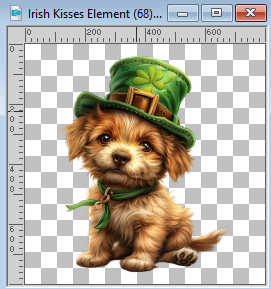
Edit>Copy.
Go back to your work and go to Edit>Paste as new layer.
Image>Resize, 35%, resize all layers not checked.
Pick Tool 
Position X: 596,00 and Position Y: 473,00.

Adjust>Sharpness>Sharpen.
Effects>3D Effects>Drop Shadow, color black #000000.

19. Activate the layer Raster 1.
Layers>New Raster Layer.
Selections>Load/Save Selection>Load Selection from Disk.
Look for and load the selection SEL_SHAMROCH_CBen
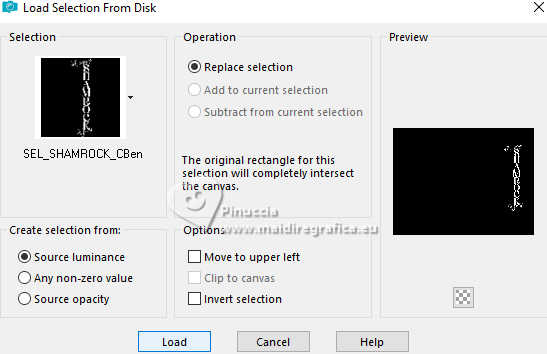
Set your foreground color to a Foreground/Background Gradient, style Rectangular.
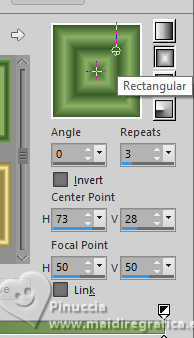
Flood Fill  the selection with your Gradient. the selection with your Gradient.
20. Effects>Plugins>Alien Skin Eye Candy 5 Impact - Perspective Shadow.
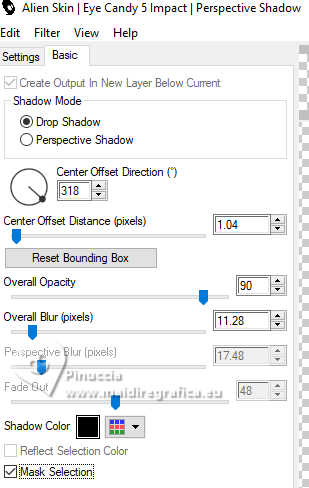
Adjust>Sharpness>Sharpen.
Selections>Select None.
21. Open Decor_Trevo_CBen 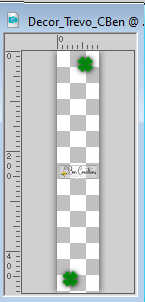
Edit>Copy.
Go back to your work and go to Edit>Paste as new layer.
Pick Tool 
Position X: 889,00 and Position Y: 144,00.

Adjust>Sharpness>Sharpen.
Layers>Duplicate.
Position X: 832,00 and Position Y: 177,00.

Layers>Merge>Merge Down.
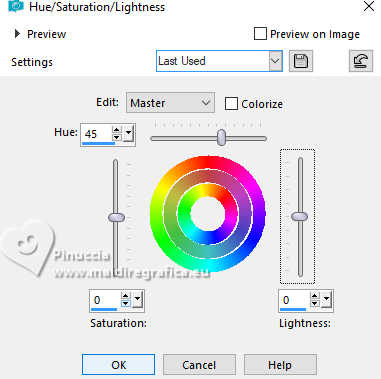
for my second version I colorized according to my colors
Adjust>Hue and Saturation>Hue/Saturation/Lightness.
22. Image>Add borders, 1 pixel, symmetric, background color #8cb065.
Image>Add borders, 1 pixel, symmetric, foreground color #395d27.
Image>Add borders, 1 pixel, symmetric, background color #8cb065.
23. Sign your work and save as jpg.
For the tubes of this version Adrienne
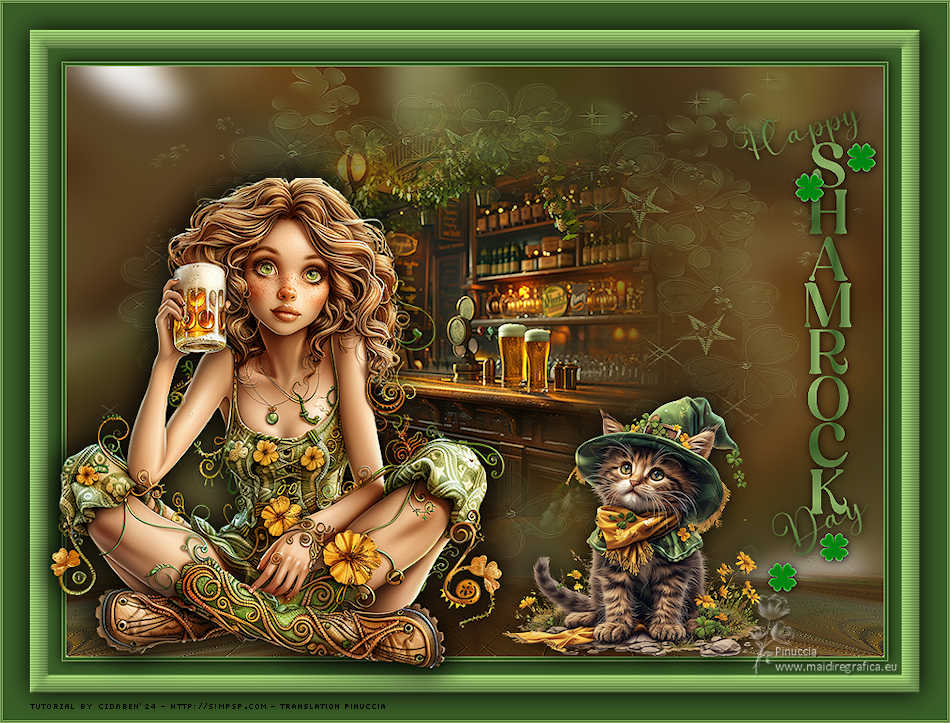

 Your versions. Thanks Your versions. Thanks

Castorke

Silvie
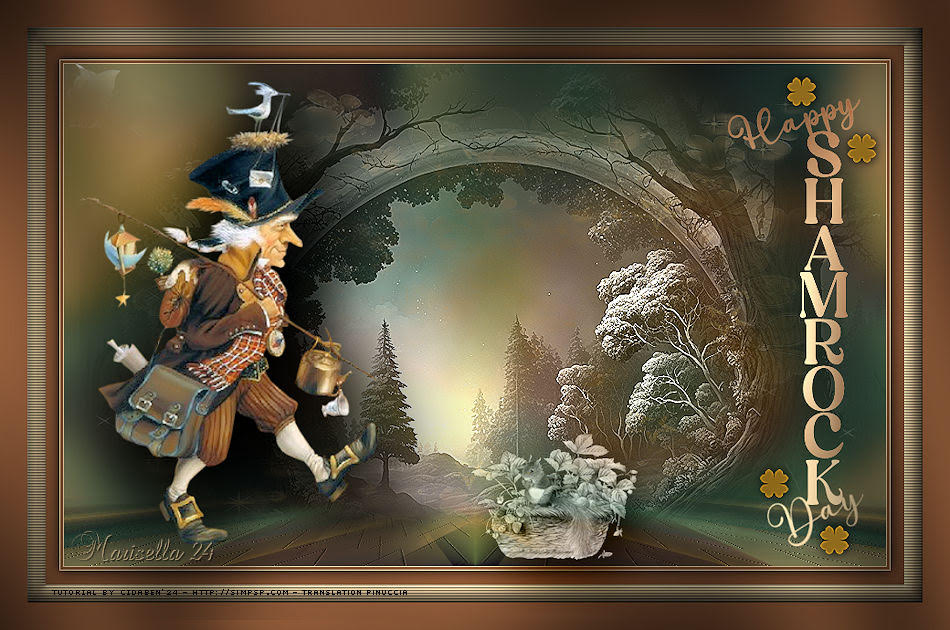
Marisella
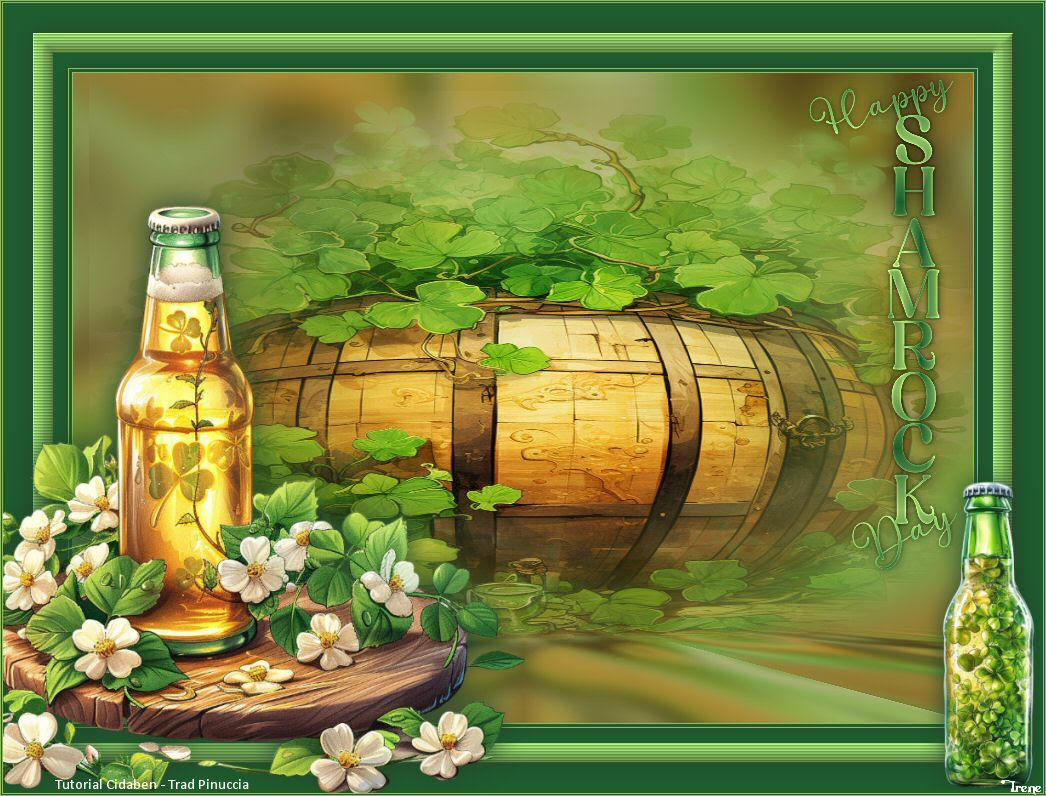
Irene
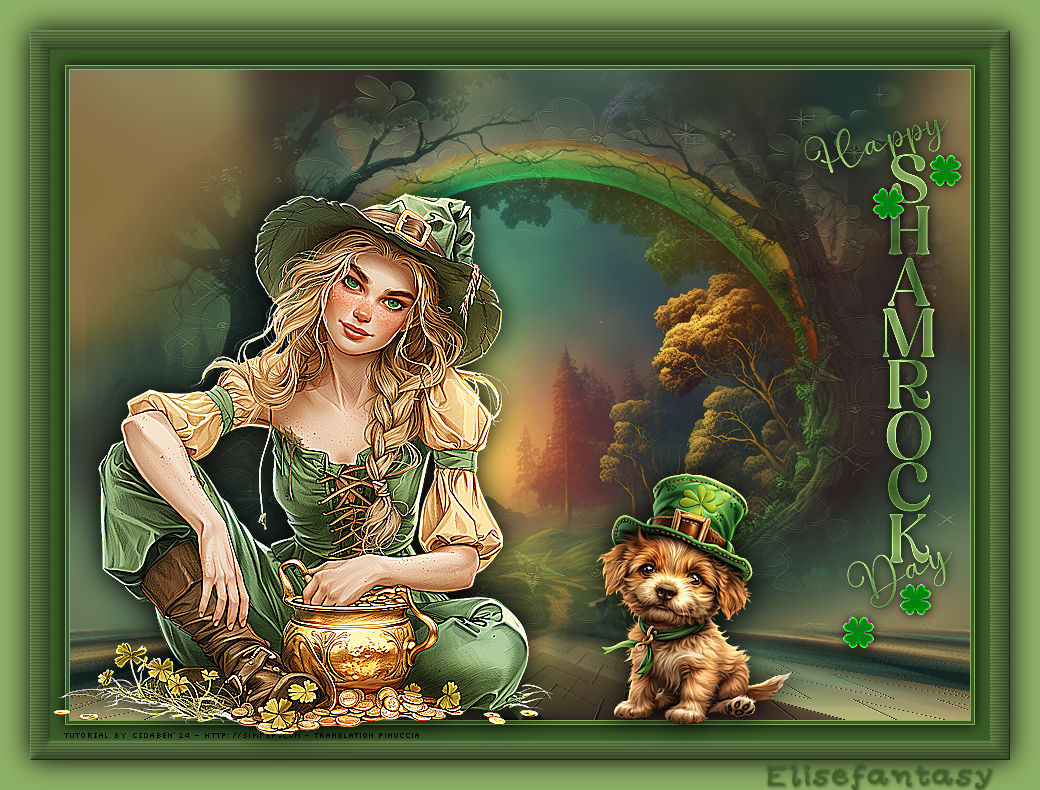
Elise


If you have problems or doubts, or you find a not worked link, or only for tell me that you enjoyed this tutorial, write to me.
10 March 2024

|

