|
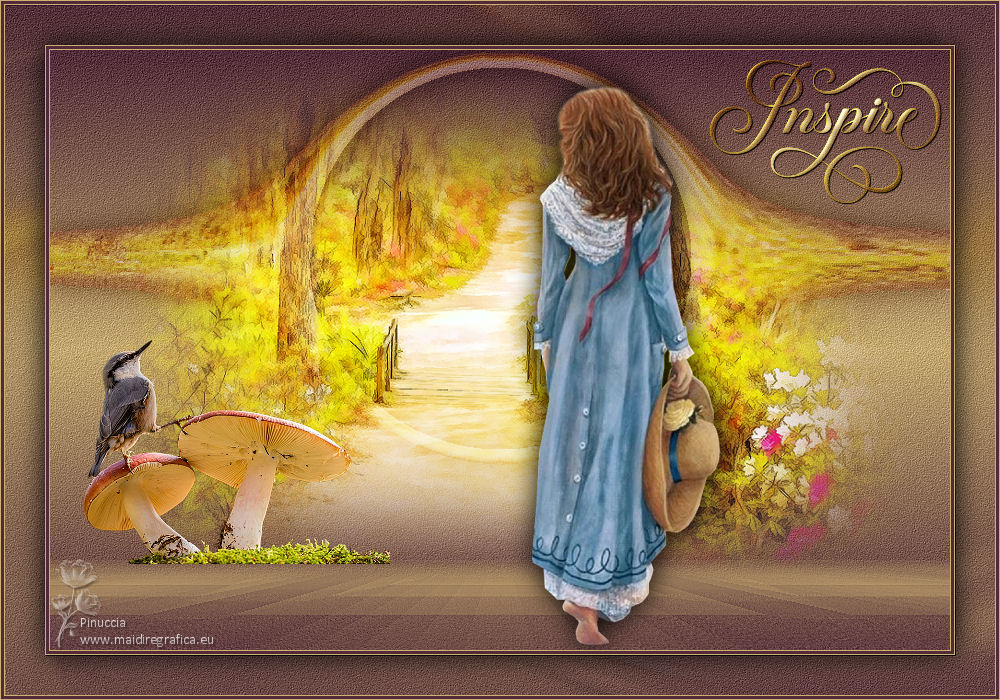
INSPIRE


Thanks SIM PSP Group for your invitation to translate your tutorials into english

This tutorial was written with Psp2022 and translated with PspX17, but it can also be made using other versions of PSP.
Since version PSP X4, Image>Mirror was replaced with Image>Flip Horizontal,
and Image>Flip with Image>Flip Vertical, there are some variables.
In versions X5 and X6, the functions have been improved by making available the Objects menu.
In the latest version X7 command Image>Mirror and Image>Flip returned, but with new differences.
See my schedule here
For this tutorial, you will need:

For the tube thanks Animabelle, Nikita, Lana and Riet, for the mask thanks Narah.
(The links of the tubemakers here).

consult, if necessary, my filter section here
Filters Unlimited 2.0 here
FM Tile Tools - Blend Emboss here
Distortion Filters (standard in Unlimited) - Black Hole here
Mura's Seamless - Emboss at Alpha here
Mura's Meister - Perspective Tiling here

You can change Blend Modes according to your colors.
In the newest versions of PSP, you don't find the foreground/background gradient (Corel_06_029).
You can use the gradients of the older versions.
The Gradient of CorelX here

1. Choose 2 colors from your material.
Foreground color #522a38
background color #ceb074
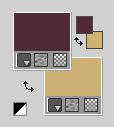
Set your foreground color to a Foreground/Background Gradient, style Linear.
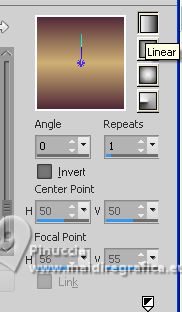
2. Open a new transparent image 900 x 600 pixels.
Flood Fill  the transparent image with your Gradient. the transparent image with your Gradient.
3. Réglage>Add/Remove Noise>Add Noise.
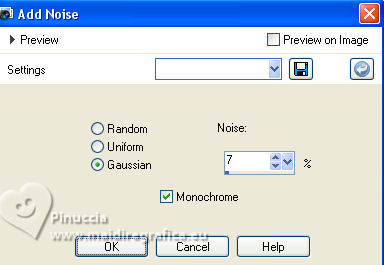
4. Effects>Plugins>FM Tile Tools - Blend Emboss, default settings.

Layers>Duplicate.
5. Selections>Select All.
Open the landscape's misted 1569996594_paysags_nikita 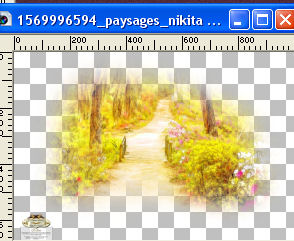
Erase the watermark and go to Edit>Copy.
Go back to your work and go to Edit>Paste into Selection.
Adjust>Sharpness>Sharpen.
Selections>Select None.
Layers>Duplicate.
Change the Blend Mode of this layer to Soft Light.
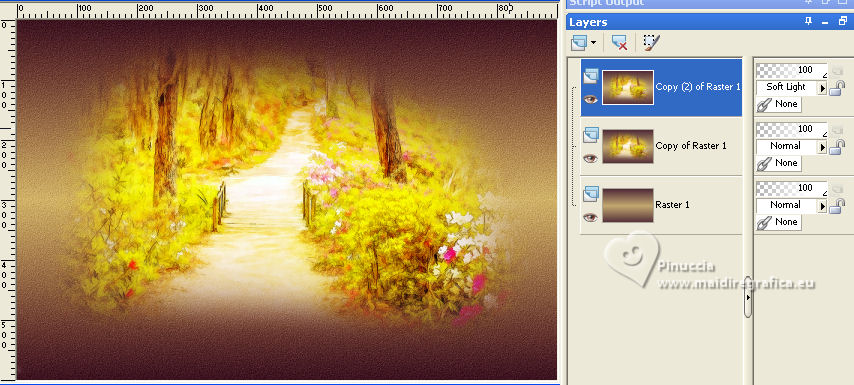
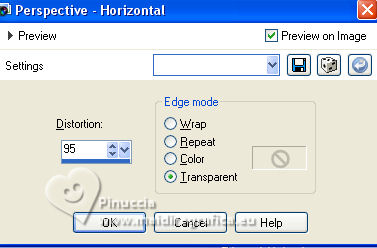
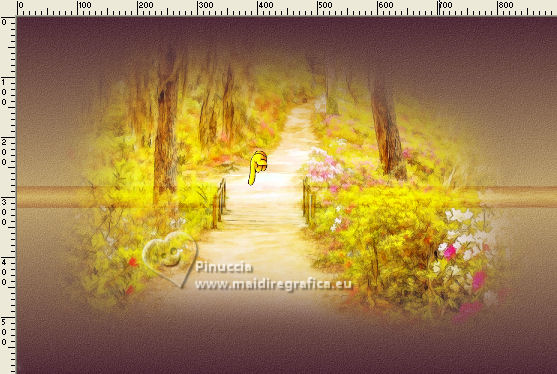
6. Effects>Geometric Effects>Perspective Horizontal
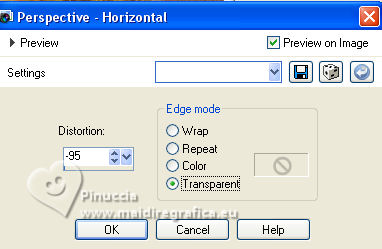
Repeat Effects>Geometric Effects>Perspective Horizontal - distortion -95
You'll get this
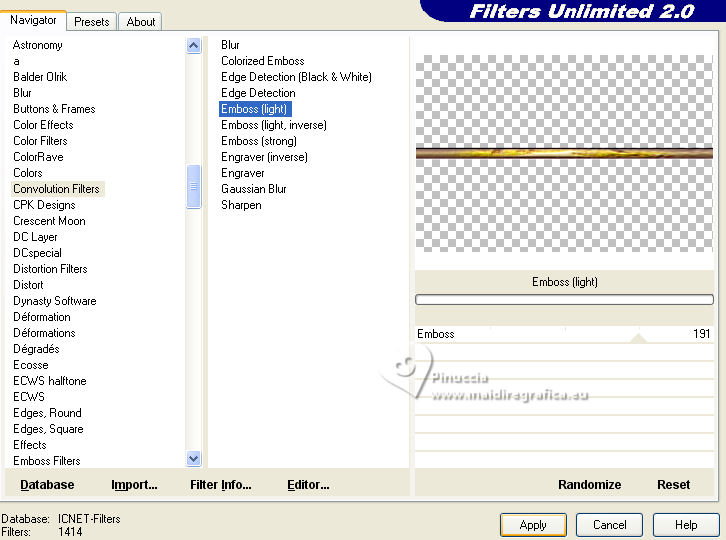
7. Effects>Plugins>Filters Unlimited 2.0 - Convolutions Filters - Emboss (Light), default settings
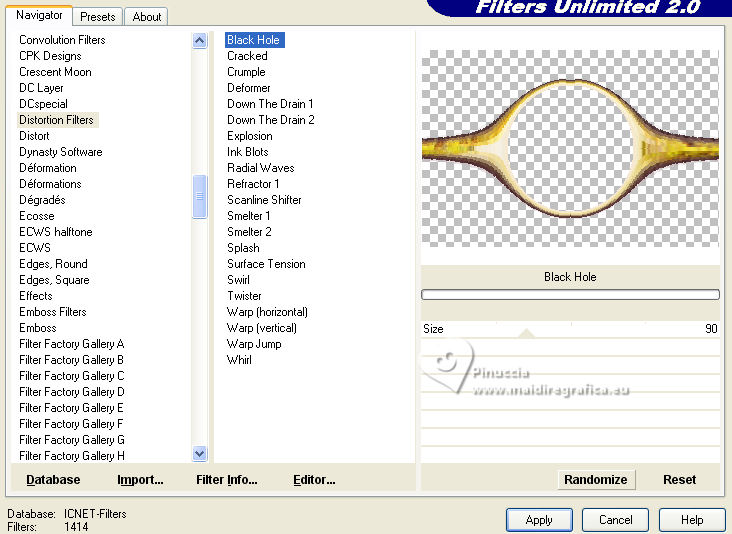
8. Effects>Plugins>Filters Unlimited 2.0 - Distortion Filters - Black Hole.
9. Close the layer Raster 1 and Copy of Raster 1,
and stay on the top layer Copy(2) of Raster 1.

Activate your Magic Wand Tool  , tolerance and feather 0, , tolerance and feather 0,
and click in the top part to select it
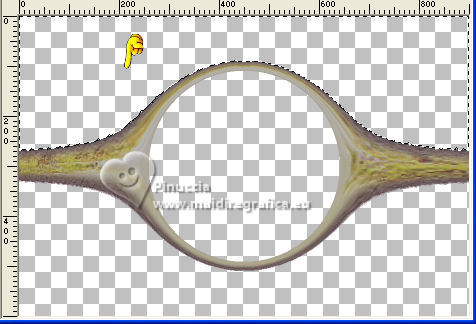
Selections>Modify>Expand - 4 pixels.
Press CANC on the keyboard 
Selections>Select None.
And now click on the bottom part to select it
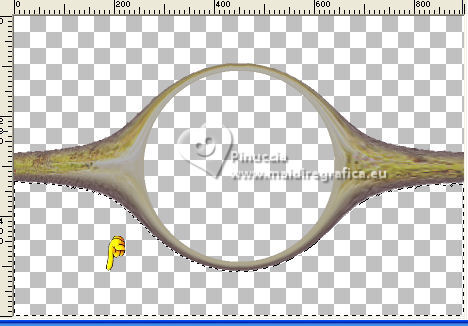
Selections>Modify>Expand - 4 pixels.
Press CANC on the keyboard.
Selections>Select None.
K key to activate your Pick Tool 
keep Position X: 0,00 and set Position Y: 2,00.

Effects>3D Effects>Drop Shadow, color black #000000.
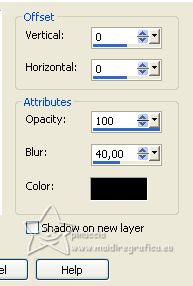
10. Layers>View>All,
and activate the layer Raster 1.
Layers>Arrange>Bring to Top.
Layers>New Raster Layer.
Flood Fill  the layer with your background color. the layer with your background color.
11. Layers>New Mask layer>From image
Open the menu under the source window and you'll see all the files open.
Select the mask Narah_Mask0115.
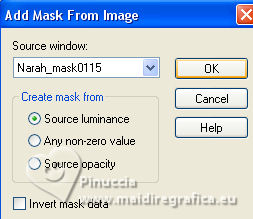
Layers>Merge>Merge Group.
12. Effects>Plugins>Mura's Seamless - Emboss at Alpha, default settings.
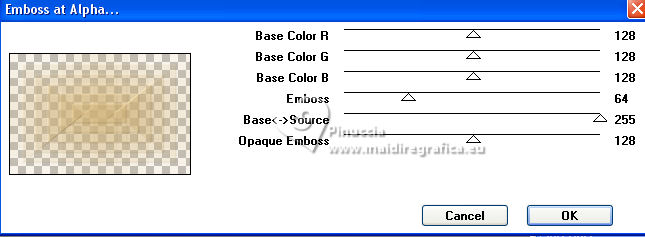
Layers>Merge>Merge Down.
13. Effects>Plugins>Mura's Meister - Perspective Tiling.
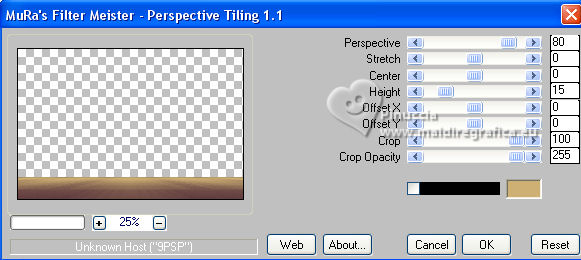
14. Activate again your Magic Wand Tool  , tolerance 0 and feather 30 , tolerance 0 and feather 30
and click in the transparent part to select it.
Press 3 times CANC on the keyboard.
Selections>Select None.
Adjust>Sharpness>Sharpen More.
don't forget to set again the feather of your Magic Wand Tool to 0
15. Open your main tube LD-model-1384 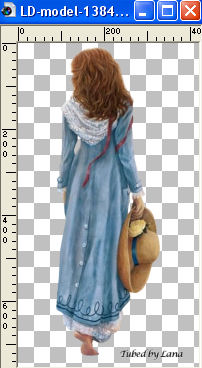
Erase the watermark and go to Edit>Copy.
Go back to your work and go to Edit>Paste as new layer.
Image>Resize, if necessary, for the tube 78%, resize all layers not checked.
Adjust>Sharpness>Sharpen.
Place  the tube to your liking the tube to your liking
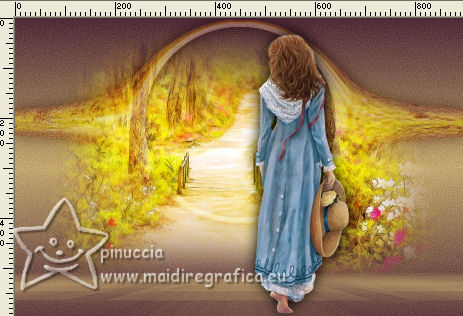
Effects>3D Effects>Drop Shadow, at your choice.
16. Edit>Copy Special>Copy Merged.
17. Image>Add borders, 1 pixel, symmetric, background color.
Image>Add borders, 3 pixels, symmetric, foreground color.
Image>Add borders, 1 pixel, symmetric, background color.
Selections>Select All.
Image>Add borders, 40 pixels, symmetric, whatever color.
Selections>Invert.
Edit>Paste into Selection.
18. Adjust>Blur>Radial Blur.
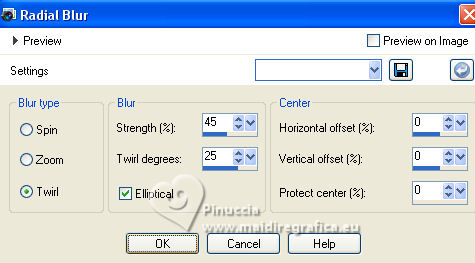
19. Adjust>Add/Remove Noise>Add Noise, same settings.

Effects>Plugins>FM Tile Tools - Blend Emboss, default settings.

Adjust>Sharpness>Sharpen.
20. Selections>Invert.
Effects>3D Effects>Drop Shadow, color #000000.

Selections>Select None.
21. Image>Add borders, 1 pixel, symmetric, background color.
Image>Add borders, 3 pixels, symmetric, foreground color.
Image>Add borders, 1 pixel, symmetric, background color.
22. Open your deco tube 97_animabelle_tubes_animaux 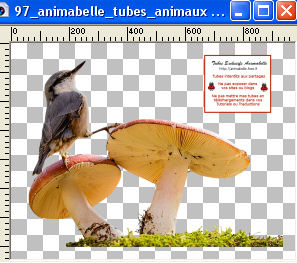
Erase the watermark and go to Edit>Copy.
Go back to your work and go to Edit>Paste as new layer.
Image>Resize, if necessary - for this tube 35% - resize all layers not checked.
Adjust>Sharpness>Sharpen.
Place  the tube to your liking. the tube to your liking.
Effects>3D Effects>Drop Shadow, at your choice.
23. Open the wordart Riet Tekst Inspire 876 300822 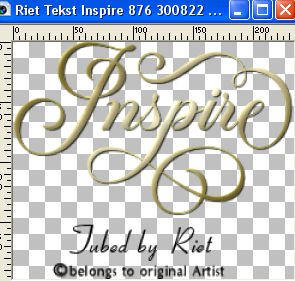
Erase the watermark and go to Edit>Copy.
Go back to your work and go to Edit>Paste as new layer.
K key to activate your Pick Tool 
and set Position X: 709,00 and Position Y: 60,00.

Effects>3D Effects>Drop Shadow, at your choice.
Change the Blend Mode of this layer to Hard Light.
24. Sign your work on a new layer.
Layers>Merge>Merge All and save as jpg.
For the tubes of this version thanks Nikita; the misted is mine .
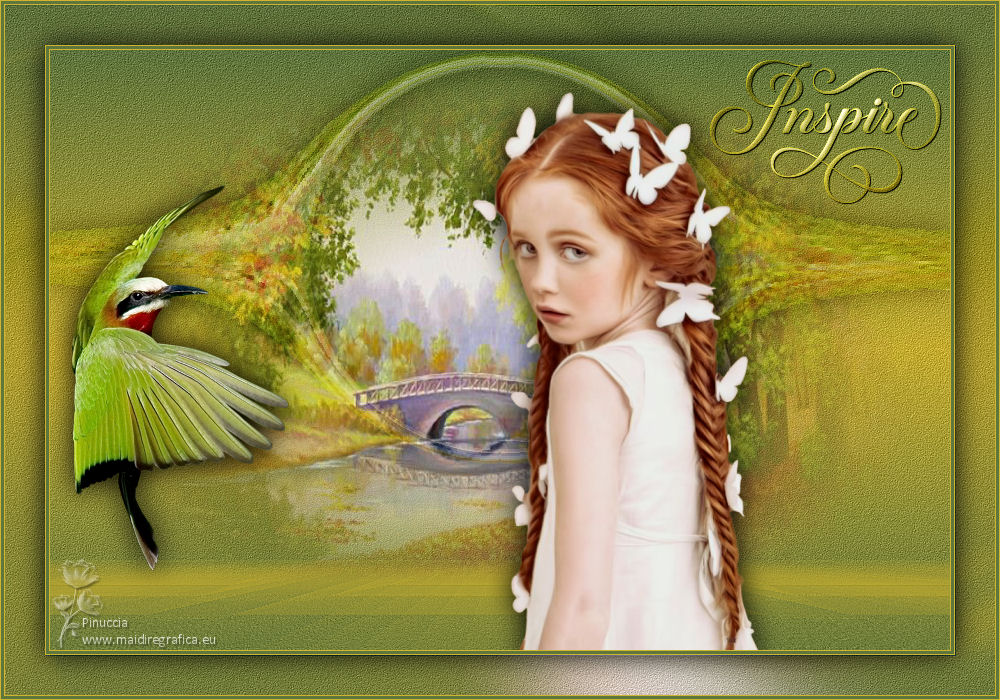


If you have problems or doubts, or you find a not worked link, or only for tell me that you enjoyed this tutorial, write to me.
10 July 2023

|

