|
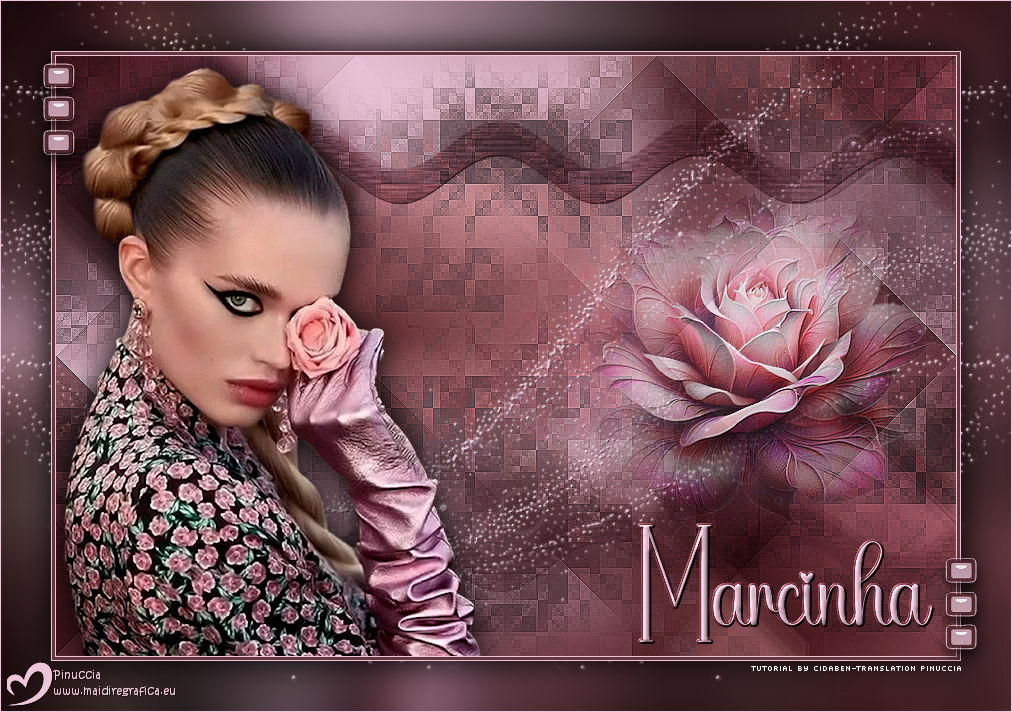
MARCINHA


Thanks Cidaben and SIM PSP Group for your invitation to translate your tutorials into english

This tutorial was written and translated with Psp2022, but it can also be made using other versions of PSP.
Since version PSP X4, Image>Mirror was replaced with Image>Flip Horizontal,
and Image>Flip with Image>Flip Vertical, there are some variables.
In versions X5 and X6, the functions have been improved by making available the Objects menu.
In the latest version X7 command Image>Mirror and Image>Flip returned, but with new differences.
See my schedule here

|
Special Note
PSP SIM and its Tutorial Authors ask the public:
- Please, we request that we maintain the originality of the tutorial,
refraining from adding or including unsolicited effects;
- The use of other images is permitted and encouraged,
but please don't modify the content of the original tutorial;
- Please acknowledge and attribute the valuable credits to those who write tutorials,
make translations and create materials.
Carefully,
PSP SIM and Cidaben
|

For this tutorial, you will need:

(The links of the tubemakers here).

consult, if necessary, my filter section here
Filters Unlimited 2.0 here
&<Bkg Designer sf10I> - Corner Half Wrap, Cruncher (to import in Unlimited) here
Mehdi - Sorting Tiles here
[AFS IMPORT] - PATCHWOR. here
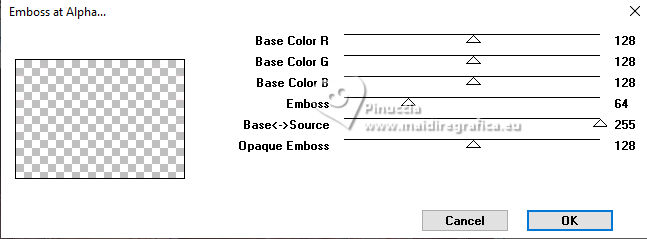
Mura's Seamless - Emboss at Alpha here
Graphics Plus - Cross Shadow here
Filters AFS IMPORT, Mura's Seamless and Graphics Plus can be used alone or imported into Filters Unlimited.
(How do, you see here)
If a plugin supplied appears with this icon  it must necessarily be imported into Unlimited it must necessarily be imported into Unlimited

You can change Blend Modes according to your colors.
In the newest versions of PSP, you don't find the foreground/background gradient (Corel_06_029).
You can use the gradients of the older versions.
The Gradient of CorelX here

Copy the Selections in the Selections Folder.
Open the mask in Psp and minimize it with the rest of the material.
1. Choose 2 colors from your tube.
Set your foreground color to #68343d
and your background color to #ecc6d9.
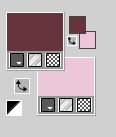
Set your foreground color to a Foreground/Background Gradient, style Linear.
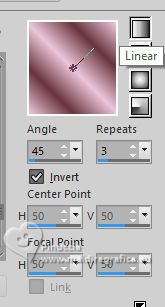
2. Open a new transparent image 900 x 600 pixels.
Flood Fill  the transparent image with your Gradient. the transparent image with your Gradient.
3. Effects>Plugins>Filters Unlimited 2.0 - Tile & Mirror - Distortion Mirror (horizontal), default settings.
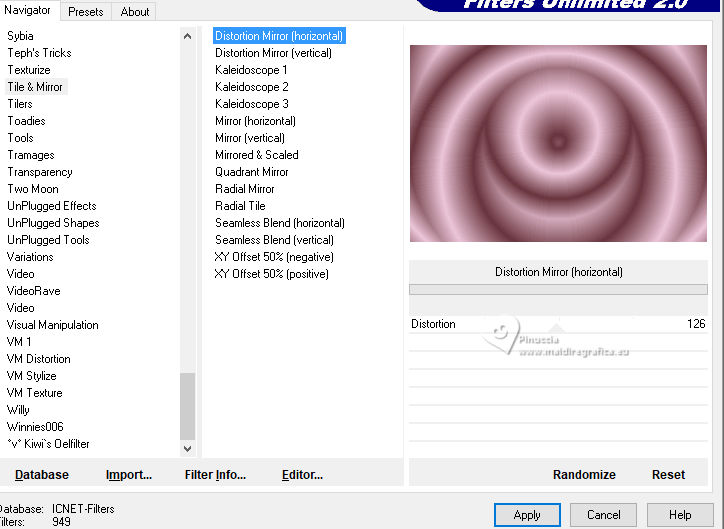
4. Effects>Plugins>Mehdi - Sorting Tiles.
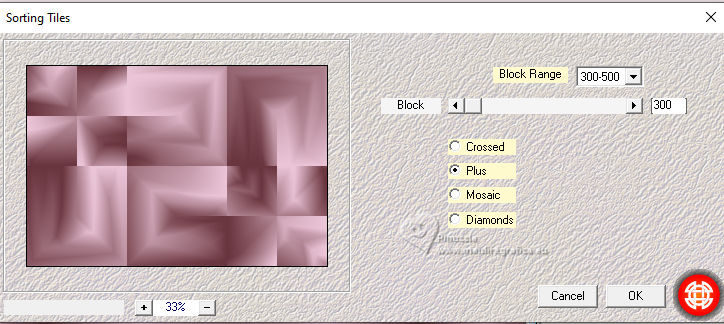
5. Adjust>Blur>Gaussian Blur - radius 20.

Selections>Select All.
Layers>New Raster Layer.
Open the person's tube 8714-Luz Cristina 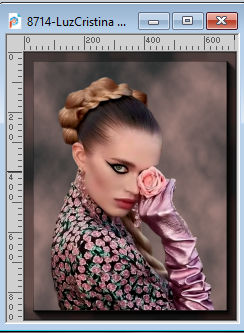
Edit>Copy.
Minimize the tube.
Go back to your work and go to Edit>Paste into Selection.
Selections>Selecton None.
6. Effects>Image Effects>Seamless Tiling - default settings.

Adjust>Blur>Gaussian Blur - radius 20.

Effets>Modules Externes>Filters Unlimited 2.0 - [AFS IMPORT] - PATCHWOR.
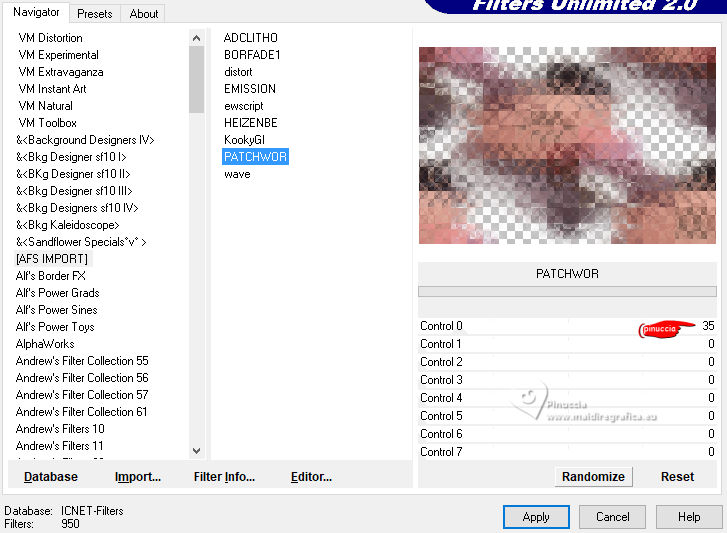
Change the Blend Mode of this layer to Multiply and reduce the opacity to 65%.
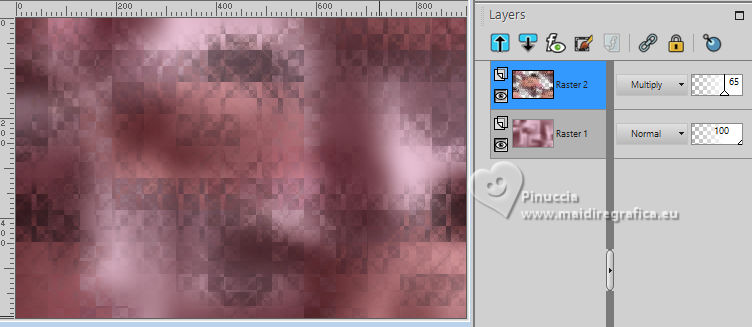
Effects>Edge Effects>Enhance.
7. Activate the layer Raster 1.
Layers>Duplicate.
Effects>Plugin Mehdi - Sorting Tiles.
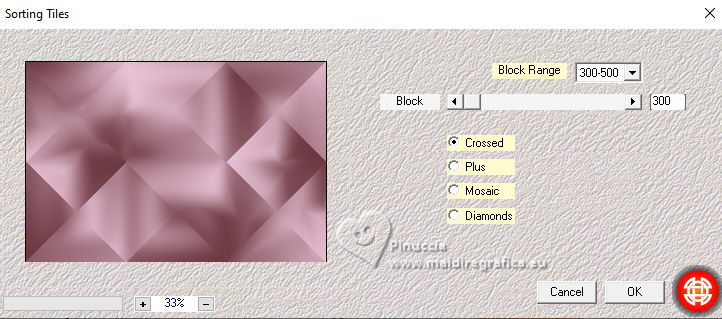
8. Effects>Edge Effects>Enhance.
Selections>Load/Save Selections>Load Selection from Disk
Look for and load the selection Sel_CBen1_M
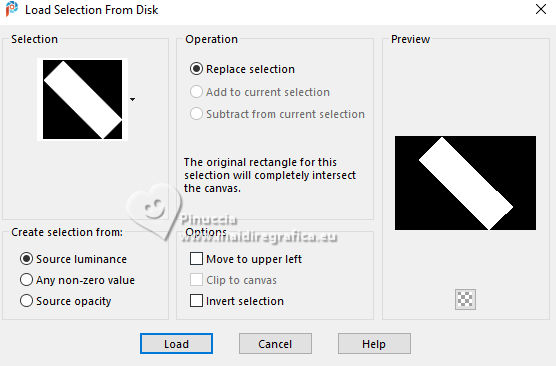
Selections>Promote Selection to Layer.
Selections>Modify>Select Selection Borders.
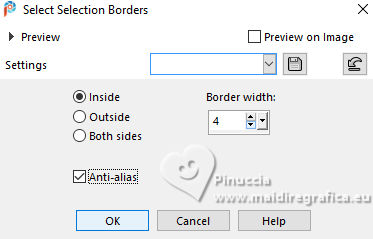
9. Flood Fill  the selection with your Gradient. the selection with your Gradient.

Effects>Edge Effects>Enhance.
Selections>Select None.
10. Effects>Plugins>Filters Unlimited 2.0 - &<Bkg Designer sf10I> - Corner Half Wrap.
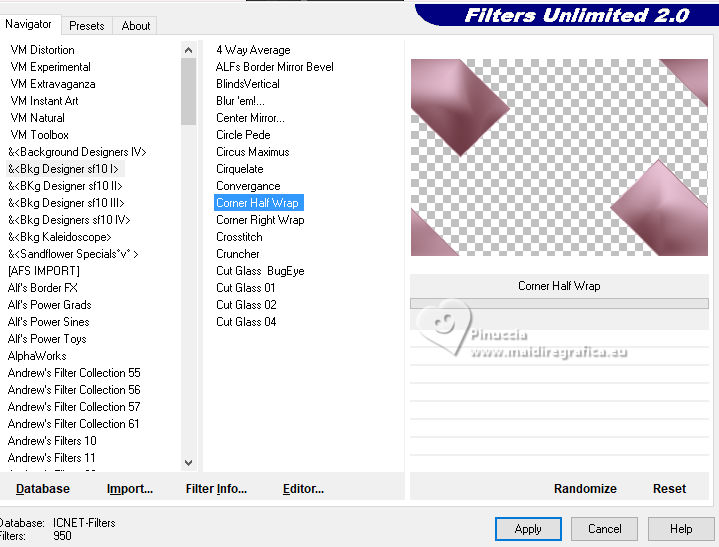
11. Effects>Plugins>Filters Unlimited 2.0 - &<Bkg Designer sf10I> - Cruncher.
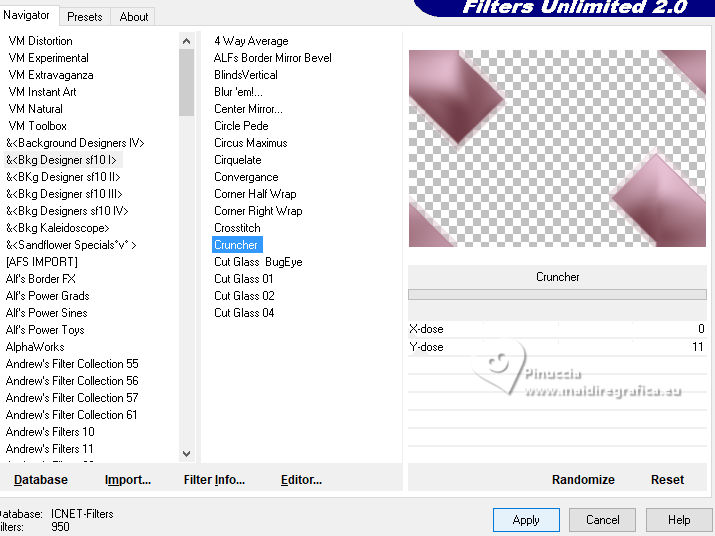
12. Change the Blend Mode of this layer to Multiply.

Effects>3D Effects>Drop Shadow, foreground color.
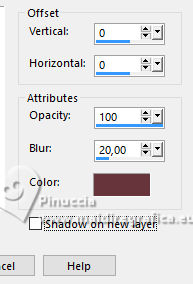
13. Activate the layer Raster 1.
Layers>Arrange>Bring to Top.
Effects>Geometric Effects>Perspective - Horizontal
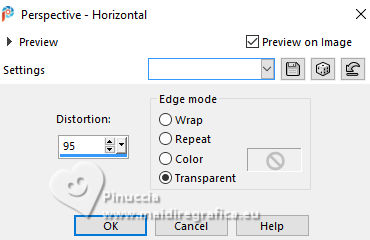
Repeat Effects>Geometric Effects>Perspective - Horizontal
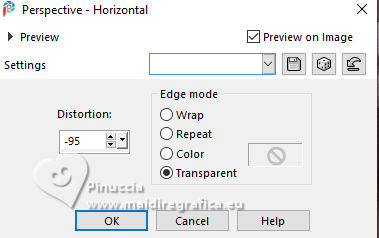
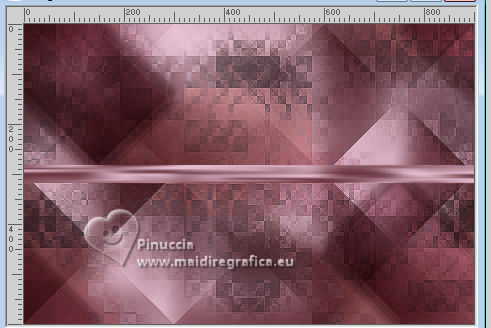
14. Effects>Distortion Effects>Wave.
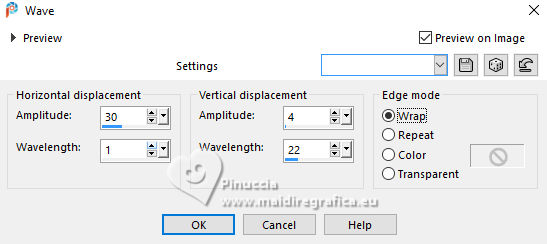
15. Change the Blend Mode of this layer to Multiply and reduce the opacity to 70%.
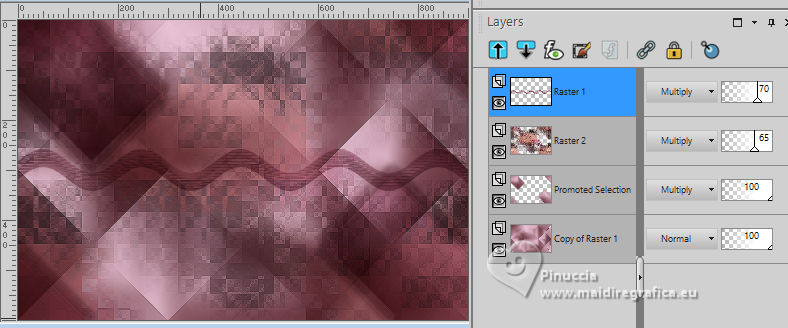
K key to activate your Pick Tool 
Position X: -2,00 - Position Y: 63,00.

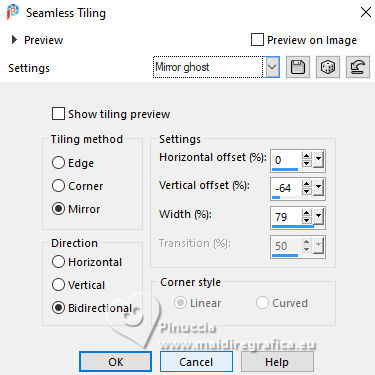
Effects>Image Effects>Seamless Tiling - preset Mirror ghost.
If you don't have the preset, just copy the settings you see on the screen.
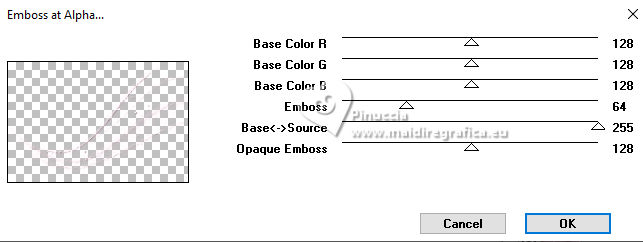
16. Effects>Plugins>Mura's Seamless - Emboss at Alpha, default settings.

17. Open the flower's tube image 24 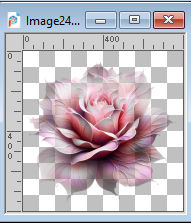
Edit>Copy.
Go back to your work and go to Edit>Paste As New Layer.
Image>Resize, to 50%, resize all layers not checked.
Reduce the opacity of this layer to 80%.
Pick Tool 
Position X: 513,00 . Position Y: 131,00.
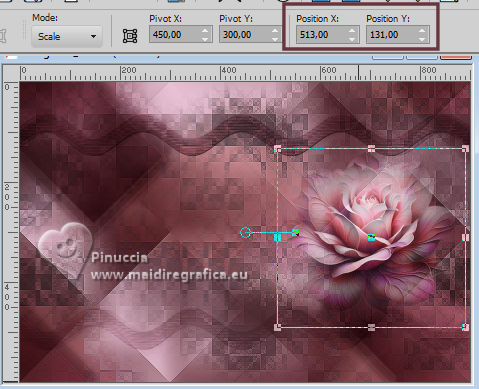
Effects>Plugins>FM Tile Tools - Blend Emboss, default settings.

18. Activate the layer Raster 2.
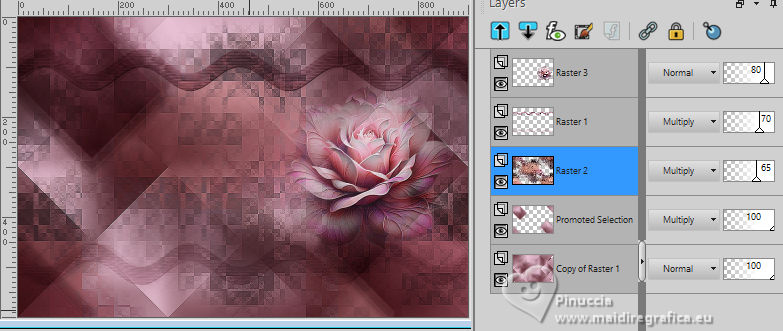
Layers>New Raster Layer.
Flood Fill  the layer with your background color. the layer with your background color.
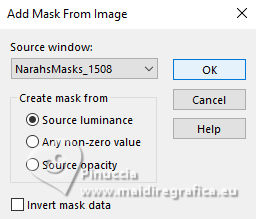
Layers>New Mask layer>From image
Open the menu under the source window and you'll see all the files open.
Select the mask NarahsMasks_1508
Layers>Merge>Merge Group.
19. Reduce the opacity of this layer to 80%.
Effects>Plugins>Mura's Seamless - Emboss at Alpha, default settings.
20. Activate your top layer, Raster 3.
Activate again the person's tube 8714-Luz Cristina
Edit>Copy.
Go back to your work and go to Edit>Paste As New Layer.
Image>Resize, to 77%, resize all layers not checked.
Adjust>Sharpness>Sharpen
Move  the tube to the left side. the tube to the left side.
Effects>3D Effects>Drop Shadow, at your choice.
21. Layers>New Raster Layer.
Selections>Load/Save Selections>Load Selection From Disk.
Look for and load the selection Sel_CBen2_M
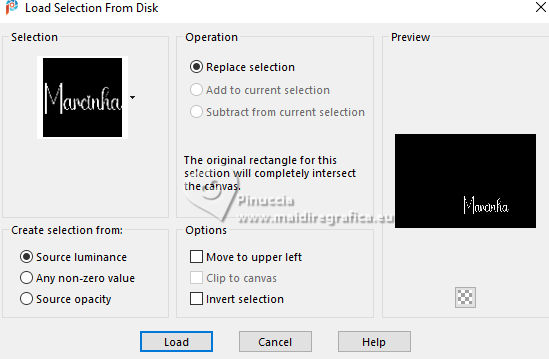
Flood Fill  the selection with your background color. the selection with your background color.
Layers>New Raster Layer.
Selections>Modify>Expand - 2 pixels.
Set your foreground color to Color.
Flood Fill  the selection with your foreground color. the selection with your foreground color.
Layers>Arrange>Move Down.
Selections>Select None.
22. Activate again your top layer, Raster 5.
Layers>Merge>Merge Down.
Effects>3D Effects>Inner Bevel.

Pick Tool 
Position X: 581,00 - Position Y: 466,00.

Adjust>Sharpness>Sharpen.
23. Edit>Copy Special>Copy Merged.
24. Image>Add Borders, 1 pixel, symmetric, background color.
Image>Add borders, 3 pixels, symmetric, foreground color.
Image>Add Borders, 1 pixel, symmetric, background color.
25. Selections>Select All.
Image>Add Borders, 50 pixels, symmetric, whatever color.
Selections>Invert.
Edit>Paste into Selection.
Adjust>Blur>Gaussian Blur - radius 30.

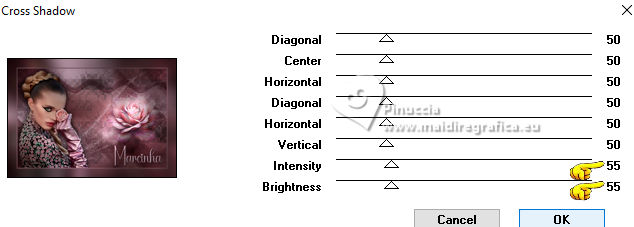
Effects>Plugins>Graphics Plus - Cross Shadow.
26. Selections>Invert.
Effects>3D Effects>Drop Shadow, color #000000.

Selections>Invert.
27. Layers>New Raster Layer.
Flood Fill  the selection with your background color. the selection with your background color.
28. Layers>New Mask layer>From image
Open the menu under the source window
and select again the mask NarahsMasks_1508

Layer>Merge>Merge Group.
Selections>Select None.
Layers>Duplicate.
Image>Mirror>Mirror Horizontal.
Layers>Merge>Merge Down.
Reduce the opacity of this layer to 80%.
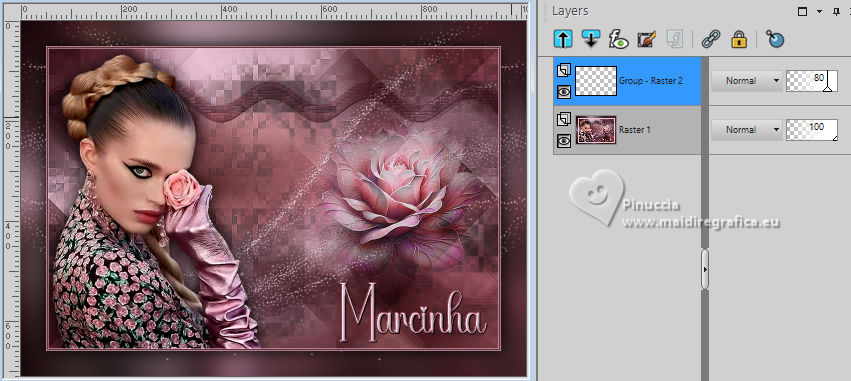
Effects>Plugin Mura's Seamless - Emboss at Alpha, default settings.
29 . Open Decor_CBen_M 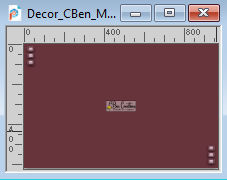
Edit>Copy.
Go back to your work and go to Edit>Paste As New Layer.
Pick Tool 
Position X: 24,00 - Position Y: 50,00.

Adjust>Sharpness>Sharpen.
30. Image>Add Borders, 1 pixel, symmetric, background color.
31. Sign your work and save as jpg.
For the tubes of this version thanks Luz Cristina
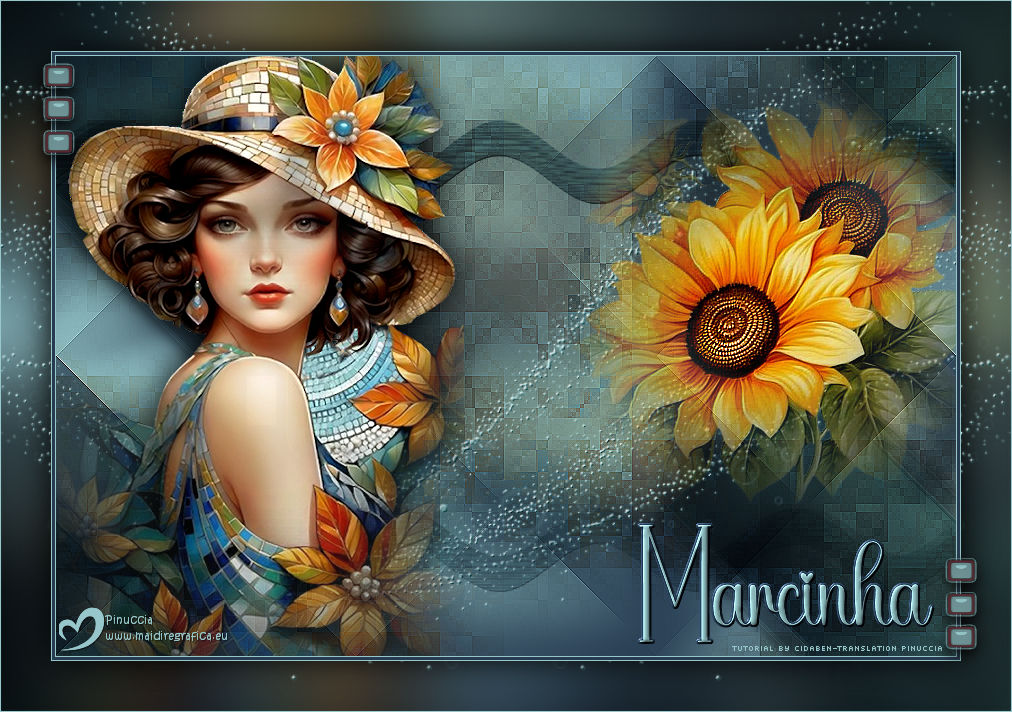

 Your versions. Thanks Your versions. Thanks
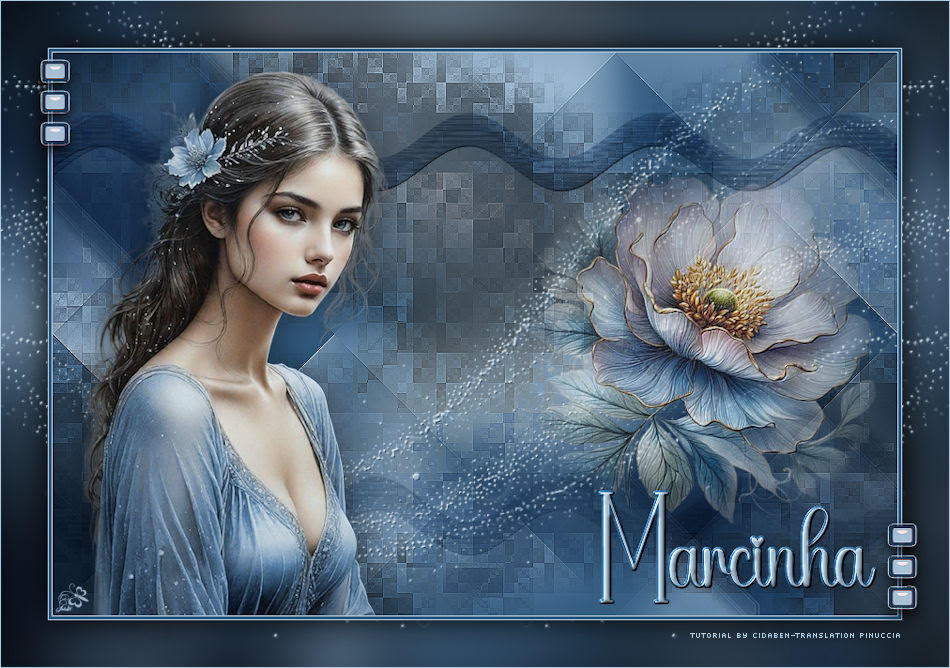
Jolcsi

Romana
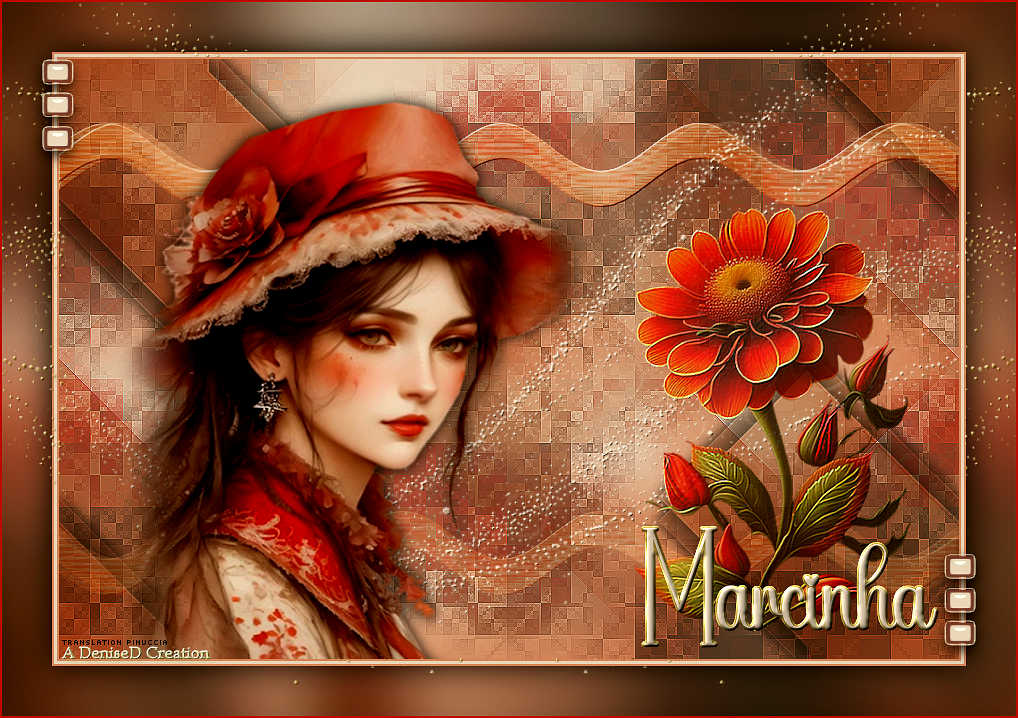
DeniseD
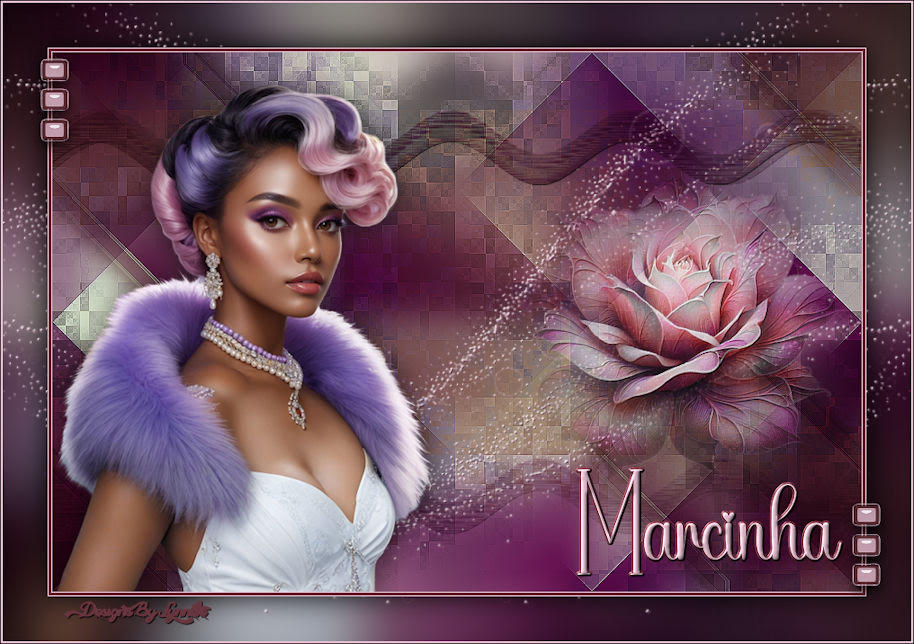
Lynnette
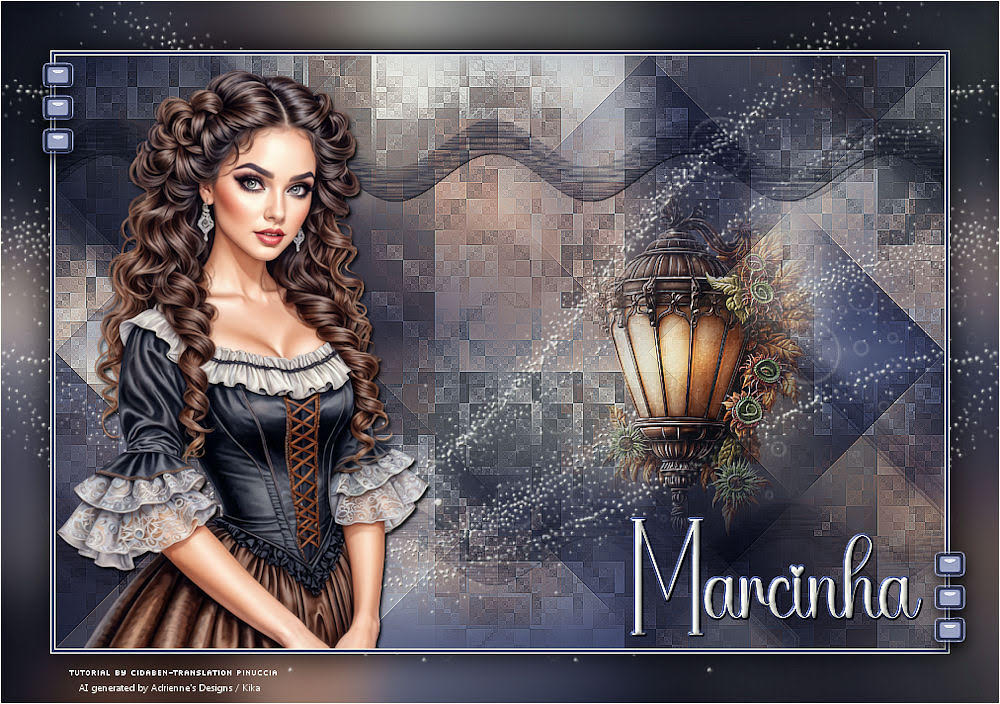
Kika
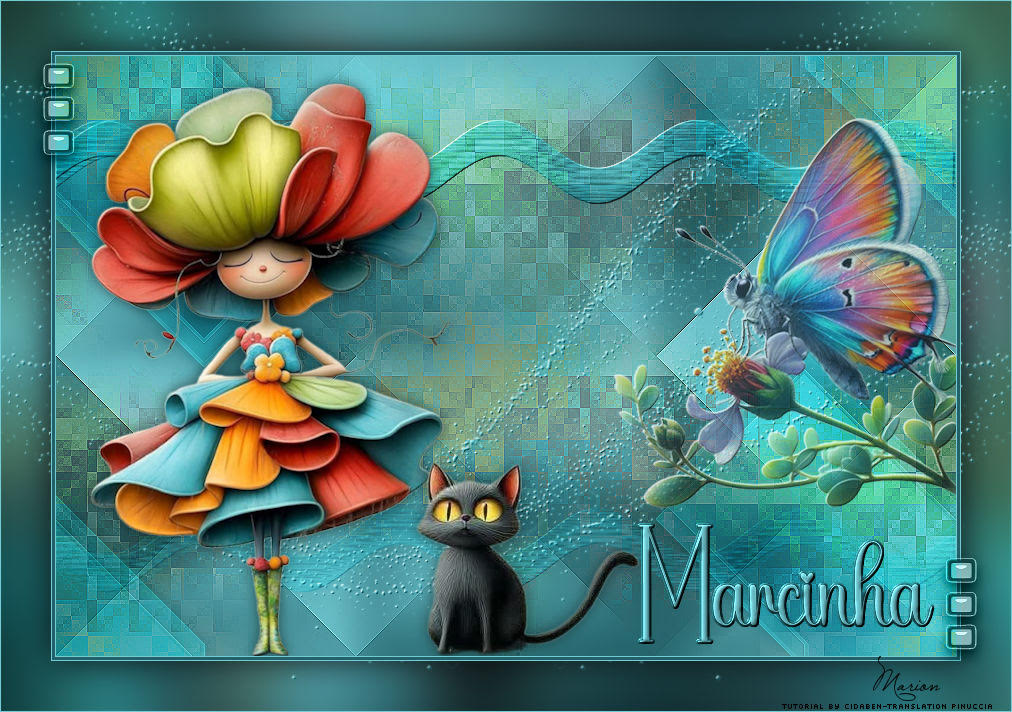
Marion


If you have problems or doubts, or you find a not worked link, or only for tell me that you enjoyed this tutorial, write to me.
19 September 2024

|

