|
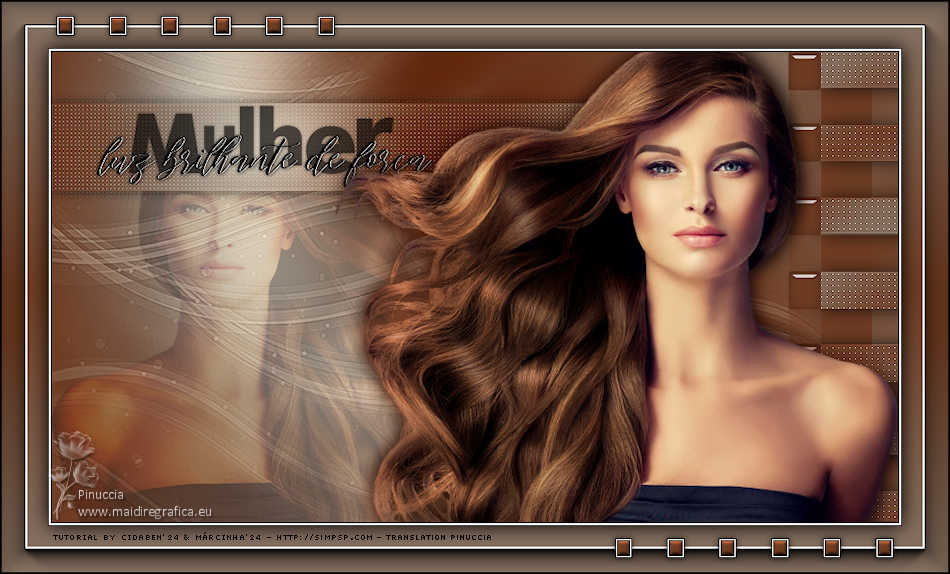
MULHER

TUTORIAL BY CIDABEN & MARCINHA

Thanks Cidaben, Marcinha and SIM PSP Group for your invitation to translate your tutorials into english

This tutorial was written with Psp2022 and translated with Psp2020, but it can also be made using other versions of PSP.
Since version PSP X4, Image>Mirror was replaced with Image>Flip Horizontal,
and Image>Flip with Image>Flip Vertical, there are some variables.
In versions X5 and X6, the functions have been improved by making available the Objects menu.
In the latest version X7 command Image>Mirror and Image>Flip returned, but with new differences.
See my schedule here

For this tutorial, you will need:

Thanks for the tubes PquenaAlice and for the mask Silvie.
(The links of the tubemakers here).

consult, if necessary, my filter section here
Filters Unlimited 2.0 here
&<Bkg Kaleidoscope> - Swirl Away (to import in Unlimited) here
Mirror Abstract - here
Alien Skin Eye Candy 5 Impact - Glass here
Carolaine and Sensibility - CS-LDots, CS-Linear-H here
It@lian Editors Effect - Effetto Fantasma here
Filters It@lian Editors can be used alone or imported into Filters Unlimited.
(How do, you see here)
If a plugin supplied appears with this icon  it must necessarily be imported into Unlimited it must necessarily be imported into Unlimited

You can change Blend Modes according to your colors.
In the newest versions of PSP, you don't find the foreground/background gradient (Corel_06_029).
You can use the gradients of the older versions.
The Gradient of CorelX here

Copy the Selections in the Selections Folder.
Open the mask in PSP and minimize it with the rest of the material.
1. Choose three colors to work and the colors white and black.

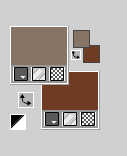
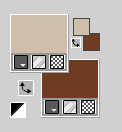
Set your foreground color to color 1 #867466
and your background color to color 2 #6e3c23
2. Open a new transparent image 900 x 500 pixels.
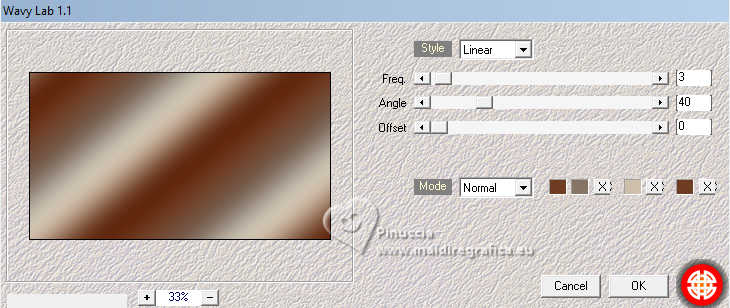
Effects>Plugins>Mehdi - Wavy Lab 1.1.
This filter creates gradients with the colors of your Materials palette.
The first is your background color, the second is your foreground color.
Change the last two colors created by the filtre:
the third color with color 3 #cebfac, and the fourth color with color 2 #6e3c23.
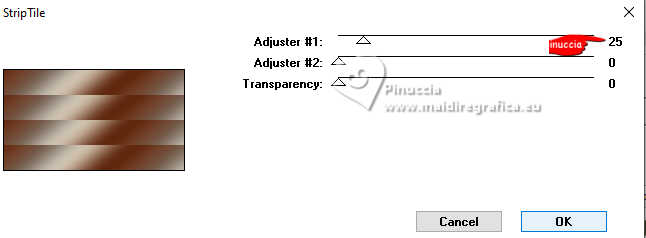
3. Effects>Plugins>Mirror Abstract - Strip Tile
4. Adjust>Sharpness>Sharpen.
Layer>Duplicate.
Image>Mirror>Mirror Vertical.
Reduce the opacity of this layer to 50%.
Layer>Merge>Merge Down.
5. Selections>Load/Save Selection>Load Selection from Disk.
Look for and load the selection Selection_Mulher_1

Selections>Promote Selection Layer.
Selections>Select None.
Effects>3D Effects>Drop Shadow, color black #000000.
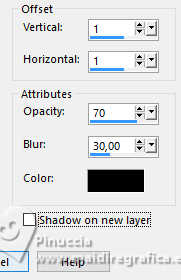
6. Effects>Plugins>Carolaine and Sensibility - CS-LDots.
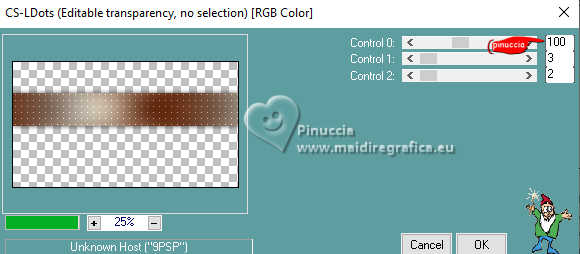
Adjust>Sharpness>Sharpen.
Activate the layer Raster 1.
6. Effects>Plugins>Filters Unlimited 2.0 - &<Bkg Kaleidoscope> - Swirl Away.
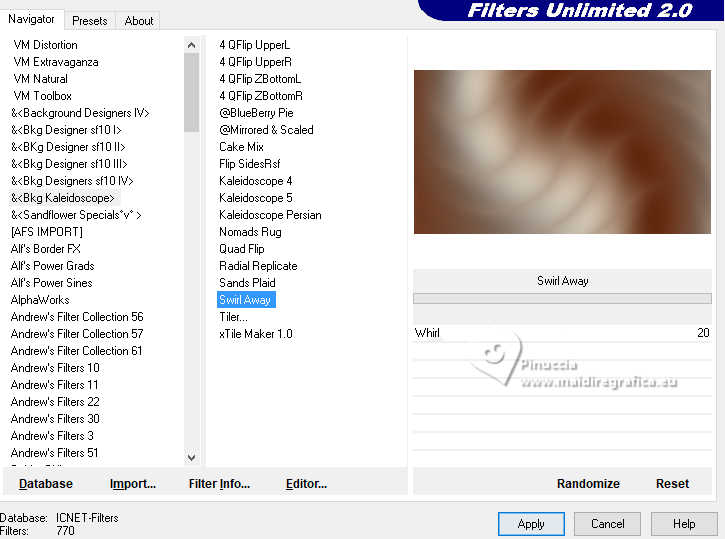
Adjust>Sharpness>Sharpen More.
8. Set your foreground color to the color 3 #cebfac.
Layers>New Raster Layer.
Flood Fill  the layer with your foreground color. the layer with your foreground color.
Layers>New Mask layer>From image
Open the menu under the source window and you'll see all the files open.
Select the mask 078_Silvie_Mask_Deco41W.
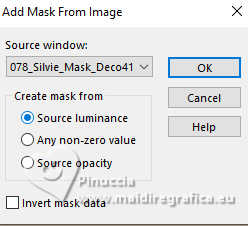
Layers>Merge>Merge Group.
Effects>Edge Effects>Enhance
Reduce the opacity of this layer to 40%.

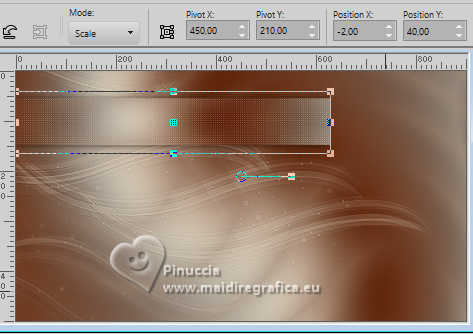
9. Activate your top layer, Promoted Selection.
Image>Resize, to 70%, resize all layers not checked.
Pick Tool 
and set Position X: -2,00 and Position Y: 40,00.
10. Selections>Load/Save Selection>Load Selection from Disk.
Look for and load the selection Selection_Mulher_2
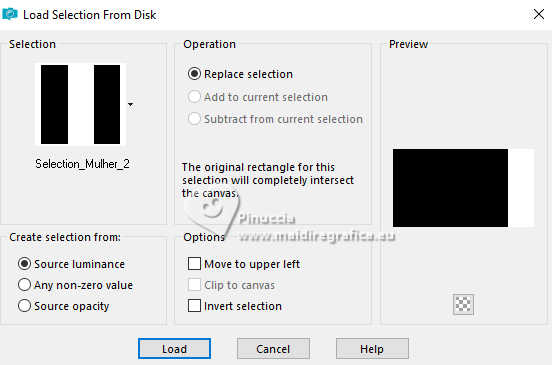
Selections>Promote Selection Layer (don't worry if the selection is wide).
Set again your foreground color to the first color #867466

Set your foreground color to a Foreground/Background Gradient, style Linear.
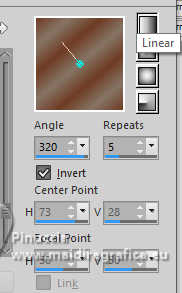
Flood Fill  the selection with your Gradient. the selection with your Gradient.
Selections>Select None.
11. Effects>Plugins>It@lian Editors Effect - Effetto Fantasma
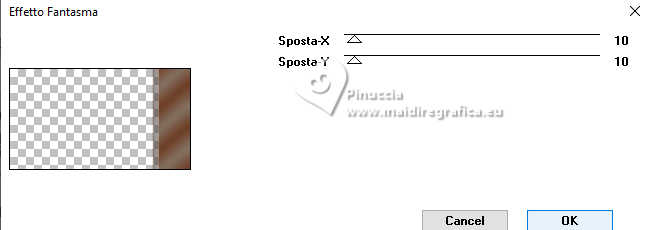
12. Effects>Plugins>Carolaine and Sensibility - CS-Linear-H.
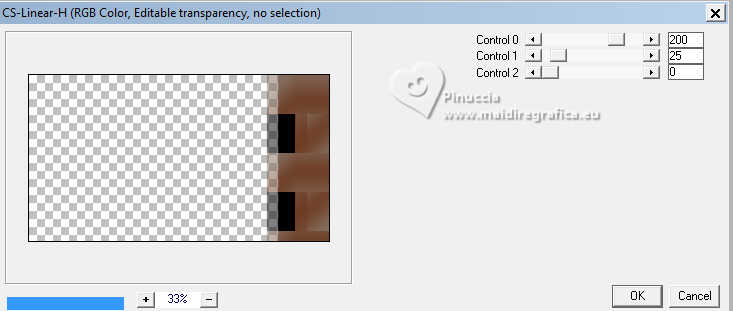
13. Selections>Load/Save Selection>Load Selection from Disk.
Look for and load the selection Selection_Mulher_3

Selections>Promote Selection to Layer.
Effects>3D Effects>Drop Shadow, color black #000000.

14. Effects>Plugins>Carolaine and Sensibility - CS-LDots, same settings
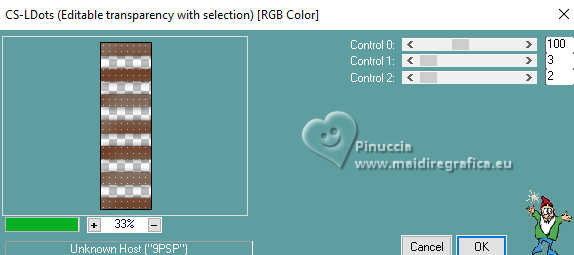
Adjust>Sharpnes>Sharpen.
Selections>Select None.
15. Layers New Raster Layer.
Selections>Load/Save Selection>Load Selection from Disk.
Look for and load the selection Selection_Mulher_4
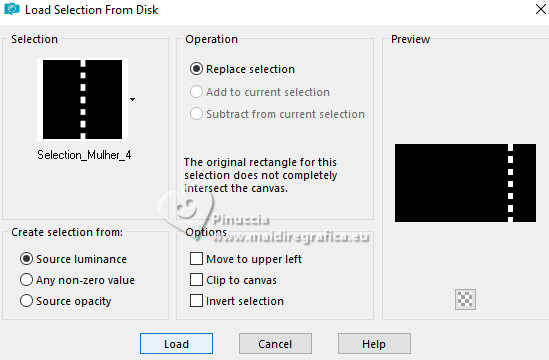
Flood Fill  with your background color #6e3c23. with your background color #6e3c23.
Effects>Plugins>Alien Skin Eye Candy 5 Impact - Glass.
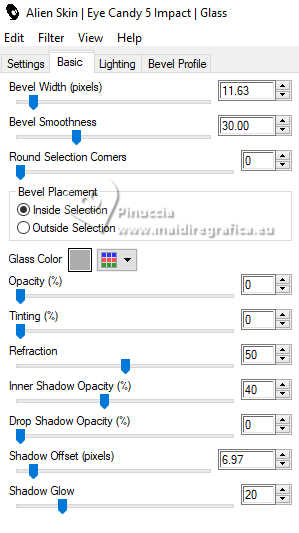
16. Selections>Select None.
Layers>Merge>Merge Down - 2 times.
Stay on your top layer: Promoted Selection 1.
Pick tool 
Position X: 783,00 and Position Y: 0,00.
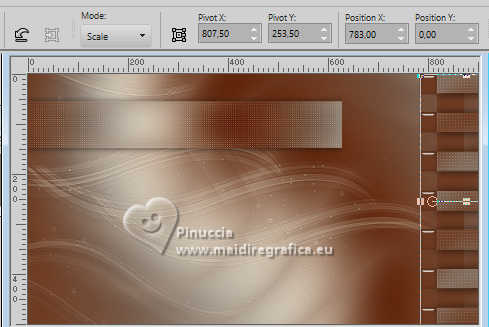
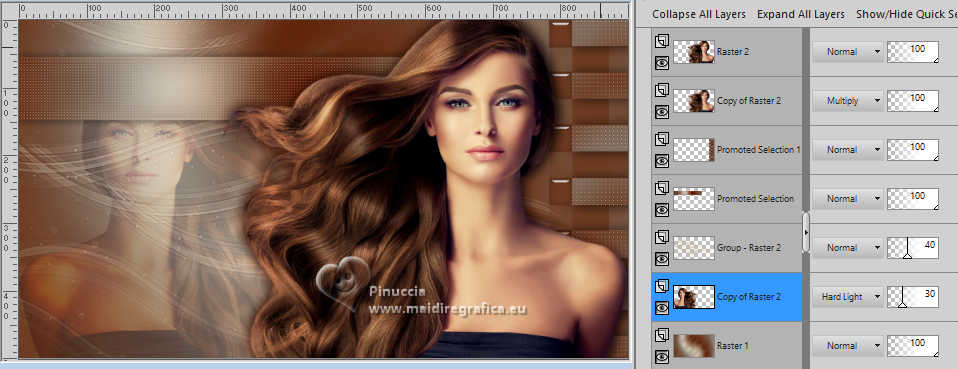
17. Here below your tag and the layers

18. Open the tube 1077MulherByPqnaAlice 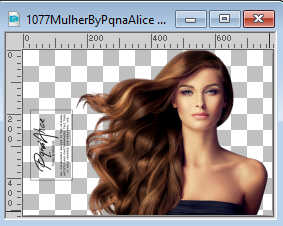
Edit>Copy.
Go back to your work and go to Edit>Paste as new layer.
Objects>Align>Right.
19. Layers>Duplicate.
Adjust>Blur>Gaussian Blur - radius 10

Change the Blend Mode of this layer to Multiply.
Layers>Arrange>Move Down.
Result
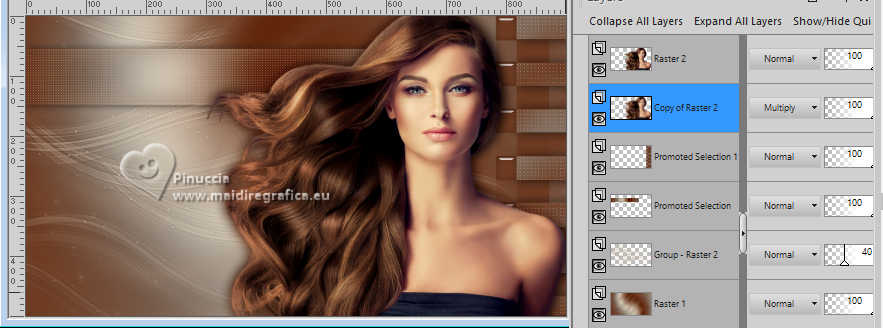
20. Activate the layer Raster 2 (your tube).
Layers>Duplicate.
Image>Mirror>Mirror Horizontal.
Image>Resize, to 86%, resize all layers not checked.
Objects>Align>Bottom.
Objects>Align>Left.
Change the Blend Mode of this layer to Hard Light and reduce the opacity to 30%.
Move this layer under the mask's layer.
21. Activate the layer Promoted Selection.
Open the wordart 01_WordArt_MLBF_PqnaAlice 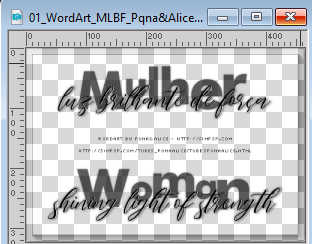
Choose a text and activate its layer.
Edit>Copy.
Go back to your work and go to Edit>Paste as New Layer.
Pick Tool 
Position X: 44,00 and Position Y: 53,00.

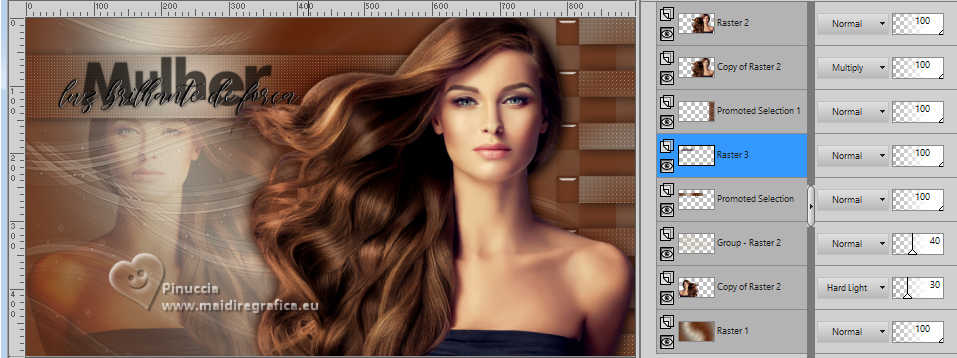
Change the Blend Mode of this layer to Luminance (legacy).
Note: You can position the title more towards the center of the Promoted Selection layer effect.
Our position was so that the hair on the Woman's tube would not interfere with the reading.
We will have this result
22. Image>Add borders, 1 pixel, symmetric, color black #000000.
Image>Add borders, 2 pixels, symmetric, color white #ffffff.
Image>Add borders, 1 pixel, symmetric, color black #000000.
Selections>Select All.
23. Image>Add borders, 50 pixels, symmetric, whatever color.
Selections>Invert.
Change the settings of your Gradient.
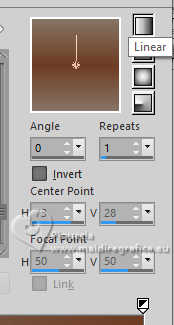
Flood Fill  the selection with your Gradient. the selection with your Gradient.
24. Effects>Plugins>AAA Frames - Foto Frame
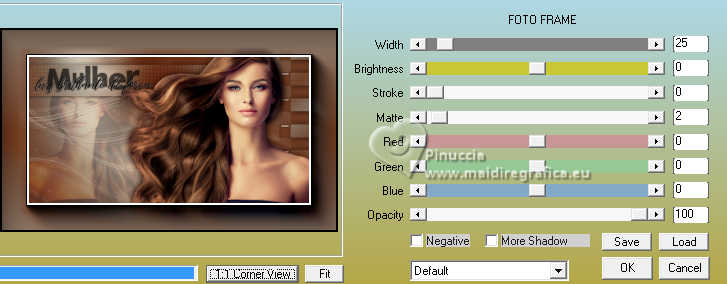
25. Selections>Promote Selection to layer.
Selections>Select None.
Image>Mirror>Mirror Horizontal.
Reduce the opacity of this layer to 50%.
Layers>Merge>Merge Down.
26. Selections>Select All.
Selections>Modify>Contract - 50 pixels.
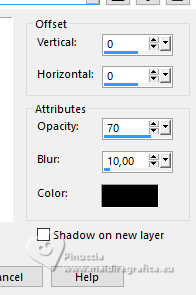
Effects>3D Effects>Drop Shadow, color black #000000.

Selections>Select None.
27. Layers New Raster Layer.
Selections>Load/Save Selection>Load Selection from Disk.
Look for and load the selection Selection_Mulher_5

28. Set your foreground color to black #000000
and your background color to white #ffffff.
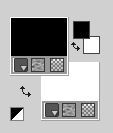
Flood Fill  the selection with color black #000000. the selection with color black #000000.
Selections>Modify>Contract - 1 pixel.
Flood Fill  the selection with color white #ffffff. the selection with color white #ffffff.
Selections>Modify>Contract - 1 pixel.
Flood Fill  the selection with color black #000000. the selection with color black #000000.
Selections>Modify>Contract - 1 pixel.
Set again your background color to color 2 #6e3c23.
Flood Fill  the selection with your background color #6e3c23. the selection with your background color #6e3c23.
Effects>3D Effects>Inner Bevel

Selections>Select None.
Effects>3D Effects>Drop Shadow, color black #000000.
29. Image>Add borders, 1 pixel, symmetric, color black #000000.
30. Sign your work and save as jpg.
For the tube of this version thanks Luz Cristina
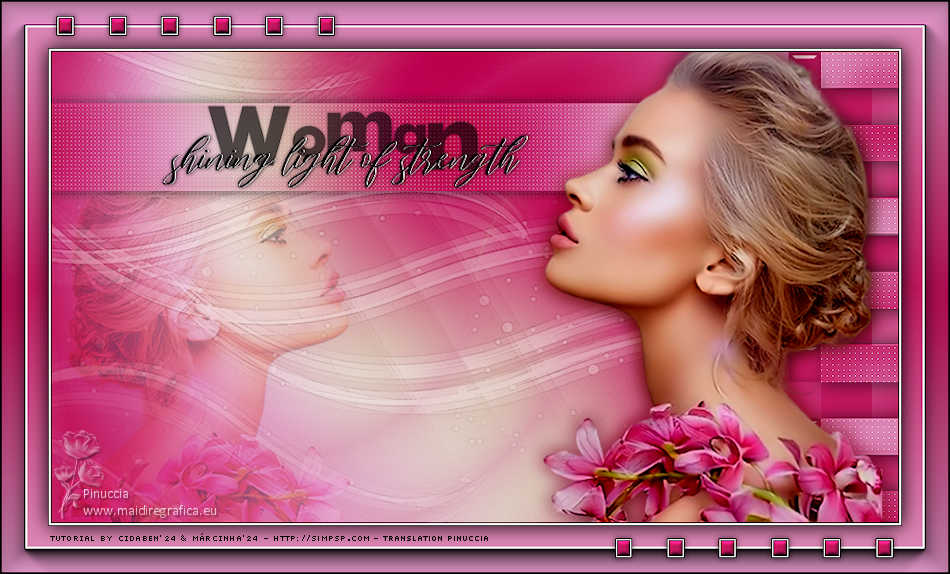

 Your versions. Thanks Your versions. Thanks
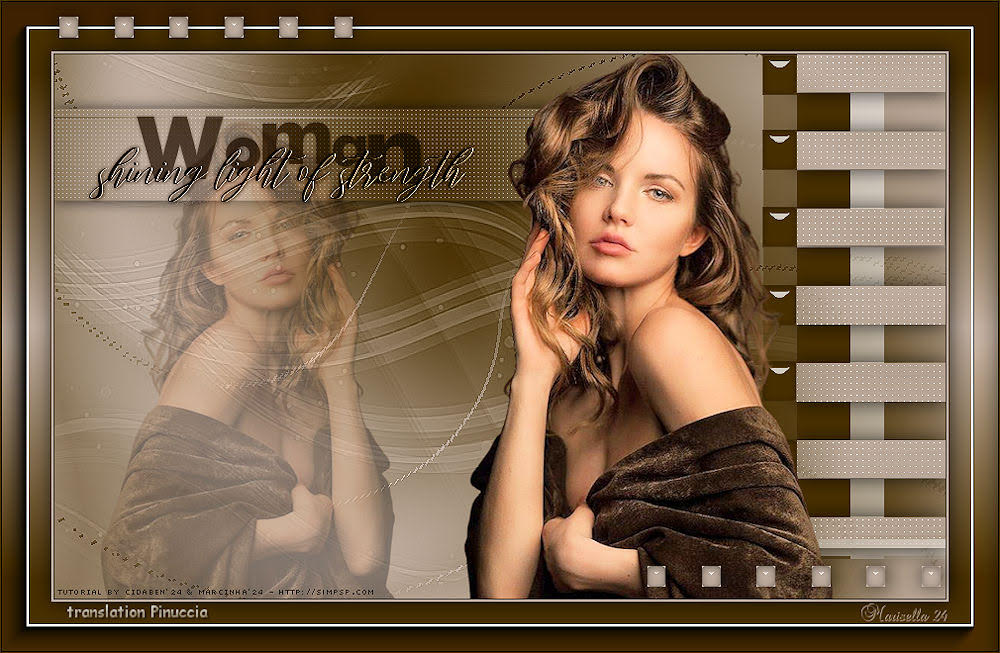
Marisella
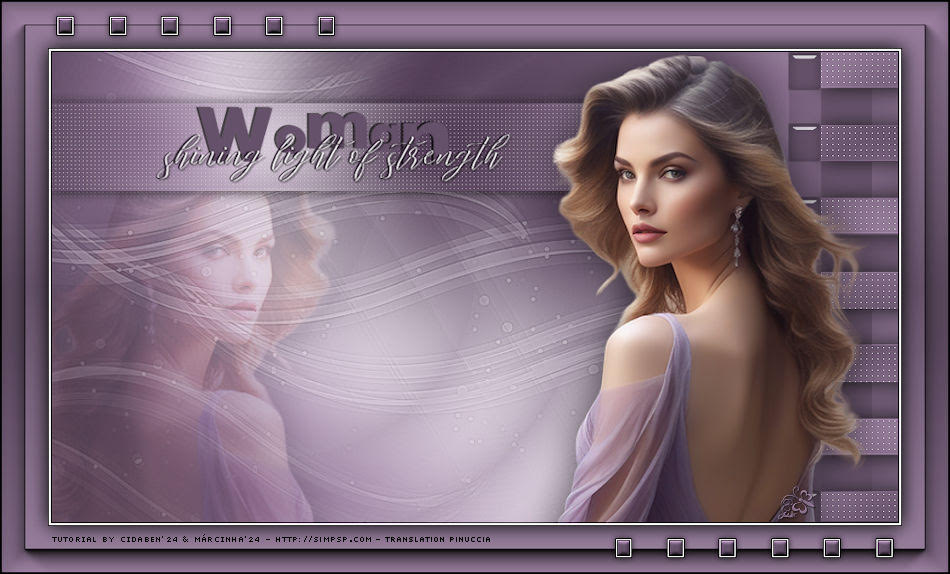
Jolcsi
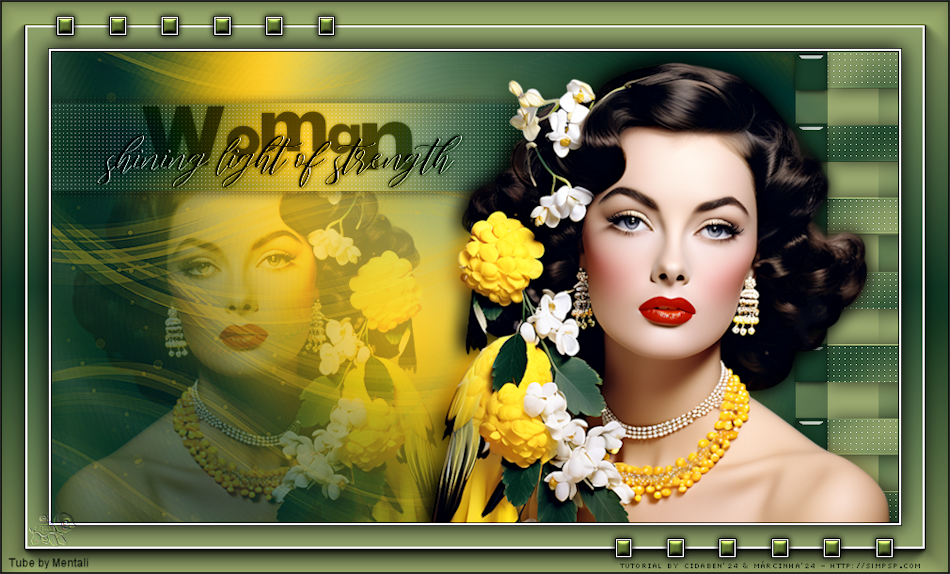
Pia


If you have problems or doubts, or you find a not worked link, or only for tell me that you enjoyed this tutorial, write to me.
4 March 2024

|

