|
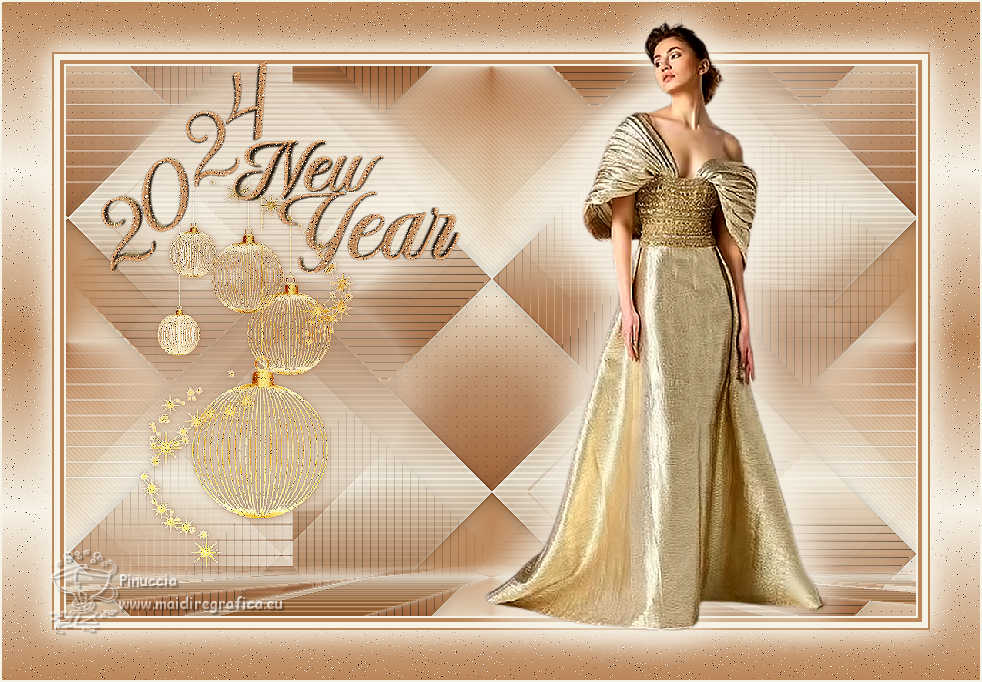
NEW YEAR 2024


Thanks Cidaben and SIM PSP Group for your invitation to translate your tutorials into english

This tutorial was written with Psp2022 and translated with PspX9, but it can also be made using other versions of PSP.
Since version PSP X4, Image>Mirror was replaced with Image>Flip Horizontal,
and Image>Flip with Image>Flip Vertical, there are some variables.
In versions X5 and X6, the functions have been improved by making available the Objects menu.
In the latest version X7 command Image>Mirror and Image>Flip returned, but with new differences.
See my schedule here
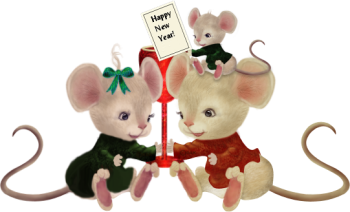
For this tutorial, you will need:

Thanks for the tubes and the mask Calli and Narah.
(The links of the tubemakers here).

consult, if necessary, my filter section here
Filters Unlimited 2.0 here
Mehdi - Sorting Tiles here
Carolaine and Sensibility - CL_Lines, CS_Halloween2 here
Filter Factory Gallery J - Tee Wee here
AP Lines - Lines SilverLining here
Mura's Meister - Perspective Tiling here
Tramages - Tow the line here
Filters Factory Gallery and Tramages can be used alone or imported into Filters Unlimited.
(How do, you see here)
If a plugin supplied appears with this icon  it must necessarily be imported into Unlimited it must necessarily be imported into Unlimited

You can change Blend Modes according to your colors.
In the newest versions of PSP, you don't find the foreground/background gradient (Corel_06_029).
You can use the gradients of the older versions.
The Gradient of CorelX here

Copy the Selections in the Selections Folder.
Open the mask in PSP and minimize it with the rest of the material.
1. Choose two colors.
Set your foreground color to #ba875a
and your background color to #f7f2e6
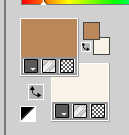
Set your foreground color to a Foreground/Background Gradient, style Linear.
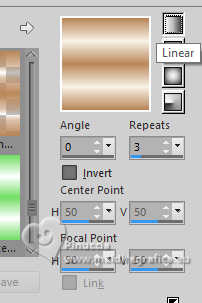
2. Open a new transparent image 850 x 550 pixels.
Flood Fill  the transparent image with your Gradient. the transparent image with your Gradient.
3. Layers>Duplicate.
Effects>Plugins>Mehdi - Sorting Tiles.
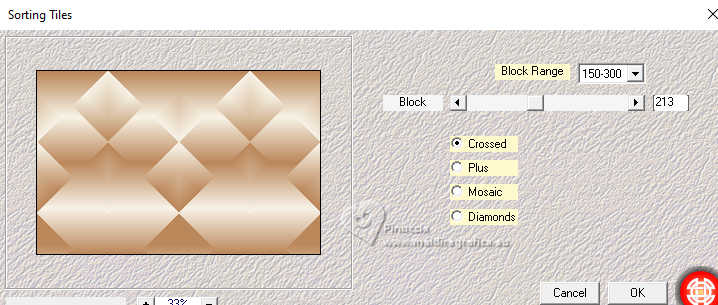
Adjust>Sharpness>Sharpen More.
4. Selections>Load/Save Selection>Load Selection From Disk.
Look for and load the selection Selection_NewYear2024_CBen1
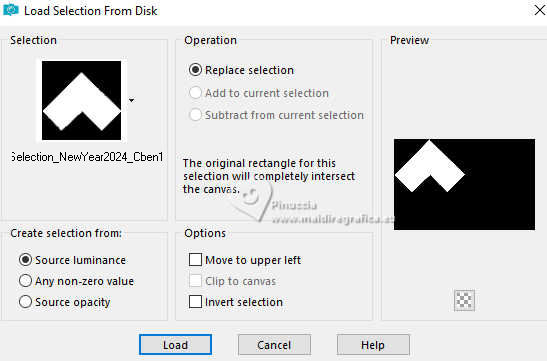
Selections>Promoter Selection to Layer.
Selections>Select None.
5. Effects>Plugins>Filter Factory Gallery J - TeeWee
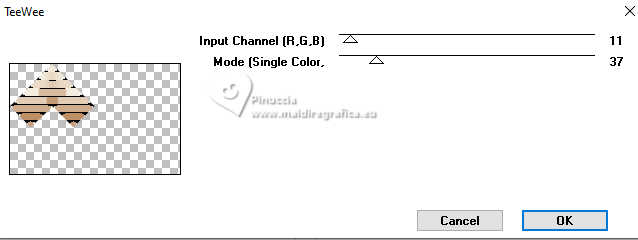
Effects>3D Effects>Drop Shadow, color #000000.
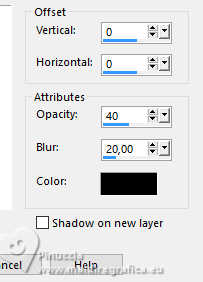
6. Activate the layer Copy of Raster 1.
7. Selections>Load/Save Selection>Load Selection From Disk
Look for and load the selection Selection_NewYear2024_CBen2
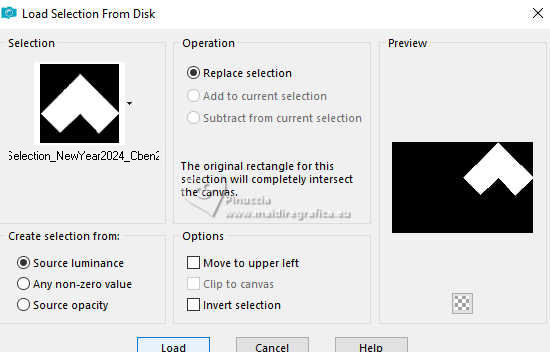
Selections>Promote Selection to Layer.
Selections>Select None.
8. Effects>Plugins>Tramages - Tow The Line.
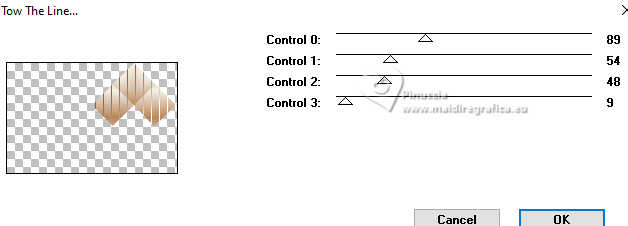
Effects>3D Effects>Drop Shadow, same settings.

9. Activate the layer Copy of Raster 1.
10. Selections>Load/Save Selection>Load Selection From Disk
Look for and load the selection Selection_NewYear2024_CBen3
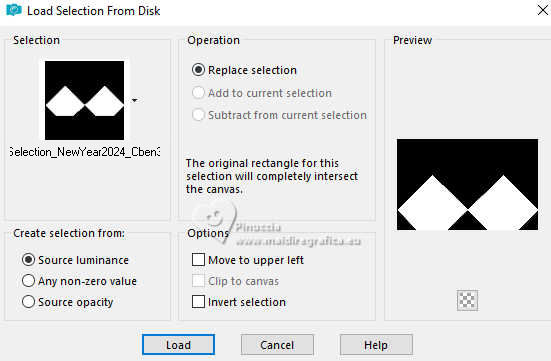
Selections>Promote Selection to layer.
Selections>Select None.
11. Effects>Plugins>Carolaine and Sensibility - CS_Halloween2.
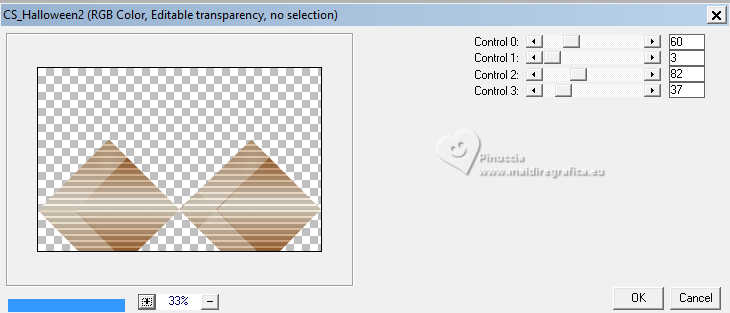
Effects>3D Effects>Drop Shadow, same settings.

12. Activate the layer Copy of Raster 1.
13 - Selections>Load/Save Selection>Load Selection From Disk.
Look for and load the selection Selection_NewYear2024_CBen4
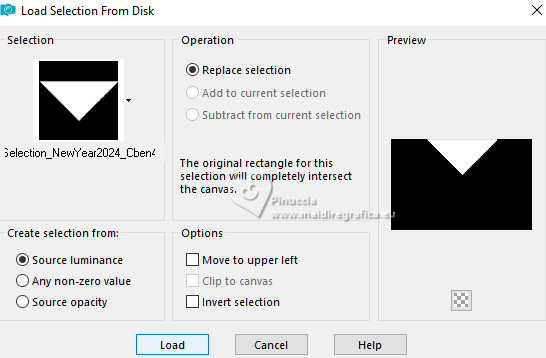
Selections>Promoter Selection to Layer.
Selections>Select None.
14. Effects>Plugins>Carolaine and Sensibility - CS-DLines.
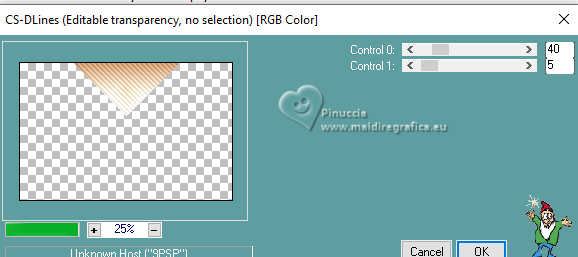
15. Activate the layer Copy of Raster 1.
16. Selections>Load/Save Selection>Load Selection From Disk.
Look for and load the selection Selection_NewYear2024_CBen5
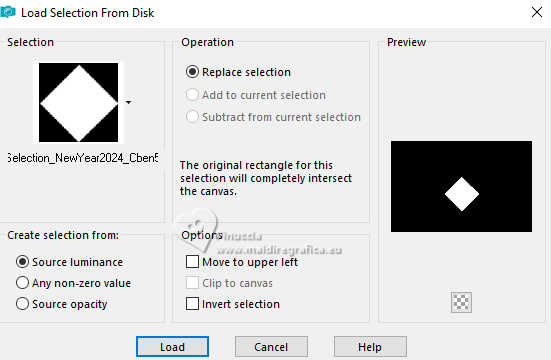
Selections>Promoter Selection to Layer.
Selections>Select None.
17. Effects>Plugins>Ap [Lines] - Lines SilverLining - Dotty Grid.
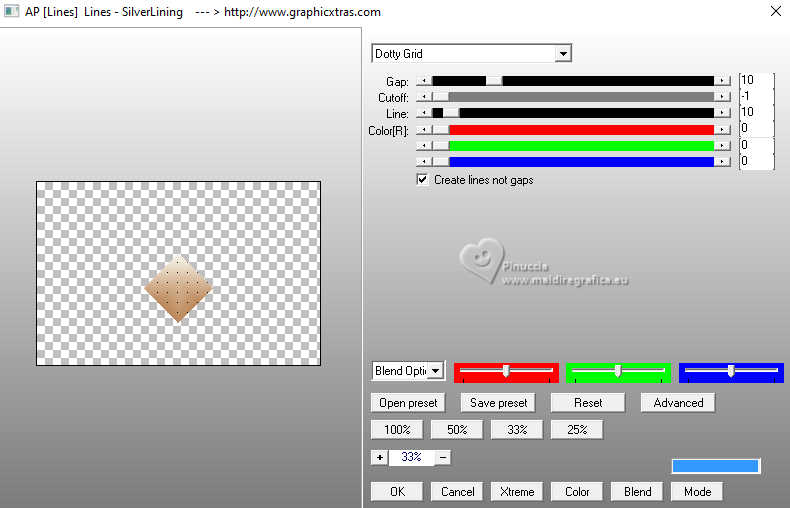
18. Activate your top layer (Promoted Selection).
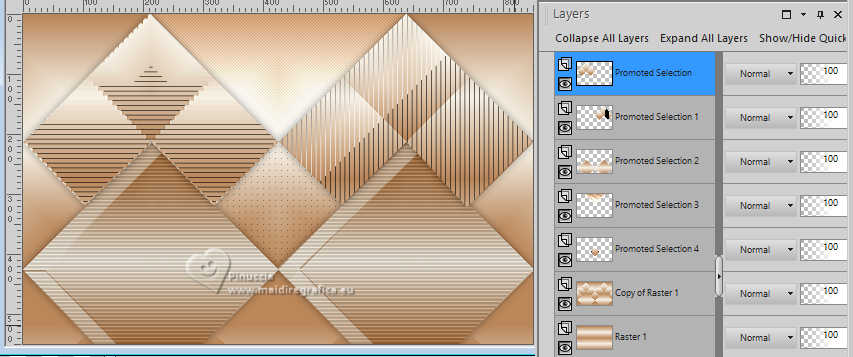
Layers>Merge>Merge Down - 4 times.
Layers>Duplicate.
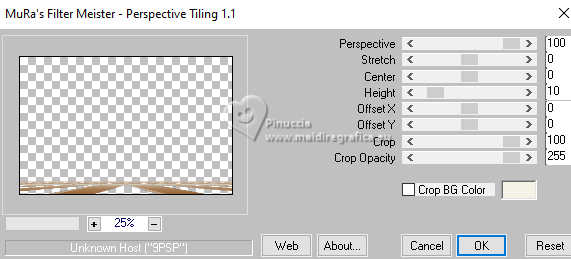
19. Effects>Plugins>Mura's Meister - Perspective Tiling.
20. Effects>Reflection Effects>Rotating Mirror.

Adjust>Sharpness>Sharpen.
21. Activate your Magic Wand Tool 

Click in the transparent part to select it.
Press 8 times CANC on the keyboard 
Selections>Select None.
Effects>3D Effects>Drop Shadow, background color #f7f2e6.
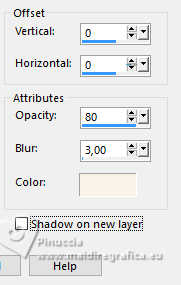
Edit>Repeat Drop Shadow.
22. Activate the layer Promoted Selection 4.
Change the Blend Mode of this layer to Multiply and reduce the opacity to 60%.
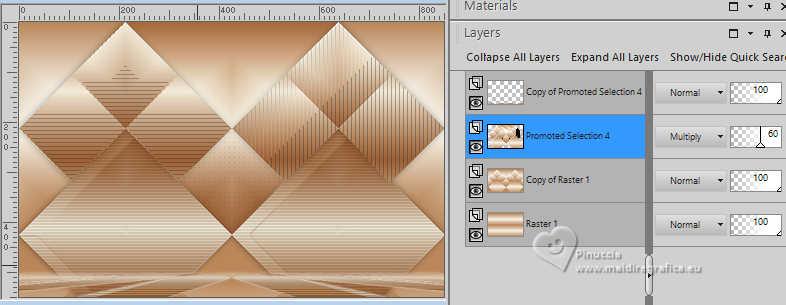
23. Activate your top layer, Copy of Promoted Selection 4.
Layers>New Raster Layer.
Flood Fill  the layers with your background color #f7f2e6. the layers with your background color #f7f2e6.
Layers>New Mask layer>From image
Open the menu under the source window and you'll see all the files open.
Select the mask Narah_mask0110
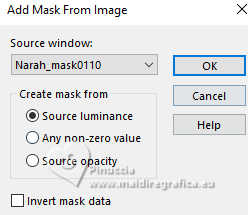
Layers>Merge>Merge Group.
Effects>Reflection Effects>Rotating Mirror.

24. Activate your Pick Tool 
Keep Position X to 0,00 and set Position Y: -50,00.

Adjust>Sharpness>Sharpen.
Reduce the opacity of this layer to 75%.
25. Activate the layer Promoted Selection 4.
Layers>Merge>Merge Down.
26. Effects>Image Effects>Seamless Tiling.

27. Image>Add borders, 2 pixels, symmetric, background color #f7f2e6.
Image>Add borders, 4 pixels, symmetric, foreground color #ba875a.
Image>Add borders, 6 pixels, symmetric, background color #f7f2e6.
Image>Add borders, 2 pixels, symmetric, foreground color #ba875a.
Selections>Select All.
28. Image>Add borders, 50 pixels, symmetric, whatever color.
Selections>Invert.
Flood Fill  the selection with your Gradient the selection with your Gradient 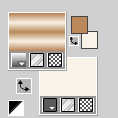
29. Adjust>Add/Remove Noise>Add Noise.
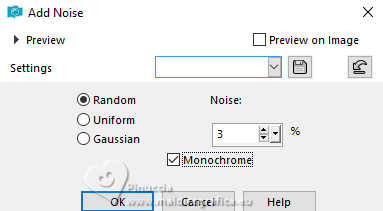
Adjust>Sharpness>Sharpen.
Selections>Invert
Effects>3D Effects>Drop Shadow, background color #f7f2e6
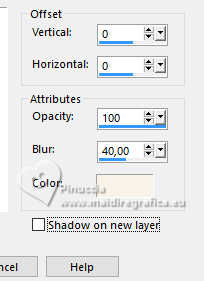
Edit>Repeat Drop Shadow.
Selections>Select None.
30. Open your main tube Callitubes-2895mulheres 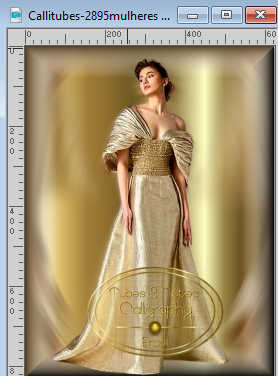
Edit>Copy.
Go back to your work and go to Edit>Paste As New Layer.
Image>Resize, if necessary - for the supplied tube to 77%, resize all layers not checked.
Move  the tube to the right side. the tube to the right side.
Adjust>Sharpness>Sharpen.
Effects>3D Effects>Drop Shadow, background color #f7f2e6
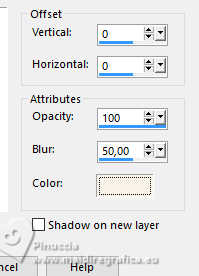
Edit>Repeat Drop Shadow.
31. Open the text Título_NewYear_2024_byCidaBen 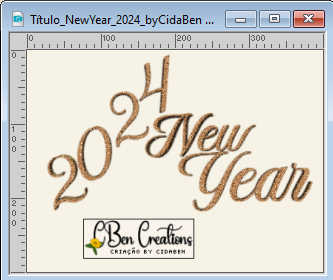
Edit>Copy.
Go back to your work and go to Edit>Paste As New Layer.
Pick Tool 
and set Position X: 98,00 and Position Y: 59,00.

(for my second version I set the Blend Mode to Luminance (Legacy).
Adjust>Sharpness>Sharpen More.
32. Open the deco Callitubes-39natal 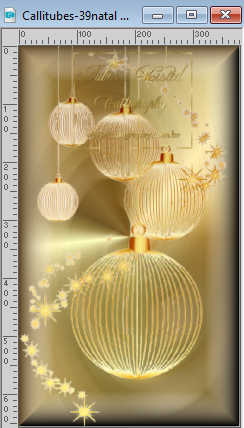
Edit>Copy.
Go back to your work and go to Edit>Paste As New Layer.
Image>Resize, to 60%, resize all layers not checked.
Layers>Arrange>Move Down.
Move  the text as in my exemple, the text as in my exemple,
or Pick Tool 
and set Position X: 136,00 and Position Y: 171,00.

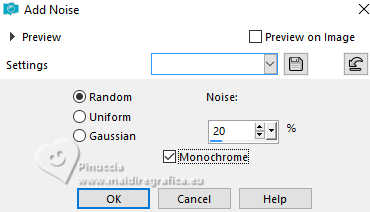
Adjust>Add/Remove Noise>Add Noise.
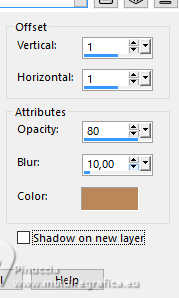
Effects>3D Effects>Drop Shadow, foreground color #ba875a.
Adjust>Sharpness>Sharpen.
33. Image>Add Borders, 2 pixels, symmetric, background color #f7f2e6.
34. Sign your work and save as jpg.
For the tubes of this version thanks Beatriz
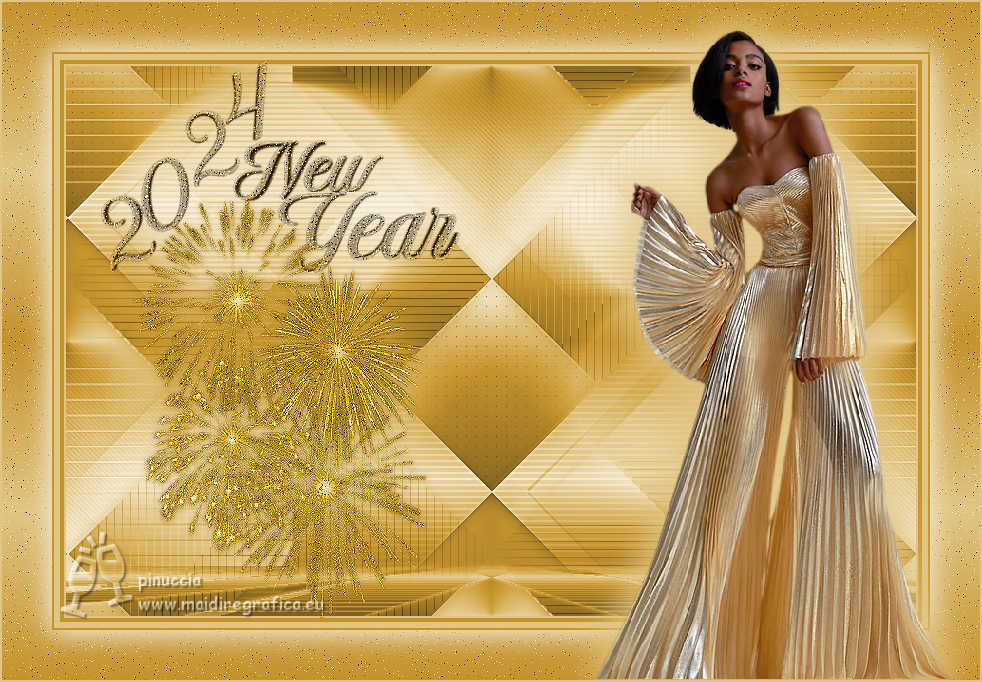

 Your versions. Thanks Your versions. Thanks


If you have problems or doubts, or you find a not worked link, or only for tell me that you enjoyed this tutorial, write to me.
30 November 2023

|

