|
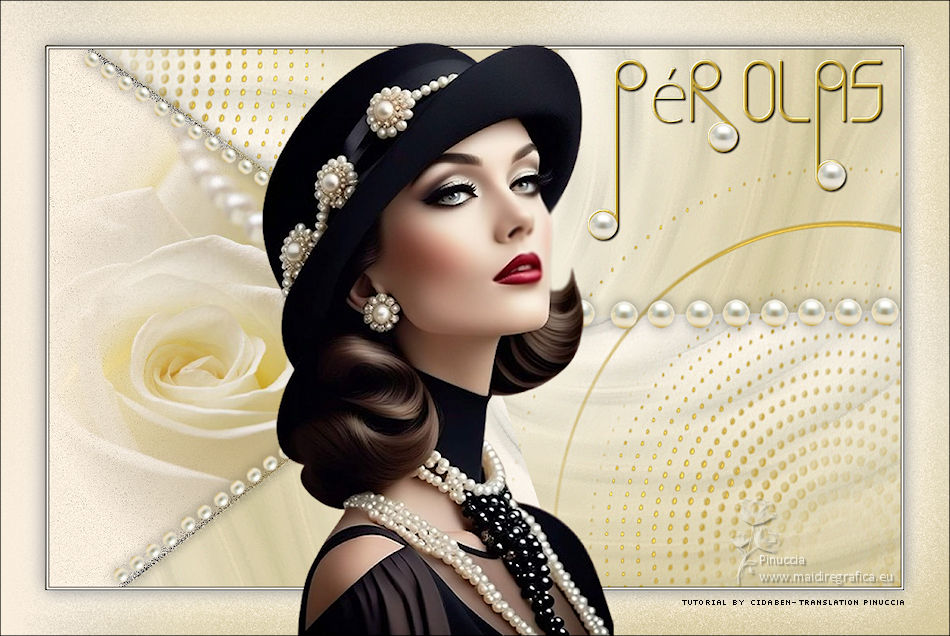
PÉROLAS
 PEARLS PEARLS

Thanks Cidaben and SIM PSP Group for your invitation to translate your tutorials into english

This tutorial was written and translated with Psp2020, but it can also be made using other versions of PSP.
Since version PSP X4, Image>Mirror was replaced with Image>Flip Horizontal,
and Image>Flip with Image>Flip Vertical, there are some variables.
In versions X5 and X6, the functions have been improved by making available the Objects menu.
In the latest version X7 command Image>Mirror and Image>Flip returned, but with new differences.
See my schedule here

|
Special Note
PSP SIM and its Tutorial Authors ask the public:
- Please, we request that we maintain the originality of the tutorial,
refraining from adding or including unsolicited effects;
- The use of other images is permitted and encouraged,
but please don't modify the content of the original tutorial;
- Please acknowledge and attribute the valuable credits to those who write tutorials,
make translation and create materials.
Carefully,
PSP SIM and Cidaben
|

For this tutorial, you will need:

Thanks for the tubes and for the mask Narah.
The rest of the material is by Cidaben
(The links of the tubemakers here).

consult, if necessary, my filter section here
Filters Unlimited 2.0 here
&<Background Designers IV> - @Kaleidoscope 3 here
Kohan's Filters - Autointerlace v.1.0 here
Johann's Filters 2.0 - Chaos Dissolve here

You can change Blend Modes according to your colors.
In the newest versions of PSP, you don't find the foreground/background gradient (Corel_06_029).
You can use the gradients of the older versions.
The Gradient of CorelX here

Copy the preset Emboss 3 in the Presets Folder.
Copy the selection in the Selections Folder.
Open the mask in PSP and minimize it with the rest of the material.
1. Choose two colors to work.
Set your foreground color to #c0a142
and your background color to #fff3e3.
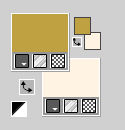
third color: #000000
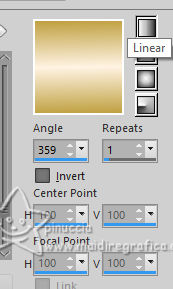
Set your foreground color to a Foreground/Background Gradient, style Linear.
2. Open a new transparent image 950 x 600 pixels.
Flood Fill  the transparent image with your Gradient. the transparent image with your Gradient.
3. Selections>Select All.
Layers>New Raster Layer.
4. Open the image imagem triangulos_perolas 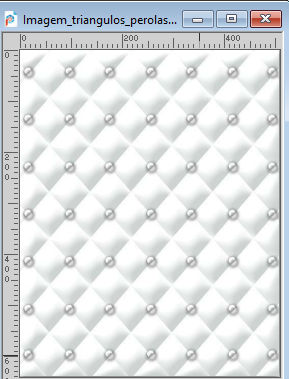
Edit>Copy.
Go back to your work and go to Edit>Paste into Selection.
Selections>Select None.
Reduce the opacity of this layer to 60%.
Layers>Merge>Merge Down.
5. Adjust>Blur>Radial Blur.
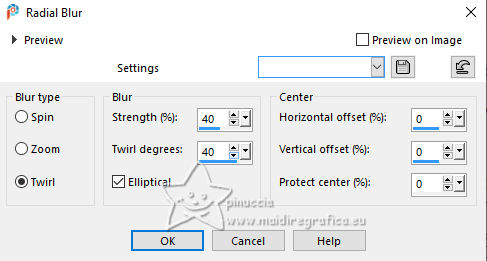
Effects>Edge Effects>Enhance More.
6. Effects>Plugins>Filters Unlimited 2.0 - &<Background Designers IV> - @Kaleidoscope 3, default settings
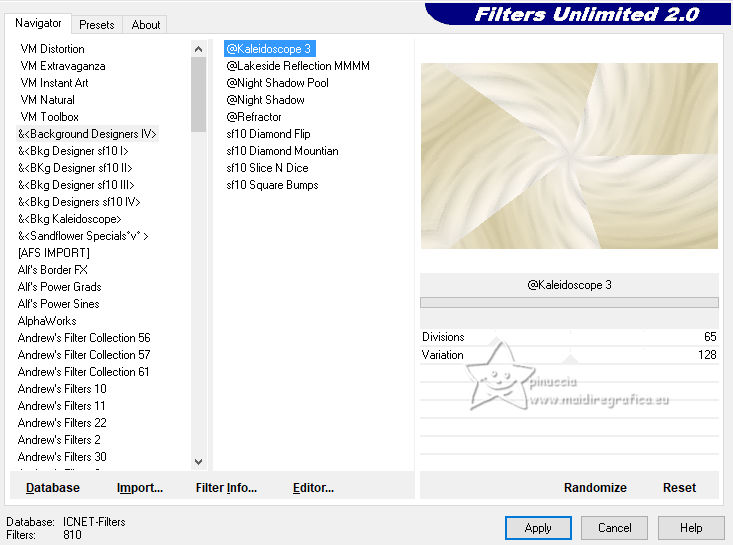
7. Layers>New Raster Layer.
Selections>Load/Save Selections>Load Selection From Disk
Look for and load the selection Sel_perolas_cben1
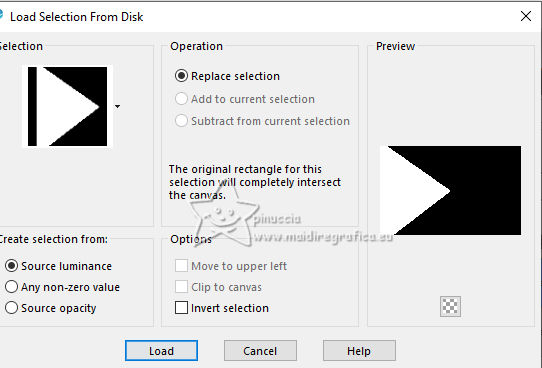
Flood fill  the selection with your background color #fff3e3. the selection with your background color #fff3e3.
Effects>3D Effects>Drop Shadow, colore #000000.

Selections>Select None.
8. Effects>Plugins>Kohan's Filters - Autointerlace v1.0
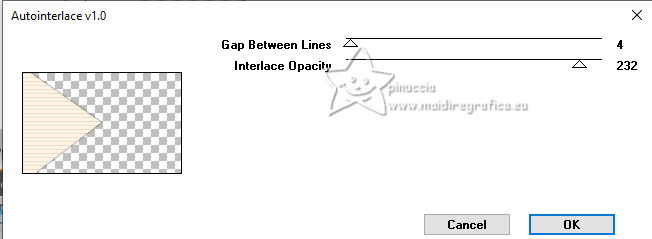
9. Open Decor_perolas_cben1 
Edit>Copy.
Go back to your work and go to Edit>Paste as new layer.
K key to activate your Pick Tool 
set Position X: 456,00 - Position Y: 277,00.
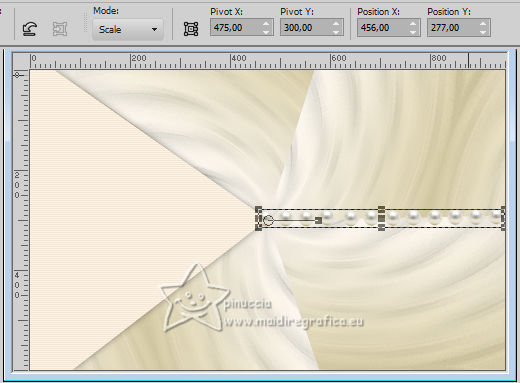
Effects>3D Effects>Drop Shadow, same settings.

Adjust>Hue and Saturation>Vibrancy.
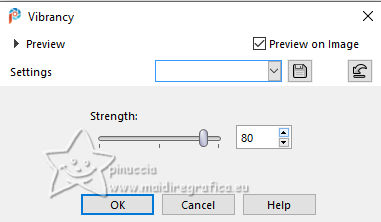
Note: In my second version I used Strength: -41.
10. Activate the layer Raster 1.
Layers>New Raster Layer.
Set your foreground color to Color.
Flood Fill  the layer with your foreground color #70776b. the layer with your foreground color #70776b.
Layers>New Mask Layer>From image
Open the menu under the source window and you'll see all the files open.
Select the mask NarahsMasks_1819
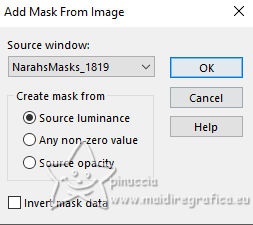
Layers>Merge>Merge Group.
11. Effects>User Defined Filter - select the preset Emboss 3 and ok.

12. Activate the layer Raster 2.
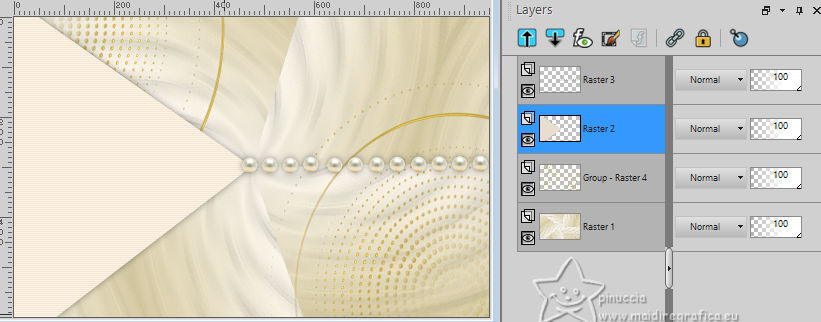
Open Decor_perolas_cben2 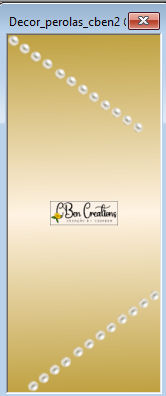
Edit>Copy.
Go back to your work and go to Edit>Paste as new layer.
Pick Tool 
set Position X: 38,00 and keep Position Y: 2,00.

Effects>3D Effects>Drop Shadow, same settings.

Adjust>Hue and Saturation>Vibrancy, same settings.

Note: In my second version I used Strength: -41.
13. Activate again the layer Raster 2.
Adjust>Add/Remove Noise>Add Noise.
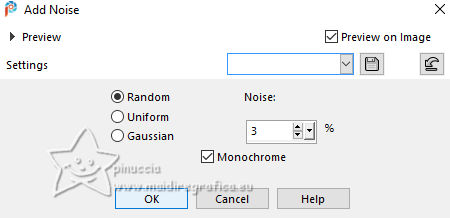
Effects>Plugins>Johann's Filers 2.0 - Chaos Dissolve.
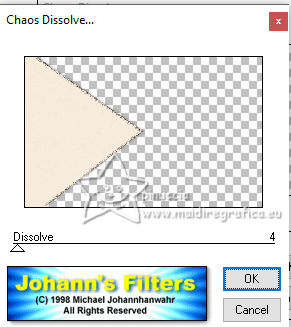
14. Stay on the layer Raster 2.
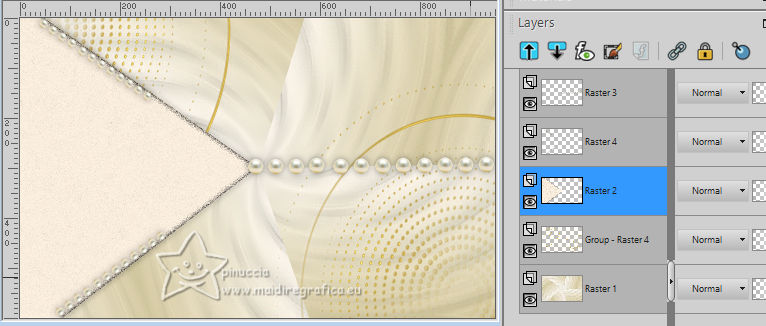
Selections>Load/Save Selections>Load Selection From Disk
Load again the selection Sel_perolas_cben1

Open Flor_Misted_Decor_CBen 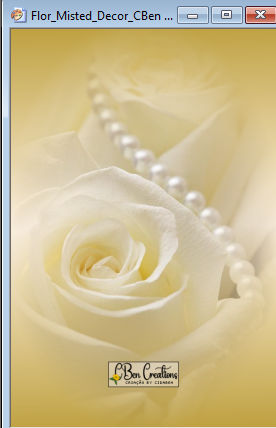
Edit>Copy.
Go back to your work and go to Edit>Paste into Selection.
Adjust>Sharpness>Sharpen.
Selections>Select None.
15. Edit>Copy Special>Copy Merged.
16. Image>Add borders, 1 pixel, symmetric, color black #000000
Image>Add borders, 2 pixels, symmetric, background color #fff3e3.
Image>Add borders, 1 pixel, symmetric, color black #000000.
17. Selections>Select All.
Image>Add Borders, 50 pixels, symmetric, whatever color.
Selections>Invert.
Edit>Paste into Selection.
Adjust>Blur>Gaussian Blur - radius 15

18. Effects>Plugins>Johann's Filters 2.0 - Chaos Dissolve.
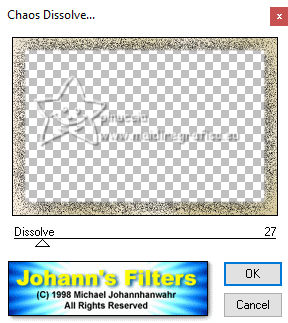
19. Effects>Plugins>Mura's Samless - Emboss at Alpha, default settings.
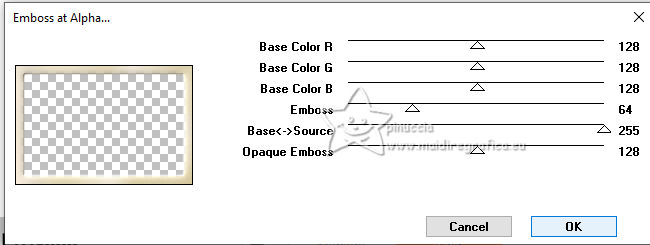
20. Selections>Invert.
Effects>3D Effects>Drop Shadow, color #000000.
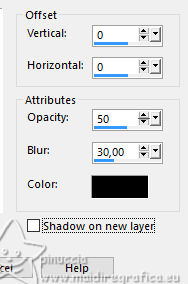
Selections>Select None.
21. Open your main tube 8505-LuzCristina 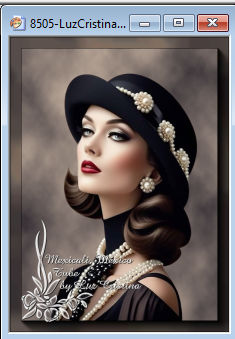
Edit>Copy.
Go back to your work and go to Edit>Paste as new layer.
Image>Mirror>Mirror Horizontal.
Image>Resize, if necessary, for the supplied tube I didn't it.
Place  the tube to your liking. the tube to your liking.
Adjust>Sharpness>Sharpen.
Effects>3D Effects>Drop Shadow, at your choice.
22. Open Titulo_Perolas_byCidaBen 
Edit>Copy.
Go back to your work and go to Edit>Paste as new layer.
Pick Tool 
and set Position X: 654,00 and Position Y: 65,00.

Effects>Plugins>Mura's Seamless - Emboss at Alpha, default settings.

23. Image>Add borders, 1 pixel, symmetric, color black #000000.
24. Sign your work and save as jpg.
For the tubes of this version thanks Riet and Jewel


 Your versions. Thanks Your versions. Thanks
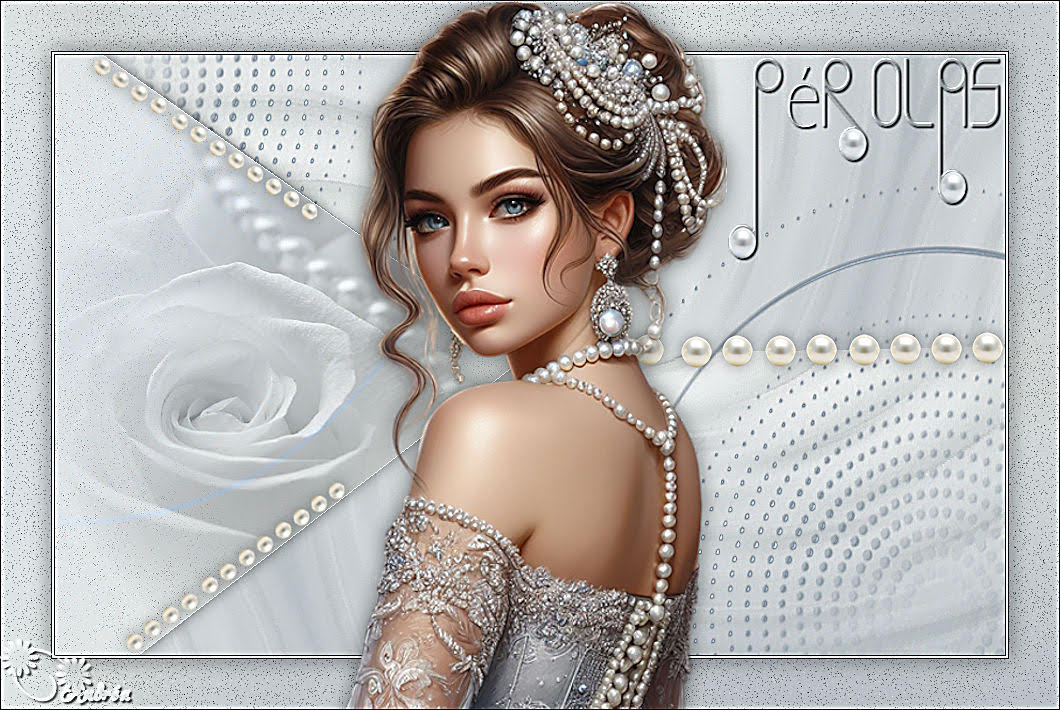
Andréa

DeniseD.

Silvie

Silvie
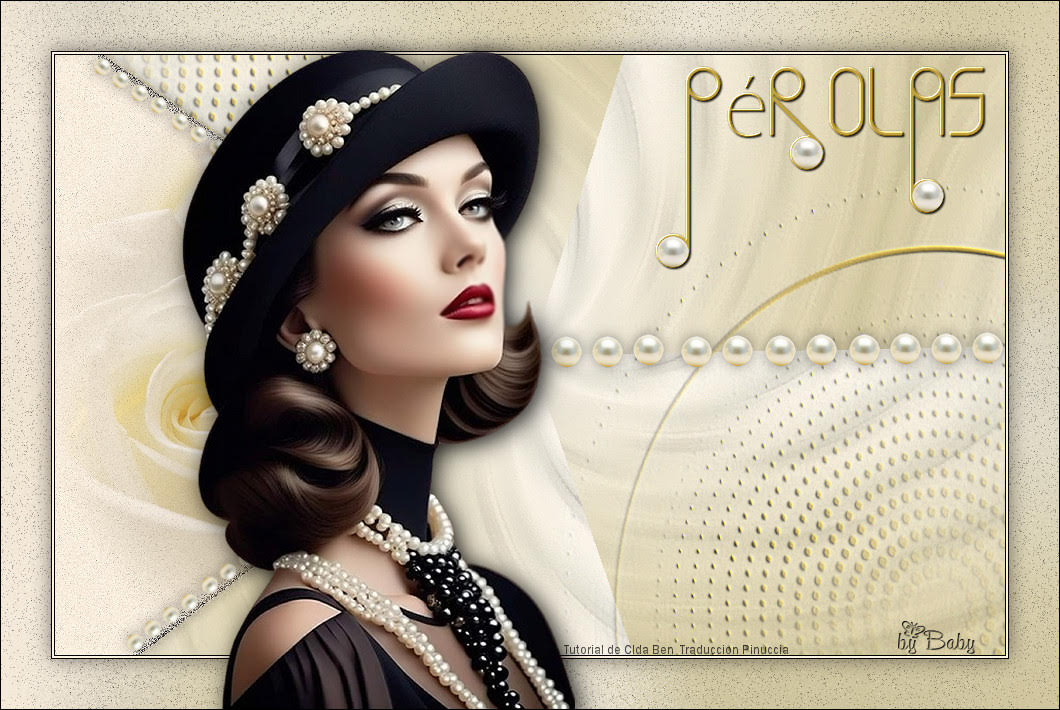
Baby
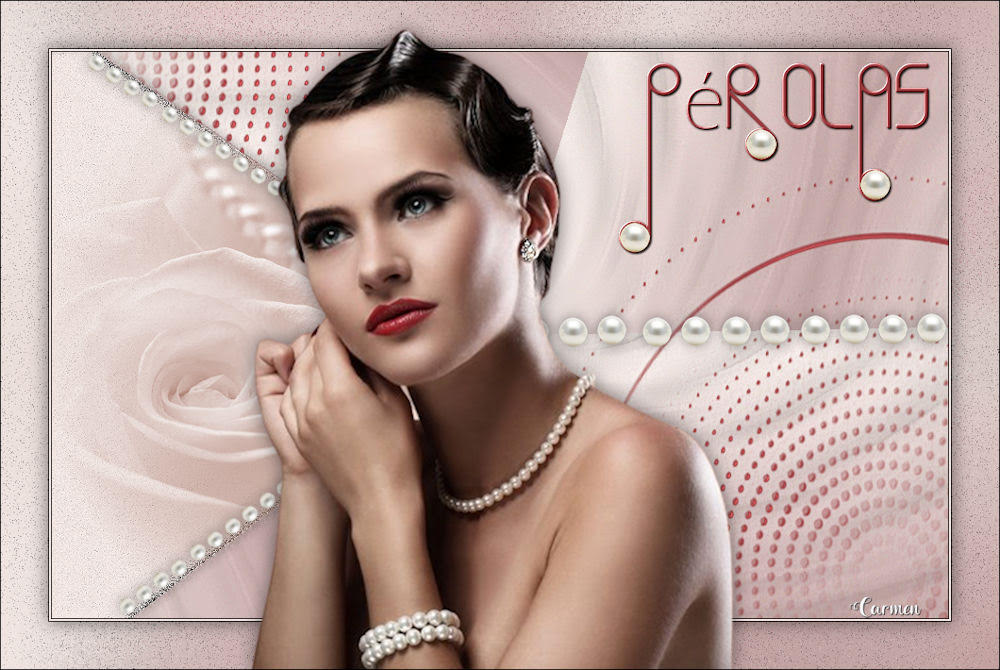
Carmen
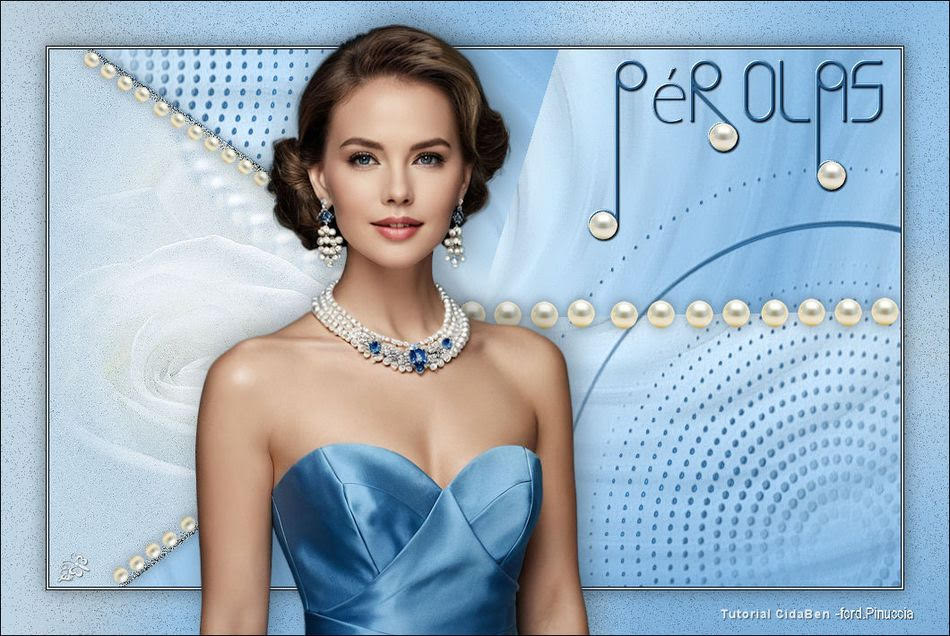
Jolcsi
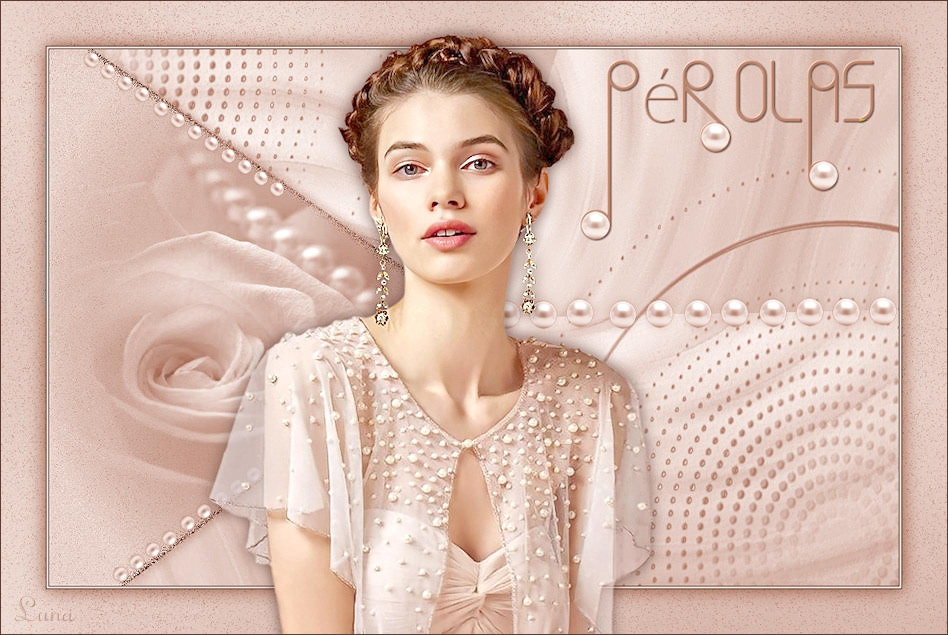
Luna


If you have problems or doubts, or you find a not worked link, or only for tell me that you enjoyed this tutorial, write to me.
22 March 2024

|
 PEARLS

 PEARLS