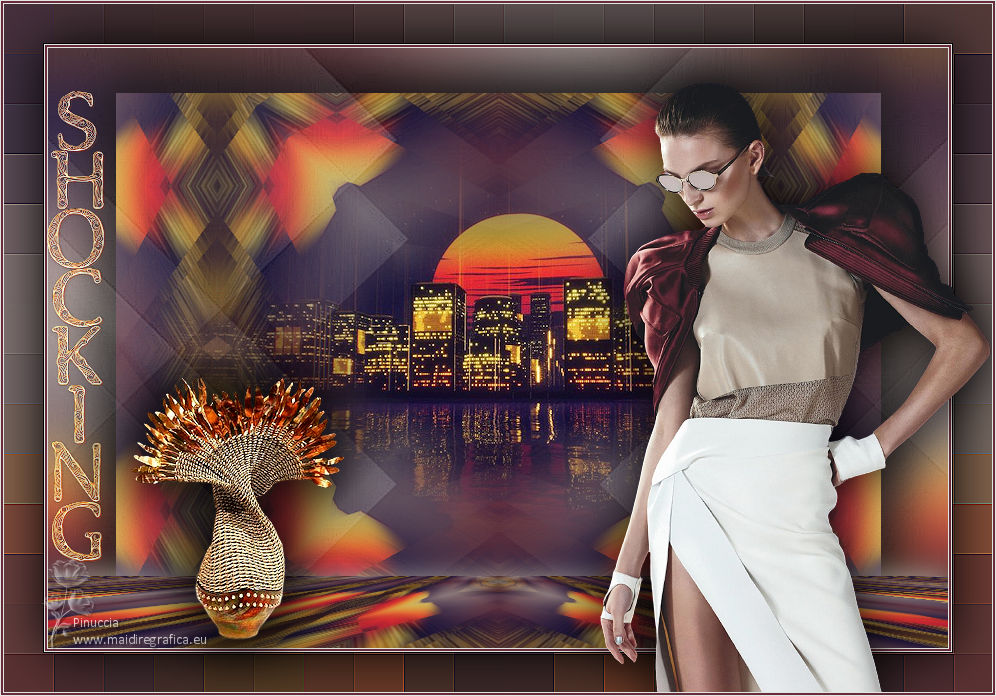
|
SHOCKING


Thanks SIM PSP Group for your invitation to translate your tutorials into english

This tutorial was written with Psp2022 and translated with PspX17, but it can also be made using other versions of PSP.
Since version PSP X4, Image>Mirror was replaced with Image>Flip Horizontal,
and Image>Flip with Image>Flip Vertical, there are some variables.
In versions X5 and X6, the functions have been improved by making available the Objects menu.
In the latest version X7 command Image>Mirror and Image>Flip returned, but with new differences.
See my schedule here
For this tutorial, you will need:

Thanks for the tubes PqnaAlice and Callitubes, and for the mask Narah.
(The links of the tubemakers here).

consult, if necessary, my filter section here
Filters Unlimited 2.0 here
Déformation - Shutter here
Mura's Meister - Perspective Tiling here

You can change Blend Modes according to your colors.

Open the mask in PSP and minimize it with the rest of the material.
1. Choose 3 colors from your material.

Set your foreground color to #682c3a
and your background color to #ada39d
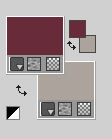
Set your foreground color to a Foreground/Background Gradient, style Linear.
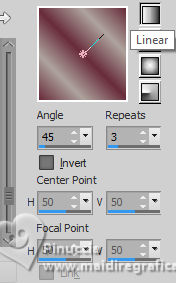
2. Open a new transparent image 900 x 600 pixels.
Flood Fill  the transparent image with your Gradient. the transparent image with your Gradient.
3. Adjust>Blur>Gaussian Blur - radius 30.

Layers>New Raster Layer.
Selections>Select All.
4. Open the misted 018PaisagemByPqnaAlice 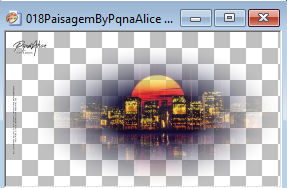
Erase the watermark and go to Edit>Copy.
Go back to your work and go to Edit>Paste into Selection.
Selections>Select None.
Effects>Image Effects>Seamless Tiling, default settings.

5. Adjust>Blur>Motion Blur
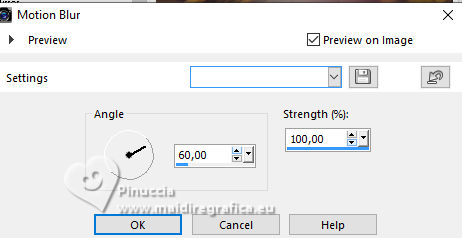
Adjust>Repeat Motion Blur.
Effects>Edge Effects>Enhance More.
6. Layers>Duplicate.
7. Effects>Plugins>Filters Unlimited 2.0 - Déformation - Shatter, default settings.
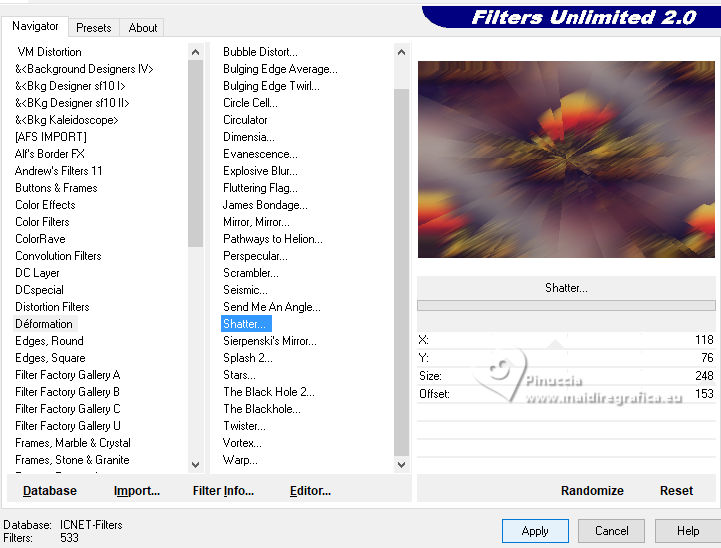
8. Effects>Reflection Effects>Kaleidoscope.
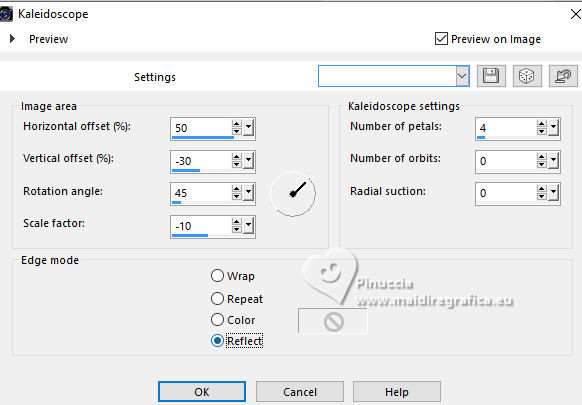
9. Image>Resize, to 85%, resize all layers not checked.
Layers>Duplicate.
Effects>Plugins>Mura's Meister - Perspective Tiling.
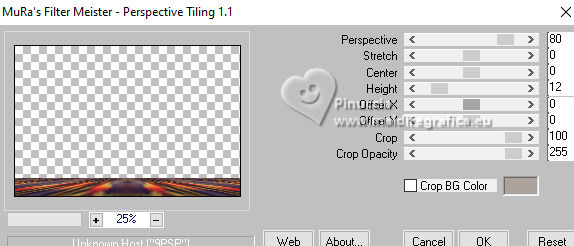
10. Effects>3D Effects>Drop Shadow, background color #ada39d.
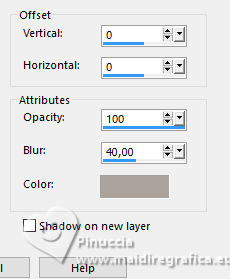
11. Activate the layer Raster 1.
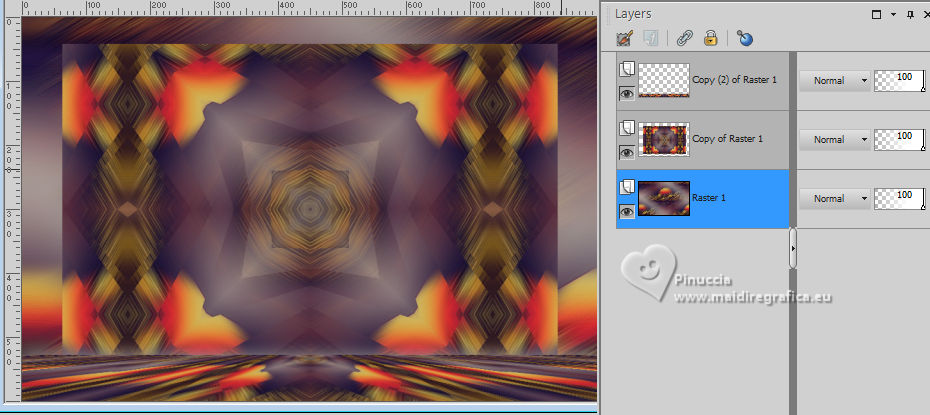
Adjust>Blur>Gaussian Blur - radius 30.

12. Activate the layer Copy of Raster 1.
Effects>3D Effects>Drop Shadow, color black #000000.
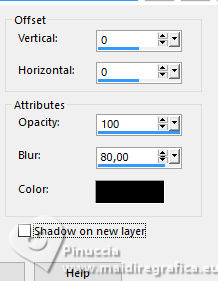
Edit>Repeat Drop Shadow.
13. Edit>Paste as new layer (the tube 018PaisagemByPqnaAlice is still in memory).
Image>Resize, to 65%, resize all layers not checked.
Place  the tube in the center. the tube in the center.
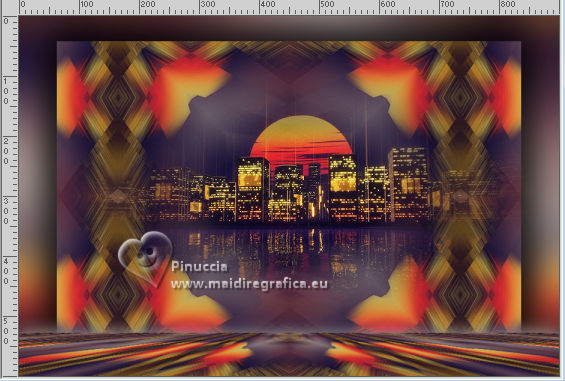
Adjust>Sharpness>Sharpen.
14. Set your foreground color to color 3 #e3e5e2.
Layers>New Raster Layer.
Flood Fill  the layer with your new foreground color. the layer with your new foreground color.
.
Layers>New Mask Layer>From Image
Open the menu under the source window and you'll see all the files open.
Select the mask NarahsMask_1721
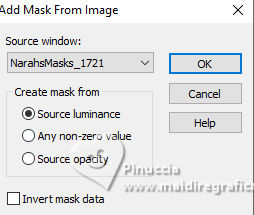
Layers>Merge>Merge Group.
Reduce the opacity of this layer to 60%.
Effects>Edge Effects>Enhance More.
15. Edit>Copy Special>Copy Merged.
16. Image>Add borders, 1 pixel, symmetric, color 3 #e3e5e2.
Image>Add borders, 2 pixels, symmetric, first foreground color #682c3a.
Image>Add borders, 1 pixel, symmetric, color 3 #e3e5e2.
17. Selections>Select All.
Image>Add borders, 40 pixels, symmetric, whatever color.
Selections>Invert.
Edit>Paste into Selection.
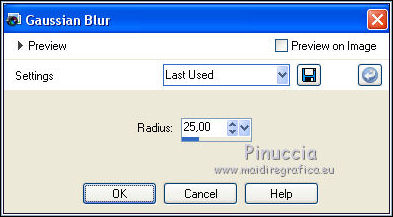
Adjust>Blur>Gaussian Blur - radius 25.
Selections>Invert.
Effects>3D Effects>Drop Shadow, color black #000000.

Selections>Invert.
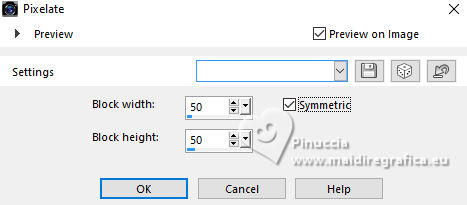
18. Effects>Distortion Effects>Pixelate.
Effects>Edge Effects>Enhance More.
Selections>Invert.
Effects>3D Effects>Drop Shadow, colore black #000000.

Selections>Select None.
19. Open your main tube 889MulherByPqnaAlice 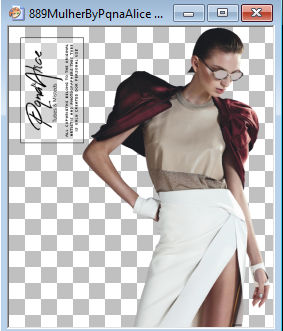
Erase the watermark and go to Edit>Copy.
Go back to your work and go to Edit>Paste as new layer.
Move  the tube to the right. the tube to the right.
Adjust>Sharpness>Sharpen.
Effects>3D Effects>Drop Shadow, at your choice.
20. Open TituloShocking_ByCidaBen 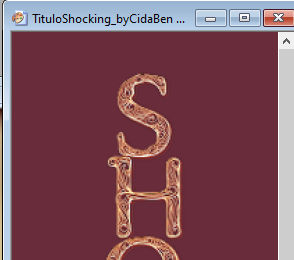
Edit>Copy.
Go back to your work and go to Edit>Paste as new layer.
K key to activate your Pick Tool 
and set Position X: 50,00 and Position Y: 95,00.

Adjust>Sharpness>Sharpen.
If you want, you can change the Blend Mode of this layer,
or colorize it according to your colors
21. Open the deco Callitubes-253decor 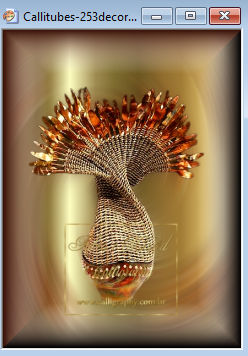
Edit>Copy.
Go back to your work and go to Edit>Paste as new layer.
Image>Resize, to 67%, resize all layers not checked.
Move  the tube to the left. the tube to the left.
Adjust>Sharpness>Sharpen.
Effects>3D Effects>Drop Shadow of Effects at your choice.
22. Image>Add borders, 1 pixel, symmetric, color 3 #e3e5e2.
Image>Add borders, 2 pixels, symmetric, first foreground color #682c3a.
Image>Add borders, 1 pixel, symmetric, color 3 #e3e5e2.
23. Sign your work and save as jpg.
For the tubes of this version thanks Linda M., Annytubes and Naise M.
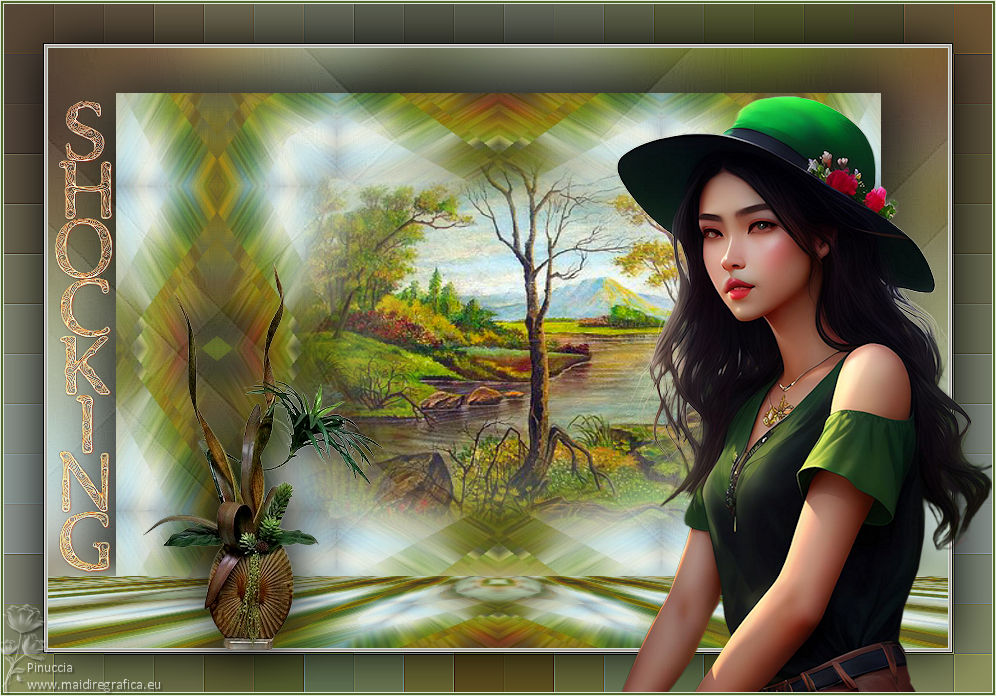

Your versions. Thanks
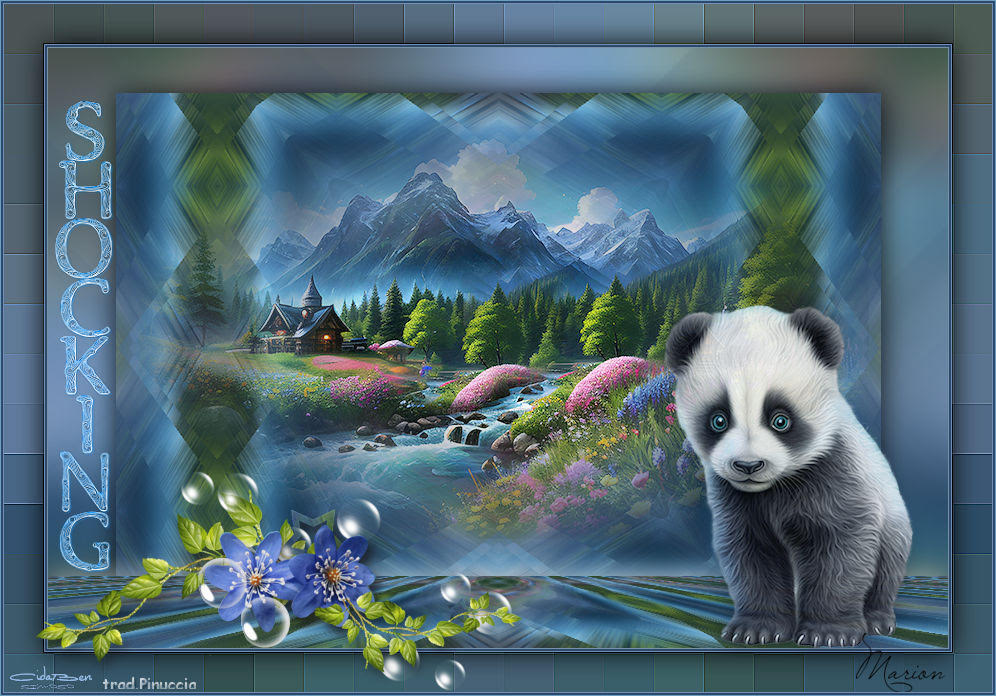
Marion
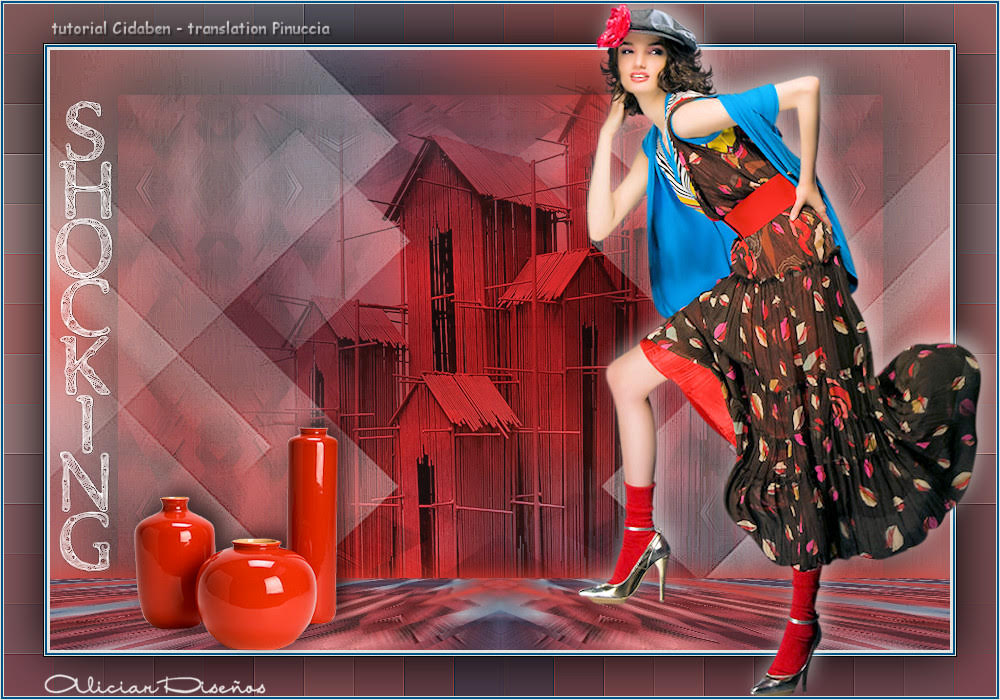
Aliciar
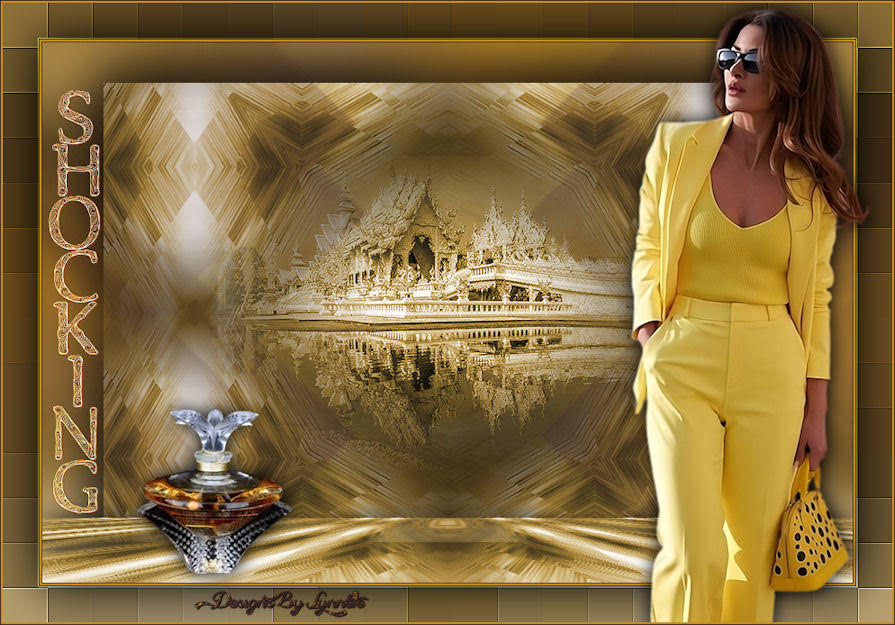
Lynnette
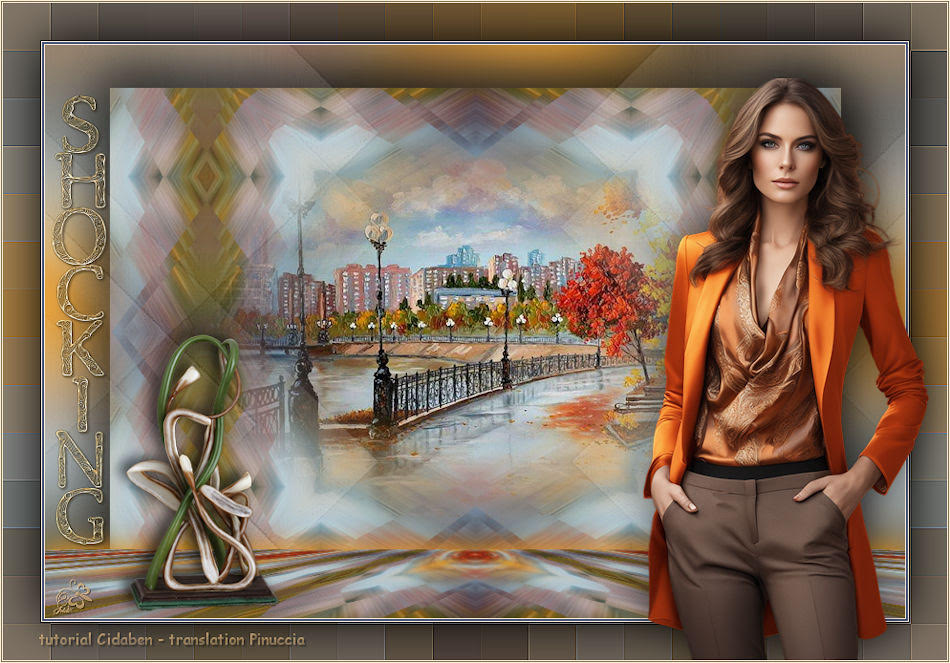
Jolcsi
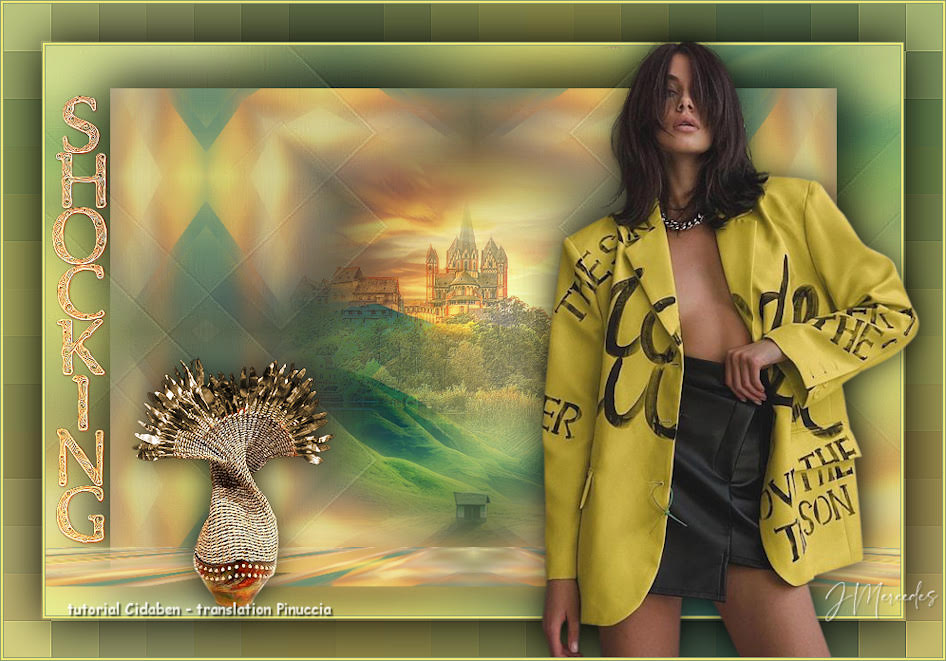
JMercedes


If you have problems or doubts, or you find a not worked link, or only for tell me that you enjoyed this tutorial, write to me.
15 September 2023

|

