|
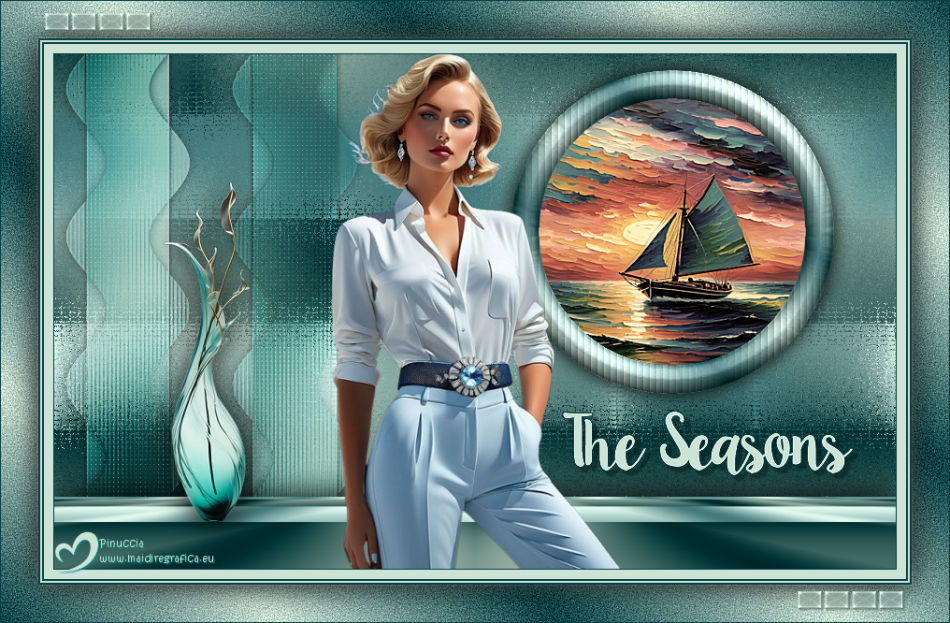
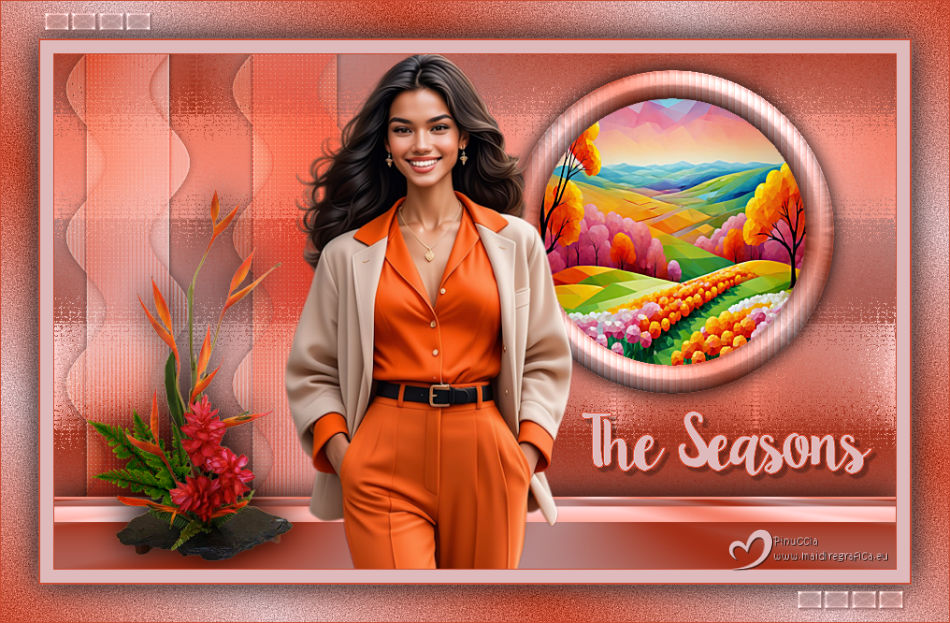
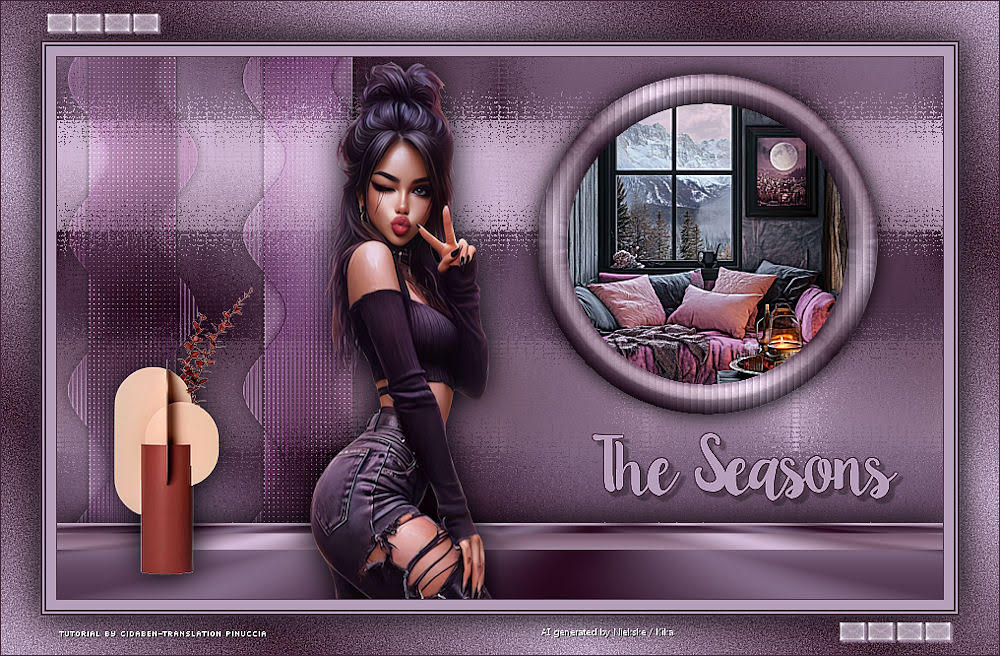
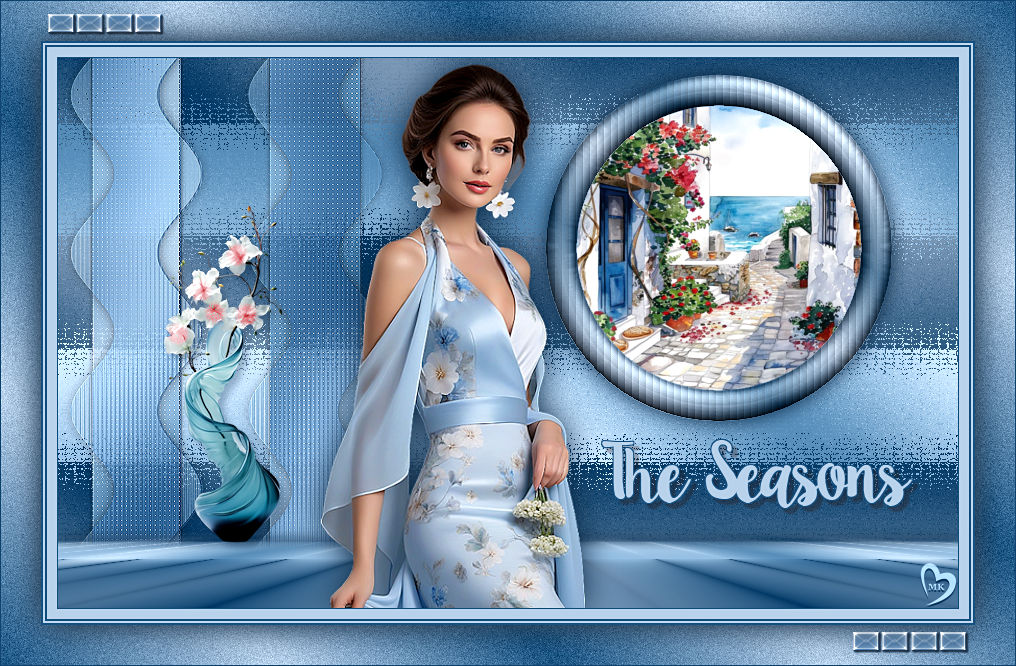
THE SEASONS

Thanks Cidaben and SIM PSP Group for your invitation to translate your tutorials into english
This tutorial was written and translated with Psp2022, but it can also be made using other versions of PSP.
Since version PSP X4, Image>Mirror was replaced with Image>Flip Horizontal,
and Image>Flip with Image>Flip Vertical, there are some variables.
In versions X5 and X6, the functions have been improved by making available the Objects menu.
In the latest version X7 command Image>Mirror and Image>Flip returned, but with new differences.
See my schedule here
|
Special Note
PSP SIM and its Tutorial Authors ask the public:
- Please, we request that we maintain the originality of the tutorial,
refraining from adding or including unsolicited effects;
- The use of other images is permitted and encouraged,
but please don't modify the content of the original tutorial;
- Please acknowledge and attribute the valuable credits to those who write tutorials,
make translations and create materials.
Carefully,
PSP SIM and Cidaben
|

For this tutorial, you will need:

Material by CidaBen
(The links of the tubemakers here).

consult, if necessary, my filter section here
Filters Unlimited 2.0 here
VM Extravaganza - Transmission here
Mehdi - Weaver here
Carolaine and Sensibility - CS-LDots here
Mura's Meister - Perspective Tiling here
Filters VM Extravaganza can be used alone or imported into Filters Unlimited.
(How do, you see here)
If a plugin supplied appears with this icon  it must necessarily be imported into Unlimited it must necessarily be imported into Unlimited

You can change Blend Modes according to your colors.
In the newest versions of PSP, you don't find the foreground/background gradient (Corel_06_029).
You can use the gradients of the older versions.
The Gradient of CorelX here

Copy the selections in the Selections Folder.
1. Choose 2 colors to work.
Set your foreground color to #074145
and your background color to #cde3d6.
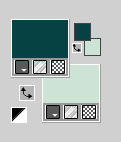
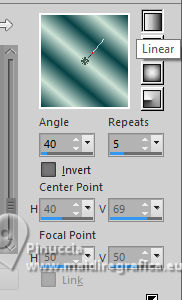
Set your foreground color to a Foreground/Background Gradient, style Linear.
2. Open a new transparent image 900 x 550 pixels.
Flood Fill  the transparent image with your Gradient. the transparent image with your Gradient.
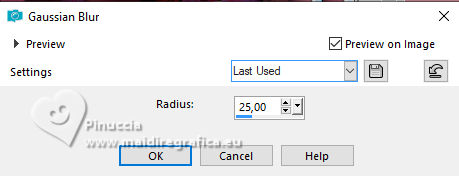
3. Adjust>Blur>Gaussian Blur - radius 25.
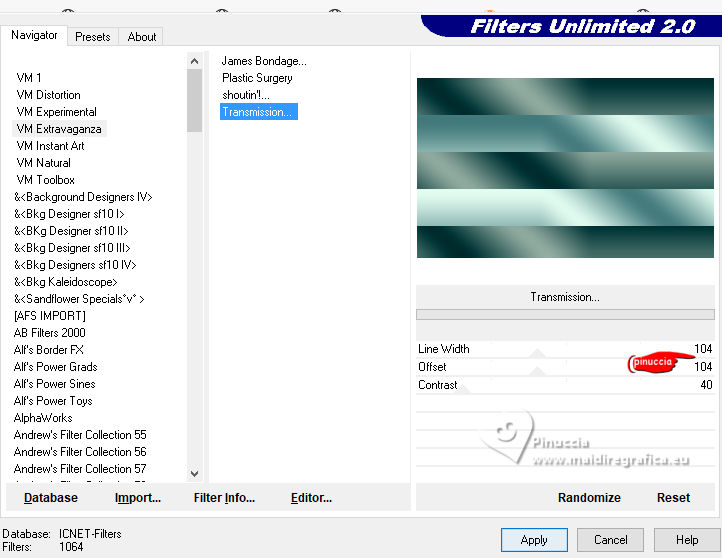
4. Effects>Plugins>Filters Unlimited 2.0 - VM Extravaganza - Transmission
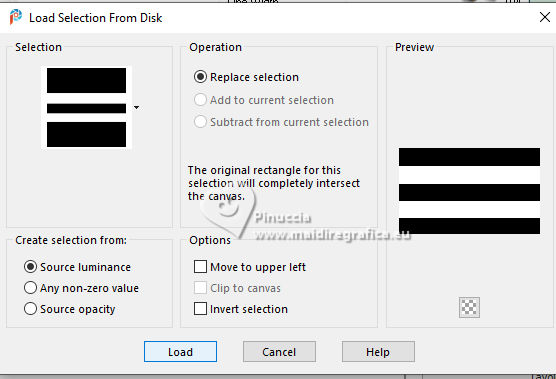
5. Selections>Load/Save Selections>Load Selection From Disk.
Look for and load the selection Sel_25_CBen1
Selections>Promote Selection to Layer.
Selections>Select None.
Layers>Duplicate.
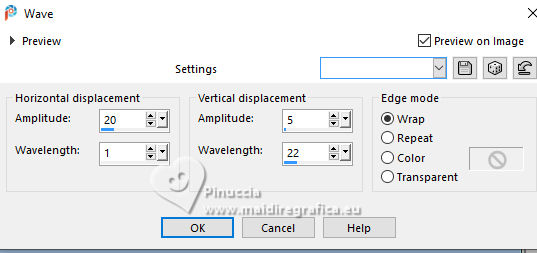
6. Effects>Distortion Effects>Wave.
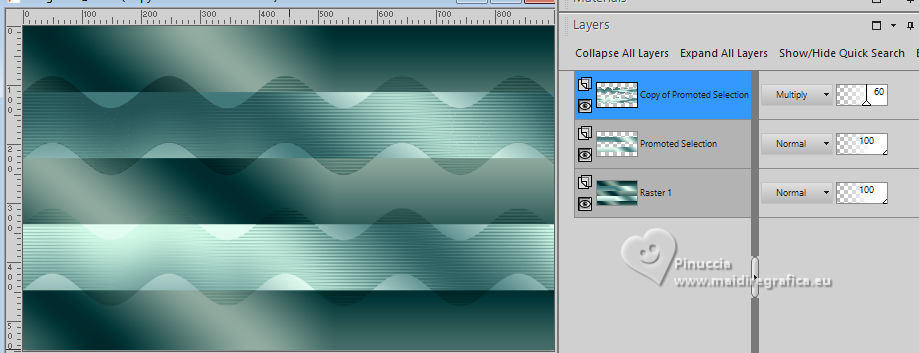
7. Layers>Properties>General>Blend mode: Multiply>Opacity: 60%
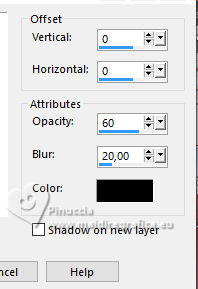
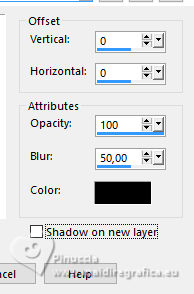
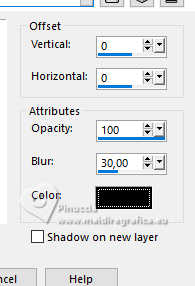
8. Effects>3D Effects>Drop Shadow, color #000000.
9. Activate the layer below, Promoted Selection.
Effects>3D Effects>Drop Shadow, color #000000.

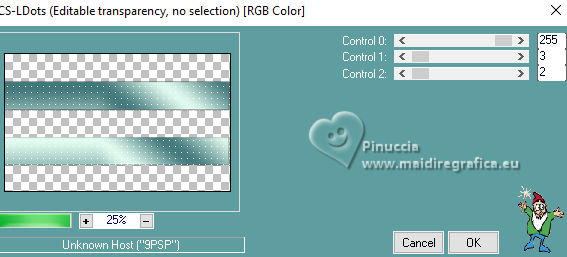
10. Effects>Plugins>Carolaine and Sensibility- CS-LDots
Activate your top layer, Copy of Promoted Selection.
Layers>Merge>Merge Down.
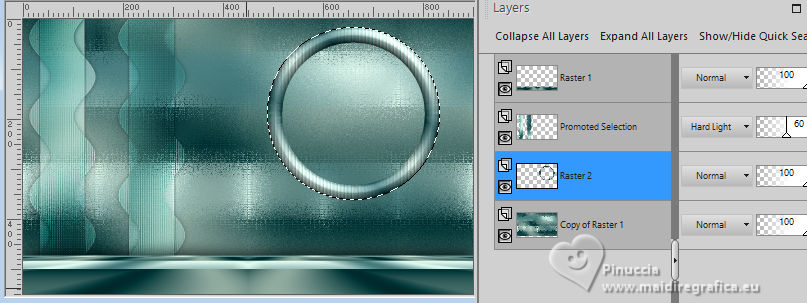
11. Activate the layer Raster 1.
Layers>Duplicate.
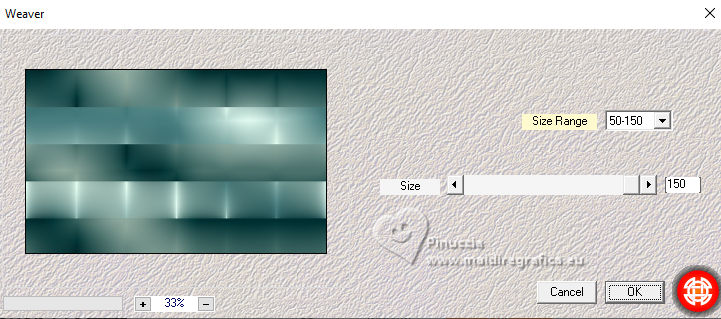
Effects>Plugins>Mehdi - Weaver.
12. Activate again the layer Raster 1.
Layers>Arrange>Bring to Top.
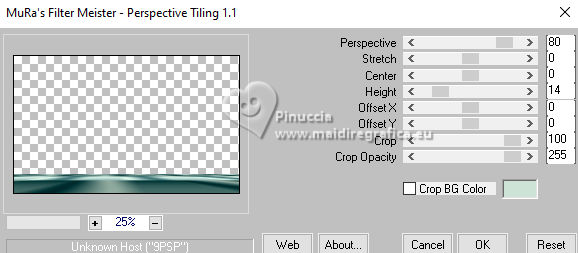
Effects>Plugins>Mura's Meister - Perspective Tiling.
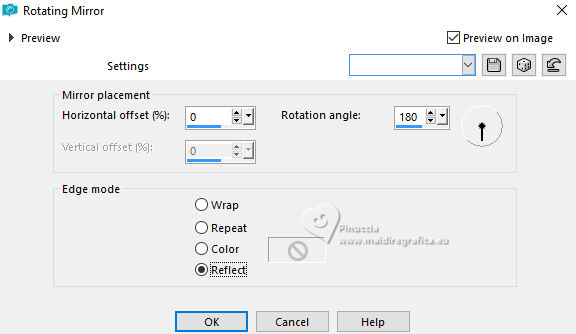
13. Effects>Reflection Effects>Rotating Mirror
14. Effects>3D Effects>Drop Shadow, color #000000.
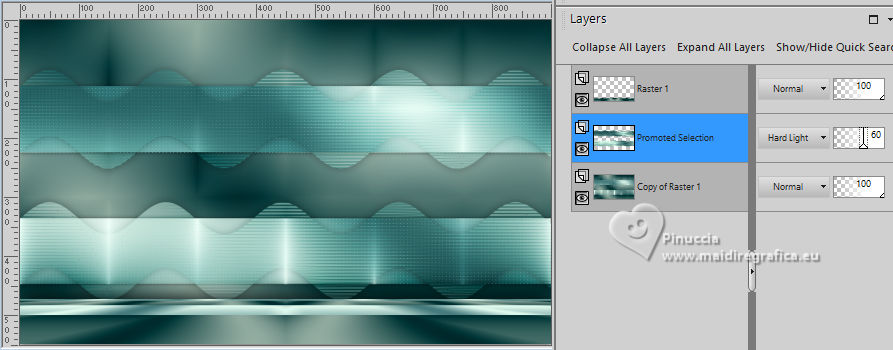
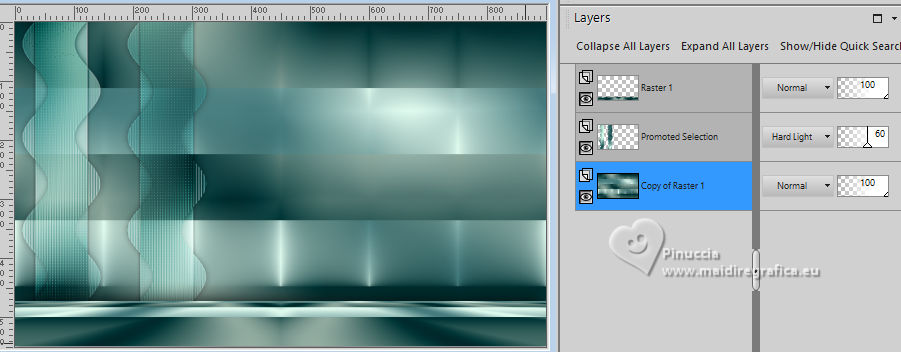
15. Activate the layer Promoted Selection.
Layers>Properties>Blend mode: Hard Light>Opacity: 60%.
Image>Resize, to 80%, resize all layers not checked.
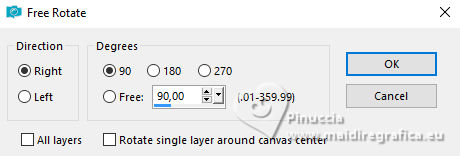
15. Image>Free Rotate - 90 degrees to right
Objects>Align>Left.
Adjust>Sharpness>Shapen More.
17. Activate the layer Copy of Raster 1.
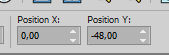
Activate your Pick Tool 
Position X: 0,00 - Position Y: -48,00.
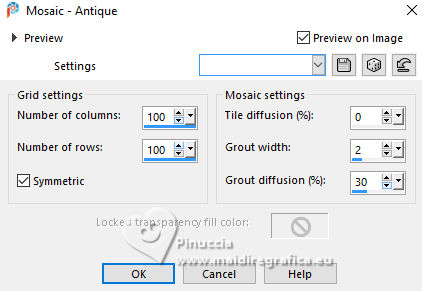
Effects>Texture Effects>Mosaic - Antique
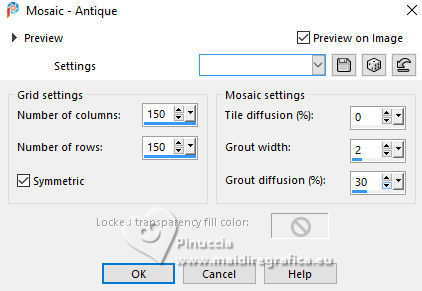
In versions prior to PSP 2022, the Grid settings only go up to 100,
so apply the numbering 100 in Number of columns and rows.
18. Stay on the layer Copy of Raster 1.
Selections>Load/Save Selections>Load Selection From Disk.
Look for and load the selection Sel_25_CBen2

19. Layers>New Raster Layer.
Selections>Modify>Select Selection Borders
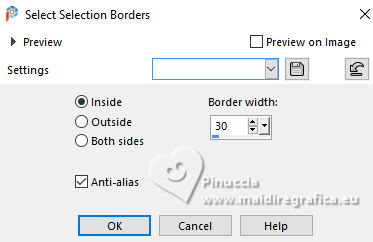
Flood Fill the selection with your Gradient.
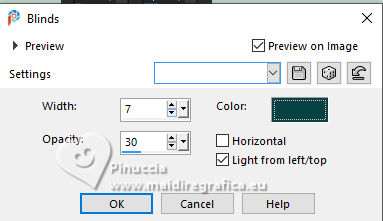
20. Effects>Texture Effects>Blinds - Foreground color #074145.
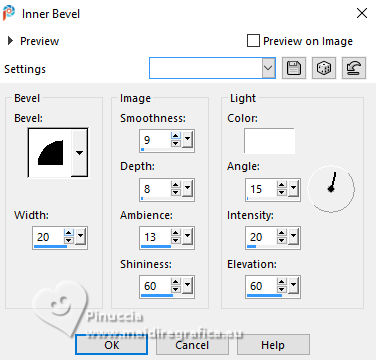
21. Effects>3D Effects>Inner Bevel.
22. Adjust>Sharpness>Sharpen More.
Selections>Select None.
Stay on the layer Raster 2.
Selections>Load/Save Selections>Load Selection From Disk.
Load again the selection Sel_25_CBen2
23. Selections>Modify>Contract - 20 pixels.
Layers>New Raster Layer
Open the landscape ImagemJPG_25_CBen 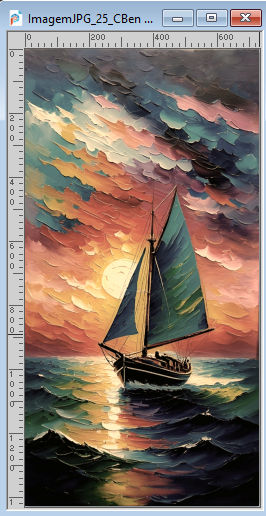
Edit>Copy.
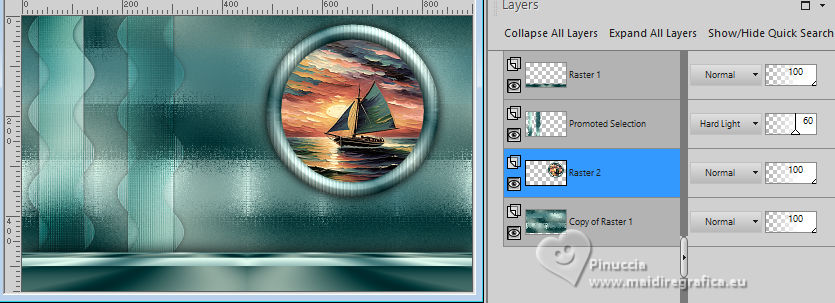
Go back to your work and go to Edit>Paste Into Selection.
Adjust>Sharpness>Sharpen More.
Layers>Arrange>Move Down.
24. Activate the layer Raster 2.
Layers>Merge>Merge Down.
Selections>Select None.
Effects>3D Effects>Drop Shadow, color #000000.
25. Your tag and the layers.
26. Activate your top layer (raster 1).
Open the tube Tube_Mulher_CBen25 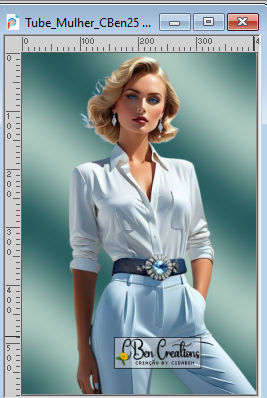
Edit>Copy.
Go back to your work and go to Edit>Paste As New Layer.
Image>Resize, if necessary - for the supplied tube to 95%, resize all layers not checked.
Place  the tube in the center, or: the tube in the center, or:
Objects>Align>Center in Canvas
Adjust>Sharpness>Sharpen.
Effects>3D Effects>Drop Shadow, color #000000.
27. Open Decor_Vaso_CBen25 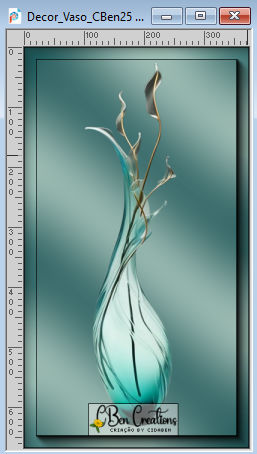
Edit>Copy.
Go back to your work and go to Edit>Paste As New Layer.
Image>Resize, to 60%, resize all layers not checked.
Move the tube as in my example, or:
Pick Tool
Position X: 117,00 - Position Y: 136,00.
Adjust>Sharpness>Sharpen.
Effects>3D Effects>Drop Shadow, color #000000.
28. Image>Add borders, 1 pixel, symmetric, foreground color #074145.
Image>Add Borders, 10 pixels, symmetric, background color #cde3d6..
Image>Add borders, 2 pixels, symmetric, foreground color #074145.
Image>Add Borders, 2 pixels, symmetric, background color #cde3d6..
Image>Add borders, 2 pixels, symmetric, foreground color #074145.
Selections>Select All.
29. Image>Add borders, 40 pixels, symmetric, whatever color.
Selections>Invert.
Flood Fill the selection with your Gradient.
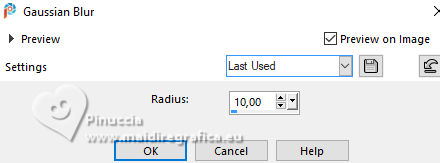
30. Adjust>Blur>Gaussian Blur - radius 10
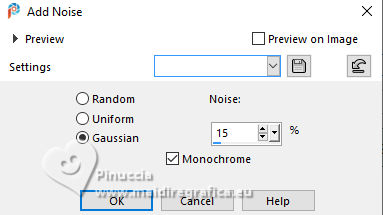
Adjust>Add/Remove Noise>Add Noise.
31. Adjust>Sharpeness>Sharpen More.
Selections>Invert.
Effects>3D Effects>Drop Shadow, color #000000.
32. Selections>Select None.
Layers>New Raster Layer.
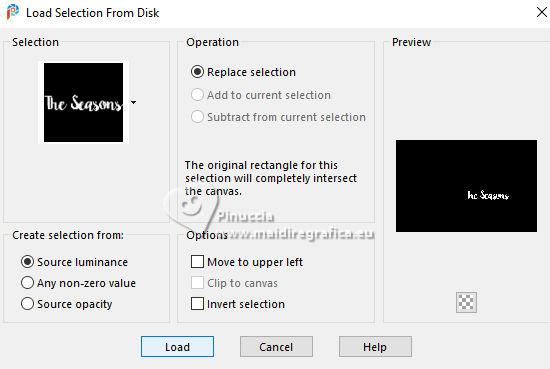
Selections>Load/Save Selections>Load Selection From Disk.
Look for and load the selection Sel_25_CBen3
33. Flood Fill the selection with your Background color #cde3d6.
Layers>New Raster Layer.
Selections>Modify>Expand - 1 pixel.
Set your foreground color to Color.
Flood Fill the selection with your Foreground color #074145.
Layers>Arrange>Move Down.
Selections>Select None.
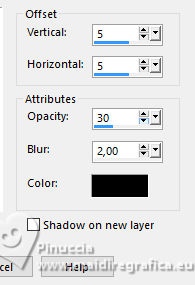
Effects>3D Effects>Drop Shadow, color #000000.
34. Activate the layer Raster 2.
Layers>Merge>Merge Down.
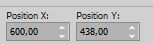
Pick Tool
Position X: 600,00 - Position Y: 438,00.
Or place the image to your liking.
Adjust>Sharpness>Sharpen.
35. Open Decor_CBen25 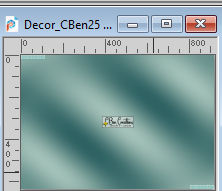
Edit>Copy.
Go back to your work and go to Edit>Paste As New Layer.
Layers>Properties>General>Blend mode: Luminance (L).
Don't move it.
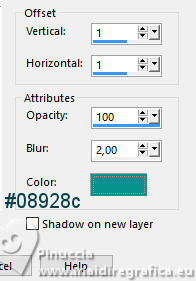
Opcional: Effects>3D Effects>Drop Shadow, color #08928c.
36. Image>Add borders, 1 pixel, symmetric, foreground color #074145.
37. Sign your work and save as jpg.
For the tubes of my versions thanks Kamil and Nena Silva

 Your versions. Thanks Your versions. Thanks
Kika
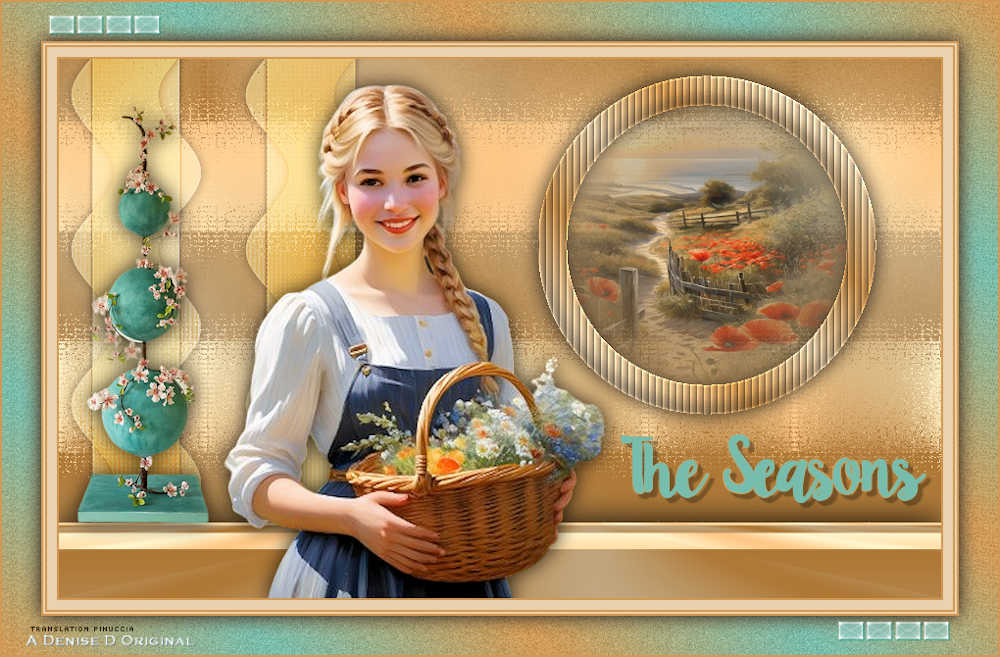
DeniseD
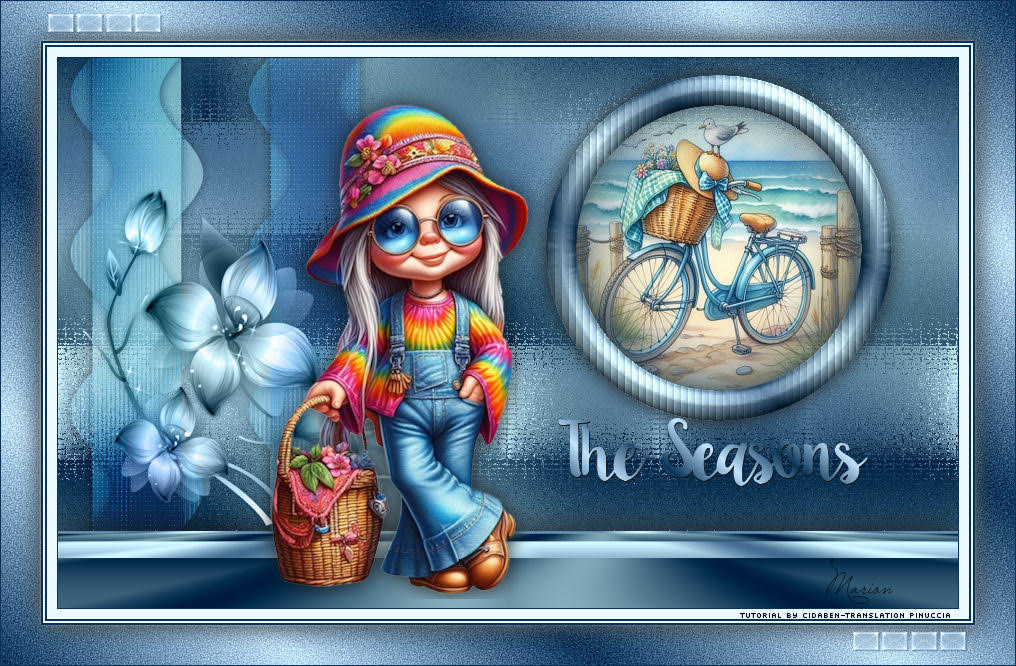
Marion
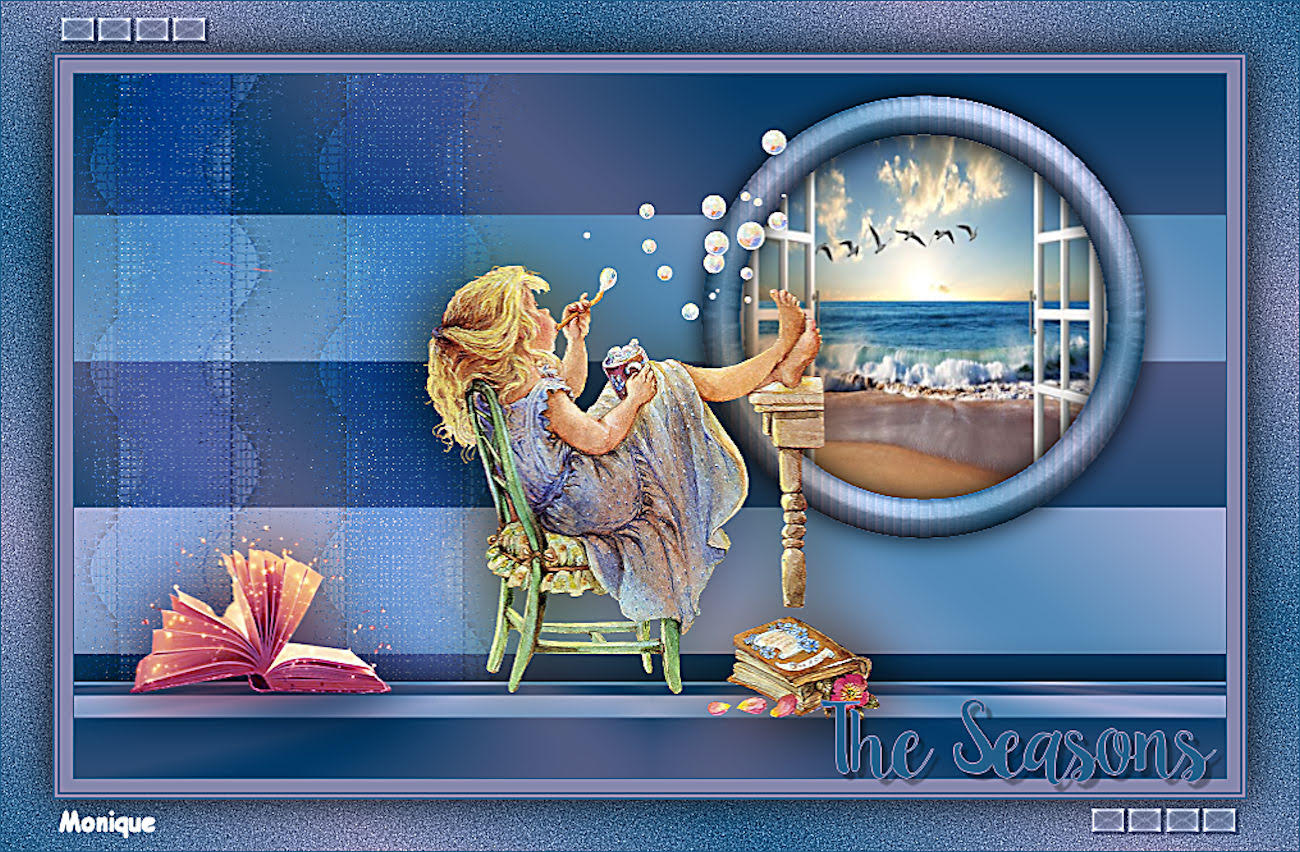
Monique

Andréa
Kamelius
Kamelius

If you have problems or doubts, or you find a not worked link, or only for tell me that you enjoyed this tutorial, write to me.
14 February 2025

|


