COCCINELLE
 LADYBUG LADYBUG

Thanks Colybrix for your invitation to translate

Clic and move the brush to follow the tutorial.

To print


|
This tutorial was translated with PSP09, but it can also be made using other versions of PSP.
Since version PSP X4, Image>Mirror was replaced with Image>Flip Horizontal,
and Image>Flip with Image>Flip Vertical, there are some variables.
In versions X5 and X6, the functions have been improved by making available the Objects menu.
In the latest version X7 command Image>Mirror and Image>Flip returned, but with new differences.
See my schedule here
 italian translation here italian translation here
 your versions here your versions here

Necessary

For the tubes and the mask thanks Cat Dana and Silvie
(The links of the tubemakers here).
consult, if necessary, my filter section here
Filters Unlimited 2.0 here
Carolaine and Sensibility - CS-LDots here
Graphics Plus - Cross Shadow here
Filters Graphics Plus can be used alone or imported into Filters Unlimited.
(How do, you see here)
If a plugin supplied appears with this icon  it must necessarily be imported into Unlimited it must necessarily be imported into Unlimited

You can change Blend Modes according to your colors.
In the newest versions of PSP, you don't find the foreground/background gradient (Corel_06_029).
You can use the gradients of the older versions.
The Gradient of CorelX here

Open the mask in PSP and minimize it with the rest of the material.
Set your foreground color to #fce0e8,
and your background color to #b40c0c.
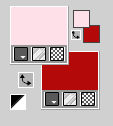
Set your foreground color to a Foreground/Background Gradient, style Linear.
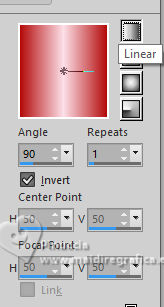
1. Open a new transparent image 950 x 600 pixels.
Flood Fill  the transparent image with your Gradient. the transparent image with your Gradient.
2. Adjust>Blur>Gaussian Blur - radius 30.

Layers>Duplicate.
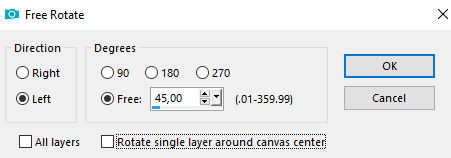
Image>Free Rotate - 45 degrees to left.
3. Effects>Image Effects>Seamless Tiling, Side to Side

Effects>Edge Effects>Enhance.
4. Effects>3D Effects>Drop Shadow, color black.
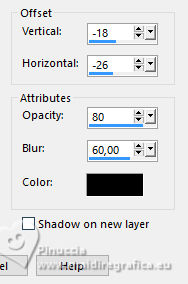
Change the Blend Mode of this layer to Hard Light (or other).
5. Activate your bottom layer, Raster 1.
Effects>Image Effects>Seamless Tiling, same settings

6. Effects>Plugins>Carolaine and Sensibility - CS-LDots

Effects>Plugins>Graphics Plus - Cross Shadow
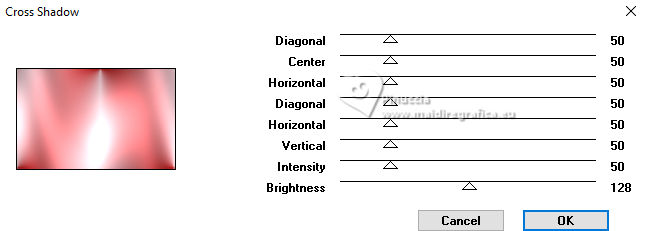
7. Activate again your top layer.
Set your foreground color to white.
Layers>New Raster Layer.
Flood Fill  the layer with color white. the layer with color white.
Layers>New Mask layer>From image
Open the menu under the source window and you'll see all the files open.
Select the mask 017_Silvie_Mask_Abstract99L
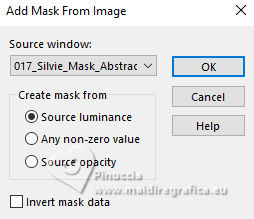
Effects>Edge Effects>Enhance.
Layers>Merge>Merge Group.
8. Layers>Duplicate.
Image>Mirror>Mirror Horizontal (Image>Mirror).
Image>Mirror>Mirror Vertical (Image>Flip).
Layers>Merge>Merge Down.
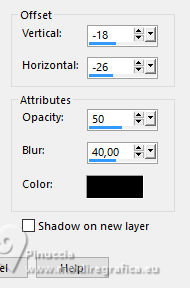
Effects>3D Effects>Drop Shadow, last settings.

Change the Blend Mode of this layer to Luminance (legacy),
and reduce the opacity to 75%.
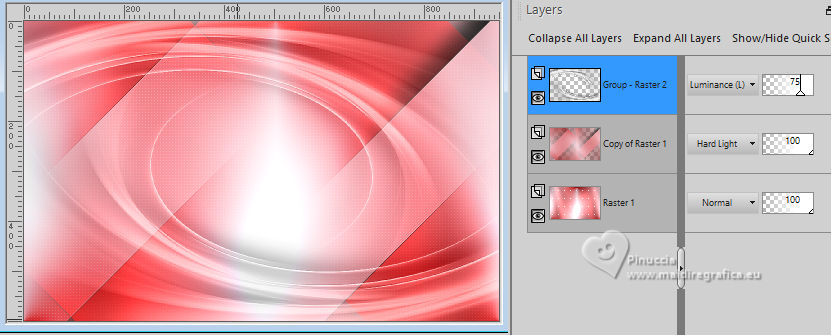
9. Open the flowers tube 2025 03 24 Cat Dana N 1 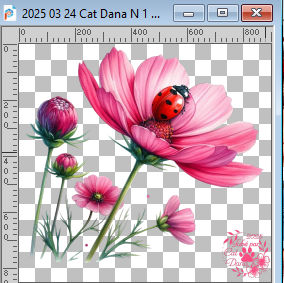
Erase the watermark and go to Edit>Copy.
Go back to your work and go to Edit>Paste as new layer.
Image>Resize, to 75%, resize all layers not checked.
Move  the tube a bit to the left and down. the tube a bit to the left and down.
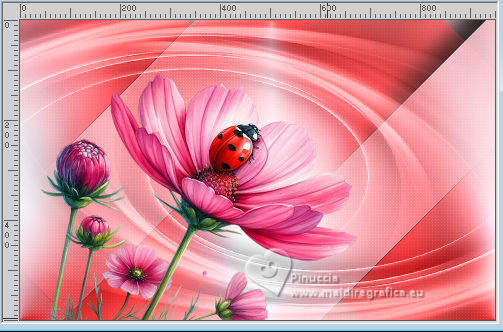
10. Layers>Duplicate.
Activate the layer below of the original, Raster 2.
Adjust>Blur>Radial Blur
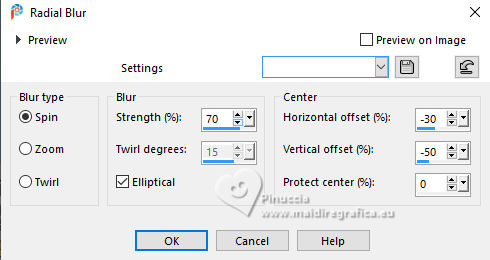
Change the Blend Mode of this layer to Multiply.
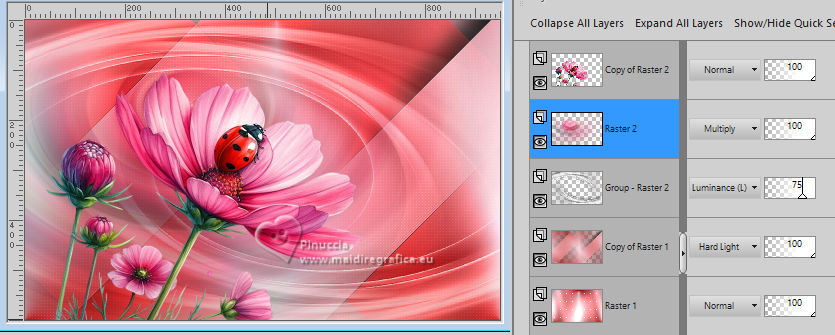
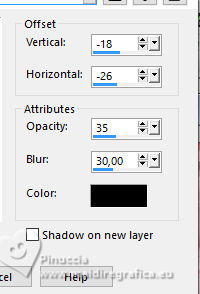
11. Activate your top layer, Copy of Raster 2.
Effects>3D Effects>Drop Shadow, color black.
12. Open the tube Deco 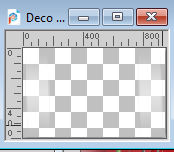
Edit>Copy.
Go back to your work and go to Edit>Paste as new layer.
Change the Blend Mode of this layer to Overlay.
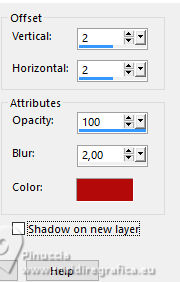
Effects>3D Effects>Drop Shadow, dark color.
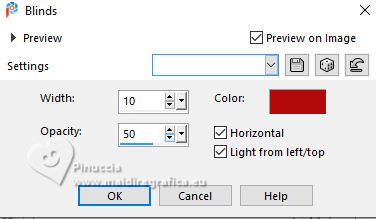
Effects>Texture Effects>Blinds, dark color.
13. For the borders, set again your foreground color to the first one #fce0e8,

Image>Add borders, 1 pixel, symmetric, dark color.
Image>Add borders, 3 pixels, symmetric, light color.
Image>Add borders, 1 pixel, symmetric, dark color.
14. Selections>Select All.
Image>Add borders, 30 pixels, symmetric, color white.
Effects>3D Effects>Drop Shadow, dark color.
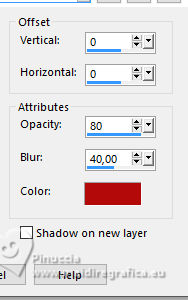
Selections>Select None.
15. Selections>Select All.
Image>Add borders, 10 pixels, symmetric, dark color.
Selections>Invert.
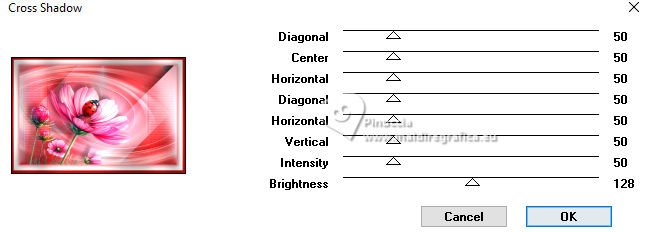
16. Effects>Plugins>Graphics Plus - Cross Shadow, same settings.
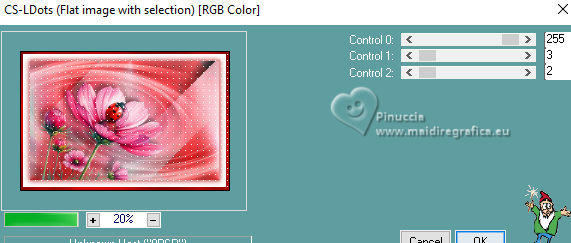
Effects>Plugins>Carolaine and Sensibility>CS-LDots, same settings.
Selections>Select None.
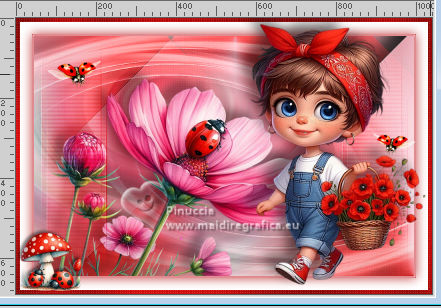
17. Open your main tube 2025 03 26 Cat Dana N 1 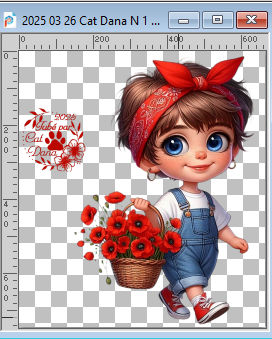
Erase the watermark and go to Edit>Copy.
Go back to your work and go to Edit>Paste as new layer.
For the supplied tube: Image>Mirror>Mirror horizontal.
Image>Resize, to 90%, resize all layers not checked.
Move  the tube to the right. the tube to the right.
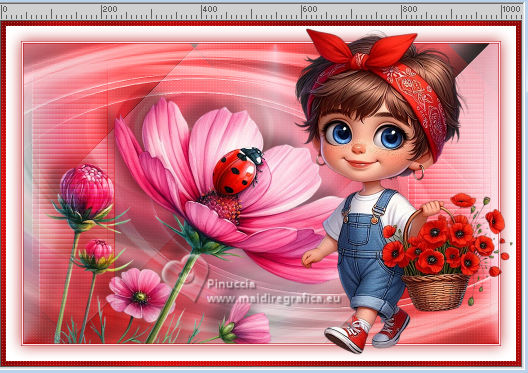
Effects>3D Effects>Drop Shadow, color black (or at your choice).
18. Open the tube 2024 05 24 Cat N4 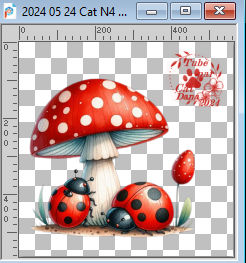
Erase the watermark and go to Edit>Copy.
Go back to your work and go to Edit>Paste as new layer.
Image>Resize, to 35%, resize all layers not checked.
Move  this tube at the bottom left. this tube at the bottom left.
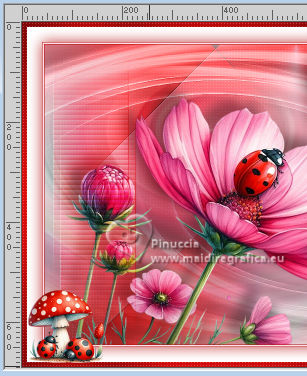
Effects>3D Effects>Drop Shadow, color black.

19. Open the little ladybug petite cocci deco 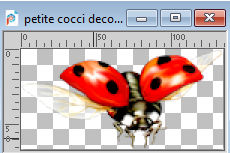
Edit>Copy.
Go back to your work and go to Edit>Paste as new layer.
Move  the tube at the upper left. the tube at the upper left.
For the supplied tube:
Layers>Duplicate.
Image>Resize, to 80%, resize all layers not checked.
Image>Mirror>Mirror horizontal.
Move  this tube to the right, near the flowers. this tube to the right, near the flowers.
Effects>3D Effects>Drop Shadow, last settings on both layers.
20. Sign your work.
Layers>Merge>Merge All.
Image>Resize, to 950 pixels width, resize all layers checked.
Save as jpg.
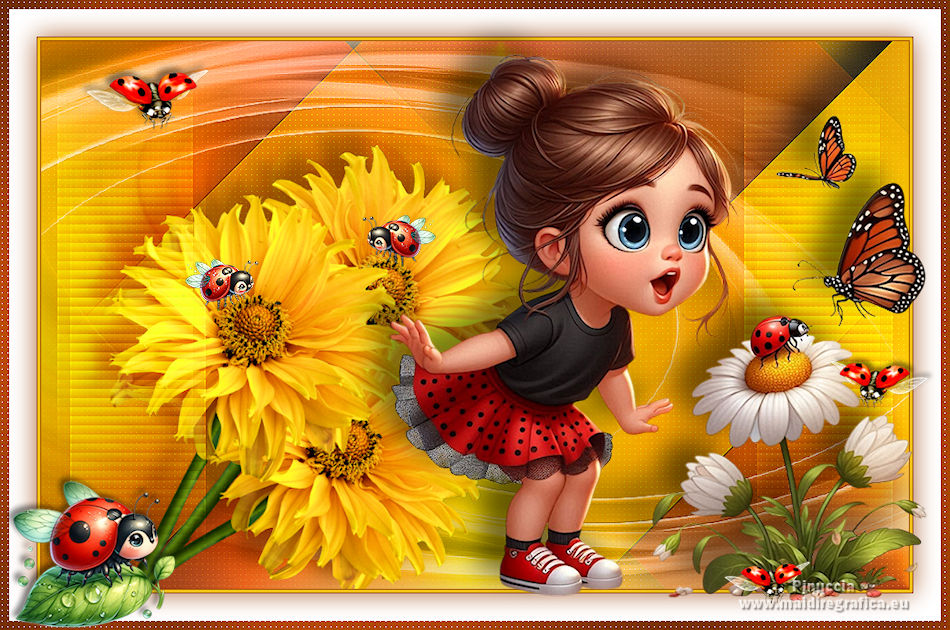
For the tube of this version thanks Cat Dana

If you have problems or doubts, or you find a not worked link, or only for tell me that you enjoyed this tutorial, write to me.
27 March 2025

|

