CONTRASTE


Thanks Colybrix for your invitation to translate

Clic and move the brush to follow the tutorial.

To print


|
This tutorial was translated with PSP09, but it can also be made using other versions of PSP.
Since version PSP X4, Image>Mirror was replaced with Image>Flip Horizontal,
and Image>Flip with Image>Flip Vertical, there are some variables.
In versions X5 and X6, the functions have been improved by making available the Objects menu.
In the latest version X7 command Image>Mirror and Image>Flip returned, but with new differences.
See my schedule here
 italian translation here italian translation here

Necessary

(The links of the tubemakers here).
consult, if necessary, my filter section here
Filters Unlimited 2.0 here
Graphics Plus - Cross Shadow here
Filters Grapphics Plus can be used alone or imported into Filters Unlimited.
(How do, you see here)
If a plugin supplied appears with this icon  it must necessarily be imported into Unlimited it must necessarily be imported into Unlimited

You can change Blend Modes according to your colors.

Open the masks in PSP and minimize them with the rest of the material.
Tip for this tutorial: find an image (or a mist) with good contrast,
dark at the edges and bright in the center
Set your foreground color to a very vivid color:
for me #47fffd.
Set your background color to black #000000.
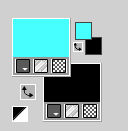
1. Preparation if you have a jpg image.
Open the image.
Layers>New Mask layer>From image
Open the menu under the source window and you'll see all the files open.
Select the mask 20-20
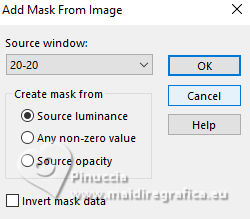
Layers>Duplicate.
Layers>Merge>Merge Group.
Edit>Copy.
2. Open Alpha Contraste
Window>Duplicate or, on the keyboard, shift+D to make a copy.

Close the original.
The copy, that will be the basis of your work, is not empty,
but contains a selections saved to alpha channel.
Flood Fill  the transparent image with your background color #000000. the transparent image with your background color #000000.
Effects>Texture Effects>Blinds, foreground color.

3. Layers>New Raster Layer.
Flood Fill  the layer with your foreground color. the layer with your foreground color.
Layers>New Mask layer>From image
Open the menu under the source window and you'll see all the files open.
Select the mask 163_Masque_ForumChezVioline
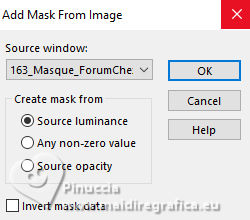
Adjust>Sharpness>Sharpen.
Layers>Merge>Merge Group.
4. Layers>New Raster Layer.
Selections>Select All.
Open the misted oiseau mist 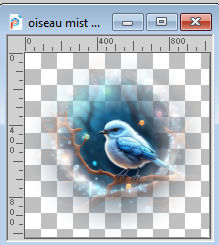
Edit>Copy.
Go back to your work and go to Edit>Paste into Selection.
Selections>Select None.
5. Effects>Image Effects>Seamless Tiling, Side by Side.

Adjust>Blur>Gaussian Blur - radius 30.

Change the Blend Mode of this layer to Hard Light.
6. Effects>Image Effects>Seamless Tiling, default settings.

7. Edit>Paste as new layer (the misted is still in memory).
Image>Resize, to 75%, resize all layers not checked.
Move  the tube to the right side. the tube to the right side.
Note by Colybrix: I duplicated this layer and merged it with the layer below (optional).
In my second version, I changed the Blend Mode to Overlay, to give more contrast.
8. Activate the layer Group-Raster 2.
Selections>Load/Save Selection>Load Selection from Alpha Channel.
The selection Sélection #1 is immediately available. You just have to click Load.
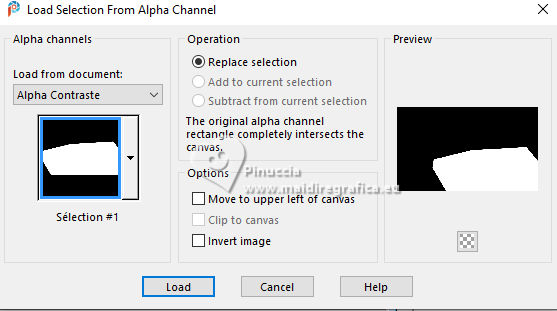
Selections>Promote Selection to Layer.
Selections>Select None.
9. Image>Resize, to 75%, resize all layers not checked.
Image>Mirror>Mirror Horizontal (Image>Mirror).
Objects>Align>Left.
Objects>Align>Bottom.
Or move  the tube at the bottom left. the tube at the bottom left.
Layers>Merge>Merge Down.
Result

10. Image>Add borders, 2 pixels, symmetric, color black.
Image>Add borders, 2 pixels, symmetric, foreground color.
11. Selections>Select All.
Image>Add borders, 30 pixels, symmetric, color black.
Selections>Invert.
Effects>Texture Effects>Blinds, same settings.

12. Effects>Plugins>Graphics Plus - Cross shadow, default settings.
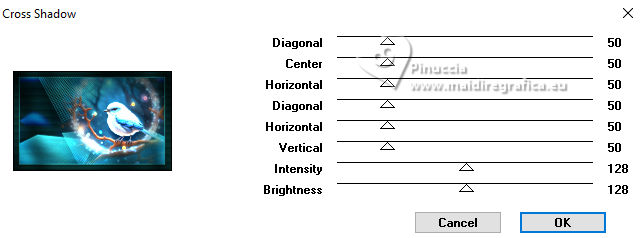
Repeat this Effect another time.
Selections>Invert.
Effects>3D Effects>Drop Shadow, color black.

Edit>Repeat Drop Shadow.
Selections>Select None.
13. Open the woman's tube femme942-coly 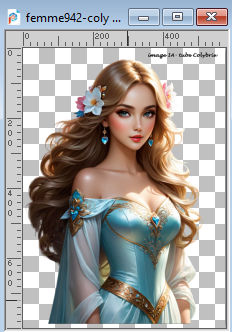
Erase the watermark and go to Edit>Copy
Go back to your work and go to Edit>Paste as new layer.
Image>Resize, to 75%, resize all layers not checked.
Move  the tube to the left side. the tube to the left side.
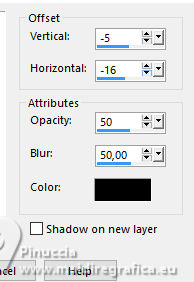
Effects>3D Effects>Drop shadow, color black, (or at your choice).
14. Open the text Riet_Texst Enjoy_1149-300524 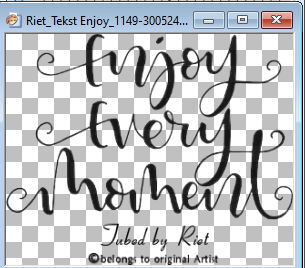
Erase the watermark and go to Edit>Copy
Go back to your work and go to Edit>Paste as new layer.
Image>Resize, to 75%, resize all layers not checked.
Image>Negative image.
Effects>3D Effects>Drop Shadow, color black.
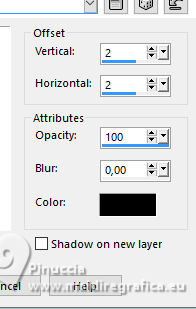
Repeat Drop shadow, vertical and horizontal -2.
15. Activate your Target to Color Tool 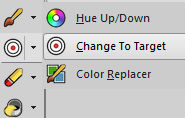
fairly large size (about 200 pixels)

Swipe twice over the text to change the color to the foreground color.
Move  the text to your liking. the text to your liking.
For me: Position X: 365,00 and Position Y: 40,00.

Effects>3D Effects>Drop Shadow, color black.

16. Sign your work.
Image>Add borders, 1 pixel, symmetric, color black.
Image>Add borders, 2 pixels, symmetric, foreground color.
Image>Add borders, 1 pixel, symmetric, color black.
Save as jpg.
For the tubes of this version thanks Colybrix and Mentali
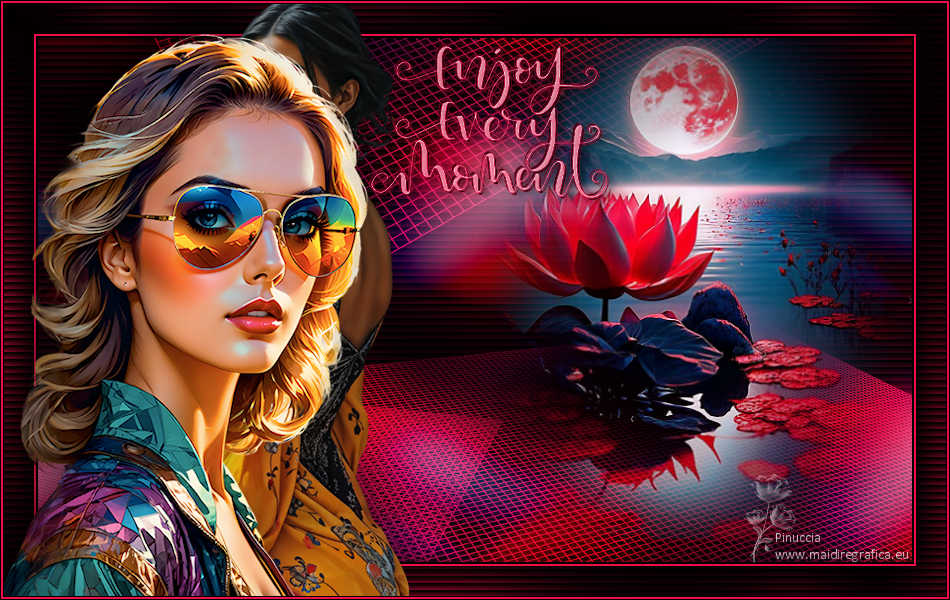

Your versions. Thanks

DeniseD

If you have problems or doubts, or you find a not worked link, or only for tell me that you enjoyed this tutorial, write to me.
6 Giugno 2024

|

