ELSA

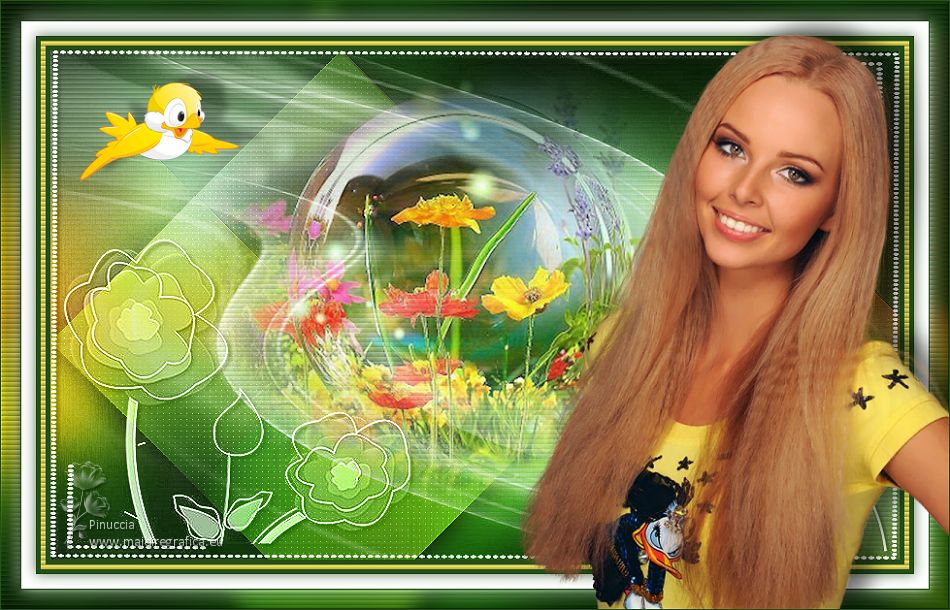
Thanks Colybrix for your invitation to translate

Clic and move the brush to follow the tutorial.

To print


|
This tutorial was translated with PSPX and PSPX3, but it can also be made using other versions of PSP.
Since version PSP X4, Image>Mirror was replaced with Image>Flip Horizontal,
and Image>Flip with Image>Flip Vertical, there are some variables.
In versions X5 and X6, the functions have been improved by making available the Objects menu.
In the latest version X7 command Image>Mirror and Image>Flip returned, but with new differences.
See my schedule here
 italian translation here italian translation here
 your versions here your versions here
Necessary

For the masks thanks Tine and Narah.
The rest of the material is my Colybrix
(The links of the tubemakers here).

consult, if necessary, my filter section here
Filters Unlimited 2.0 here
Graphics Plus - Cross Shadow here
Mehdi - Sorting Tiles here
Carolaine and Sensibility - CS_LDots here
Filters Graphics Plus can be used alone or imported into Filters Unlimited.
(How do, you see here)
If a plugin supplied appears with this icon  it must necessarily be imported into Unlimited it must necessarily be imported into Unlimited

You can change Blend Modes according to your colors.

Copy the Selection in the Selections Folder.
Open the masks in PSP and minimize them with the rest of the material.
Set your foreground color to #26f41a,
and your background color to white #ffffff
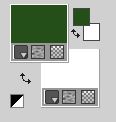
Color 3 #fce65d 
1. Open a new transparent image 875 x 525 pixels.
Flood Fill  the transparent image with your foreground color. the transparent image with your foreground color.
Layers>New Raster Layer.
Selections>Select All.
Open the mist of the flowers fleurs 102-coly 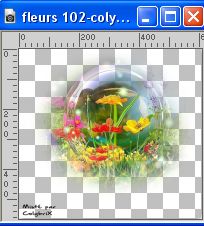
Erase the watermark and go to Edit>Copy.
Minimize the tube, for caution, because you'll use it again.
Go back to your work and go to Edit>Paste into Selection.
Selections>Select None.
2. Effects>Image Effects>Seamless Tiling, Side by Side.

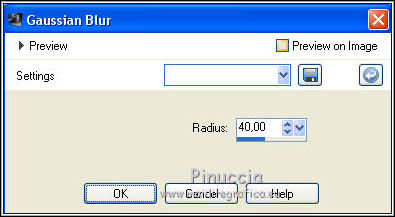
Adjust>Blur>Gaussian Blur - radius 40.
Adjust>Add/Remove Noise>Add Noise.
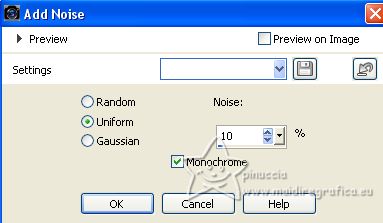
Layers>Merge>Merge Down.
3. Effects>Plugins>Graphics Plus - Cross Shadow.
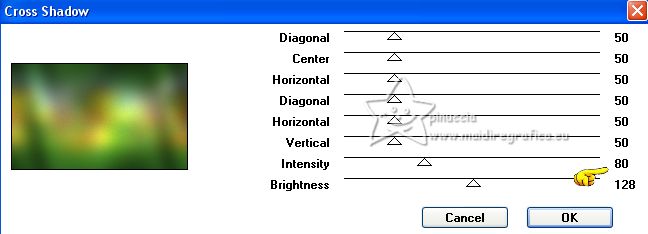
Layers>Duplicate.
Change the Blend Mode of this layer to Overlay.
4. Effects>Plugins>Mehdi - Sorting Tiles.
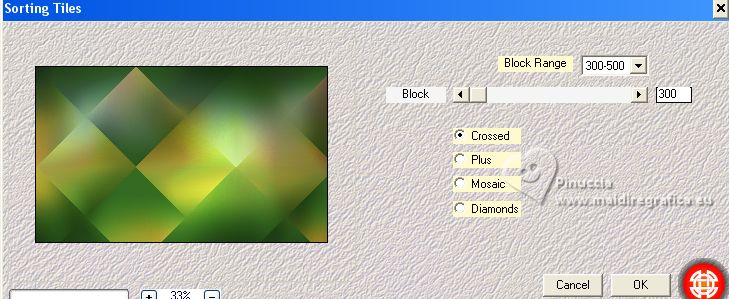
Effects>Edge Effects>Enhance.
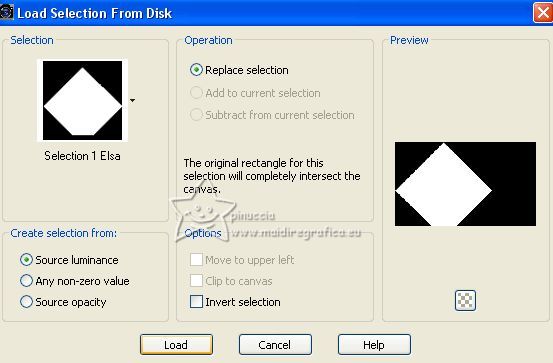
5. Selections>Load/Save Selection>Load Selection from Disk.
Look for and load the selection Sélection 1 Elsa
Effects>Plugins>Carolaine and Sensibility - CS_LDots
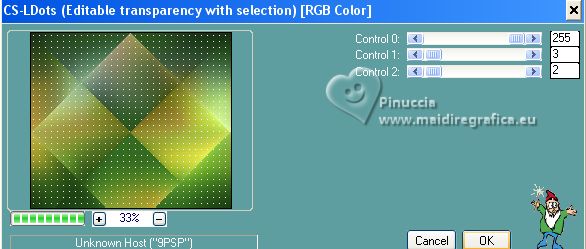
Effects>3D Effects>Drop Shadow, color black.
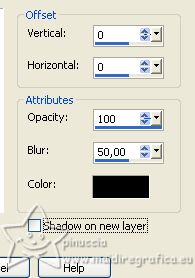
Selections>Select None.
Layers>Merge>Merge Down.
6. Layers>New Raster Layer.
Flood Fill  the layer with color white. the layer with color white.
Layers>New Mask layer>From image
Open the menu under the source window and you'll see all the files open.
Select the mask NarahsMasks_1752
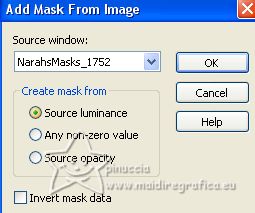
Effects>Edge Effects>Enhance.
Layers>Merge>Merge Group.
Image>Flip.
7. Effects>Texture Effects>Blinds - foreground color.
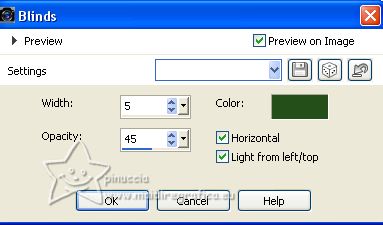
Effects>3D Effects>Drop Shadow, foreground color.
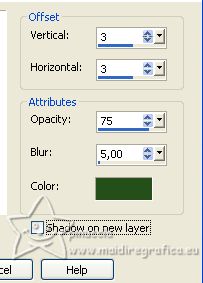
Change the Blend Mode of this layer to Screen.
8. Edit>Paste as new layer (the flowers mist is still in memory).
Activate your Pick Tool 
and set Position: 110,00 and Position Y: 10,00.

I put the tube a little more to the left,
so that in the end it isn't hidden too much by the woman's tube
Layers>Arrange>Move Down.
optional: for my tube I duplicated the layer and reduced the opacity to 50;
in this case Merge Down.
9. Activate the top layer of the mask.
Layers>Duplicate.
Image>Miroir.
Image>Flip.
Layers>Arrange>Move Down - 2 times (under the layer of the mist).
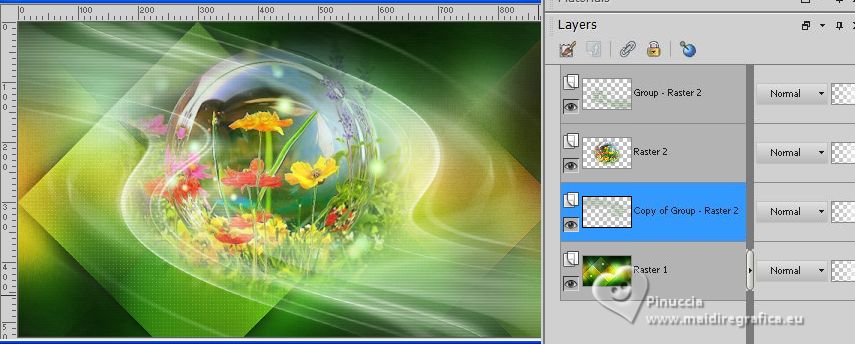
10. Activate again the top layer, Group-Raster 2.
Layers>New Raster Layer.
Flood Fill  the layer with color white. the layer with color white.
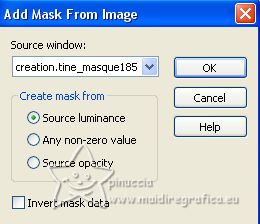
Layers>New Mask layer>From image
Open the menu under the source window
Select the mask creation.tine_masque185
Effects>Edge Effects>Enhance.
Layers>Merge>Merge Group.
Layers>Duplicate.
Layers>Merge>Merge Down.
Effects>3D Effects>Drop Shadow, foreground color.

Change the Blend Mode of this layer to Luminance (legacy).
11. Activate your bottom layer, Raster 1.
Edit>Copy
12. Image>Add borders, 5 pixels, symmetric, foreground color.
Image>Add borders, 5 pixels, symmetric, colore 3 #fce65d 
Image>Add borders, 5 pixels, symmetric, foreground color.
13. Activate your Magic Wand Tool  , tolerance and feather 0, , tolerance and feather 0,
and click on the yellow border to select it.
Effects>Texture Effects>Blinds, same settings.

Selections>Select None.
14. Selections>Select All.
Image>Add borders, 15 pixels, symmetric, color white.
Effects>3D Effects>Drop Shadow, foreground color.
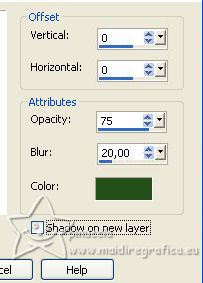
Selections>Select None.
15. Image>Add borders, 1 pixel, symmetric, foreground color.
Selections>Select All.
Image>Add borders, 20 pixels, symmetric, whatever color.
Selections>Invert.
16. Edit>Paste into Selection (your background in memory).
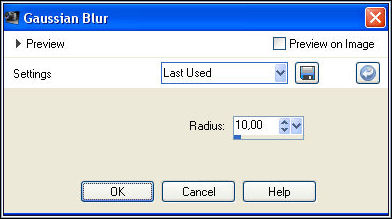
Adjust>Blur>Gaussian blur - radius 10.
Effects>Texture Effects>Blinds, same settings.

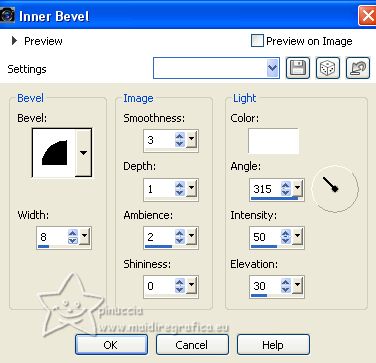
Effects>3D Effects>Inner Bevel.
Selections>Select None.
17. Open the woman tube femme782-coly 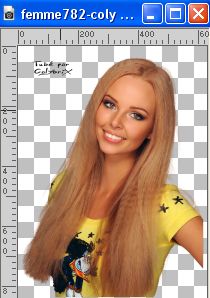
Erase the watermark and go to Edit>Copy.
Go back to your work and go to Edit>Paste as new layer.
Image>Resize, to 75%, resize all layers not checked.
Move  the tube to the right. the tube to the right.
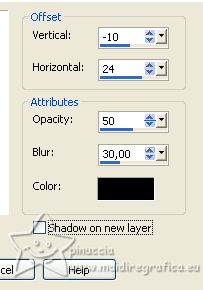
Effects>3D Effects>Drop Shadow, color black.
18. Open the bird tube colycartoonbird 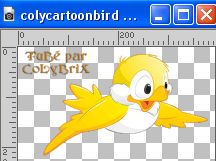
Erase the watermark and go to Edit>Copy.
Go back to your work and go to Edit>Paste as new layer.
Image>Resize, to 50%, resize all layers not checked.
Move  the tube at the upper left. the tube at the upper left.
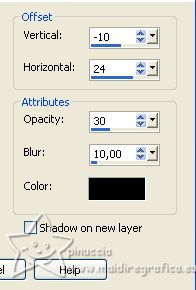
Effects>3D Effects>Drop Shadow, color black.
19. Sign your work.
Image>Add borders, 1 pixel, symmetric, foreground color.
20. Image>Resize, 950 pixels width, resize all layers checked.
Adjust>Sharpness>Sharpen.
Save as jpg.
For the tubes of these versions thanks Colybrix; the misted are mine.
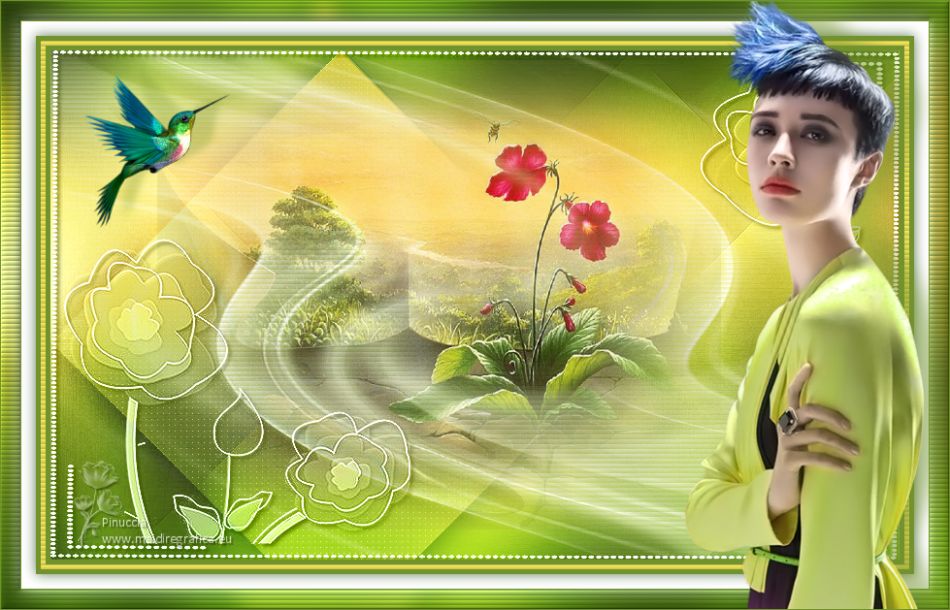
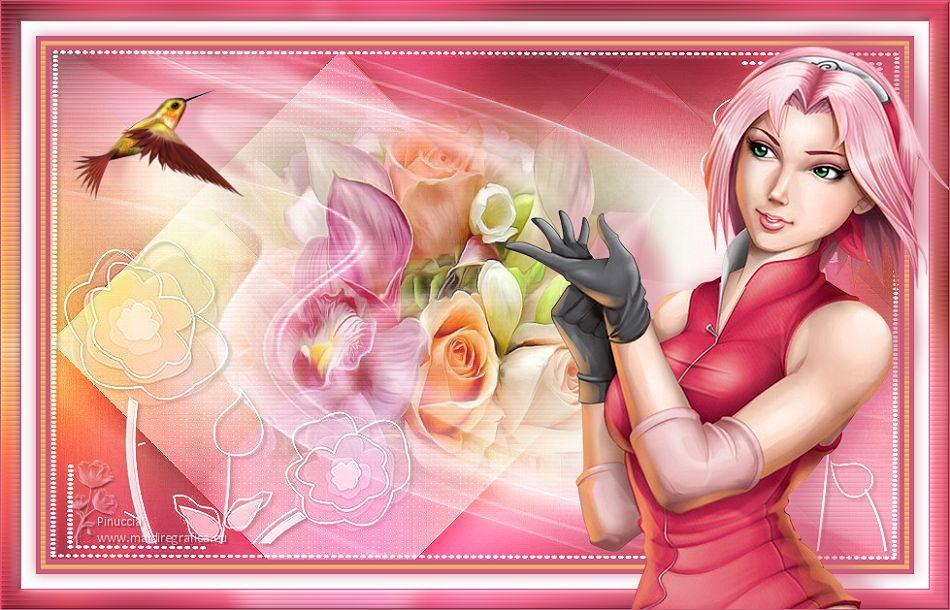

If you have problems or doubts, or you find a not worked link, or only for tell me that you enjoyed this tutorial, write to me.
5 April 2023

|

