FLOCONS DE NEIGE

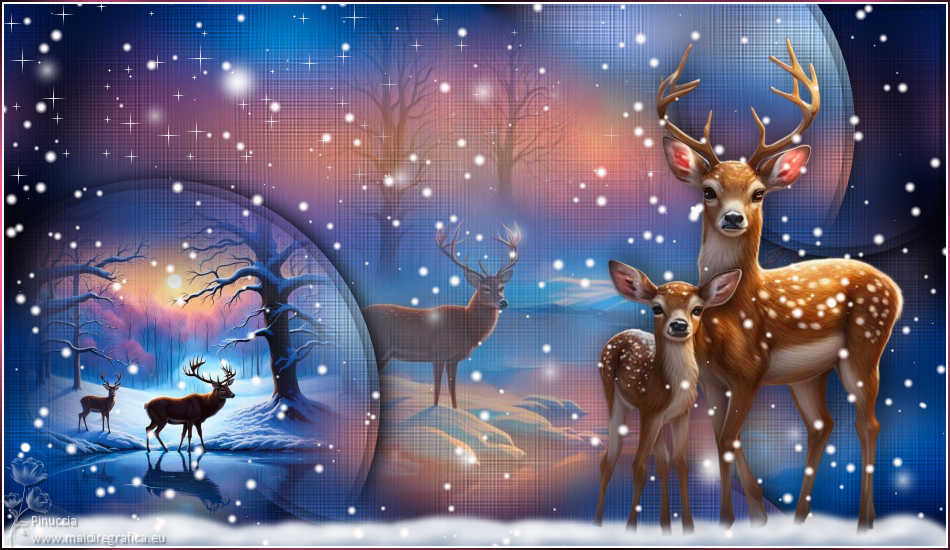
Thanks Colybrix for your invitation to translate

Clic and move the brush to follow the tutorial.

To print


|
This tutorial was translated with PSPX and PSPX3, but it can also be made using other versions of PSP.
Since version PSP X4, Image>Mirror was replaced with Image>Flip Horizontal,
and Image>Flip with Image>Flip Vertical, there are some variables.
In versions X5 and X6, the functions have been improved by making available the Objects menu.
In the latest version X7 command Image>Mirror and Image>Flip returned, but with new differences.
See my schedule here
 italian translation here italian translation here
 your versions here your versions here

Necessary

For the tubes thanks Kamil
(The links of the tubemakers here).
consult, if necessary, my filter section here
Filters Unlimited 2.0 here
VM Natural - Sparkles here
Alien Skin Eye Candy 5 Nature - Snow Drift here
VDL Adrenaline - Snowflakes here
Graphics Plus - Cross Shadow here
Filters VM Natural and Grapphics Plus can be used alone or imported into Filters Unlimited.
(How do, you see here)
If a plugin supplied appears with this icon  it must necessarily be imported into Unlimited it must necessarily be imported into Unlimited

You can change Blend Modes according to your colors.

Copy the mask 20-20 in the Masks Folder.
Copy the texture @nn_250410 TXT 031_tdstudio in the Textures Folder.
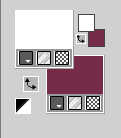
Set your foreground color to white #ffffff,
and your background color to #762c48
1. Open Alpha flocons
Window>Duplicate or, on the keyboard, shift+D to make a copy.

Close the original.
The copy, that will be the basis of your work, is not empty,
but contains the selections saved to alpha channel.
2. Selections>Select All.
Open the jpg image cerf 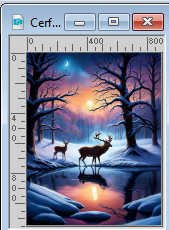
Edit>Copy.
Go back to your work and go to Edit>Paste into Selection.
Selections>Select None.
Adjust>Blur>Gaussian Blur - radius 25.

3. Effects>Reflection Effects>Rotating Mirror.

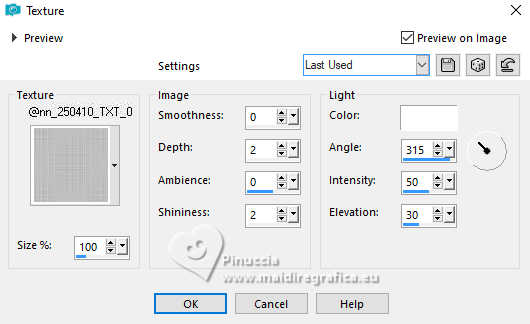
Effects>Texture Effects>Texture - select the texture @nn_250410 TXT 031_tdstudio
4. Selections>Load/Save Selection>Load Selection from Alpha Channel.
The selection sélection 1 is immediately available.
You just have to click Load.
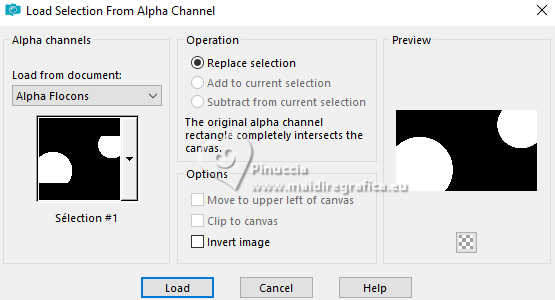
Selections>Promote Selection to Layer.
Effects>3D Effects>Drop Shadow, color black.
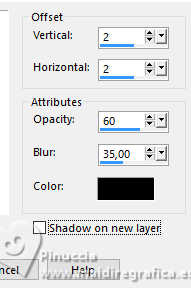
5. Selections>Modify>Contract - 10 pixels.
Effects>3D Effects>Drop shadow, same settings.
Selections>Select None.
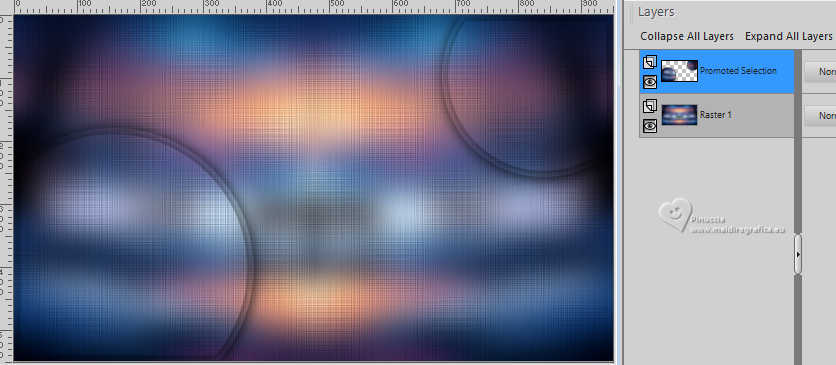
6. Layers>Duplicate.
Effects>Image Effects>Seamless Tiling, default settings.

*****
7. If you used the supplied image, go to the step 8.
Continue here if you used another image.
Before applying the mask, I cropped my image slightly at the top and bottom
Layers>Load/Save Mask>Load Mask from Disk.
Look for and load the mask 20-20.

Layers>Duplicate (to blur the edge a little more)
Layers>Merge>Merge Group.
*****
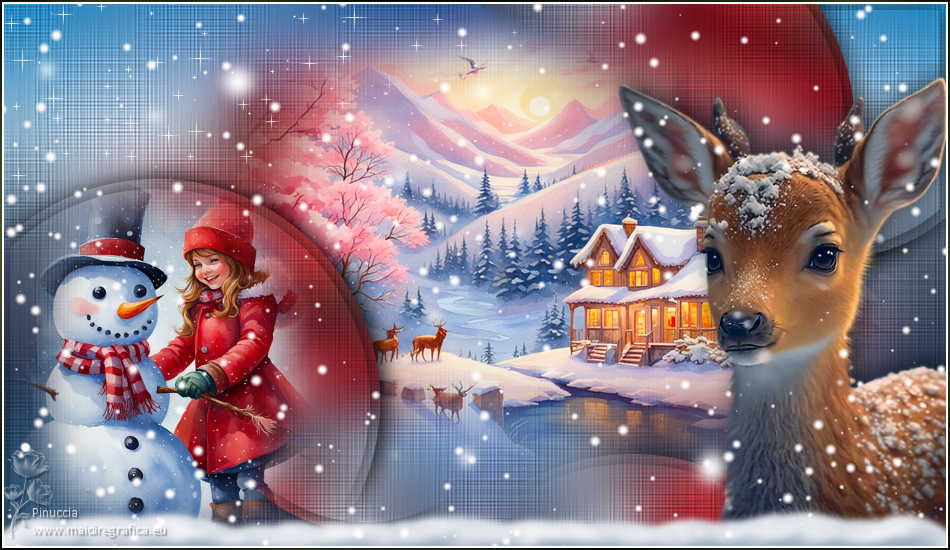
8. Open the misted mist cerfs 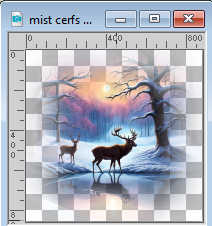
Edit>Copy.
Go back to your work and go to Edit>Paste as new layer.
Image>Resize, to 40%, resize all layers not checked.
Move  the tube in the left circle. the tube in the left circle.
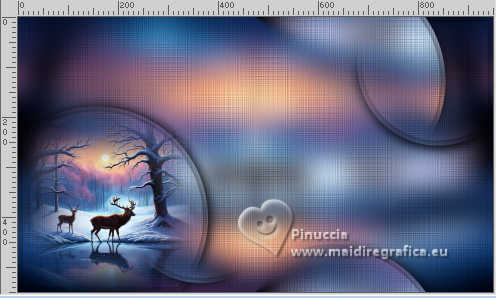
9. Selections>Load/Save Selection>Load Selection from Alpha Channel.
Open the selections menu and load the selection sélection 2
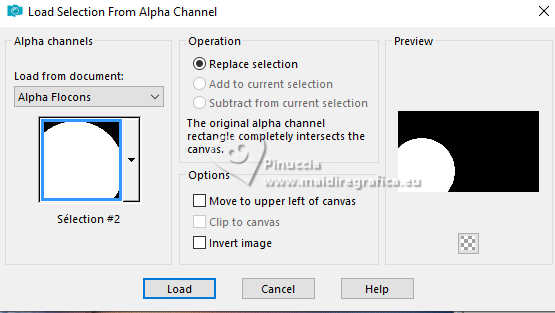
Selections>Invert.
Press CANC on the keyboard 
Selections>Select None.
10. Activate the layer Raster 1.
Open the tube mist fond Coly 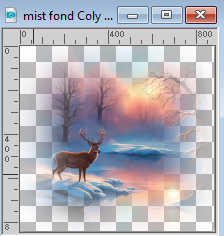
Edit>Copy.
Go back to your work and go to Edit>Paste as new layer.
Image>Resize, to 75%, resize all layers not checked.
K key to activate your Pick Tool 
and set Position X: 233,00 and Position Y: -55,00.

Or move your tube to your liking .
Reduce the opacity of this layer to 56%.
11. Activate again your top layer.
Layers>New Raster Layer.
Selections>Load/Save Selection>Load Selection from Alpha Channel.
Open the selections menu and load the selection sélection 3
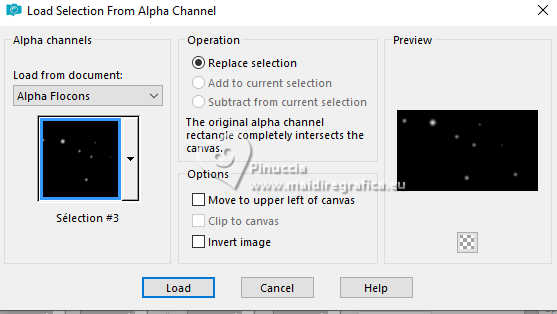
Flood Fill  the selection with the white color, 2 clics the selection with the white color, 2 clics
Selections>Select None.
12. Layers>Duplicate.
Image>Mirror.
Image>Flip.
Layers>Merge>Merge Down.
13. Activate again the layer Raster 1.
Selections>Load/Save Selection>Load Selection from Alpha Channel.
Open the selections menu and load the selection sélection 4
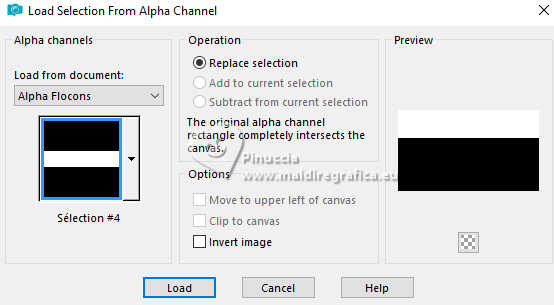
Effects>Plugins>VM Natural - Sparkle
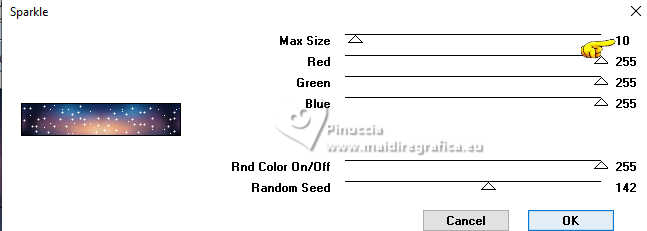
Selections>Select None.
14. Activate your top layer.
Open the tube Kersthert_DK_AI 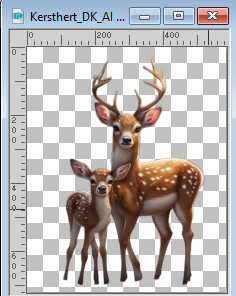
Edit>Copy.
Go back to your work and go to Edit>Paste as new lyer.
Image>Resize, to 75%, resize all layers not checked.
Move  the tube to the right side. the tube to the right side.
Effects>3D Effects>Drop shadow, color black.
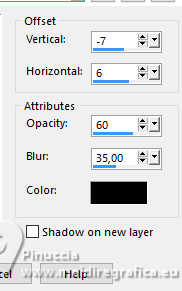
15. Layers>New Raster Layer.
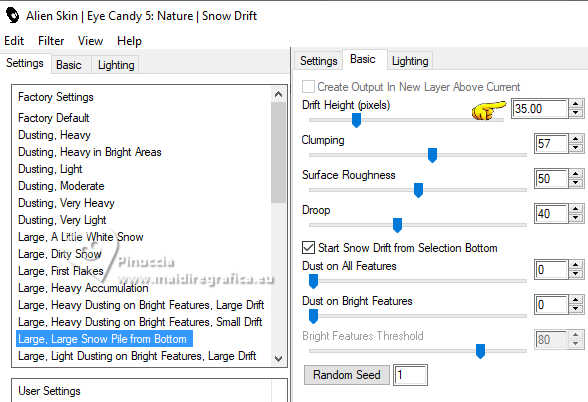
Effects>Plugins>Alien Skin Eye Candy 5 Nature - Snow Drift
Settings: Small, Large Snow Pil
Basic: Drift Height 35.
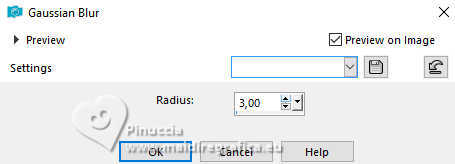
Adjust>Blur>Gaussian Blur - radius 3.
16. Layers>Arrange>Move Down.
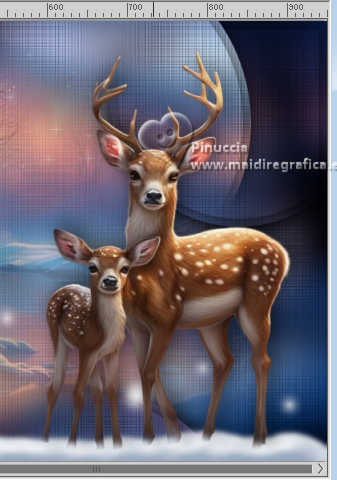
Activate the top layer, the deers.
Activate your Erase Tool  with these settings: with these settings:

Slightly erase the edge of the paws - several times - to give the impression that they are in the snow.
17. Layers>New Raster Layer.
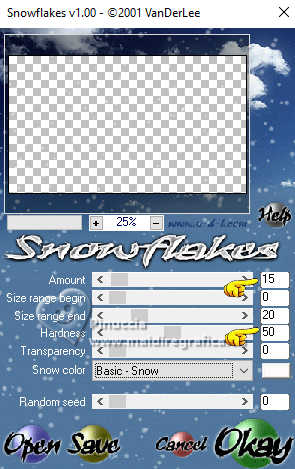
Effects>Plugins>VDL Adrenaline - Snowflakes
if you are using the new version (the result doesn't change)
Effects>Plugins>VanDerLee - Snowflakes
 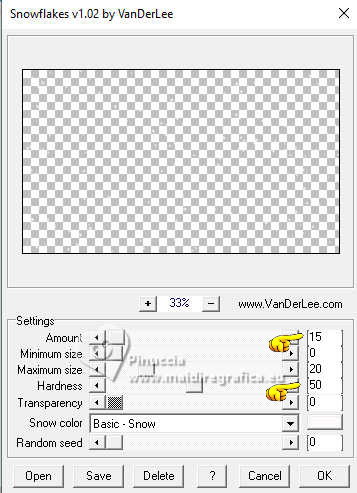
Activate your Erase Tool  same settings same settings
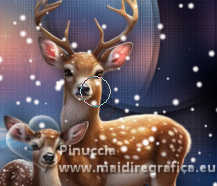
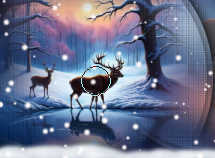
I erased 2-3 snowflakes on the deer's heads as on the misted in the circle on the left
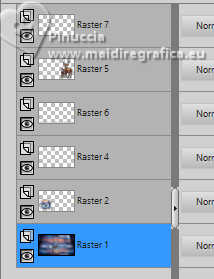
18. Merge the bottom four layers
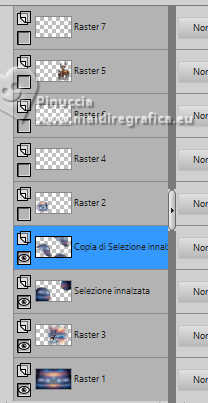 
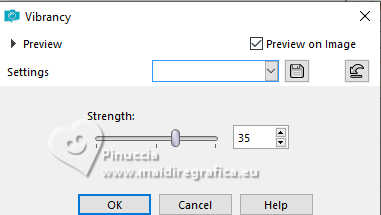
On the layer merged:
Adjust>Hue and Saturation>Vibrancy (adapt to your image, if necessary).
19. Activate the layer above (the left deers misted).
Repeat Adjust>NHue and Saturation>Vibrancy - change to 25 (adapt to your image, if necessary).
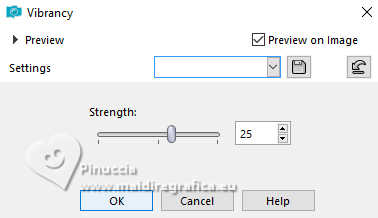
If you want, repeat also on the deer tube on the right.
20. Activate your top layer.
Layers>New Raster Layer.
Selections>Select All.
Flood Fill  with your background color. with your background color.
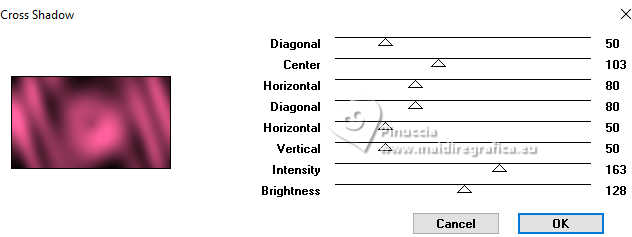
21. Effects>Plugins>Graphics Plus - Cross Shadow.
22. Selections>Modify>Contract - 2 pixels.
Presser CANC on the keyboard 
Flood Fill  with color white. with color white.
Selections>Modify>Contract - 2 pixels.
Press CANC on the keyboard.
Selections>Select None.
23. Sign your work.
Layers>Merge>Merge All and save as jpg.
For the tubes of this version thanks Mentali and Riet

If you have problems or doubts, or you find a not worked link, or only for tell me that you enjoyed this tutorial, write to me.
2 January 2024

|

