IL ÉTAIT UNE FOIS
 ONCE UPON A TIME ONCE UPON A TIME
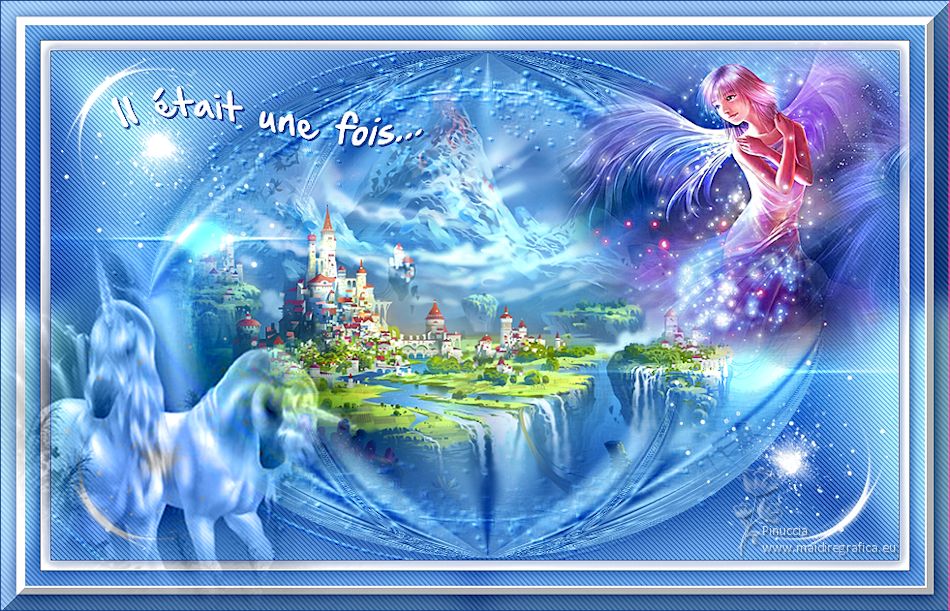
Thanks Colybrix for your invitation to translate

Clic and move the brush to follow the tutorial.

To print


|
This tutorial was translated with PSPX and PSPX3, but it can also be made using other versions of PSP.
Since version PSP X4, Image>Mirror was replaced with Image>Flip Horizontal,
and Image>Flip with Image>Flip Vertical, there are some variables.
In versions X5 and X6, the functions have been improved by making available the Objects menu.
In the latest version X7 command Image>Mirror and Image>Flip returned, but with new differences.
See my schedule here
 italian translation here italian translation here
 your versions here your versions here
Necessary

For the masks thanks Narah.
The rest of the material is my Colybrix
(The links of the tubemakers here).

consult, if necessary, my filter section here
Filters Unlimited 2.0 here
Carolaine and Sensibility - CS-DLines here
Simple - Top Left Mirror here
Toadied - *Sucking Toad* Bevel II.2 here
Nik Software - Color Efex Pro here
Filters Graphics Plus can be used alone or imported into Filters Unlimited.
(How do, you see here)
If a plugin supplied appears with this icon  it must necessarily be imported into Unlimited it must necessarily be imported into Unlimited

You can change Blend Modes according to your colors.
In the newest versions of PSP, you don't find the foreground/background gradient (Corel_06_029).
You can use the gradients of the older versions.
The Gradient of CorelX here

Open the masks in PSP and minimize them with the rest of the material.
Set your foreground color to #9ed4f3,
and your background color to #174391.
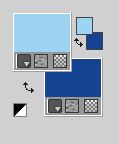
Set your foreground color to a Foreground/Background Gradient, style Radial.
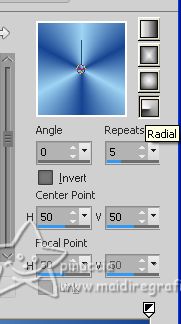
1. Open a new transparent image 875 x 525 pixels.
Flood Fill  the transparent image with your Gradient. the transparent image with your Gradient.
2. Adjust>Blur>Gaussian Blur - radius 10.
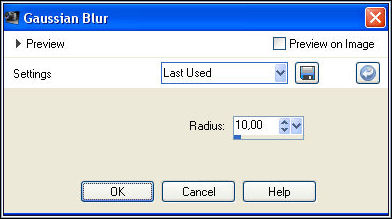
Effects>Image Effects>Seamless Tiling, default settings.

Repeat Adjust>Blur>Gaussian Blur - radius 10.

3. Layers>Duplicate.
Effects>Geometric Effects>Circle.
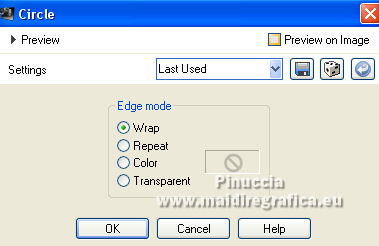
Repeat Effects>Geometric Effects>Circle, Transparent.

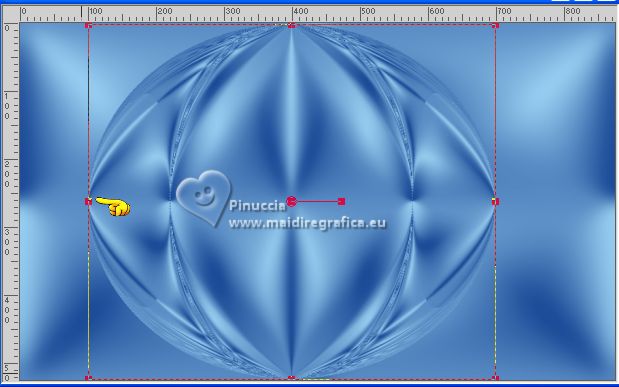
4. K key on the keyboard to activate your Pick Tool 
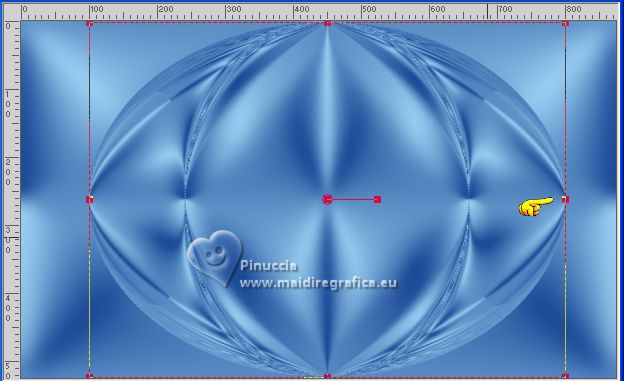
Mode Scale 
pull the left central node to the left until 100 pixels,
and the right central node to the right until 800 pixels.
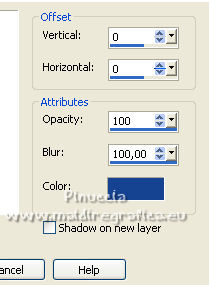
Effects>3D Effects>Drop Shadow, background color.
5. Layers>New Raster Layer.
Selections>Select All.
Open the landscape misted mistfantasy20-coly 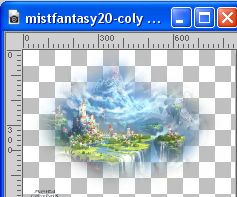
Erase the watermark and go to Edit>Copy.
Go back to your work and go to Edit>Paste into selection.
Selections>Select None.
I moved the tube a bit to the right
Position X: 39,00 and Position Y: -7,00.

6. Set your foreground color to white.
Layers>New Raster Layer.
Flood Fill  the layer with color white. the layer with color white.
Layers>New Mask layer>From image
Open the menu under the source window and you'll see all the files open.
Select the mask NarahsMasks_1785
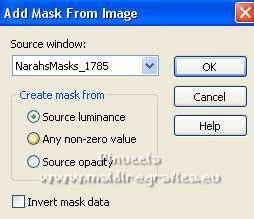
Effects>Edge Effects>Enhance.
Layers>Merge>Merge Group.
7. Effects>3D Effects>Drop Shadow, background color.
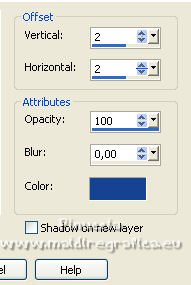
Image>Resize, to 110%, resize all layers not checked.
Change the Blend Mode of this layer to Overlay.
8. Activate the layer Raster 1.
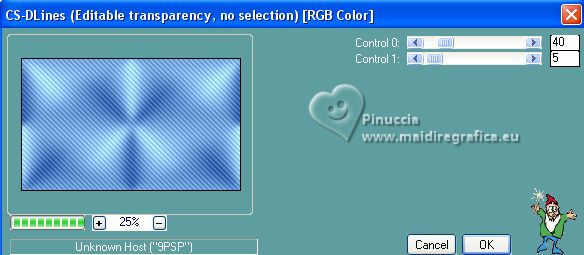
Effects>Plugins>Carolaine and Sensibility - CS-DLines, default settings.
9. Activate again your top layer.
Layers>New Raster Layer.
Flood Fill  the layer with color white. the layer with color white.
Layers>New Mask layer>From image
Open the menu under the source window
and select the mask NarahsMasks_1784
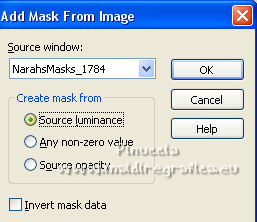
Effects>Edge Effects>Enhance.
Layers>Merge>Merge group.
10. Image>Resize, to 50%, resize all layers not checked.
Image>Free rotate - 45 degrees to right.
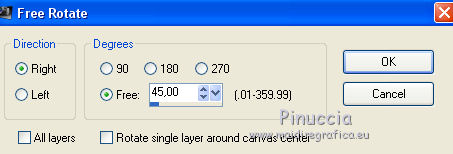
K key to activate your Pick Tool 
and set Position X: -1,00 and Position Y: -3,00.

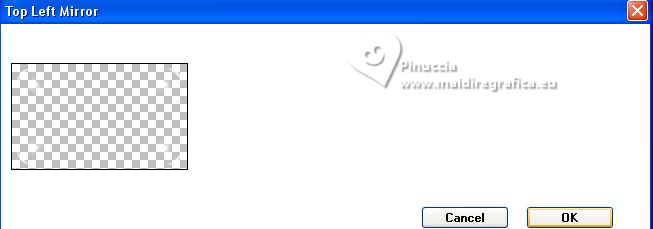
11. Effects>Plugins>Simple - Top Left Mirror.
12. Activate the layer Raster 1.
Edit>Copy
13. Image>Add borders, 1 pixel, symmetric, background color.
Selections>Select All.
Image>Add borders, 10 pixels, symmetric, color white.
Effects>3D Effects>Drop Shadow, background color.
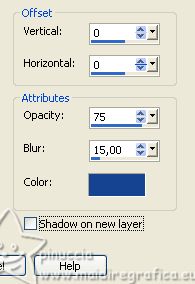
Selections>Select None.
14. Image>Add borders, 1 pixel, symmetric, background color.
Selections>Select All.
Image>Add borders, 15 pixels, symmetric, whatever color.
15. Selections>Invert.
Edit>Paste into Selection.
Selections>Invert.
Effects>3D Effects>Drop Shadow, background color.
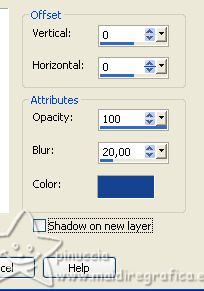
Selections>Invert.
Edit>Copy
16. Selections>Select All.
Image>Add borders, 25 pixels, symmetric, color white.
Selections>Invert.
Edit>Paste into Selection.
Selections>Select None.
17. Effects>Plugins>Toadies - *Sucking Toad* Bevel II.2.
(you can use the effect in Unlimited, if you prefer, the result is the same,
but if you want to redone the tutorial you'll have to set againt the settings,
because Unlimited doesn't keep them in memory).
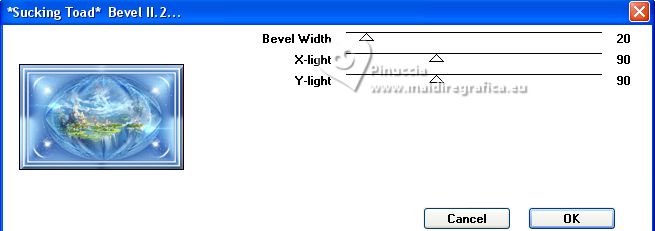
18. Open the person's tube mistFantasy1-coly 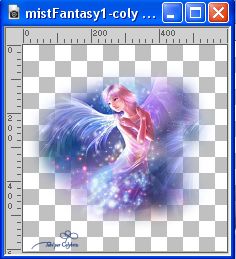
Erase the watermark and go to Edit>Copy.
Go back to your work and go to Edit>Paste as new layer.
Image>Resize, to 75%, resize all layers not checked.
Move  the tube at the upper right. the tube at the upper right.
If you use a tube, add a Drop Shadow at your choice
19. Open the misted fantasyLicorne1-coly 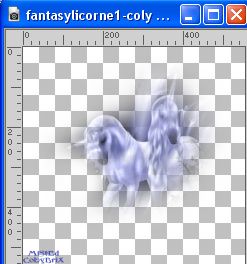
Erase the watermark and go to Edit>Copy.
Go back to your work and go to Edit>Paste as new layer.
Image>Mirror.
Move  the tube at the bottom left. the tube at the bottom left.
Change the Blend Mode of this layer to Luminance (legacy) (optional).
Layers>Duplicate (optional)
Add a Drop Shadow at your choice, if you use a tube.
20. Open the text titre blanc 
Edit>Copy.
Go back to your work and go to Edit>Paste as new layer.
Move  the tube at the upper left. the tube at the upper left.
Effects>3D Effects>Drop Shadow, background color.
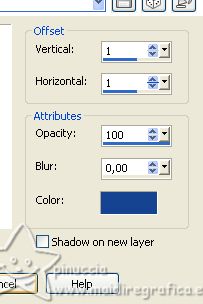
Edit>Repeat Drop Shadow.
21. Layers>Merge>Merge All.
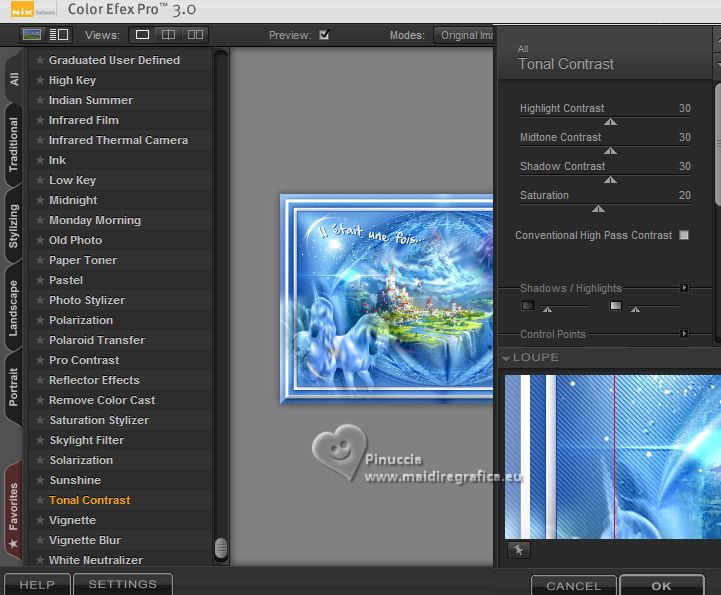
Effects>Plugins>Nik Software - Color Efex Pro - Tonal Contrast, default settings.
22. Sign your work.
Image>Add borders, 1 pixel, symmetric, background color.
Image>Resize, 950 pixels width, resize all layers checked.
Save as jpg.
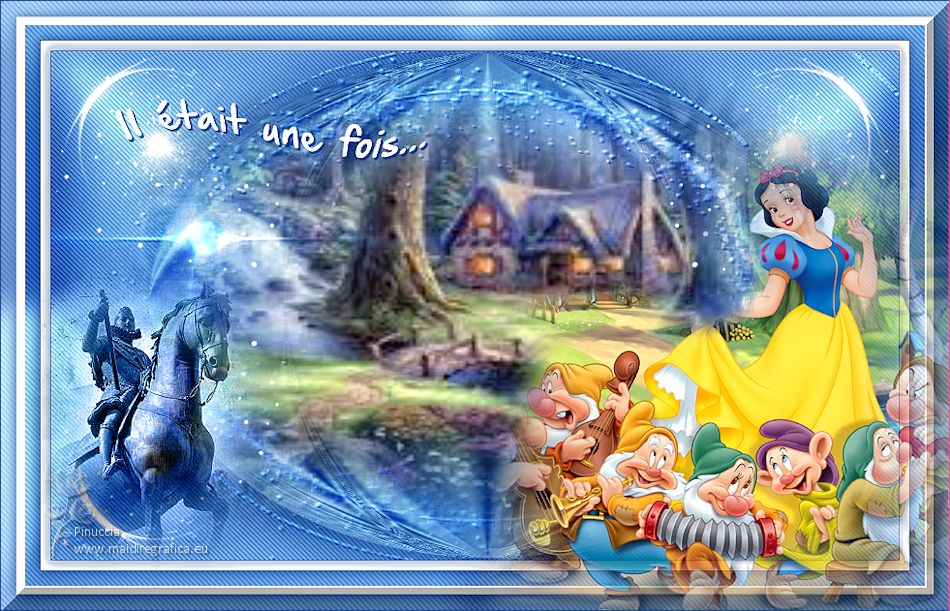
Version with my misted

If you have problems or doubts, or you find a not worked link, or only for tell me that you enjoyed this tutorial, write to me.
3 May 2023

|

