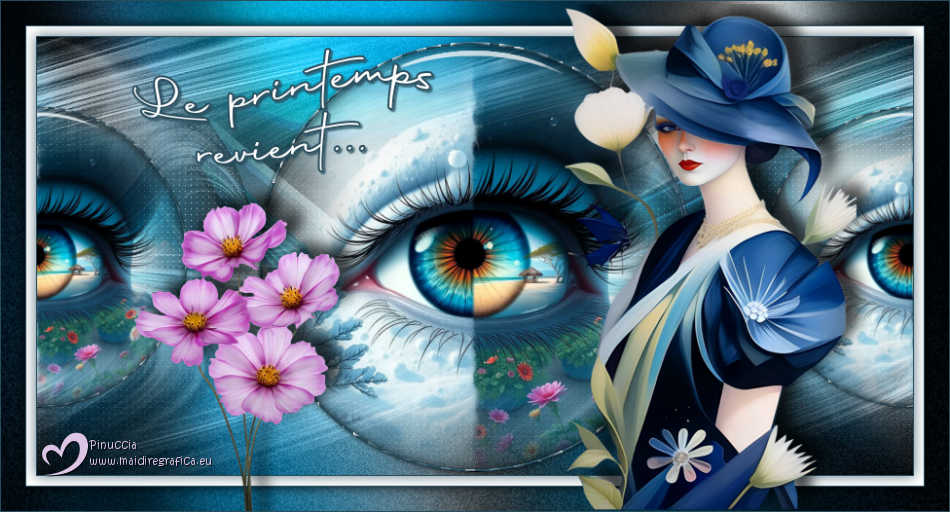
LE PRINTEMPS REVIENT
 SPRING IS COMING BACK SPRING IS COMING BACK
Thanks Colybrix for your invitation to translate

Clic and move the brush to follow the tutorial.

To print


|
This tutorial was translated with PSP09, but it can also be made using other versions of PSP.
Since version PSP X4, Image>Mirror was replaced with Image>Flip Horizontal,
and Image>Flip with Image>Flip Vertical, there are some variables.
In versions X5 and X6, the functions have been improved by making available the Objects menu.
In the latest version X7 command Image>Mirror and Image>Flip returned, but with new differences.
See my schedule here
 italian translation here italian translation here
 your versions here your versions here

Necessary

(The links of the tubemakers here).
consult, if necessary, my filter section here
Filters Unlimited 2.0 here
Carolaine and Sensibility - CS-LDots here
Alien Skin Eye Candy 5 Impact - Glass here
Graphics Plus - Cross Shadow here
Filters Graphics Plus can be used alone or imported into Filters Unlimited.
(How do, you see here)
If a plugin supplied appears with this icon  it must necessarily be imported into Unlimited it must necessarily be imported into Unlimited

You can change Blend Modes according to your colors.

Copy the preset Emboss 3 in the Presets Folder.
If you don't already have the mask 20-20, copy it in the Masks Folder,
or open it in your PSP.
Set your foreground color to #294d5d,
and your background color to white #ffffff.
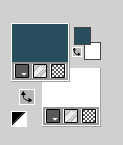
color 3: 334559.
1. Open Alpha Le printemps revient
Window>Duplicate or, on the keyboard, shift+D to make a copy.

Close the original.
The copy, that will be the basis of your work, is not empty,
but contains a selections saved to alpha channel.
Selections>Select All.
Open the image Fond 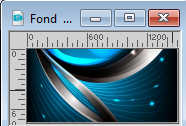
Edit>Copy.
Go back to your work and go to Edit>Paste into Selection.
Selections>Select None.
2. Layers>Duplicate.
Close this layer and activate the layer below of the original.
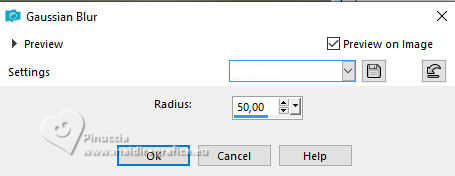
Adjust>Blur>Gaussian Blur - radius 50.
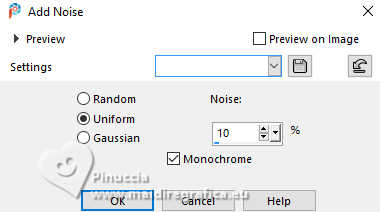
Adjust>Add/Remove Noise>Add Noise.
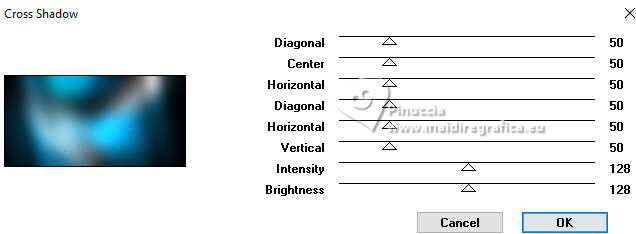
3. Effects>Plugins>Graphics Plus - Cross Shadow, default settings.
(If necessary, if you background is too light, adapt Intensity)
4. Open and activate your top layer.
Effects>User Defined Filter - select the preset Emboss 3

5. For me (I have the mask in the Masks Folder).
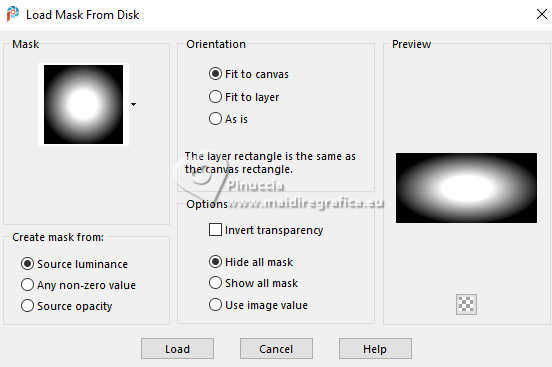
Layers>Load/Save Mask>Load Mask from Disk.
Look for and load the mask 20.20
Layers>Duplicate.
Layers>Merge>Merge Group.
If you have opened the mask in PSP:
Layers>New Mask layer>From image
6. Open the tube deco 1 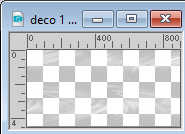
Edit>Copy.
Go back to your work and go to Edit>Paste as new layer.
Change the Blend Mode of this layer to Luminance (legacy) and reduce the opacity to 88%.
7. Edit>Copy Special>Copy Merged.
Edit>Paste as new layer.
Effects>Geometric Effects>Circle.
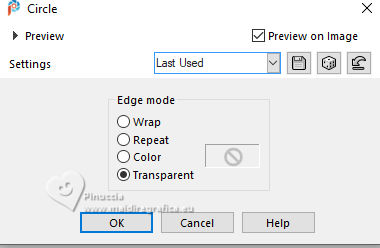
Layers>Load/Save Mask>Load Mask from Disk.
Load again the mask 20.20

Layers>Merge>Merge Group.
Effects>Image Effects>Seamless Tiling.
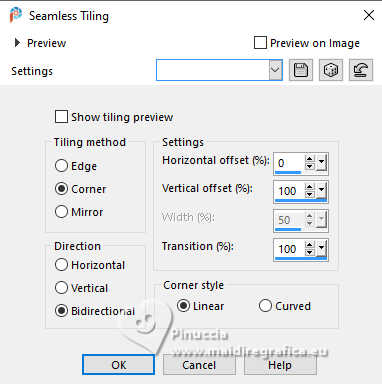
Layers>Arrange>Move Down.
9. Effects>Plugins>Carolaine and Sensibility
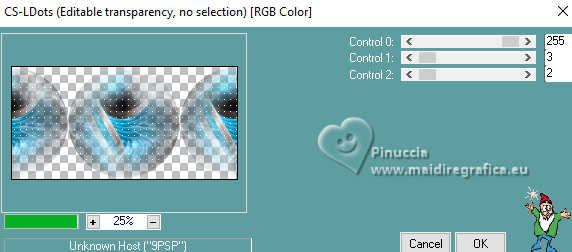
10. Activate again your top layer.
Layers>New Raster Layer.
Selections>Load/Save Selection>Load Selection from Alpha Channel.
The selection Sélection #1 is immediately available. You just have to click Load.
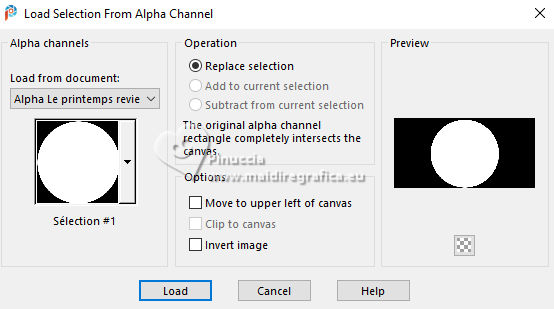
Open the misted printemps14-coly 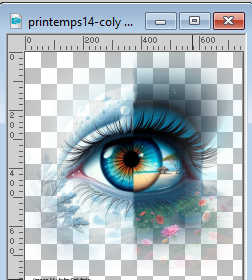
Erase the watermark and go to Edit>Copy.
Go back to your work and go to Edit>Paste into Selection.
Layers>Duplicate.
Layers>Merge>Merge Down.
11. Keep selected.
Effects>Plugins>Alien Skin Eye Candy 5 Impact - Glass.
Select the preset Clear and ok.
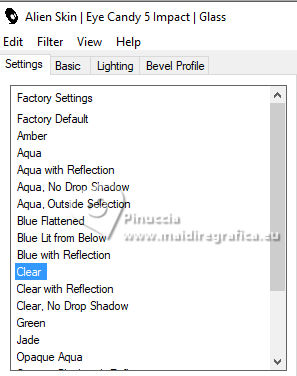
12. Selections>Modify>Select Selection Borders.
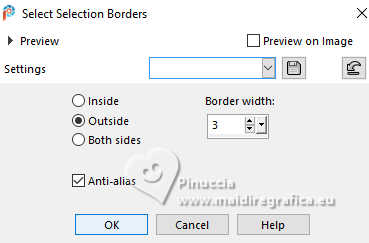
Flood Fill  the selection with your foreground color. the selection with your foreground color.
13. Effects>Texture Effects>Weave
Weave color: white
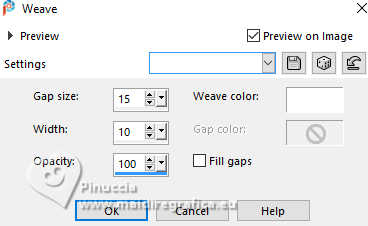
Effects>3D Effects>Inner Bevel.

Selections>Select All.
14. Layers>Duplicate.
Image>Resize, to 70%, resize all layers not checked.
K key to activate your Pick Tool 
Position X: -159,00 - Position Y: 69,00.

Layers>Duplicate.
Position X: 741,00 - Position Y: 69,00.

15. Open titre le printemps 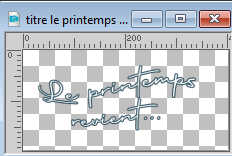
Edit>Copy.
Go back to your work and go to Edit>Paste as new layer.
Effects>3D Effects>Drop shadow, foreground color.
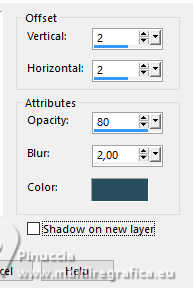
Move  the text at the upper left. the text at the upper left.
16. Activate your background layer.
Edit>Copy
17. Image>Add Borders, 1 pixel, symmetric, dark color.
Selections>Select All.
18. Image>Add Borders, 10 pixels, symmetric, color white.
Effects>3D Effects>Drop Shadow, foreground color.
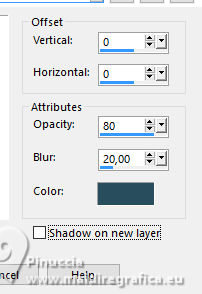
Selections>Select None.
19. Image>Add Borders, 1 pixel, symmetric, dark color.
Selections>Select All.
20. Image>Add borders, 25 pixels, symmetric, whatever color.
Selections>Invert.
Edit>Paste into Selection - your background in memory.
Selections>Invert.
Effects>3D Effects>Drop Shadow, color black.

Selections>Select None.
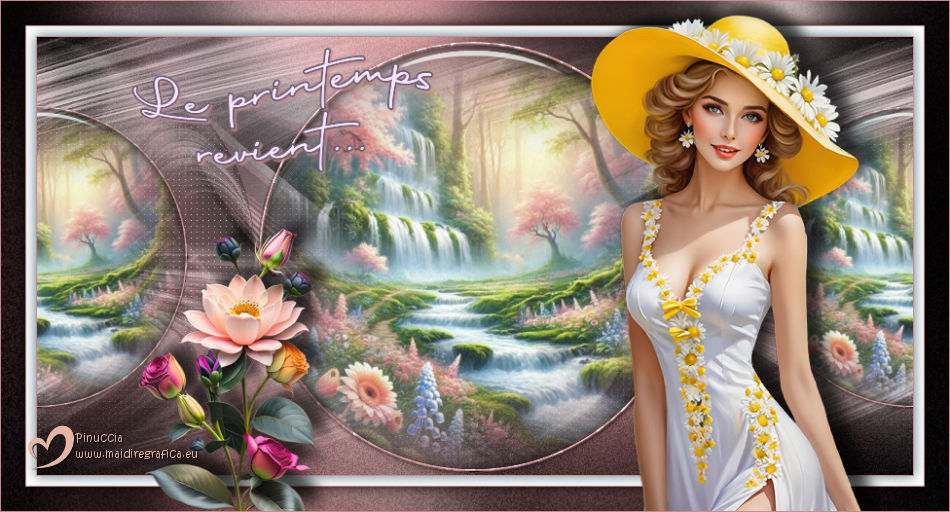
21. Open the woman's tube femme1014-coly 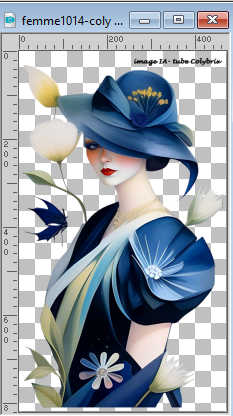
Erase the watermark and go to Edit>Copy.
Go back to your work and go to Edit>Paste as new layer.
Image>Resize, to 66%, resize all layers not checked.
Move  the tube to the right. the tube to the right.
Effects>3D Effects>Drop Shadow, color black.

22. Open the tube nature_fleurs16_tine_07.2021-490 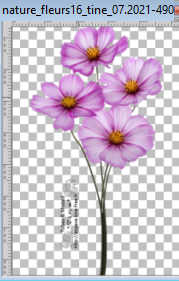
Erase the watermark and go to Edit>Copy.
Go back to your work and go to Edit>Paste as new layer.
Image>Resize, to 50%, resize all layers not checked.
Move  the tube at the bottom left. the tube at the bottom left.
Effects>3D Effects>Drop Shadow, same settings.

23. Image>Add Borders, 1 pixel, symmetric, dark color.
Sign your work and save as jpg.
For the tubes of this version thanks Laurette; the landscape is by ElFairy

If you have problems or doubts, or you find a not worked link, or only for tell me that you enjoyed this tutorial, write to me.
13 March 2025

|

