ROMINA


Thanks Colybrix for your invitation to translate

Clic and move the brush to follow the tutorial.

To print


|
This tutorial was translated with PSP09, but it can also be made using other versions of PSP.
Since version PSP X4, Image>Mirror was replaced with Image>Flip Horizontal,
and Image>Flip with Image>Flip Vertical, there are some variables.
In versions X5 and X6, the functions have been improved by making available the Objects menu.
In the latest version X7 command Image>Mirror and Image>Flip returned, but with new differences.
See my schedule here
 italian translation here italian translation here
 your versions here your versions here

Necessary

(The links of the tubemakers here).
consult, if necessary, my filter section here
L&K's - L&K's Djin here
Mehdi - Sorting Tiles here


Open the masks in PSP and minimize them with the rest of the material.
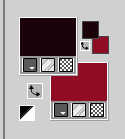
Set you foreground color to #1c050a,
and your background color to #8e0f24
1. Open a new transparent image 950 x 550 pixels.
Flood Fill  the transparent image with your foreground color. the transparent image with your foreground color.
2. Layers>New Raster Layer raster.
Selections>Select All.
Open the woman's tube femme1072-coly 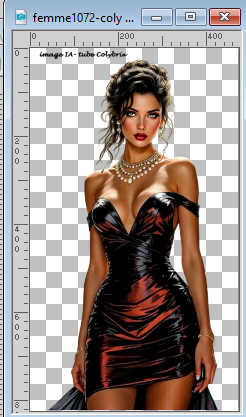
Erase the watermark and go to Edit>Copy.
Minimize the tube: you'll use it again
Go back to your work and go to Edit>Paste into Selection.
Selections>Select None.
3. Effects>Image Effects>Seamless Tiling, default settings.

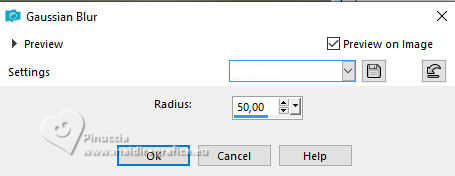
4. Adjust>Blur>Gaussian Blur - radius 50.
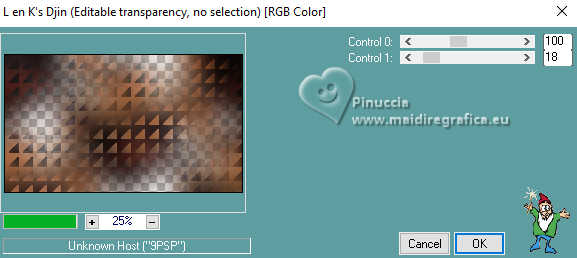
Effects>Plugins>L&K's - L&K's - Djin.
Layers>Merge>Merge Down.
Effects>Edge Effects>Enhance.
5. Layers>Duplicate.
Effects>Plugins>Mehdi - Sorting Tiles.
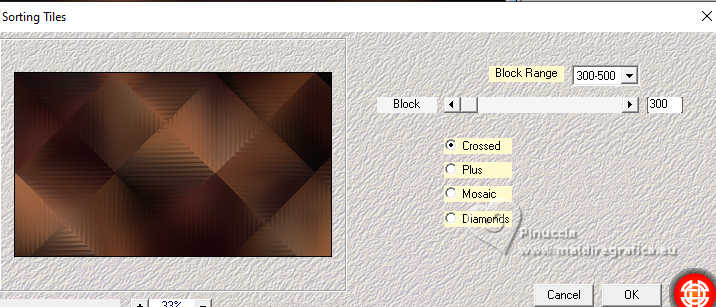
Effects>Edge Effects>Enhance.
Change the Blend Mode of this layer to Overlay and reduce the opacity to 65%.
Layers>Merge>Merge Down.
6. Open Love 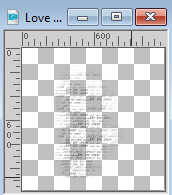
Edit>Copy.
Go back to your work and go to Edit>Paste as new layer.
Image>Resize, to 60%, resize all layers not checked.
Image>Negative Image.
Objects>Align>Left
(or move  the tube to the right side). the tube to the right side).
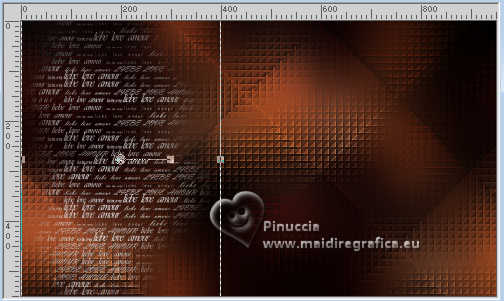
Change the Blend Mode of this layer to Luminance (legacy) and reduce the opacity to 70%.
7. Layers>New Raster Layer raster.
Flood Fill  the layer with your background color. the layer with your background color.
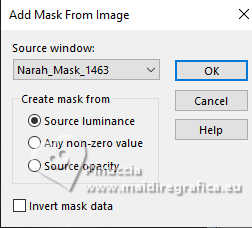
Layers>New Mask layer>From image
Open the menu under the source window and you'll see all the files open.
Select the mask Narah_Mask_1463
Effects>Edge Effects>Enhance.
Layers>Merge>Merge Group.
8. Layers>Duplicate.
Image>Mirror>Mirror Horizontal (Image>Mirror).
Image>Mirror>Mirror Vertical (Image>Flip).
Layers>Merge>Merge Down.
in her second version, Colybrix did:
Adjust>One Step Photo Fix (to lighten the image a little).
9. Set your foreground color to white.
Layers>New Raster Layer raster.
Flood Fill  the layer with color white. the layer with color white.
Layers>New Mask layer>From image
Open the menu under the source window
and select the mask Narah_Mask_1500
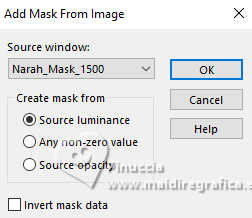
Effects>Edge Effects>Enhance.
Layers>Merge>Merge Group.
10. Image>Mirror>Mirror Horizontal (Image>Mirror).
Change the Blend Mode of this layer to Luminance (legacy) and reduce the opacity to 70%.
11. Open the tube Lettre coly 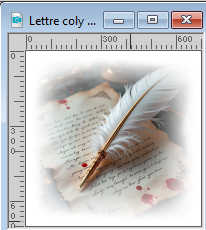
Edit>Copy.
Go back to your work and go to Edit>Paste as new layer.
Image>Resize, to 75%, resize all layers not checked.
Move  Move the tube a little further to the left. Move the tube a little further to the left.

12. Open the tube Riet 1202 tekst Dream_ 080625 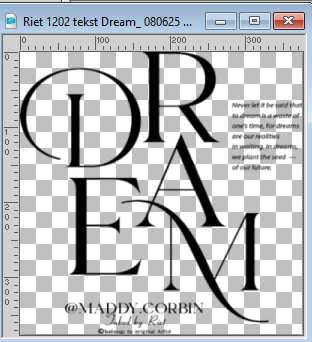
Erase the watermark and go to Edit>Copy.
Go back to your work and go to Edit>Paste as new layer.
Image>Negative Image.
Image>Resize, to 75%, resize all layers not checked.
Move  the tube at the upper left. the tube at the upper left.

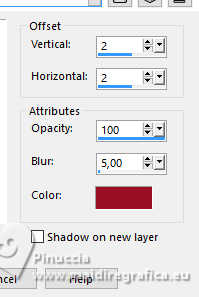
Effects>3D Effects>Drop Shadow, background color.
13. Activate your bottom layer.
Edit>Copy
14. Set your foreground color to the initial color #1c050a.
Image>Add Borders, 2 pixels, symmetric, foreground color.
15. Selections>Select All.
Image>Add Borders, 10 pixels, symmetric, foreground color.
Selections>Invert.
Modifica>Paste into Selection
16. Effects>3D Effects>Drop Shadow.
17. Selections>Select All.
Image>Add Borders, 10 pixels, symmetric, color white.
Effects>3D Effects>Drop Shadow, background color.
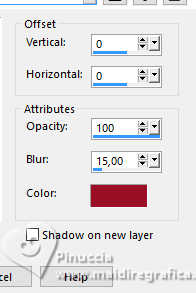
18. Selections>Invert.
Adjust>Add/Remove Noise>Add Noise.
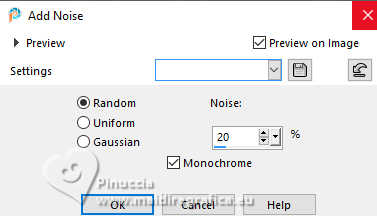
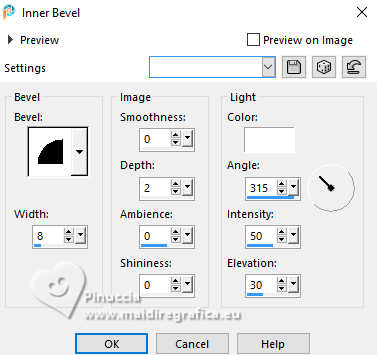
Adjust>Sharpness>sharpen.
19. Selections>Select All.
Image>Add Borders, 20 pixels, symmetric, foreground color.
Effects>3D Effects>Drop Shadow, background color.

Edit>Repeat Drop shadow.
Selections>Select None.
20. Activate again the woman's tube and go to Edit>Copy.
Go back to your work and go to Edit>Paste as new layer.
Image>Resize, to 78%, resize all layers not checked.
Move  the tube to the right side. the tube to the right side.
Effects>3D Effects>Drop Shadow, color black (or at your choice).
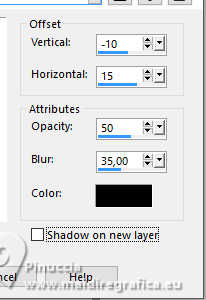
21. Sign your work.
Image>Add Borders, 1 pixel, symmetric, foreground color.
Image>Resize, 950 pixels width, resize all layers checked.
Save as jpg.
Version with my tubes from images de Pinterest


If you have problems or doubts, or you find a not worked link, or only for tell me that you enjoyed this tutorial, write to me.
11 August 2025

|

