SAINT VALENTIN 2024

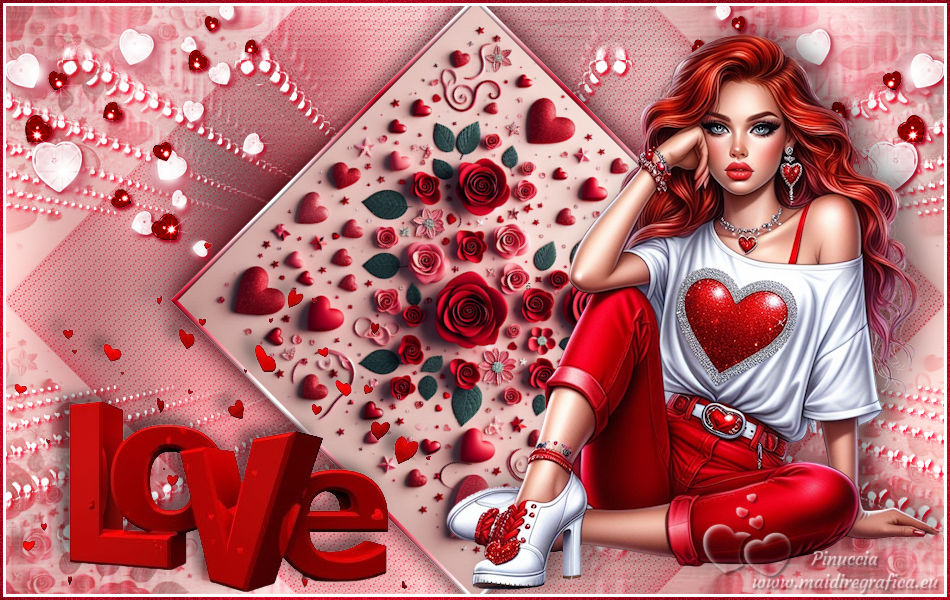
Thanks Colybrix for your invitation to translate

Clic and move the brush to follow the tutorial.

To print


|
This tutorial was translated with PSPX and PSPX3, but it can also be made using other versions of PSP.
Since version PSP X4, Image>Mirror was replaced with Image>Flip Horizontal,
and Image>Flip with Image>Flip Vertical, there are some variables.
In versions X5 and X6, the functions have been improved by making available the Objects menu.
In the latest version X7 command Image>Mirror and Image>Flip returned, but with new differences.
See my schedule here
 italian translation here italian translation here
 your versions here your versions here

Necessary

For the tubes thanks Kamil
(The links of the tubemakers here).
Additional Knollings images provided
Knolling is a photography technique that involves arranging objects in an orderly and symmetrical manner on a flat surface.
Objects are usually aligned at right angles to each other,
and each object is photographed so that all objects are clearly visible.
This technique is often used to photograph tools, office supplies, toys, and other similar objects.
consult, if necessary, my filter section here
Filters Unlimited 2.0 here
Graphics Plus - Cross Shadow here
Filters Graphics Plus can be used alone or imported into Filters Unlimited.
(How do, you see here)
If a plugin supplied appears with this icon  it must necessarily be imported into Unlimited it must necessarily be imported into Unlimited

You can change Blend Modes according to your colors.
In the newest versions of PSP, you don't find the foreground/background gradient (Corel_06_029).
You can use the gradients of the older versions.
The Gradient of CorelX here

Open the mask in PSP and minimize it with the rest of the material.
Set your foreground color to #b00721,
and your background color to white #ffffff
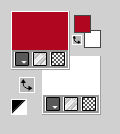
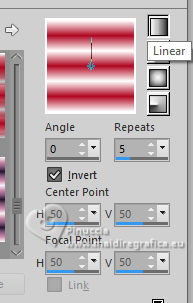
Set your foreground color to a Foreground/Background Gradient, style Linear.
1. Open Alpha Saintvalentin24
Window>Duplicate or, on the keyboard, shift+D to make a copy.

Close the original.
The copy, that will be the basis of your work, is not empty,
but contains a selection saved to alpha channel.
Selections>Select All.
Open your jpg image Knolling AI 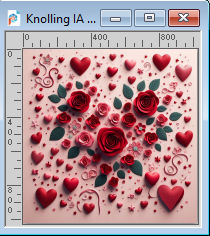
Edit>Copy.
Go back to your work and go to Edit>Paste into Selection.
Selections>Select None.
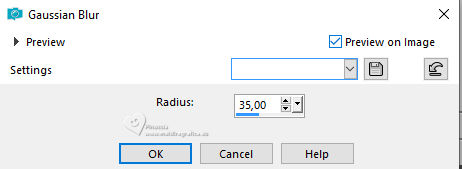
Adjust>Blur>Gaussian Blur - radius 35.
2. Edit>Paste as new layer (the image knolling is still in memory).
Image>Resize, to 42%, resize all layers not checked.
Image>Free Rotate, 45 degrees to right.

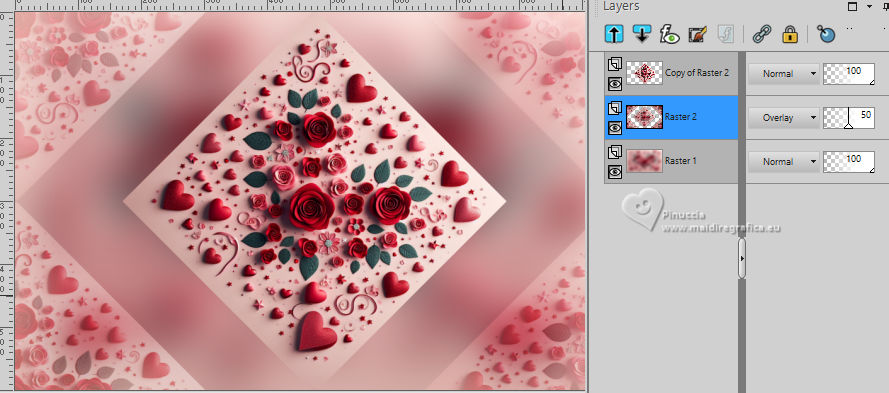
3. Layers>Duplicate.
Activate the layer below, Raster 2.
Effects>Image Effects>Seamless Tiling, default settings.

Change the Blend Mode of this layer to Overlay and reduce the opacity to 50%.
(or according to your colors: in my second version I reduced the opacity to 85%).
4. Activate your bottom layer, Raster 1.
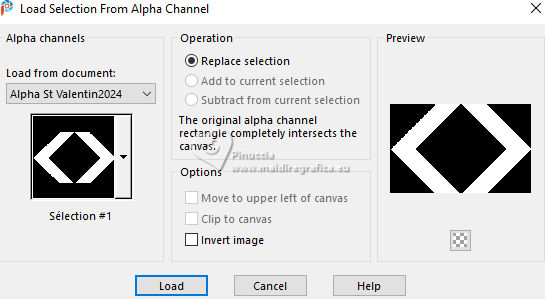
Selections>Load/Save Selection>Load Selection from Alpha Channel.
The selection sélection 1 is immediately available.
You just have to click Load.
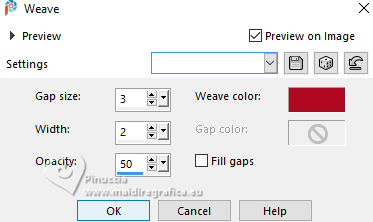
5. Effects>Texture Effects>Weave
weave color: foreground color
Selections>Select None.
Effects>Plugins>Graphics Plus - Cross Shadow
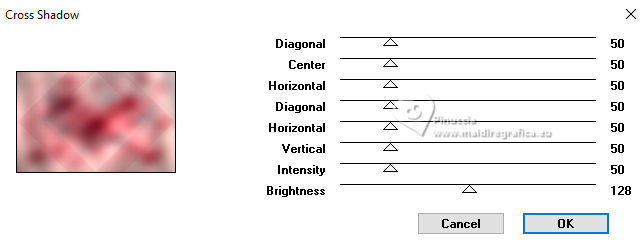
6. Activate again the layer Raster 2.
Effects>3D Effects>Drop Shadow, foreground color.
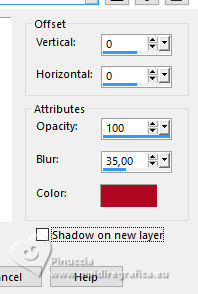
7. Activate your top layer, Copy of Raster 2.
Selections>Select All.
Selections>Float.
Selections>Defloat.
Selections>Modify>Select Selection Borders.
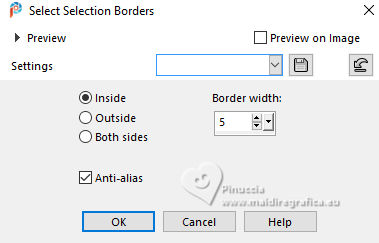
Flood Fill  the selection with your Linear Gradient. the selection with your Linear Gradient.
8. Effects>3D Effects>Inner Bevel.
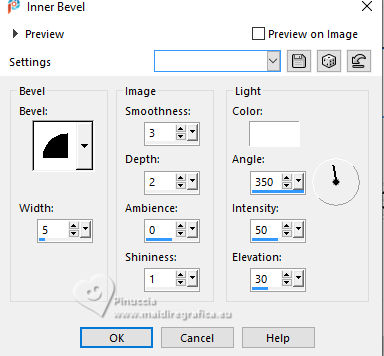
Selections>Select None.
Effects>3D Effects>Drop Shadow, color black.

9. Activate again the layer Raster 2.
Layers>New Raster Layer.
Flood Fill  the layer with your white background color. the layer with your white background color.
Layers>New Mask layer>From image
Open the menu under the source window and you'll see all the files open.
Select the mask NarahsMasks_1727
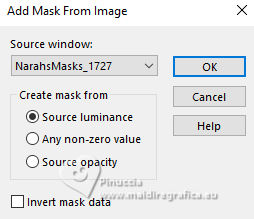
Effects>Edge Effects>Enhance.
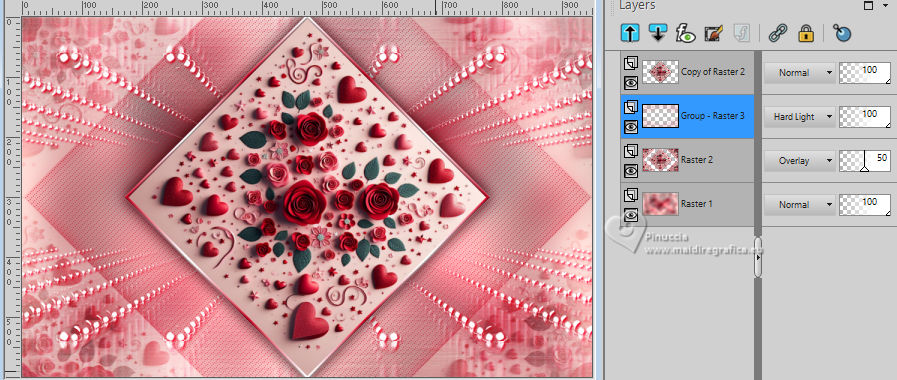
Layers>Merge>Merge Group.
Effects>3D Effects>Drop shadow, foreground color.
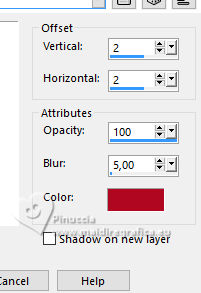
Change the Blend Mode of this layer to Hard Light.
10. Open the tube déco coeur 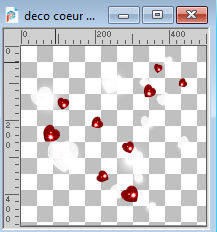
Edit>Copy.
Go back to your work and go to Edit>Paste as new layer.
Layers>Arrange>Move up.
Image>Resize, to 60%, resize all layers not checked.
K key to activate your Pick Tool 
and set Position X and Y 0,00.

11. Layers>Duplicate.
Image>Mirror.
Layers>Merge>Merge Down.
Effects>3D Effects>Drop Shadow, same settings.

Layers>Duplicate.
12. Open the tube Texte Love Shawnee 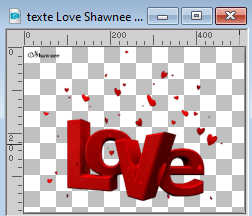
Erase the watermark and go to Edit>Copy.
Go back to your work and go to Edit>Paste as new layer.
Move  the text at the bottom left. the text at the bottom left.
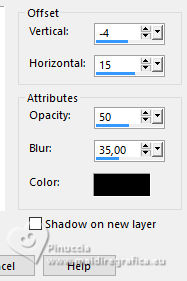
Effects>3D Effects>Drop Shadow, color black.

13. Open the woman's tube aigenbycaz_valentine(19) 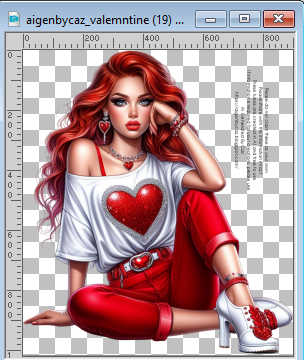
Erase the watermark and go to Edit>Copy.
Go back to your work and go to Edit>Paste as new layer.
Image>Mirror>Mirror horizontal (Image>Mirror)
Image>Resize, to 55%, resize all layers not checked.
Move  the tube to the right side. the tube to the right side.
Effects>3D Effects>Drop shadow, color black.
14. Layers>New Raster Layer.
Selections>Select All.
Set your foreground color to Color.
Flood Fill  the layer with your foreground color. the layer with your foreground color.
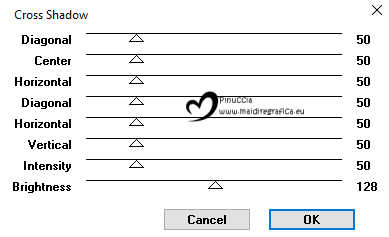
Effects>Plugins>Graphics Plus - Cross Shadow, same settings.
Adjust>Add/Remove Noise>Add Noise.
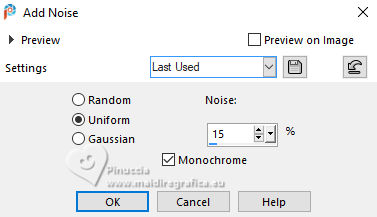
15. Selections>Modify>Contract - 3 pixels.
Flood Fill  the layer with your white background color. the layer with your white background color.
Selections>Modify>Contract - 3 pixels.
Press CANC on the keyboard 
Selections>Select None.
16. Sign your work.
Check that all is ok.
Layers>Merge>Merge All and save as jpg.
For the tubes of this version thanks Aigenbycaz and Saskia


If you have problems or doubts, or you find a not worked link, or only for tell me that you enjoyed this tutorial, write to me.
2 Février 2024

|

