UN AIR DE PRINTEMPS

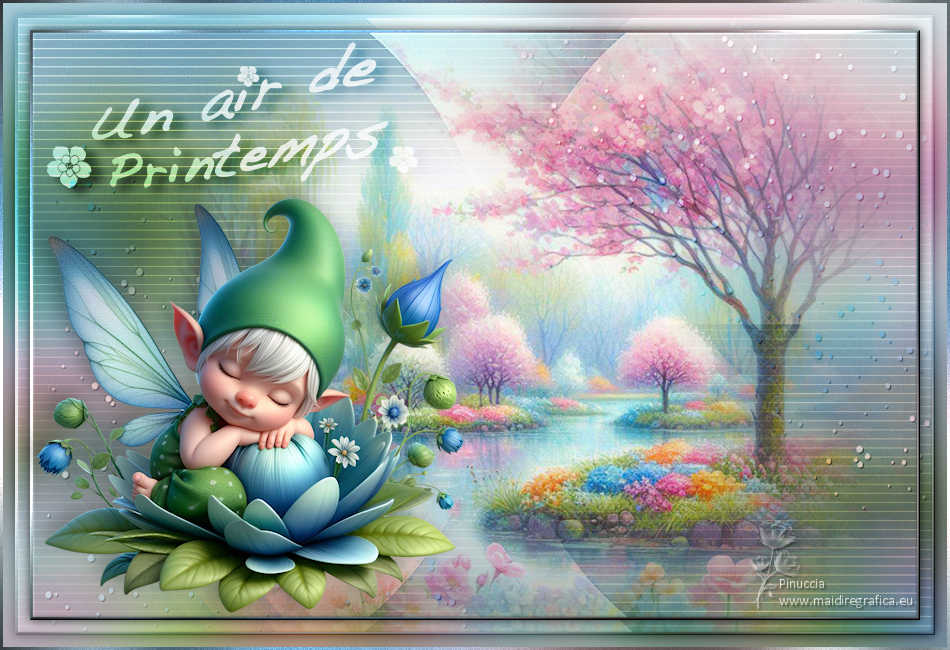
Thanks Colybrix for your invitation to translate

Clic and move the brush to follow the tutorial.

To print


|
This tutorial was translated with PSP09, but it can also be made using other versions of PSP.
Since version PSP X4, Image>Mirror was replaced with Image>Flip Horizontal,
and Image>Flip with Image>Flip Vertical, there are some variables.
In versions X5 and X6, the functions have been improved by making available the Objects menu.
In the latest version X7 command Image>Mirror and Image>Flip returned, but with new differences.
See my schedule here
 italian translation here italian translation here
 your versions here your versions here

Necessary

(The links of the tubemakers here).
consult, if necessary, my filter section here
Filters Unlimited 2.0 here
Mehdi - Wavy Lab 1.1 here
AP [Lines] - Lines SilverLining here
Graphics Plus - Cross Shadow here
Filters Grapphics Plus can be used alone or imported into Filters Unlimited.
(How do, you see here)
If a plugin supplied appears with this icon  it must necessarily be imported into Unlimited it must necessarily be imported into Unlimited

You can change Blend Modes according to your colors.

Open the masks in PSP and minimize them with the rest of the material.
Set your foreground color to #56809f,
and your background color to #c9d9de.
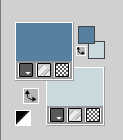
Color 3 #efc8ca 
1. Open a new transparent image 950 x 650 pixels.
Selections>Select All.
Open your background image fond 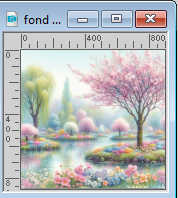
Edit>Copy.
Go back to your work and go to Edit>Paste into Selection.
Adjust>Blur>Gaussian Blur - radius 30.

Selections>Select None.
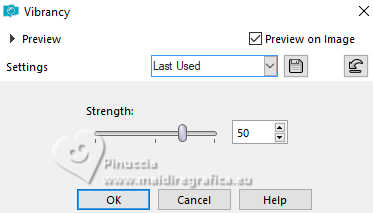
2. Adjust>Hue and Saturation>Vibrancy.
(adapt according to your image; this effect serves to accentuate the colors)
3. Open the misted mist fond 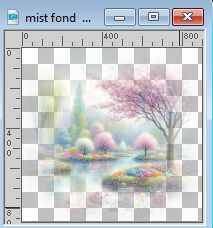
Edit>Copy.
Go back to your work and go to Edit>Paste as new layer.
to create the misted, I used the mask mini on the background image,
and duplicate the mask before to merge
Image>Resize, to 90%, resize all layers not checked.
Move  this image to the right. this image to the right.
Adjust>Hue and Saturation>Vibrancy, same settings.

4. Layers>New Raster Layer.
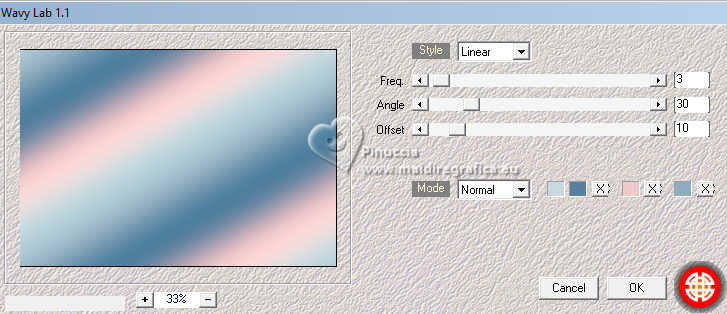
Effects>Plugins>Mehdi - Wavy Lab 1.1
This filter creates gradients with the colors of your Materials palette.
The first is your background color, the second is your foreground color.
Of the last two colors created by the filtre, change the third color with color 3 #efc8ca
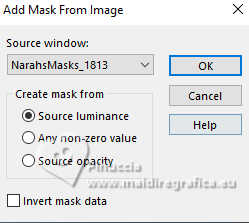
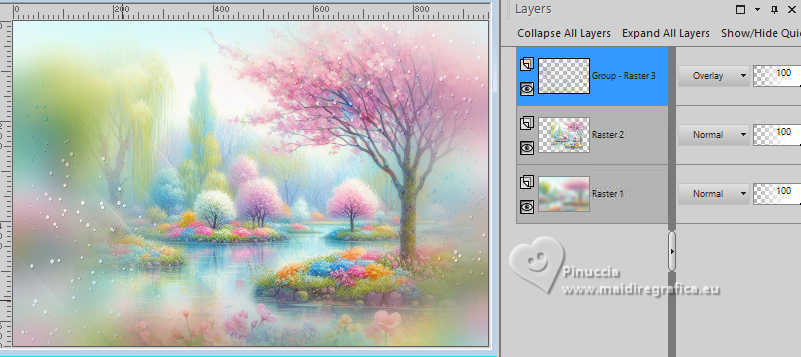
5. Layers>New Mask layer>From image
Open the menu under the source window and you'll see all the files open.
Select the mask NarahsMasks_1813
Effects>Edge Effects>Enhance.
Layers>Merge>Merge group.
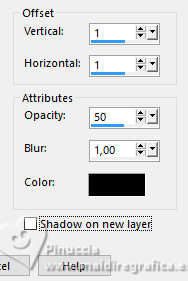
Effects>3D Effects>Drop Shadow, color black.
Change the Blend Mode of this layer to Overlay.
6. Activate the layer Raster 1.
Layers>New Raster Layer.
Flood Fill  the layer with your foreground color. the layer with your foreground color.
Layers>New Mask layer>From image
Open the menu under the source window
and select the mask NarahsMasks_1815
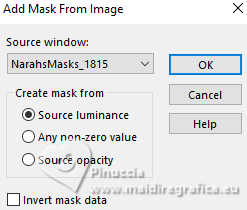
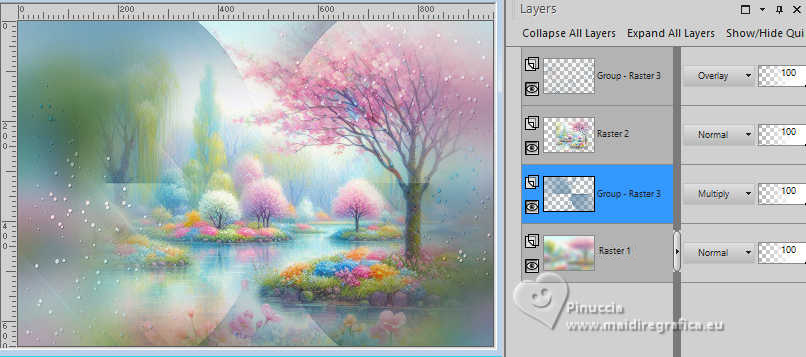
Effects>Edge Effects>Enhance.
Layers>Merge>Merge Group.
Change the Blend Mode of this layer to Multiply.
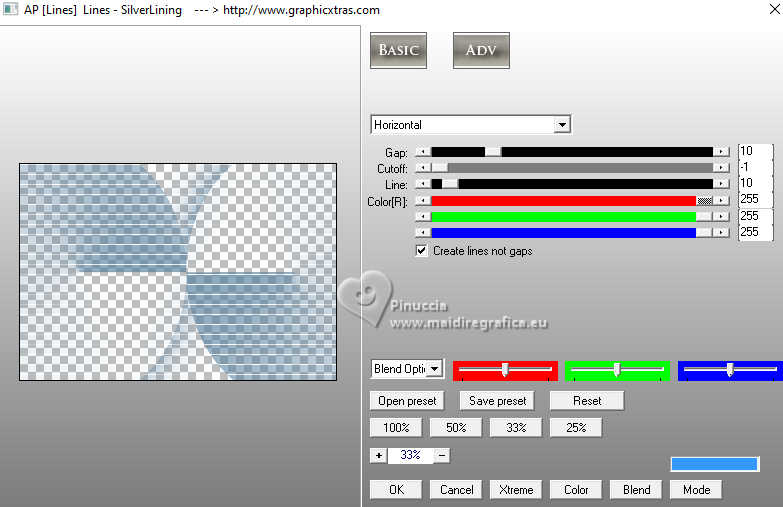
7. Effects>Plugins>AP [LinesS - Lines SilverLining.
8. Activate again your top layer.
Layers>New Raster Layer.
Effects>Plugins>Mehdi - Wavy Lab 1.1., same settings.

Adjust>Blur>Gaussian Blur, same settings.

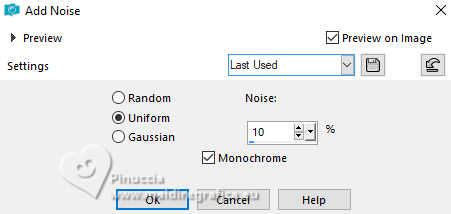
Adjust>Add/Remove Noise>Add Noise.
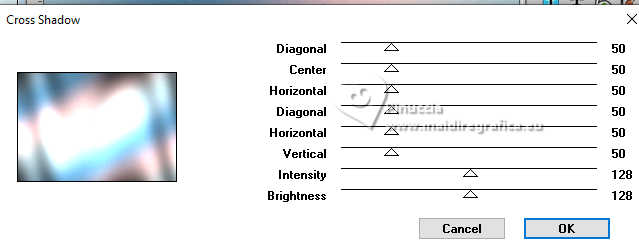
9. Effects>Plugins>Graphics Plus - Cross Shadow, default settings.
Selections>Select All.
Selections>Modify>Contract - 3 pixels.
Press CANC on the keyboard 
Selections>Select None.
10. Edit>Copy Special>Copy Merged
Close your top layer, Raster 3 and activate one of the other layers.
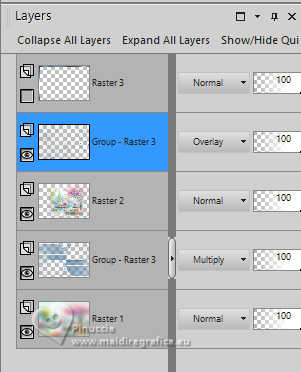
Layers>Merge>Merge visible.
Adjust>Blur>Gaussian Blur - same settings.
11. Open and activate your top layer.
Selections>Select All.
Selections>Modify>Contract - 15 pixels.
12. Layers>New Raster Layer.
Edit>Paste into Selection
Effects>3D Effects>Inner Bevel.
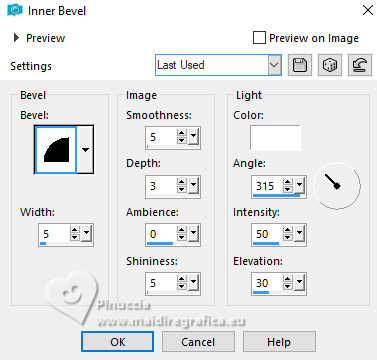
Effects>3D Effects>Drop Shadow, color black.
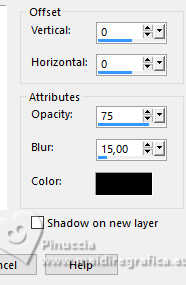
Change the Blend Mode of this layer to Overlay and reduce the opacity to 80%.
Keep selected.
13. Layers>New Raster Layer.
Selections>Modify>Contract - 15 pixels.
Edit>Paste into Selection (the image is always in memory).
Effects>3D Effects>Inner Bevel, same settings.

Effects>3D Effects>Drop Shadow, same settings.

Selections>Select None.
14. Open the tube Titre noir 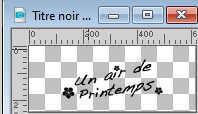
Edit>Copy.
Go back to your work and go to Edit>Paste as new layer.
Move  the text at the upper left, or to your liking. the text at the upper left, or to your liking.
Image>Negative image.
Effects>3D Effects>Drop Shadow, color black.

Change the Blend Mode of this layer to Overlay, and reduce the opacity to 75%.
15. Open your main tube ELE 8 NO BACK 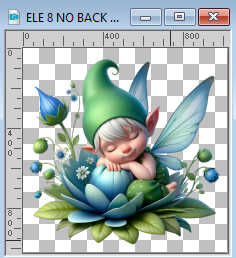
Edit>Copy.
Go back to your work and go to Edit>Paste as new layer.
Image>Resize, to 45%, resize all layers not checked.
Image>Mirror>Mirror horizontal (Image>Mirror).
Move  the tube at the bottom left, or to your liking. the tube at the bottom left, or to your liking.
Effects>3D Effects>Drop Shadow, color black.

16. Sign your work on a new layer.
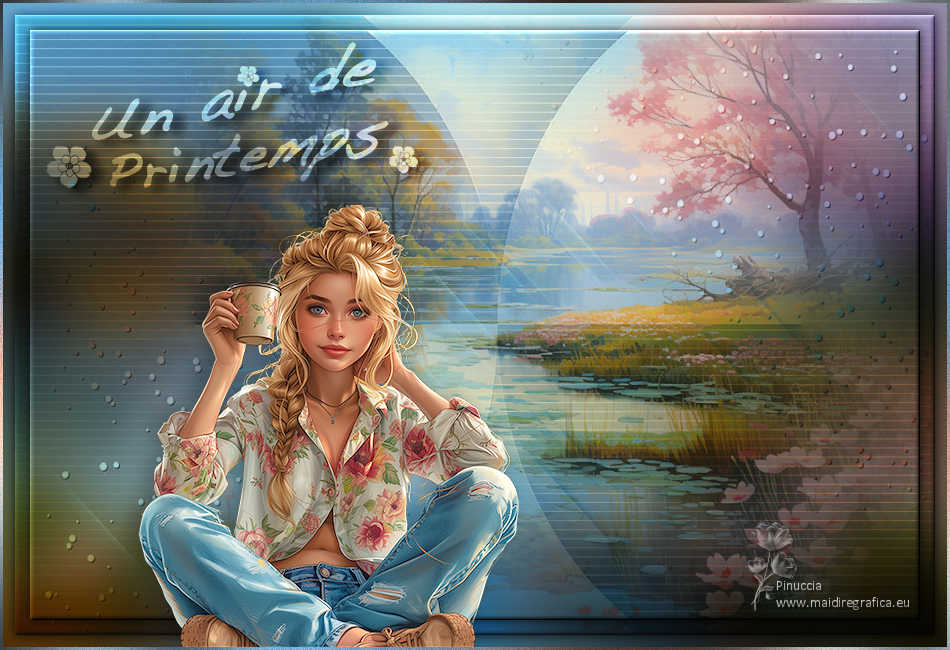
Layers>Merge>Merge All and save as jpg.
For the tubes of this version thanks Adrienne

If you have problems or doubts, or you find a not worked link, or only for tell me that you enjoyed this tutorial, write to me.
6 March 2024

|

