AUTUMN 2024

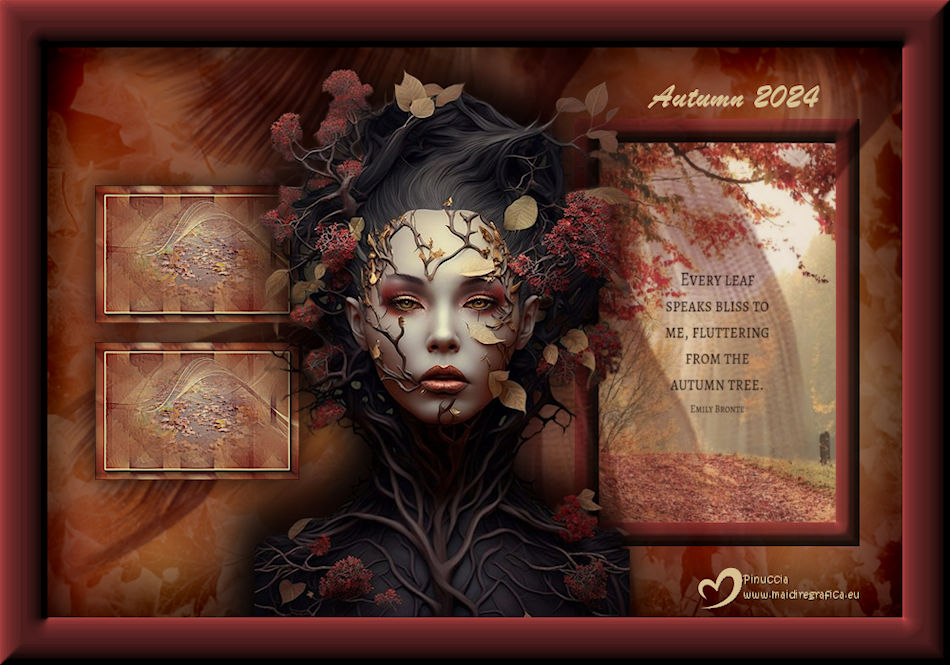
Thanks Annie for your invitation to translate

Clic and move the brush to follow the tutorial.

To print


|
This tutorial was translated with PSPX9 and PSP2020, but it can also be made using other versions of PSP.
Since version PSP X4, Image>Mirror was replaced with Image>Flip Horizontal,
and Image>Flip with Image>Flip Vertical, there are some variables.
In versions X5 and X6, the functions have been improved by making available the Objects menu.
In the latest version X7 command Image>Mirror and Image>Flip returned, but with new differences.
See my schedule here
 italian translation here italian translation here
 french translation here french translation here
 your versions here your versions here
Necessary

For the tube and the mask thanks Béas and Narah.
(The links of the tubemakers here).

consult, if necessary, my filter section here
AAA Frames - Foto Frame here


Open the mask in PSP and minimize it with the rest of the material.
1. Open a new transparent image 650 x 500 pixels.
2. Set your foreground color to the light color #d7c192
and your background color to the dark color #702a2a.
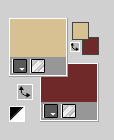
Flood Fill  the transparent image with your foreground color. the transparent image with your foreground color.
3. Effects>Image Effects>Offset - background color.
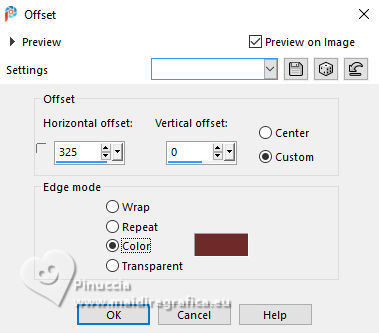 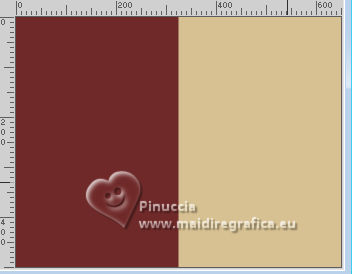
4. Effects>Image Effects>Seamless Tiling.
 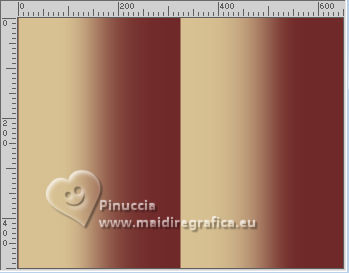
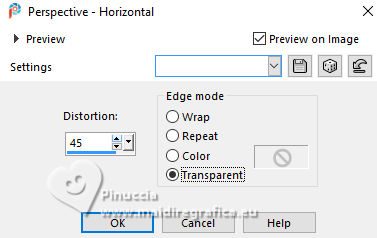
5. Layers>Duplicate.
Effects>Geometric Effects>Perspective Horizontal.
6. Effects>3D Effects>Drop Shadow, color black.

7. Change the Blend Mode of this layer to Soft Light.
Layers>Merge>Merge Down.
8. Layers>Duplicate.
Image>Mirror>Mirror horizontal.
9. Change the Blend Mode of this layer to Multiply and reduce the opacity to 50%.
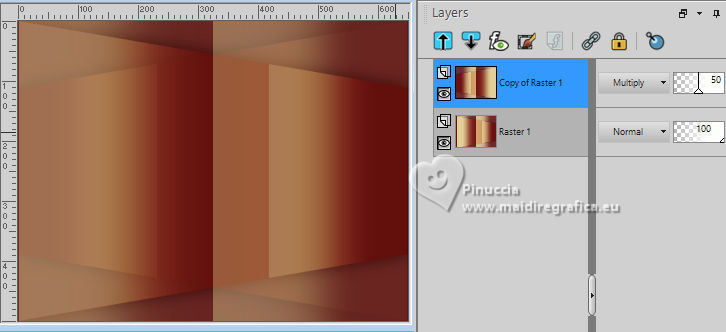
Layers>Merge>Merge Down.
Effects>Edge Effects>Enhance More.
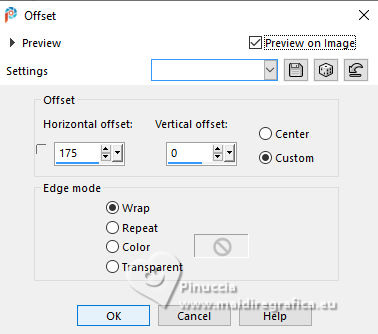
10. Effects>Image Effects>Offset.
11. Layers>Duplicate.
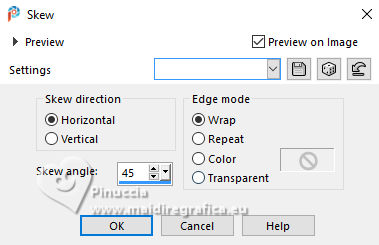
Effects>Geometric Effects>Skew.
12. Reduce the opacity of this layer to 50%.
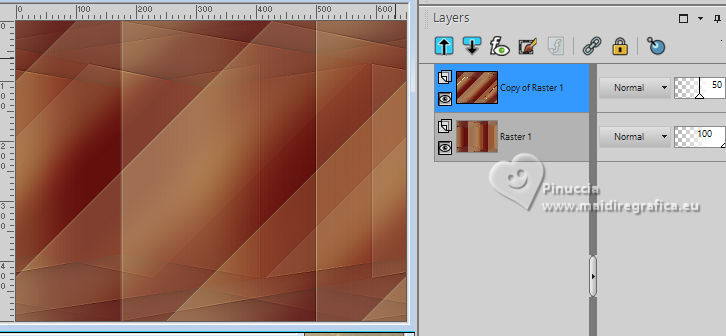
Layers>Merge>Merge Down.
13. Layers>Duplicate.
Effects>Art Media Effects>Brush Strokes - foreground color.

14. Reduce the opacity of this layer to 60%.
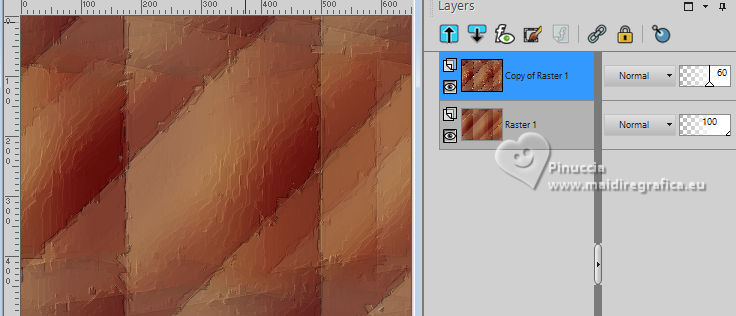
Image>Mirror>Mirror Horizontal.
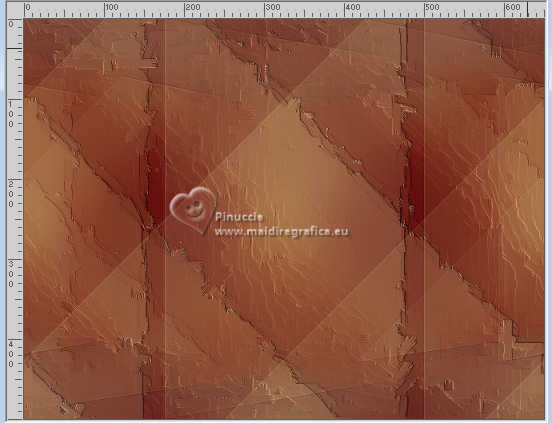
15. Selections>Select All.
Image>Add borders, symmetric not checked, background color.
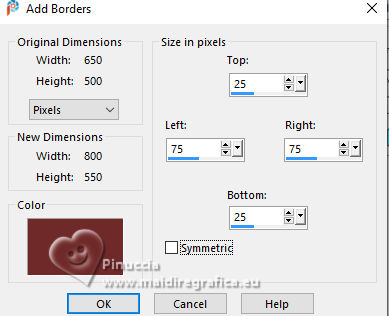
16. Effects>Image Effects>Seamless Tiling, same settings, but Bidirectional checked (standard).

17. Effects>3D Effects>Drop Shadow, same settings.
Selections>Select None.
18. Effects>Image Effects>Seamless Tiling, same settings.

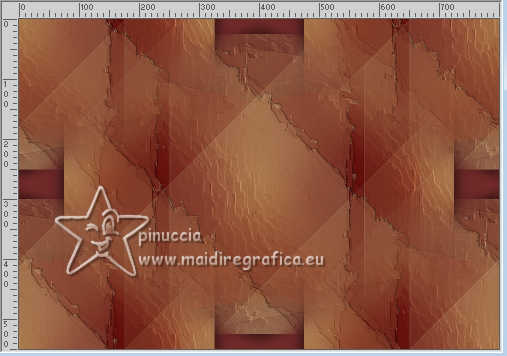
19. Selections>Select All.
Image>Add borders, symmetric not checked, foreground color.
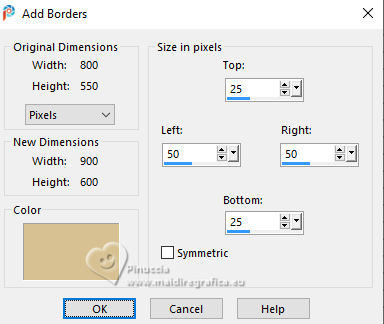
20. Effects>Image Effects>Seamless Tiling, same settings.

21. Selections>Invert.
Adjust>Blur>Gaussian Blur - radius 20

22. Effects>Art Media Effects>Brush Strokes, same settings.

23. Effects>3D Effects>Drop Shadow, same settings.
Selections>Select None.
24. Effects>Image Effects>Seamless Tiling.

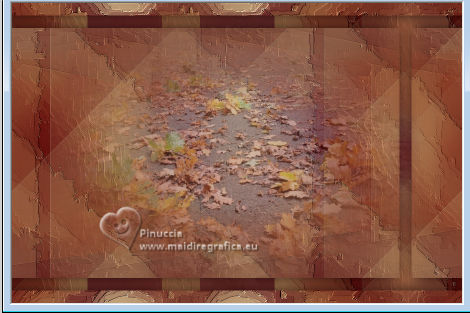
25. Open the tube autumn 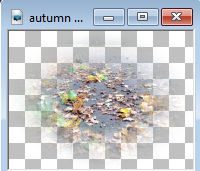
Edit>Copy.
Go back to your work and go to Edit>Paste as new layer.
Reduce the opacity of this layer to 50%.
26. Layers>New Raster Layer.
Flood Fill  the layer with your foreground color. the layer with your foreground color.
27. Layers>New Mask Layers>From image
Open the menu under the source window and you'll see all the files open.
Select the mask Narah_Mask_1341.
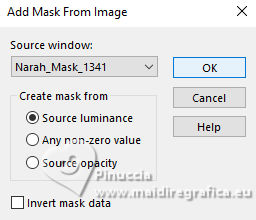
Layers>Merge>Merge Group.
Effects>Edge Effects>Enhance More.
28. Layers>Merge>Merge visible.
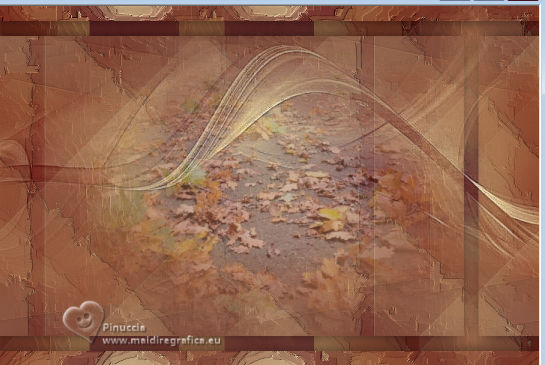
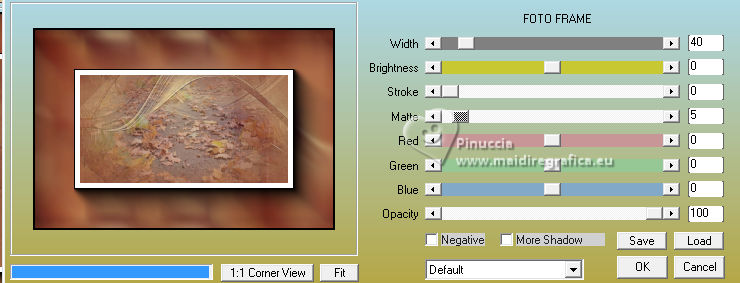
29. Effects>Plugins>AAA Frames - Foto Frame.
***********
If you don't have or don't want to use the Filter:
Selections>Select All.
Selections>Modify>Contract - 40 pixels.
Selections>Invert
Adjust>Blur>Gaussian Blur - radius 10

Selections>Invert.
Effects>3D Effects>Drop Shadow, same settings.
Selections>Modify>Select Selection Borders.
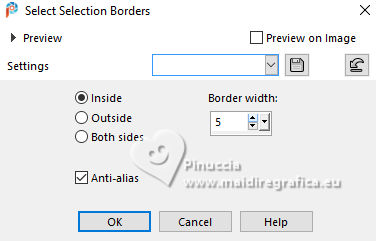
Go to the step 31.
**********
30. If you didn't use the filter:
Activate your Magic Wand Tool  , tolerance 20, , tolerance 20,

Click on the white border to select it.
31. Flood Fill  the selection with your foreground color. the selection with your foreground color.
Selections>Select None.
32. Edit>Copy
the image must remain in memory until step 40;
if you want, as a precaution, save it.
33. Adjust>Blur>Gaussian Blur - radius 20.

34. Layers>Duplicate.
Layers>New Mask Layers>From image
Open the menu under the source window
and select the mask cre@nnie-53
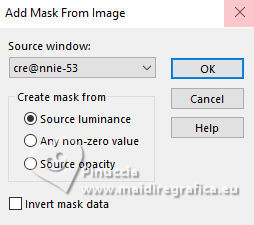
Layers>Merge>Merge Group.
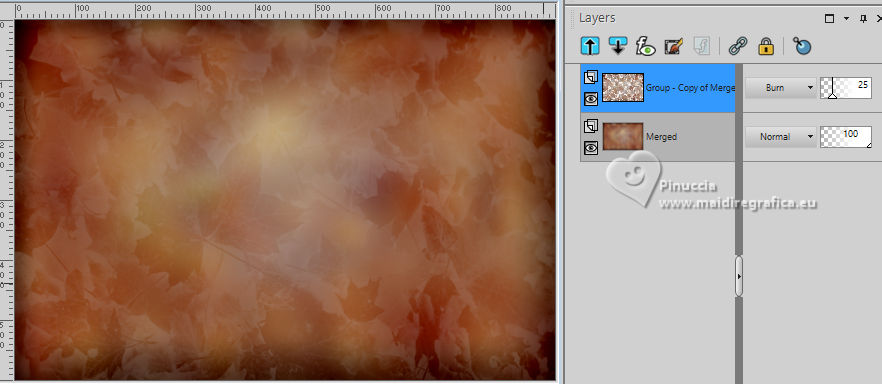
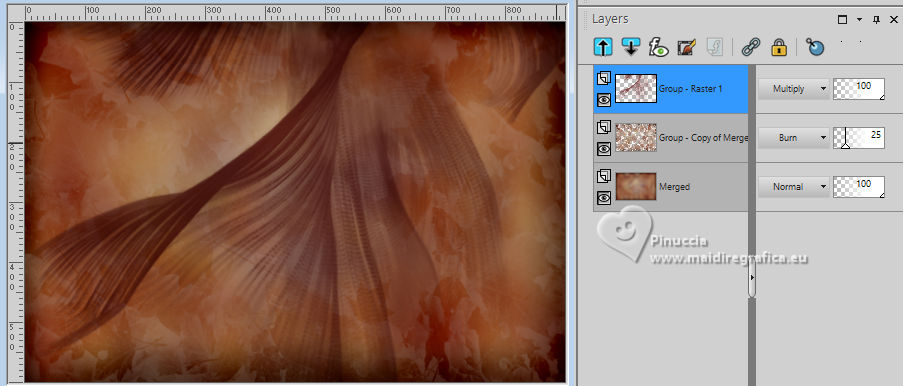
35. Change the Blend Mode of this layer to Burn and reduce the opacity to 25%.
You should have this
36. Layers>New Raster Layer.
Flood Fill  the layer with your background color. the layer with your background color.
37. Layers>New Mask Layers>From image
Open the menu under the source window
and select the mask Narah_Mask_1355
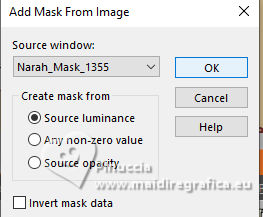
Layers>Merge>Merge Group.
38. Image>Mirror>Mirror vertical (Image>Flip).
Image>Mirror>Mirror horizontal.
Change the Blend Mode of this layer to Multiply.
39. Layers>New Raster Layer.
Selection Tool 
(no matter the type of selection, because with the custom selection your always get a rectangle)
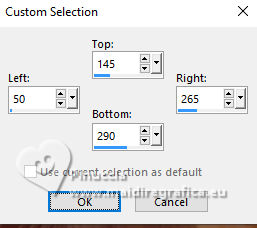
clic on the Custom Selection 
and set the following settings.
40.Edit>Paste into Selection
The image of step 32 is still in memory
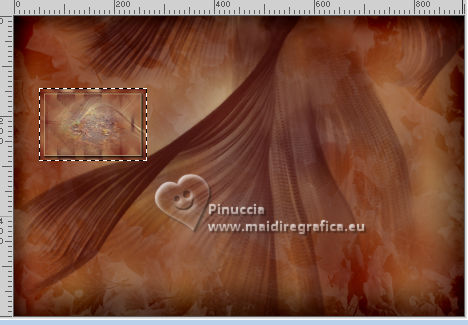
41. Adjust>Sharpness>Sharpen.
Selections>Select None.
42. Layers>Duplicate.
K key to activate your Pick Tool 
Position X: 50,00 - Position Y: 310,00.

43. Layers>Merge>Merge Down.
Effects>3D Effects>Drop Shadow, con i settaggi precedenti.
44. Layers>New Raster Layer.
Custom Selection 

45. Open the image plaatje everyleaf 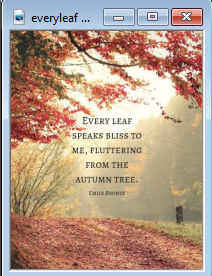
Edit>Copy.
Go back to your work and go to Edit>Paste into Selection.
46. Selections>Modify>Select Selection Borders.
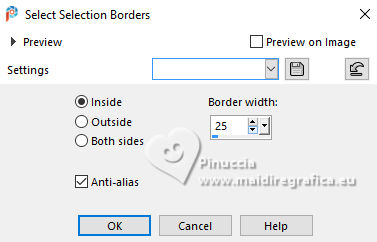
Flood Fill  the selection with your background color. the selection with your background color.
47. Effects>3D Effects>Inner Bevel.
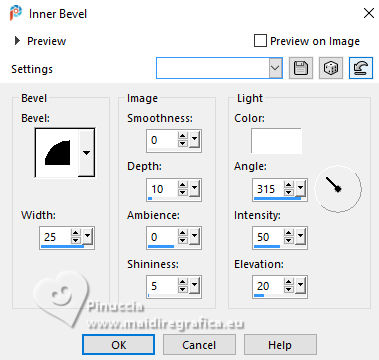
Selections>Select None.
48. Layers>Arrange>Move Down.
Edit>Repeat Move Layer Down.
Reduce the opacity of this layer to 80%.
49. Activate your top layer.
Open the tube woman_416_beas_tube 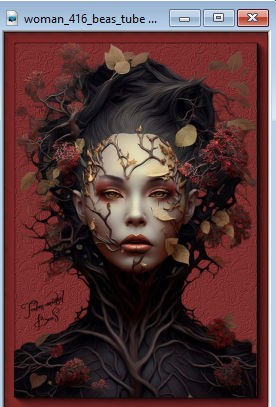
Edit>Copy.
Go back to your work and go to Edit>Paste as new layer.
Image>Resize, to 70%, resize all layers not checked.
50. K key to activate your Pick Tool 
Position X: 218,00 - Position Y: 23,00.

51. Layers>Duplicate.
Adjust>Blur>Gaussian Blur, same settings.
52. Change the Blend Mode of this layer to Multiply.
Layers>Arrange>Move Down.
53. Adjust>Blur>Motion Blur.
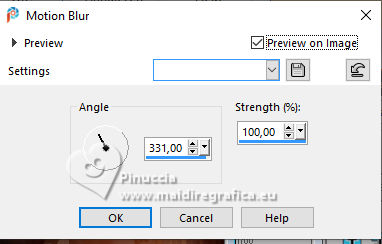
54. Open tekst-autumn-2024 
Edit>Copy.
Go back to your work and go to Edit>Paste as new layer.
Position X: 632,00 - Position Y: 39,00.

M key to deselect the Tool.
55. Sign your work on a new layer.
56. Selections>Select All.
Image>Add Borders, 50 pixels, symmetric, background color.
57. Selections>Invert.
Effects>3D Effects>Inner Bevel, same settings.

Selections>Select None.
58. Image>Resize, 800 pixels width, resize all layers checked.
Save as jpg.
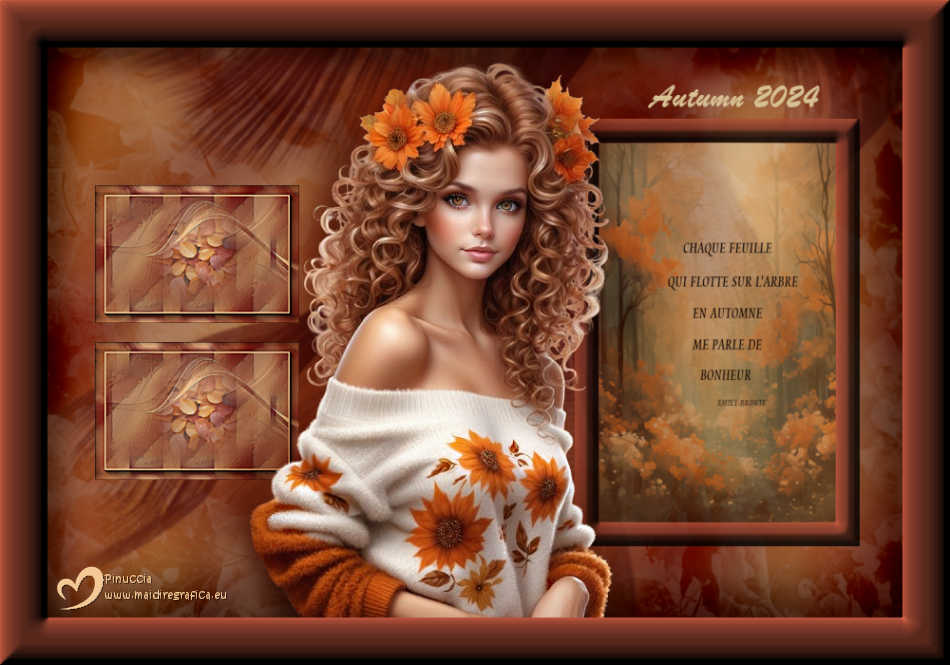
For the tube of this version thanks Cupcake

If you have problems or doubts, or you find a not worked link, or only for tell me that you enjoyed this tutorial, write to me.
19 September 2024

|

