QUIANA

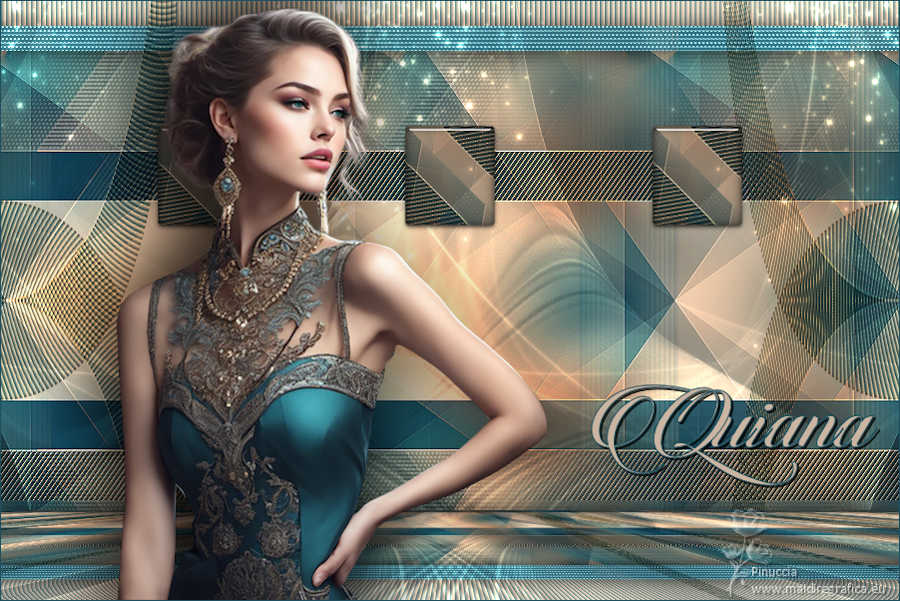
Thanks Annie for your invitation to translate

Clic and move the brush to follow the tutorial.

To print


|
This tutorial was translated with PSPX7 and PSPX2, but it can also be made using other versions of PSP.
Since version PSP X4, Image>Mirror was replaced with Image>Flip Horizontal,
and Image>Flip with Image>Flip Vertical, there are some variables.
In versions X5 and X6, the functions have been improved by making available the Objects menu.
In the latest version X7 command Image>Mirror and Image>Flip returned, but with new differences.
See my schedule here
 italian translation here italian translation here
 french translation here french translation here
 your versions here your versions here
Necessary

Thanks for the tube and the mask Lana and Narah.
(The links of the tubemakers here).

consult, if necessary, my filter section here
Filters Unlimited 2.0 here
Toadies - What are you, Weaver, Sucking Toad Bevel II.2 here
Simple - Half Wrap here
Simple - Left Right Wrap (Bonus) here
Filters Toadies and Simple can be used alone or imported into Filters Unlimited.
(How do, you see here)
If a plugin supplied appears with this icon  it must necessarily be imported into Unlimited it must necessarily be imported into Unlimited

You can change Blend Modes according to your colors.

Open the masks in PSP and minimize them with the rest of the material.
1. Open a new transparent image 650 x 500 pixels.
2. Set your foreground color with the light color #cab5a2
and your background color with the dark color #1f4f5e.

Flood Fill  the transparent image with your foreground color. the transparent image with your foreground color.
3. Selections>Select All.
Open the tube femme887-coly copie 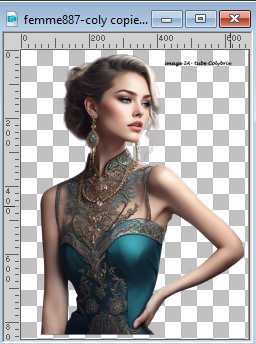
Erase the watermark and go to Edit>Copy.
Minimize the tube.
Go back to your work and go to Edit>Paste into Selection.
Selections>Select None.
4. Effects>Image Effects>Seamless Tiling, default settings.

5. Adjust>Blur>Gaussian Blur - radius 40.

6. Effects>Image Effects>Offset - background color.
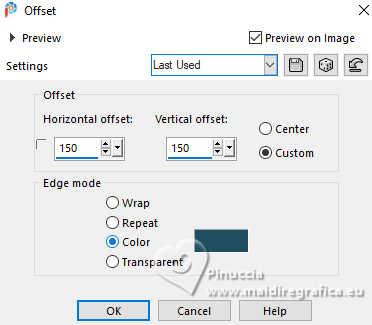
7. Effects>Image Effects>Seamless Tiling, same settings
 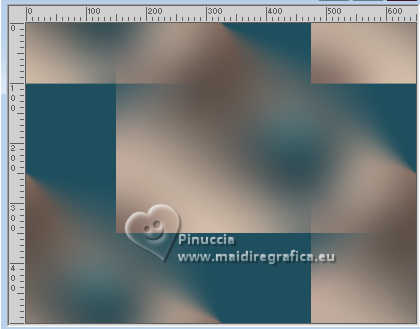
Effects>Edge Effects>Enhance More.
8. Layers>Duplicate.
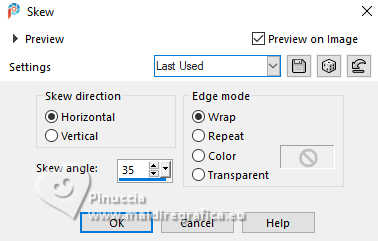
Effects>Geometric Effects>Skew.
9. Layers>Duplicate.
Image>Mirror.
Change the Blend Mode of this layer to Soft Light.
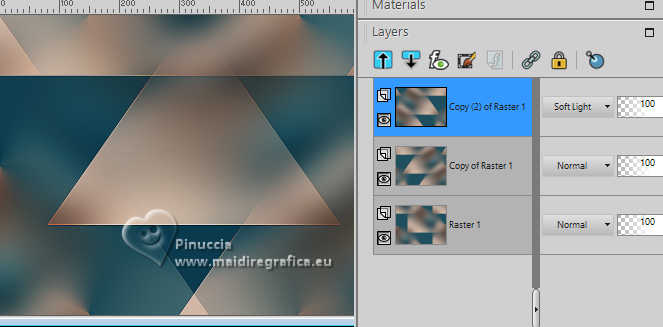
Layers>Merge>Merge Down.
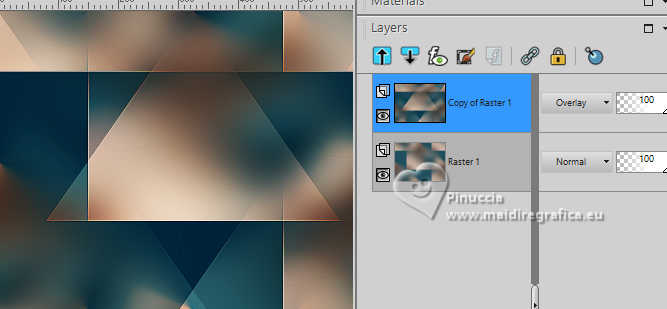
Change the Blend Mode of this layer to Overlay.
10. Selection Tool 
(no matter the type of selection, because with the custom selection your always get a rectangle)
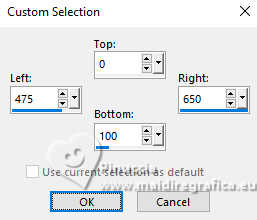
clic on the Custom Selection 
and set the following settings.
11. Effects>Plugins>[AFS IMPORT] - sqborder2
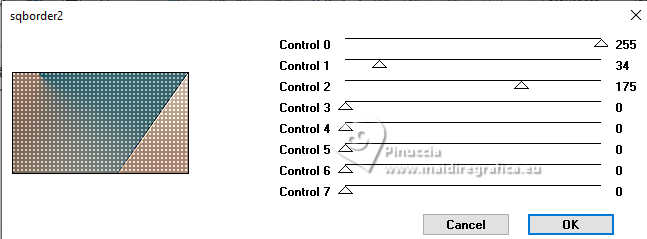
Selections>Promote Selection to Layer.
Selections>Select None.
12. Effects>Image Effects>Seamless Tiling, same settings, but horizontal checked.
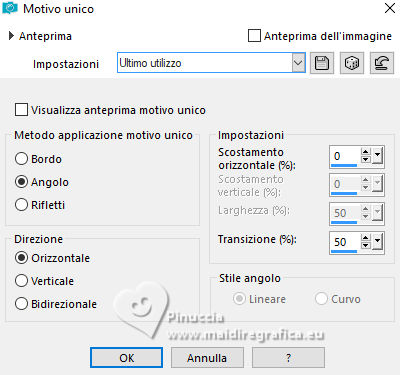
Effects>Edge Effects>Enhance More.
13. Layers>Duplicate.
Image>Mirror.
14. Selections>Select All.
Image>Add borders, symmetric not checked, background color.
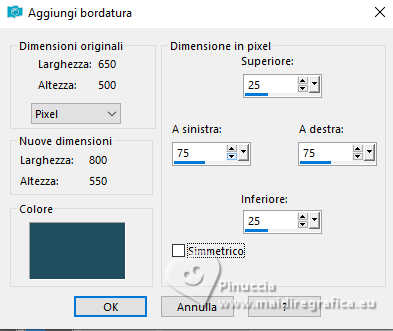
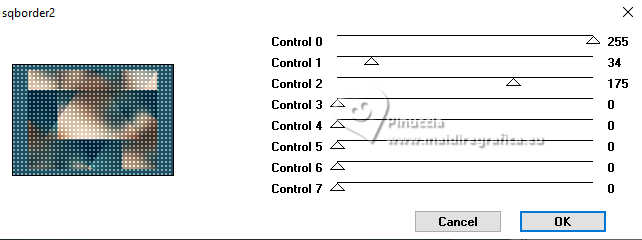
15. Selections>Invert.
Effects>Plugins>[AFS IMPORT] - sqborder2, same settings.
if you used the filter in Unlimited, remember that Unlimited doesn't keep the settings in memory
16. Effects>3D Effects>Drop Shadow, color black.
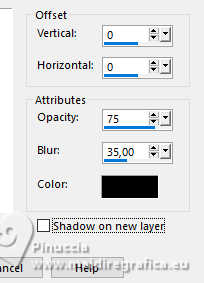
Selections>Select None.
17. Effects>Image Effects>Seamless Tiling, same settings.

18. Effects>Geometric Effects>Skew, same settings.

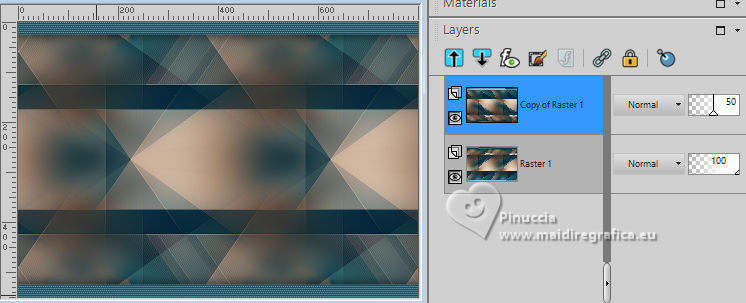
19. Layers>Duplicate.
Image>Flip.
Reduce the opacity of this layer to 50%.
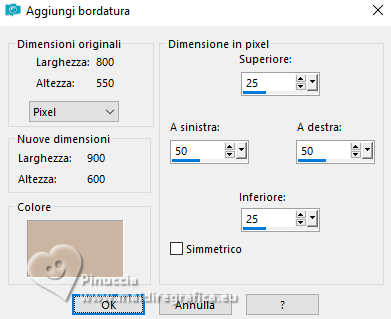
20. Selections>Select All.
Image>Add borders, symmetric not checked, foreground color.
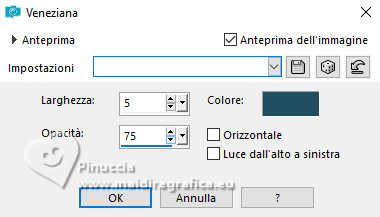
21. Selections>Invert.
Effects>Texture Effects>Blinds - background color.
22. Selections>Invert.
Effects>3D Effects>Drop Shadow, same settings.
Selections>Select None.
23. Effects>Image Effects>Seamless Tiling.
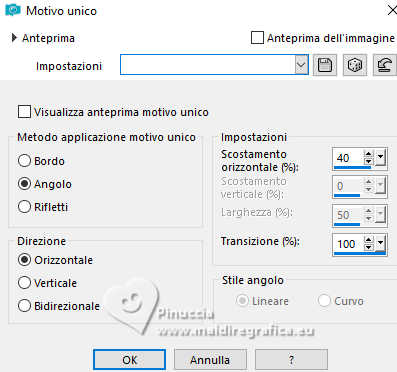
24. Custom Selection 
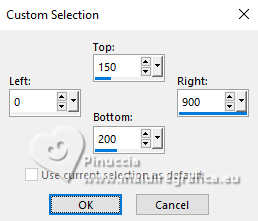
Selections>Promote Selection to Layer.
Effects>Texture Effects>Blinds, same settings, ma foreground color.
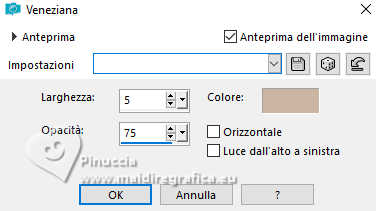
Selections>Select None.
25. Effects>Geometric Effects>Skew, same settings.

Change the Blend Mode of this layer to Hard Light.
26. Layers>Duplicate.
Effets>Effets de distorsion>Polar Coordinates.
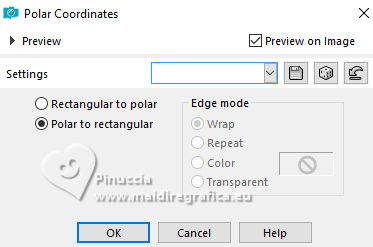
27. Effects>Plugins>Simple - Left Right Wrap.
This effect works without window; result.
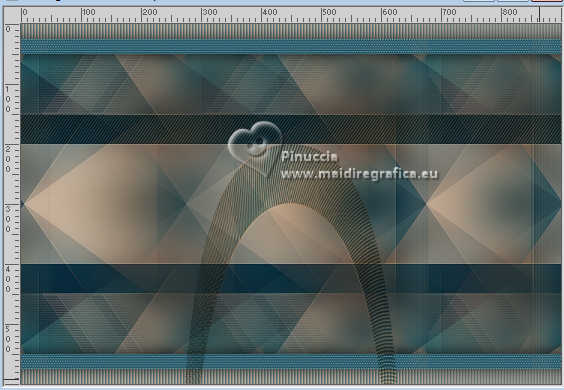
28. Layers>Duplicate.
Image>Flip.
Layers>Merge>Merge Down.
29. Effects>Plugins>Simple - Left Right Wrap
Your shoud have this
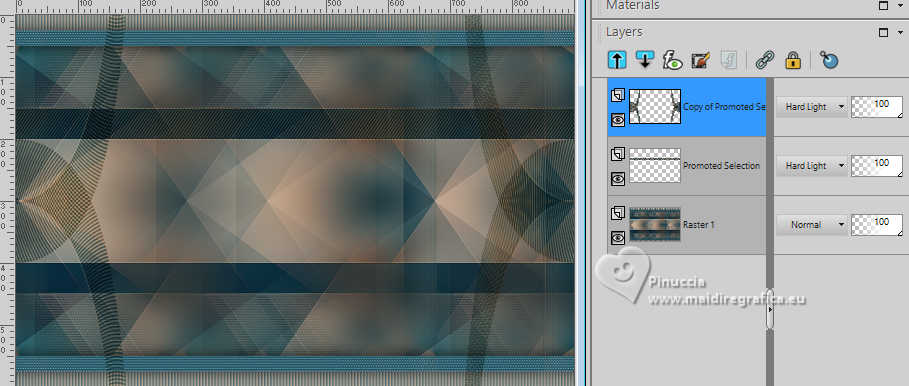
30. Activate the layer below, Copy of Raster 1.
Effects>Image Effects>Seamless Tiling, default settings.

Adjust>Sharpness>Sharpen.
31. Layers>New Raster Layer.
Flood Fill the layer with your foreground color.
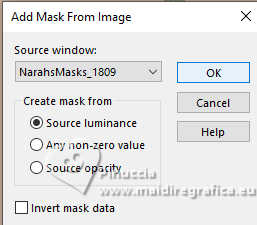
32. Layers>New Mask layer>From image
Open the menu under the source window and you'll see all the files open.
Select the mask NarahsMasks_1809.
Layers>Merge>Merge Group.
Change the Blend Mode of this layer to Dodge
33. Layers>Duplicate.
Image>Mirror.
Layers>Merge>Merge visible.
34. Layers>Duplicate.
Effects>Plugins>Mura's Meister - Perspective Tiling.
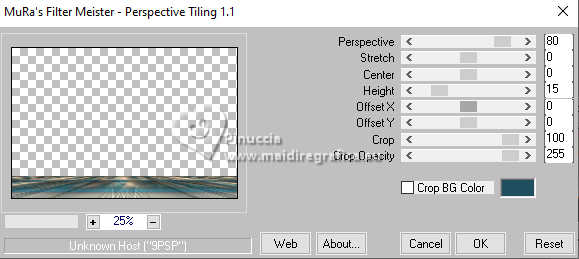
if you have problems with this filter,
copy/paste as new layer the effect in the material punt72 
and after Objects>Align>Bottom
35. Effects>3D Effects>Drop Shadow, same settings.
36. Layers>New Raster Layer.
Flood Fill the layer with your foreground color.
37. Layers>New Mask layer>From image
Open the menu under the source window
and select the mask NarahsMasks_1159.
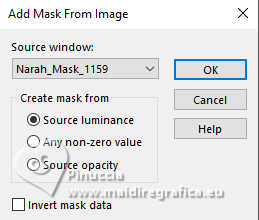
Layers>Merge>Merge Group.
Change the Blend Mode of this layer to Dodge.
38. Layers>Duplicate.
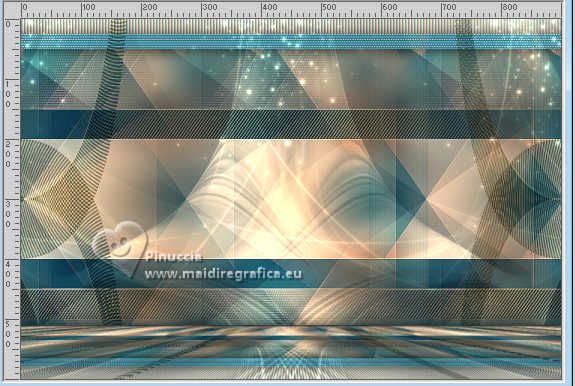
Effects>Plugins>Simple - Left Right Wrap.
Result
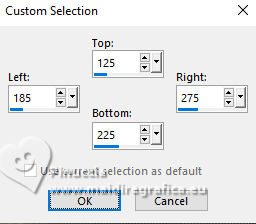
39. Layers>New Raster Layer.
Custom Selection 
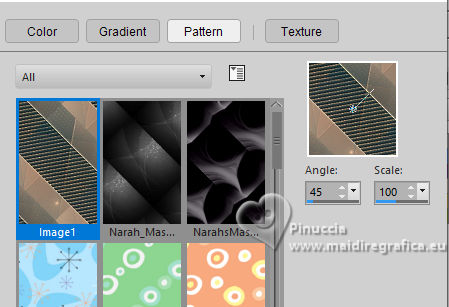
40. Set your foreground color to Pattern.
In the list of patterns you will find the selected image
(which will have the progressive number of your images opened since the PSP was opened).
Set the image with the following settings:
Flood Fill  the selection with your foreground pattern. the selection with your foreground pattern.
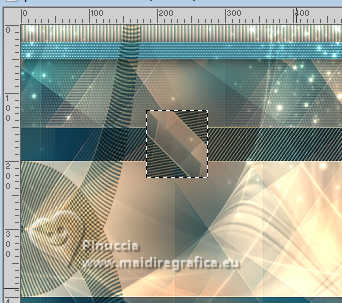
41. Layers>Duplicate.
Edit>Repeat Duplicate Layer.
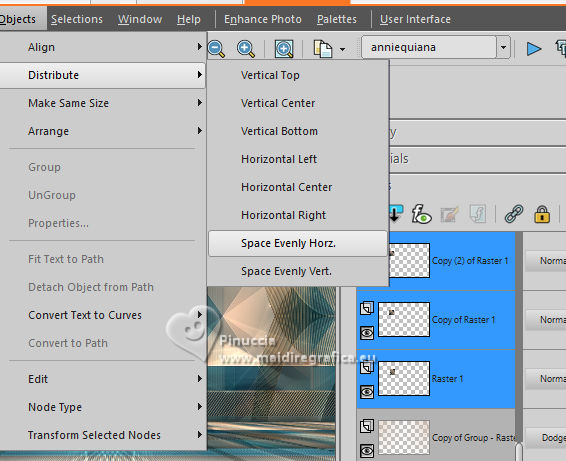
42. In your layers palette, press the shift button and click on your layers up to and including Raster 1.
Objects>Distribute>Space Evenly Horz.
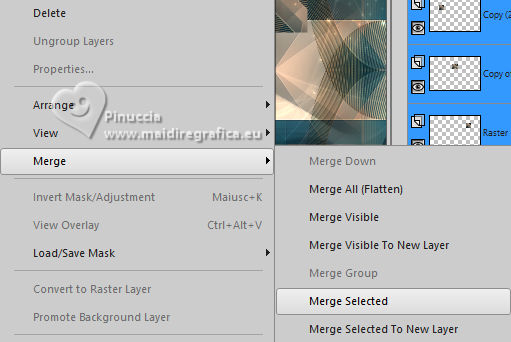
Layers>Merge>Merge Selected.
Selections>Select None.
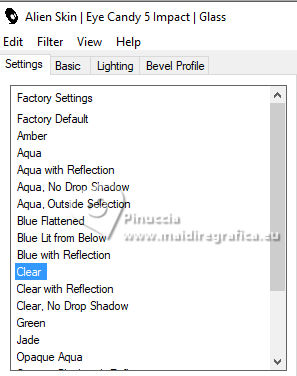
43. Effects>Plugins>Alien Skin Eye Candy 5 Impact - Glass.
Select the preset clear and ok.
44. The tube femme887-coly is still in memory:
Edit>Paste as new layer.
Image>Resize, to 72%, resize all layers not checked.
45. K key to activate your Pick Tool 
and set Position X: 115,00 and Position Y: 6,00.

46. Layers>Duplicate.
Adjust>Blur>Gaussian Blur, same settings.
Layers>Arrange>Move Down.
Change the Blend Mode of this layer to Multiply.
47. Open the tube tekst-quiana 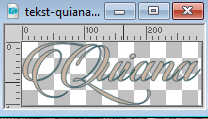
Edit>Copy.
Go back to your work and go to Edit>Paste as new layer.
Set Position X: 591,00 and Positon Y: 384,00.

M key to deselect the Tool.
48. Effects>3D Effects>Drop Shadow, color black.
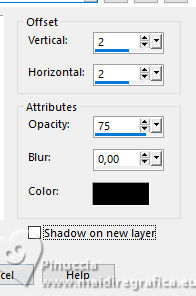
49. Sign your work on a new layer.
50. Image>Add borders, 1 pixel, symmetric, background color.
Image>Resize, 800 pixels width, resize all layers checked.
Save as jpg.
For the tubes of these versions thanks
Luz Cristina
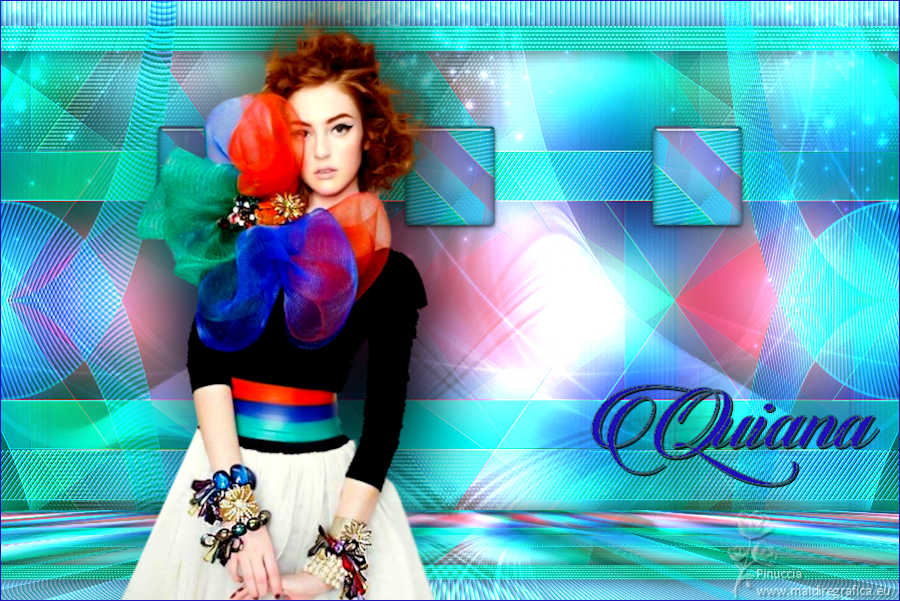
NaiseM.
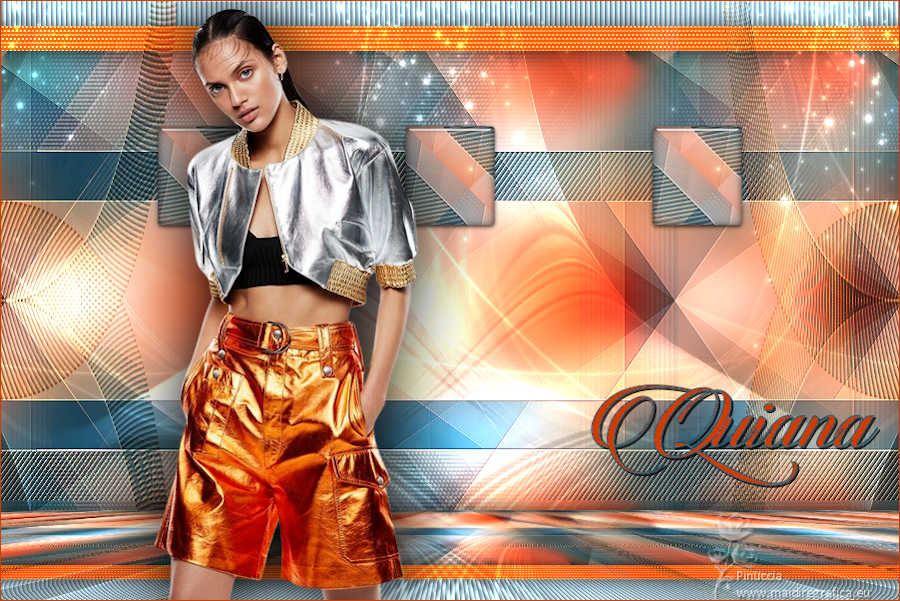

If you have problems or doubts, or you find a not worked link, or only for tell me that you enjoyed this tutorial, write to me.
24 November 2023

|

