RACHELLE

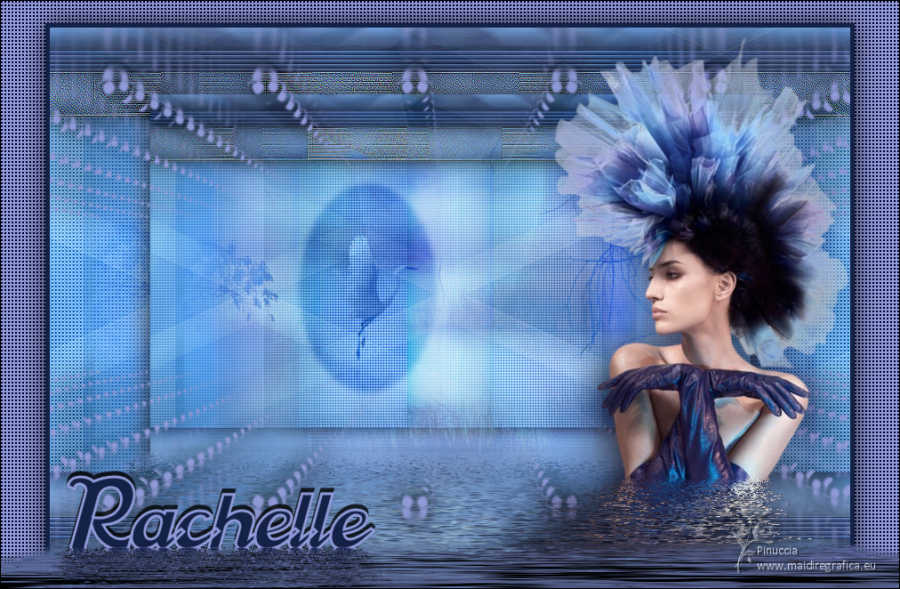
Thanks Annie for your invitation to translate

Clic and move the brush to follow the tutorial.

To print


|
This tutorial was translated with PSPX7 and PSPX2, but it can also be made using other versions of PSP.
Since version PSP X4, Image>Mirror was replaced with Image>Flip Horizontal,
and Image>Flip with Image>Flip Vertical, there are some variables.
In versions X5 and X6, the functions have been improved by making available the Objects menu.
In the latest version X7 command Image>Mirror and Image>Flip returned, but with new differences.
See my schedule here
 italian translation here italian translation here
 french translation here french translation here
 your versions here your versions here
Necessary

Thanks for the tube and the mask Riet and Narah.
(The links of the tubemakers here).

consult, if necessary, my filter section here
Filters Unlimited 2.0 here
AFS IMPORT - sqborder2 here
Flaming Pear - Flood here
Simple - Diamonds here
Simple - Left Right Wrap (Bonus) here
Filters AFS IMPORT and Simple can be used alone or imported into Filters Unlimited.
(How do, you see here)
If a plugin supplied appears with this icon  it must necessarily be imported into Unlimited it must necessarily be imported into Unlimited

You can change Blend Modes according to your colors.

Copy the selections in the Selections Folder.
Open the mask in PSP and minimize it with the rest of the material.
1. Open a new transparent image 650 x 500 pixels.
2. Set your foreground color to the light color #8ac0fa
and your background color to the dark color #152248.
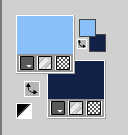
Flood Fill  the transparent image with your foreground color. the transparent image with your foreground color.
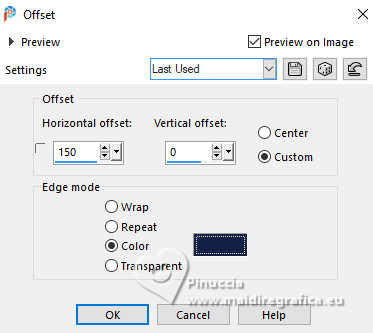
3. Effects>Image Effects>Offset, background color.
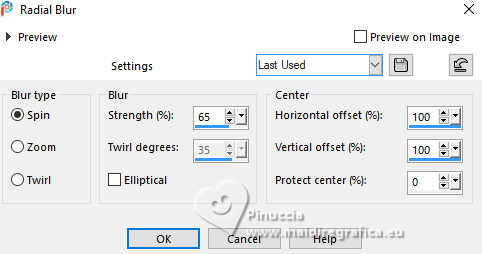
4. Adjust>Blur>Radial Blur.
Effects>Edge Effects>Enhance More.
5. Layers>Duplicate.
Image>Resize, to 80%, resize all layers not checked.
6. Image>Mirror>Mirror horizontal (Image>Mirror).
Image>Mirror>Mirror verticall (Image>Flip).
7. Effects>3D Effects>Drop Shadow, color black.

Reduce the opacity of this layer to 70%.
8. Layers>Duplicate.
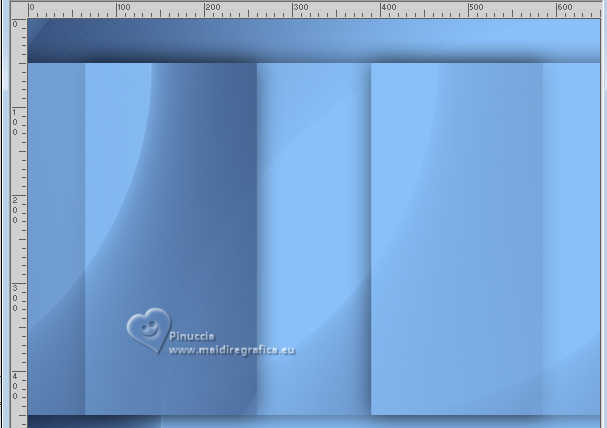
Effects>Plugins>Simple - Left Right Wrap.
This filter works without window: result
9. Effects>Plugins>[AFS IMPORT] - sqborder2

Change the Blend Mode of this layer to Overlay.
10. Selections>Select All.
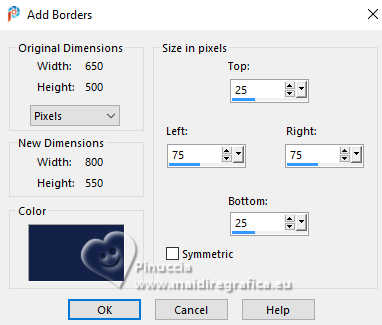
Image>Add borders, symmetric not checked, background color.
11. Effects>Image Effects>Seamless Tiling, default settings.

12. Selections>Invert.
Adjust>Blur>Gaussian Blur - radius 20.

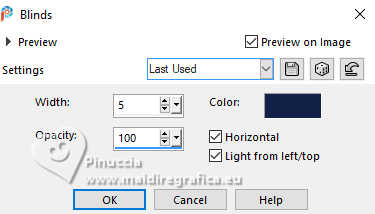
13. Effects>Texture Effects>Blinds - background color.
13. Effects>3D Effects>Drop Shadow, same settings.
Selections>Select None.
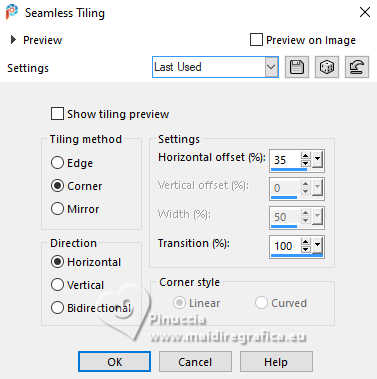
14. Effects>Image Effects>Seamless Tiling.
15. Selections>Select All.
Image>Add borders, symmetric not checked, foreground color.

16. Selections>Invert.
Effects>Plugins>Simple - Diamonds
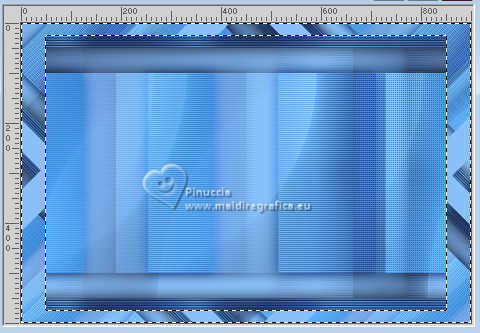
17. Adjust>Blur>Motion Blur.
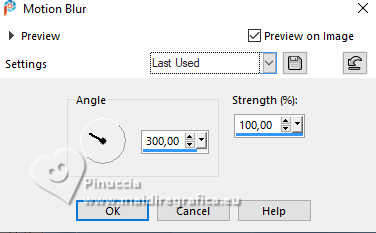
18. Selections>Invert.
Effects>3D Effects>Drop Shadow, same settings.
Selections>Select None.
19. Effects>Image Effects>Seamless Tiling, same settings.

20. Layers>Duplicate.
Image>Mirror>Mirror horizontal (Image>Mirror).
Change the Blend Mode of this layer to Luminance (legacy) and reduce the opacity to 50%.
Effects>Edge Effects>Enhance.
21. Selection Tool 
(no matter the type of selection, because with the custom selection your always get a rectangle)
clic on the Custom Selection 
and set the following settings.

22. Selections>Promote Selection to Layer.
Effects>Edge Effects>Enhance More.
Effects>3D Effects>Drop Shadow, same settings.
Selections>Select None.
23. Layers>Duplicate.
Effects>Geometric Effects>Skew.

24. Layers>Duplicate.
Image>Mirror>Mirror vertical (Image>Flip).
Layers>Merge>Merge Down.
25. Layers>Duplicate.
Image>Mirror>Mirror horizontal (Image>Mirror).
Layers>Merge>Merge Down.
26. Effects>Plugins>Simple - Left Right Wrap.
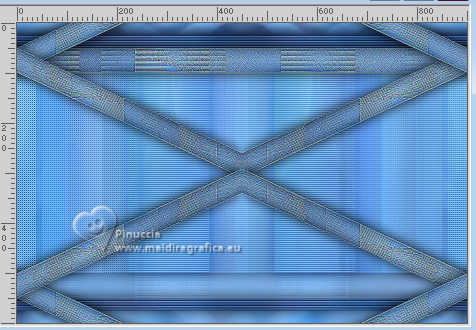
27. Effects>Image Effects>Seamless Tiling, same settings.

28. Change the Blend Mode of this layer to Screen and reduce the opacity to 30%.
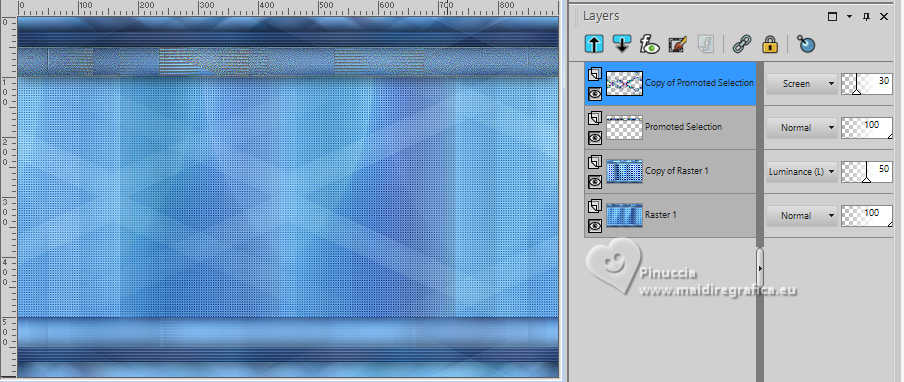
29. Open the tube grue 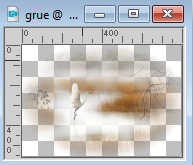
Edit>Copy.
Go back to your work and go to Edit>Paste as new layer.
30. Change the Blend Mode of this layer to Overlay and reduce the opacity to 75%.
31. Layers>Merge>Merge visible.
32. Layers>Duplicate.
Image>Resize, to 75%, resize all layers not checked.
33. Effects>3D Effects>Drop Shadow, same settings.
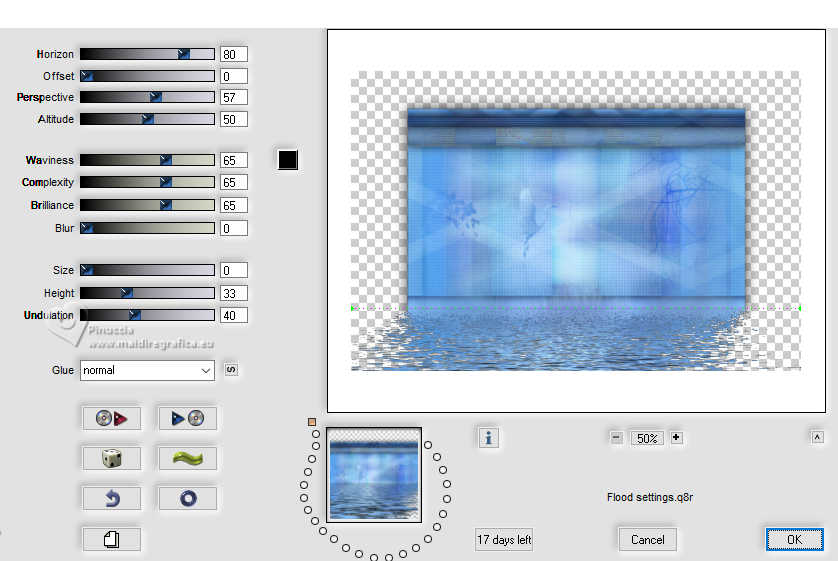
34. Effects>Plugins>Flaming Pear - Flood.
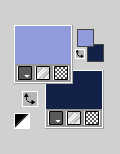
35. Set your foreground color to a different color, #919bd9
36. Layers>New Raster Layer.
Flood Fill  the layer with your foreground color. the layer with your foreground color.
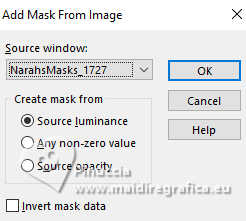
37. Layers>New Mask layer>From image
Open the menu under the source window and you'll see all the files open.
Select the mask NarahsMasks_1727 .
Layers>Merge>Merge Group.
38. Effects>3D Effects>Drop Shadow, same settings.

39. Layers>Duplicate.
40. Open the tube Riet 1028 290623 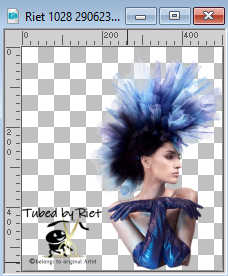
Erase the watermark and go to Edit>Copy.
Go back to your work and go to Edit>Paste as new layer.
Image>Mirror>Mirror horizontal (Image>Mirror).
41. K key to activate your Pick Tool 
and set Position X: 567,00 and Position Y: 3,00.

M key to deselect the Tool.
42. Effects>Plugins>Flaming Pear - Flood - Horizon 85 and ok.

43. Layers>Duplicate.
Adjust>Blur>Gaussian Blur, same settings.

Change the Blend mode of this layer to Multipy.
Layers>Arrange>Move Down.
44. Image>Add borders, 5 pixels, symmetric, background color.
Selections>Select All.
Image>Add borders, symmetric not checked, foreground color.

Selections>Invert.
45. Effects>Plugins>[AFS IMPORT] - sqborder2, same settings.
Selections>Invert.
Effects>3D Effects>Drop Shadow, same settings.
46. Selections>Load/Save Selection>Load Selection from Disk.
Look for and load the selection rachelle-1-cre@nnie

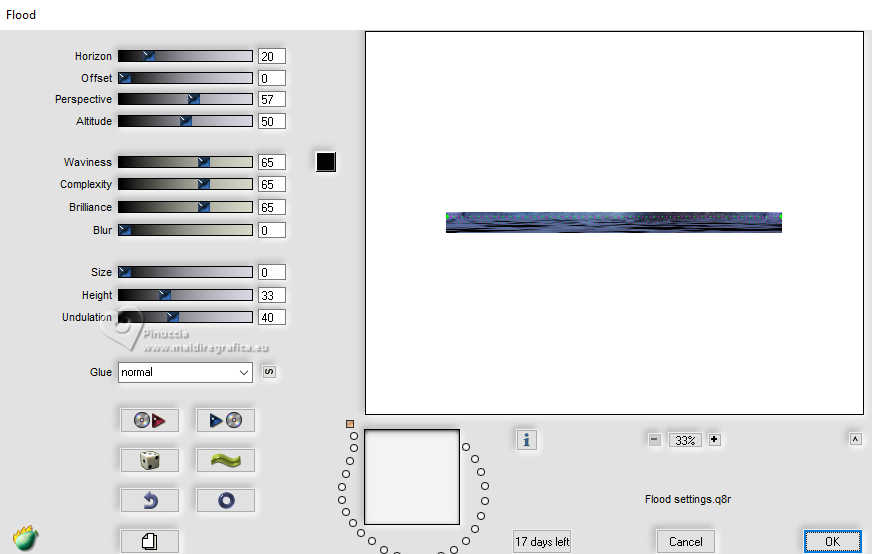
47. Effects>Plugins>Flaming Pear - Flood - horizon 20
Selections>Select None.
48. Open the tube tekst-rachelle 
Edit>Copy.
Go back to your work and go to Edit>Paste as new layer.
49. K key to activate your Pick Tool 
and set Position X: 74,00 and Position Y: 533,00.

M key to deselect the Tool.
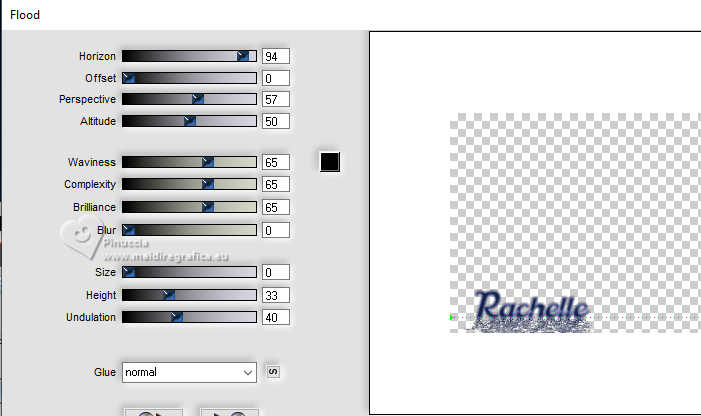
50. Effects>Plugins>Flaming Pear - Flood - Horizon 94
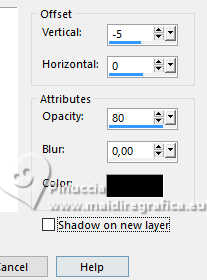
51. Effects>3D Effects>Drop Shadow, color black.
52. Activate your bottom layer.
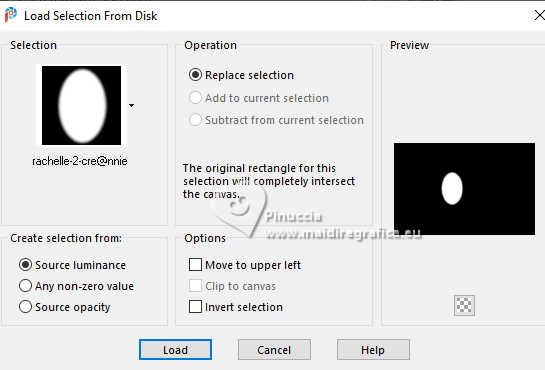
Selections>Load/Save Selection>Load Selection from Disk.
Look for and load the selection rachelle-2-cre@nnie
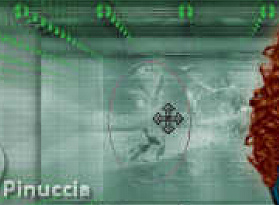
if you use another tube and you want to change the position of the selection,
Activate your Move Tool  , ,
hold down the right mouse button on the selection and move it to your liking.
53. Selections>Promote Selection to Layer.
Change the Blend Mode of this layer to Multiply.
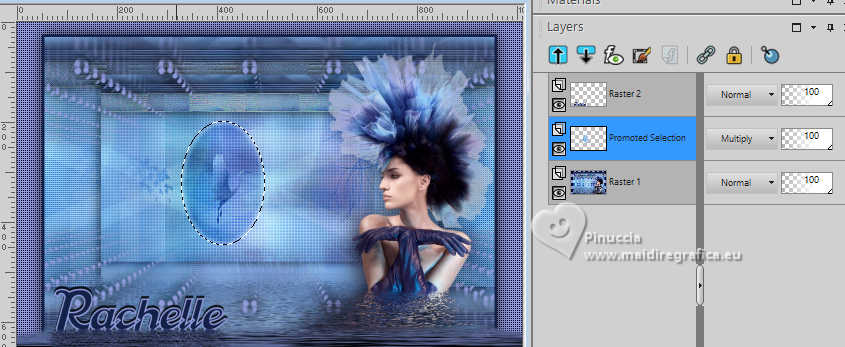
Selections>Select None.
54. Sign your work on a new layer.
Image>Add borders, 1 pixel, symmetric, background color.
Image>Resize, 800 pixels width, resize all layers checked.
Save as jpg.
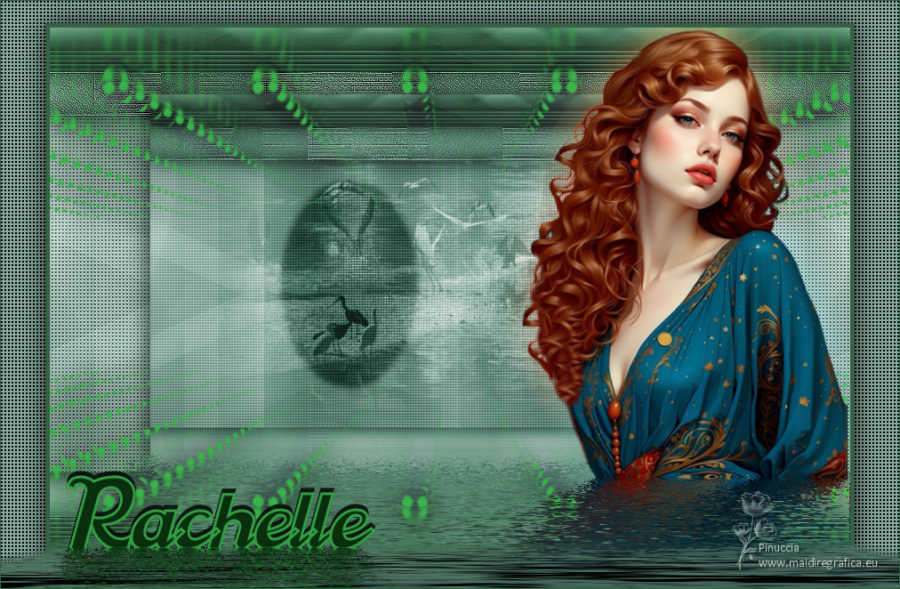
For the tube of this version thanks Luz Cristina, the misted is mine.

If you have problems or doubts, or you find a not worked link, or only for tell me that you enjoyed this tutorial, write to me.
18 January 2024

|

