WINTER 2024


Thanks Annie for your invitation to translate

Clic and move the brush to follow the tutorial.

To print


|
This tutorial was created with PSP2020 and translated with PSPX9 and PSP2020, but it can also be made using other versions of PSP.
Since version PSP X4, Image>Mirror was replaced with Image>Flip Horizontal,
and Image>Flip with Image>Flip Vertical, there are some variables.
In versions X5 and X6, the functions have been improved by making available the Objects menu.
In the latest version X7 command Image>Mirror and Image>Flip returned, but with new differences.
See my schedule here
 italian translation here italian translation here
 french translation here french translation here
 your versions here your versions here
Necessary

Thanks for the tube and the mask Jolcsi and Narah.
(The links of the tubemakers here).

consult, if necessary, my filter section here
Mehdi - Sorting Tiles here

You can change Blend Modes according to your colors.

Open the mask in PSP and minimize it with the rest of the material.
1. Open a new transparent image 650 x 500 pixels.
2. Set your foreground color with the light color #f2f2f4
and your background color with the dark color #70676a.
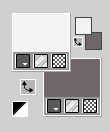
Flood Fill  the transparent image with your foreground color. the transparent image with your foreground color.
3. Selections>Select All.
Open the tube jolcsi087 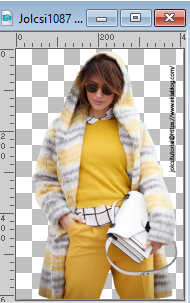
Erase the watermark and go to Edit>Copy.
Minimize the tube.
Go back to your work and go to Edit>Paste into Selection.
Selections>Select None.
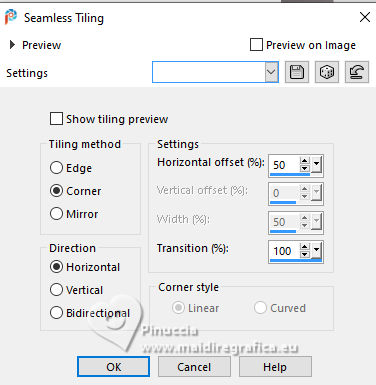
4. Effects>Image Effects>Seamless Tiling, default settings.

5. Adjust>Blur>Gaussian Blur - radius 30.

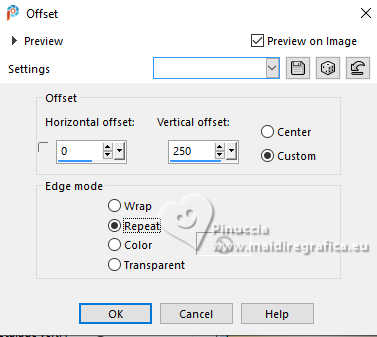
6. Effects>Image Effects>Offset.
7. Layers>Duplicate.
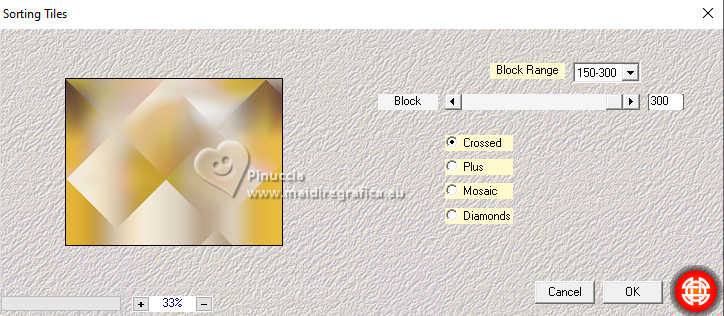
Effects>Plugins>Mehdi - Sorting Tiles.
8. Reduce the opacity of this layer to 50%.
Effects>Edge Effects>Enhance More.
9. Activate your bottom layer.
Change the Blend Mode of this layer to Dissolve and reduce the opacity to 75%.
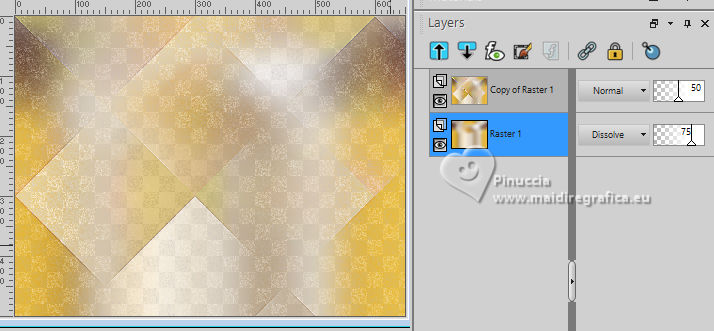
10. Layers>Merge>Merge visible.
11. Layers>Duplicate.
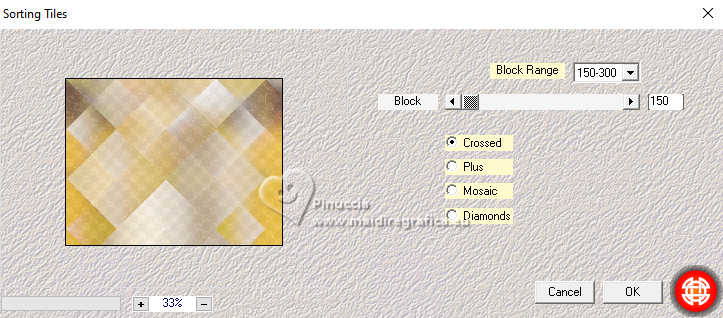
Effects>Plugins>Mehdi - Sorting Tiles - block to 150
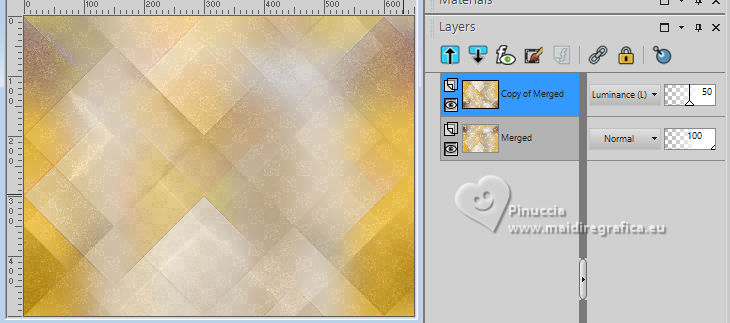
12. Image>Flip.
Change the Blend Mode of this layer to Luminance (legacy),
and reduce the opacity to 50%.
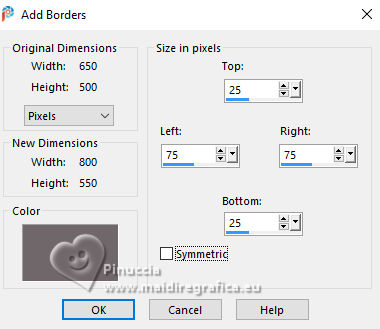
13. Selections>Select All.
Image>Add borders, symmetric not checked, background color.
14. Effects>Image Effects>Seamless Tiling, same settings

15. Effects>3D Effects>Drop shadow, color black.

Selections>Select None.
16. Effects>Image Effects>Seamless Tiling.
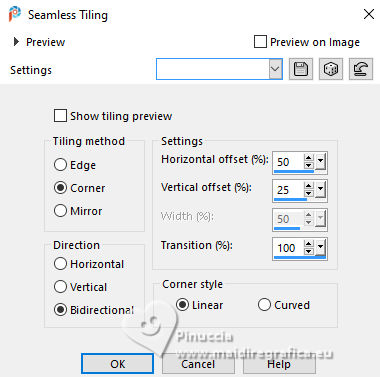
Adjust>Sharpness>Sharpen More.
17. Selections>Select All.
Image>Add borders, symmetric not checked, foreground color.
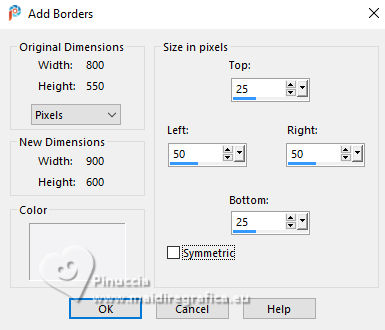
18. Effects>Image Effects>Seamless Tiling, same settings
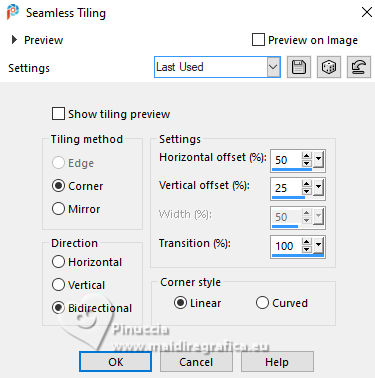
19. Selections>Invert.
Adjust>Blur>Gaussian Blur - radius 30.

20. Effects>Plugins>Mehdi - Sorting Tiles, same settings.
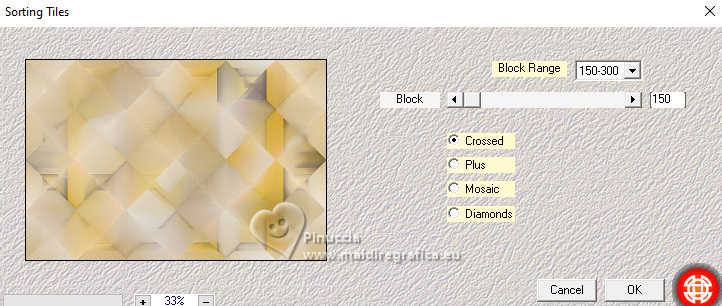
21. Effects>3D Effects>Drop shadow, same settings.

Effects>Edge Effects>Enhance More.
Selections>Select None.
22. Effects>Image Effects>Seamless Tiling, same settings, but Horizontal checked.
23. Open the tube deco-winter-2024 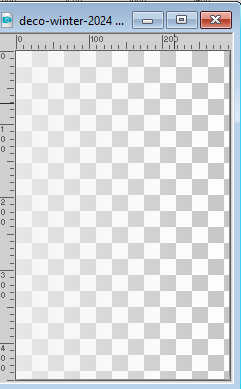
Edit>Copy.
Go back to your work and go to Edit>Paste as new layer.
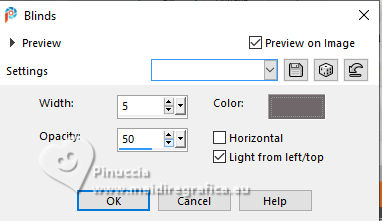
24. Effects>Texture Effects>Blinds - background color.
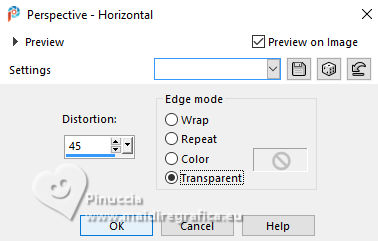
25. Effects>Geometric Effects>Perspective Horizontal.
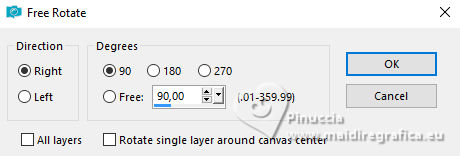
26. Image>Free Rotate - 90 degrees to right.
27. K key to activate your Pick Tool 
and set Position X: 131,00 and Position Y: 25,00.

M key to deselect the Tool.
28. Effects>3D Effects>Drop shadow, same settings.
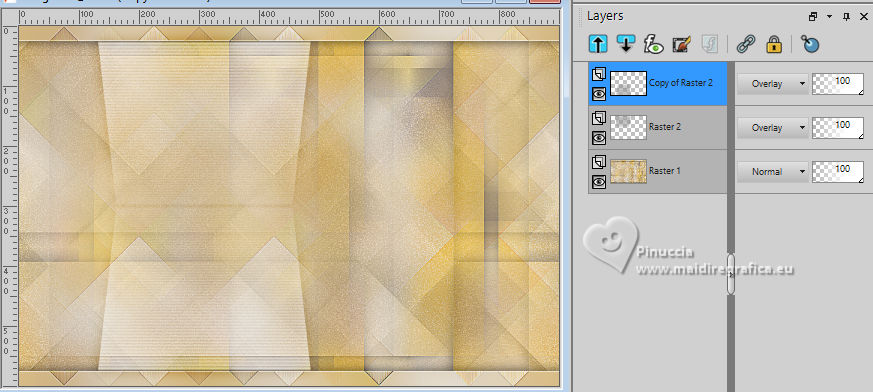
29. Change the Blend Mode of this layer to Overlay.
Layers>Duplicate.
Image>Flip.
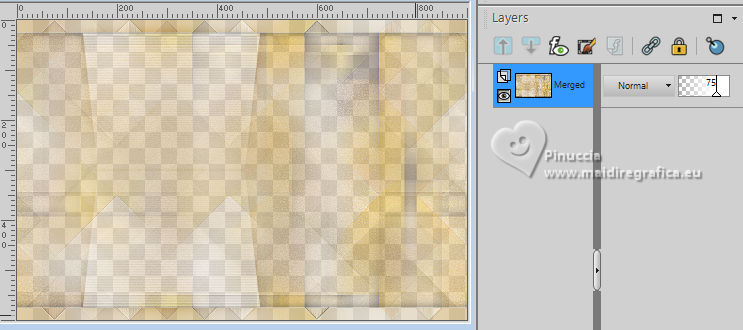
30. Layers>Merge>Merge visible.
Reduce the opacity of this layer to 75%.
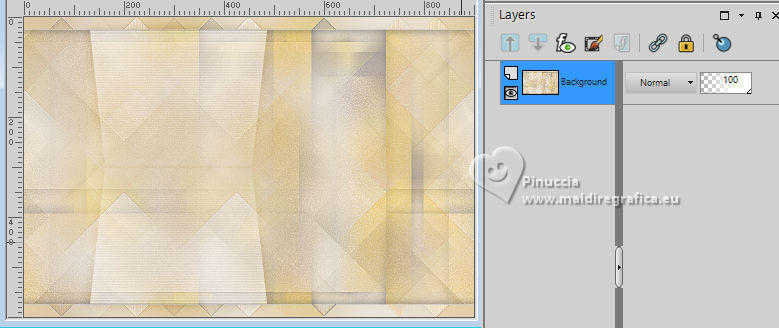
Layers>Merge>Merge All.
31. Layers>Duplicate.
Image>Mirror.
Reduce the opacity of this layer to 50%.
Layers>Merge>Merge visible.
32. Open the tube mountains 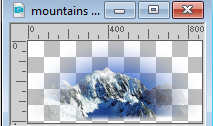
Edit>Copy.
Go back to your work and go to Edit>Paste as new layer.
33. Objects>Align>Top.
34. Change the Blend Mode of this layer to Overlay,
and reduce the opacity to 50%.
35. Layers>New Raster Layer.
Flood Fill  the layer with your foreground color. the layer with your foreground color.
36. Layers>New Mask layer>From image
Open the menu under the source window and you'll see all the files open.
Select the mask NarahsMasks_1511.
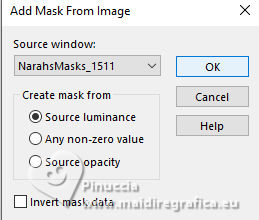
Layers>Merge>Merge Group.
37. Layers>Duplicate.
Layers>Merge>Merge Down.
Effects>Edge Effects>Enhance.
38. Open the tube Winter Tree TT 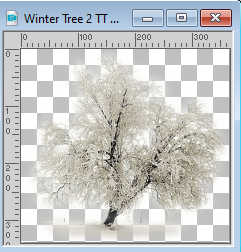
Edit>Copy.
Go back to your work and go to Edit>Paste as new layer.
39. K key to activate your Pick Tool 
and set Position X: 533,00 and Position Y: 61,00.

40. Open the tube ice fun (12) 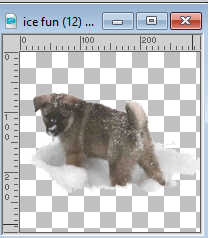
Edit>Copy.
Go back to your work and go to Edit>Paste as new layer.
Set Position X: 399,00 and Position Y: 427,00.

41. Open the tube tekst-winter-2024 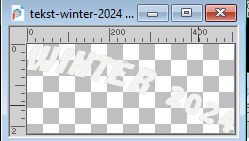
Edit>Copy.
Go back to your work and go to Edit>Paste as new layer.
Set Position X: 328,00 and Position Y: 312,00.

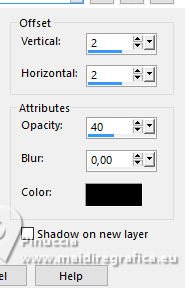
42. Effects>3D Effects>Drop shadow, color black.
43. Image>Ajouter des bordures, 2 pixels, symmetric, background color.
Image>Ajouter des bordures, 5 pixels, symmetric, foreground color.
Image>Ajouter des bordures, 2 pixels, symmetric, background color.
Image>Ajouter des bordures, 25 pixels, symmetric, foreground color.
44. Sign your work on a new layer (at the bottom right).
45. Image>Ajouter des bordures, 1 pixel, symmetric, background color.
46. Image>Resize, 800 pixels width, resize all layers checked.
47. Activate again the tube Jolcsi1087 and go to Edit>Copy.
Go back to your work and go to Edit>Paste as new layer.
Image>Resize, to 85%, resize all layers not checked.
Set Position X: 11,00 and Position Y: 33,00.

48. Effects>3D Effects>Drop shadow, color black.

M key to deselect the Tool.
49. Activate your bottom layer.
50. Open the tube snow 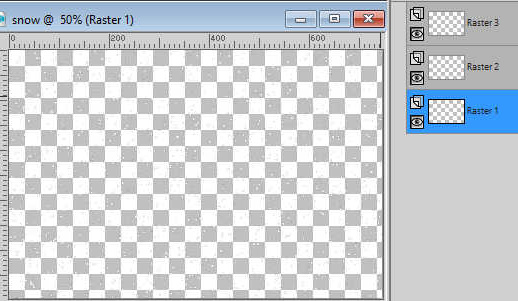
Activate the layer Raster 1 and go to Edit>Copy.
Go back to your work and go to Edit>Paste as new layer.
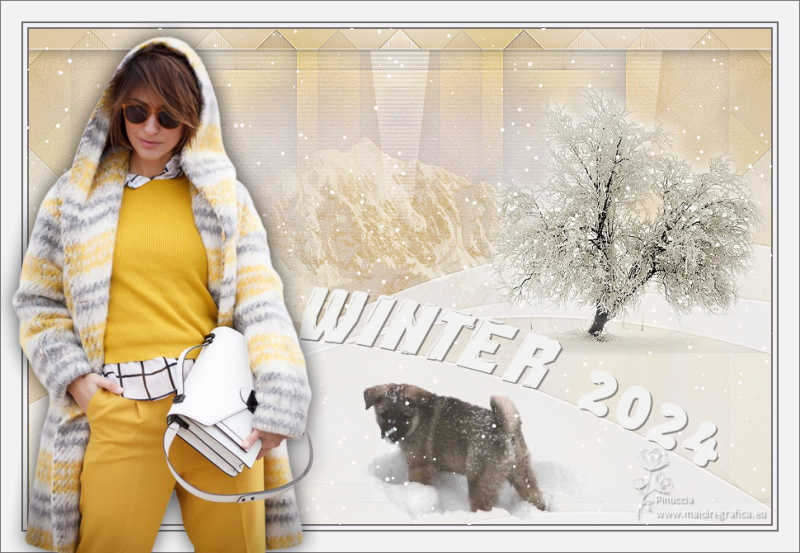
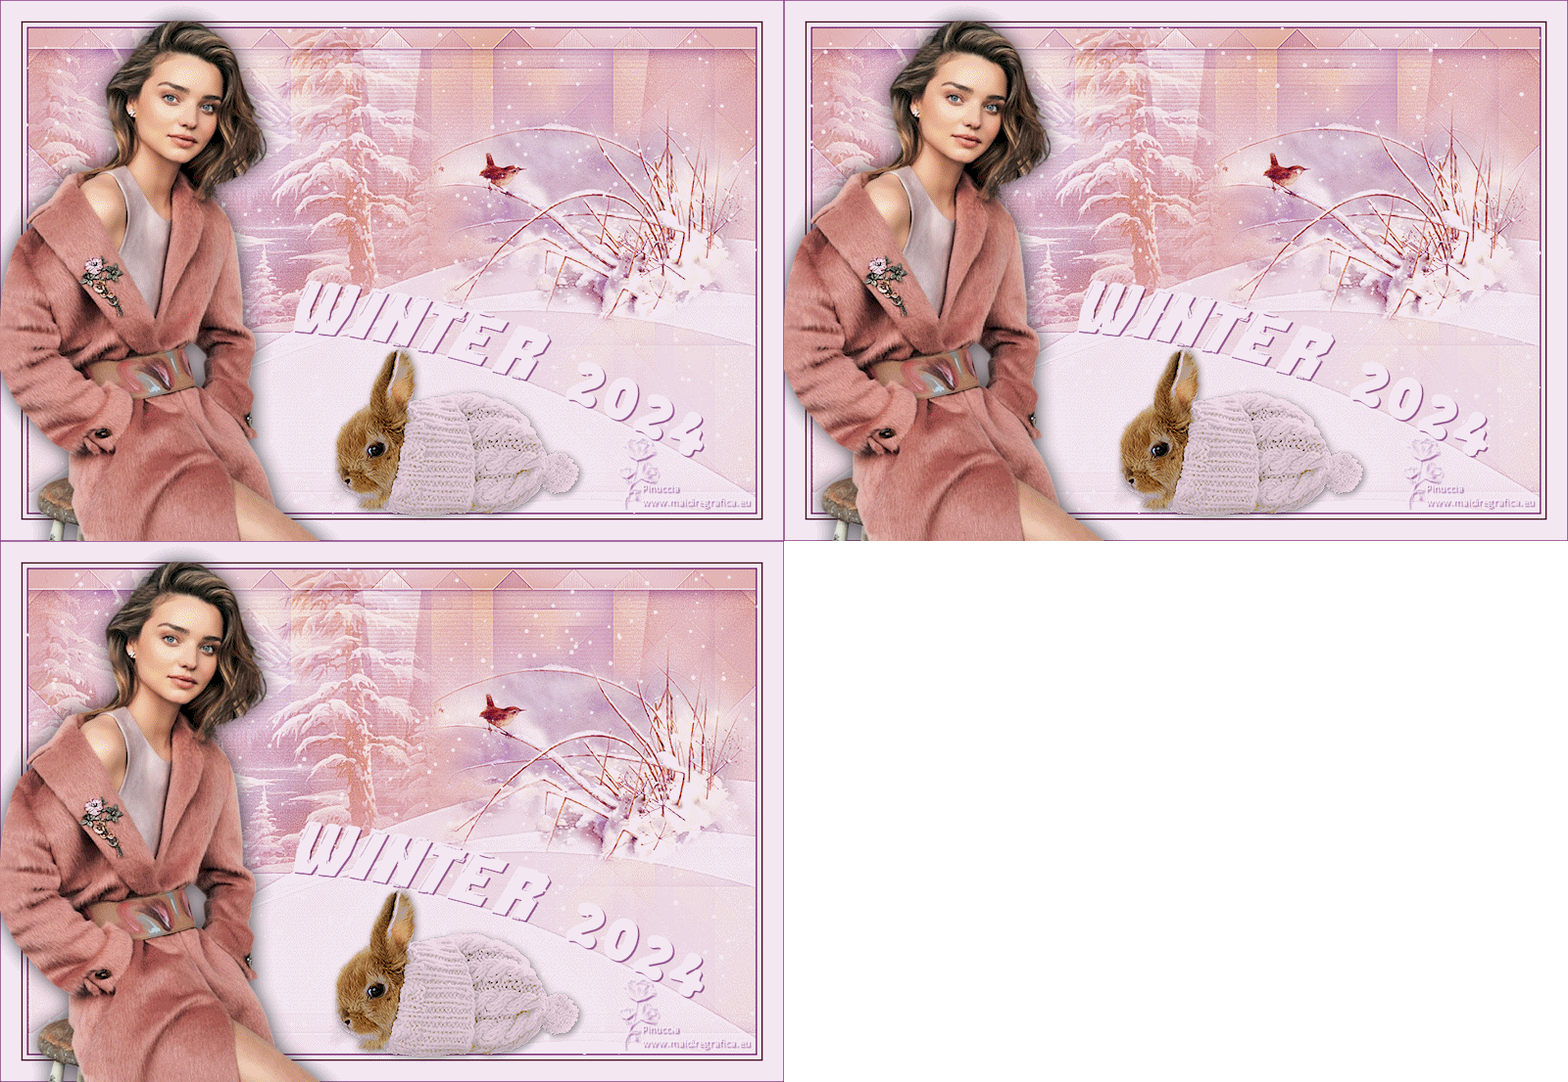
If you don't want go on to realize the animation:
Layers>Merge>Merge All and save as jpg
51. Edit>Copy Special>Copy Merged.
Open Animation Shop and go to Edit>Paste>Paste as new animation.
52. Go back to PSP.
Edit>Undo Paste new layer.
53. Activate the layer Raster 2 of the tube snow and go to Edit>Copy.
Go back to your work and go to Edit>Paste as new layer.
Edit>Copy Special>Copy Merged.
Go back to Animation Shop and go to Edit>Paste>Paste after the current frame.
54. Again to PSP.
Edit>Undo Paste new layer.
Activate the layer Raster 3 of the tube snow and go to Edit>Copy.
Go back to your work and go to Edit>Paste as new layer.
Edit>Copy Special>Copy Merged.
Go back to Animation Shop and go to Edit>Paste>Paste after the current frame.
55. Edit>Select All.
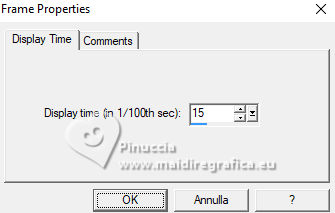
Animation>Frame Properties, and set to 15.
56. Check the result clicking on View animation 
and save as gif.
For the tubes of this version thanks Isa and Cal

If you have problems or doubts, or you find a not worked link, or only for tell me that you enjoyed this tutorial, write to me.
3 January 2024

|

