|
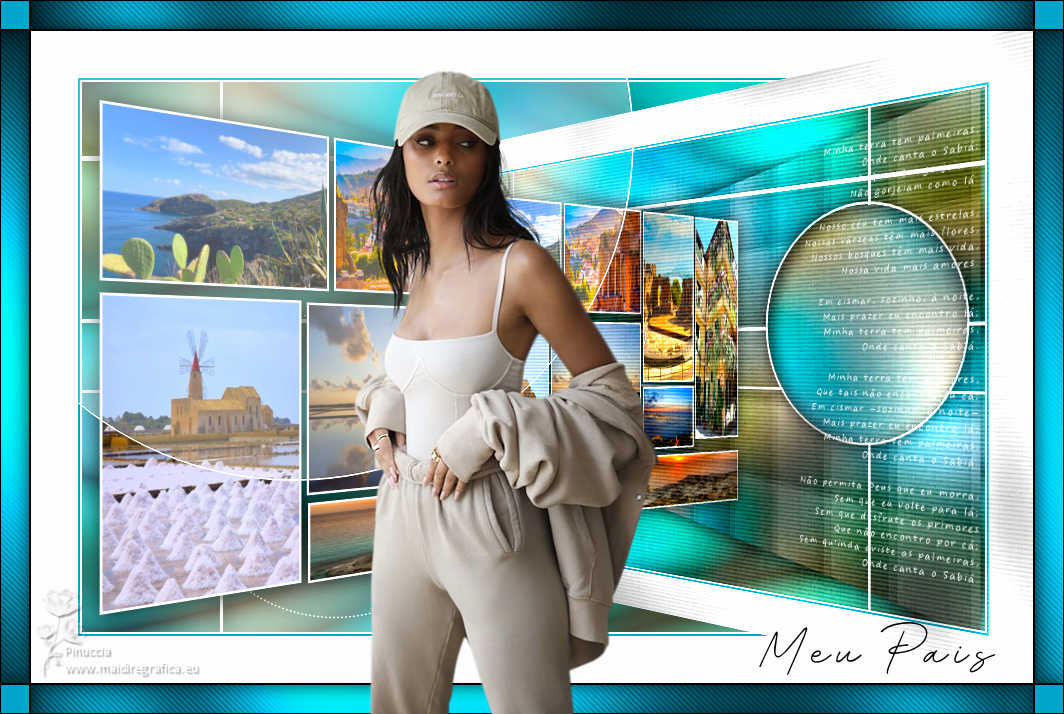
MEU PAIS

Thanks Estela for your invitation to translate your tutorials into english

This tutorial was created with PSP2022 and translated with PspX9, but it can also be made using other versions of PSP.
Since version PSP X4, Image>Mirror was replaced with Image>Flip Horizontal,
and Image>Flip with Image>Flip Vertical, there are some variables.
In versions X5 and X6, the functions have been improved by making available the Objects menu.
In the latest version X7 command Image>Mirror and Image>Flip returned, but with new differences.
See my schedule here
 French Translation here French Translation here
 Your versions here Your versions here

For this tutorial, you will need:

Thanks for the tube Cibi-Bijoux
The rest of the material is by Estela Fonseca
(The links of the tubemakers here).
*It is forbidden to remove the watermark from the supplied tubes, distribute or modify them,
in order to respect the work of the authors

consult, if necessary, my filter section here
Filters Unlimited 2.0 here
Graphics Plus - Cross Shadow here
Andromeda - Perspective here
Toadies - What are you here
&<Background Designers IV> (to import in Unlimited) here
AAA Filters - Transparent Frame here
Liquid Silk Filtersut - Sine Blobs I (to import in Unlimited) - in the material
Filters Graphics Plus can be used alone or imported into Filters Unlimited.
(How do, you see here)
If a plugin supplied appears with this icon  it must necessarily be imported into Unlimited it must necessarily be imported into Unlimited

You can change Blend Modes according to your colors.

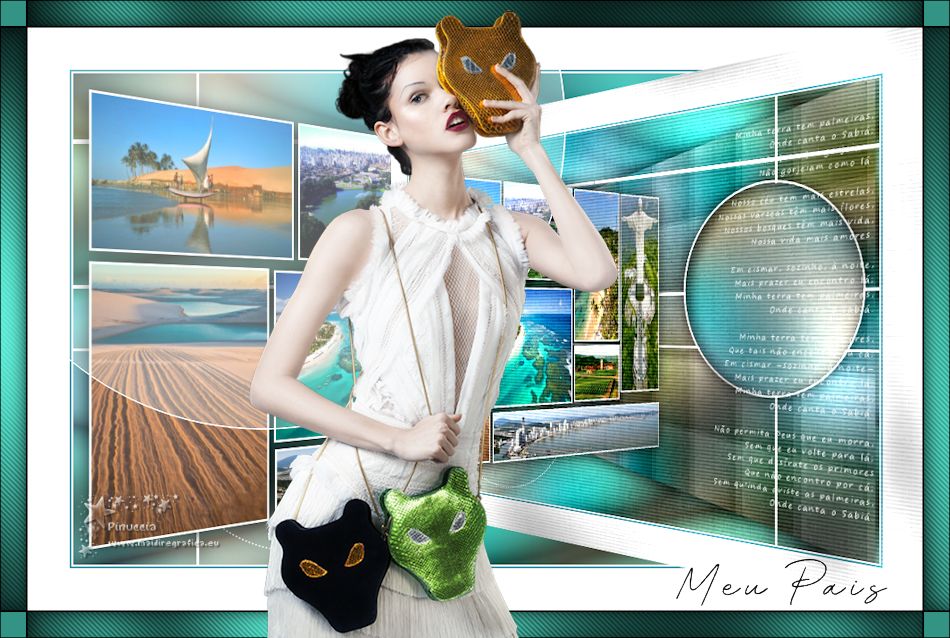
Choose images of your city or your country (for me I chose Brazilian cities) of different size and shapes
1. Open Alpha-MeuPais.
Window>Duplicate or, on the keyboard, shift+D to make a copy.

Close the original.
The copy, that will be the basis of your work, is not empty,
but contains the selections saved to alpha channel.
2. Selections>Select All.
Open the image Fundo_MeuPais 
Edit>Copy.
Go back to your work and go to Edit>Paste into Selection.
Selections>Select None.
3. Calques>Nouveau calque raster.
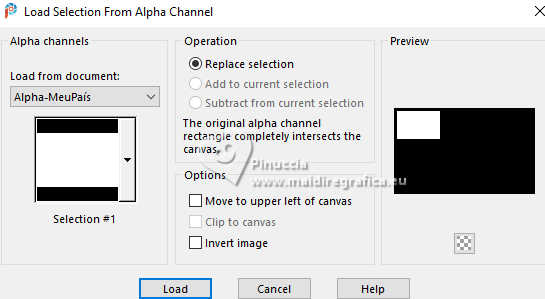
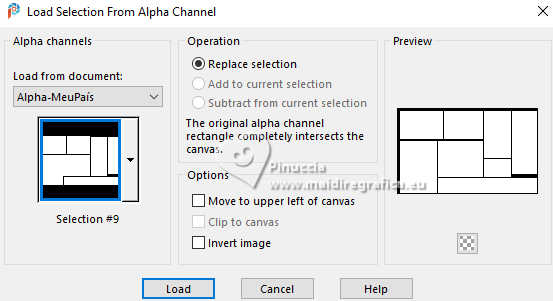
Selections>Load/Save Selection>Load Selection from Alpha Channel.
The selection selection #1 is immediately available. You just have to click Load.
Open the image img1 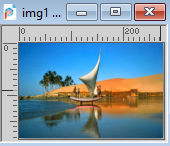
Edit>Copy.
Go back to your work and go to Edit>Paste into Selection.
4. On the same layer.
Selections>Load/Save Selection>Load Selection from Alpha Channel.
Open the selections menu and load the selection selection #2.
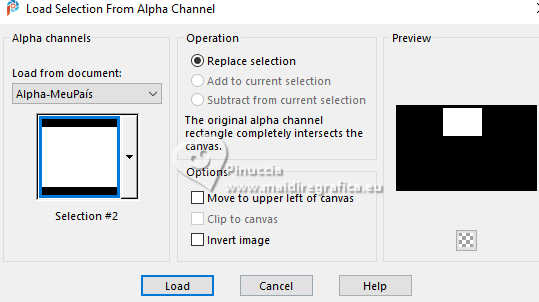
the new selection will always replace the previous one
Open the image img2 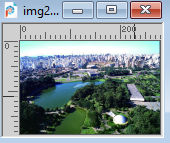
Edit>Copy.
Go back to your work and go to Edit>Paste into Selection.
5. On the same layer.
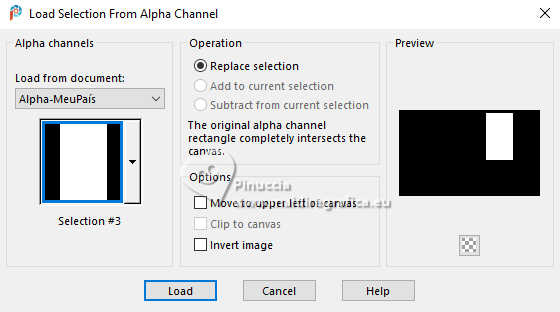
Selections>Load/Save Selection>Load Selection from Alpha Channel.
Open the selections menu and load the selection selection #3.
Open the image img3 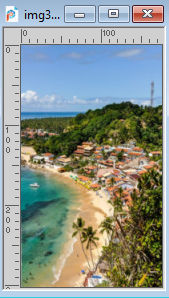
Edit>Copy.
Go back to your work and go to Edit>Paste into Selection.
6. On the same layer.
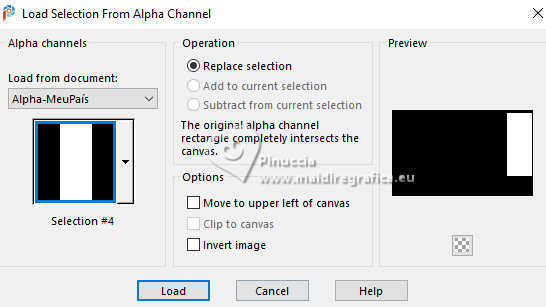
Selections>Load/Save Selection>Load Selection from Alpha Channel.
Open the selections menu and load the selection selection #4.
Open the image img4 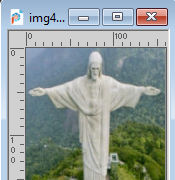
Edit>Copy.
Go back to your work and go to Edit>Paste into Selection.
7. On the same layer.
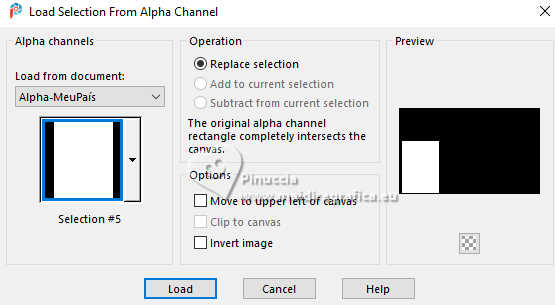
Selections>Load/Save Selection>Load Selection from Alpha Channel.
Open the selections menu and load the selection selection #5.
Open the image img5 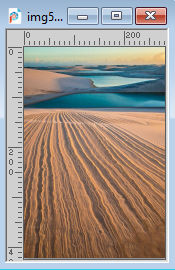
Edit>Copy.
Go back to your work and go to Edit>Paste into Selection.
8. On the same layer.
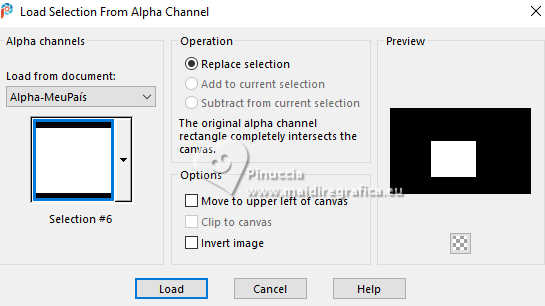
Selections>Load/Save Selection>Load Selection from Alpha Channel.
Open the selections menu and load the selection selection #6.
Open the image img6 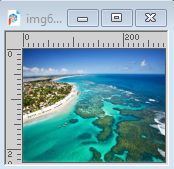
Edit>Copy.
Go back to your work and go to Edit>Paste into Selection.
9. On the same layer.
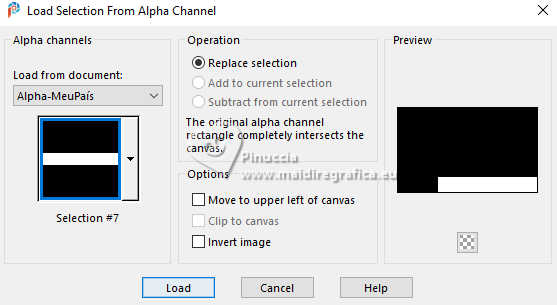
Selections>Load/Save Selection>Load Selection from Alpha Channel.
Open the selections menu and load the selection selection #7.
Open the image img7 
Edit>Copy.
Go back to your work and go to Edit>Paste into Selection.
10. On the same layer.
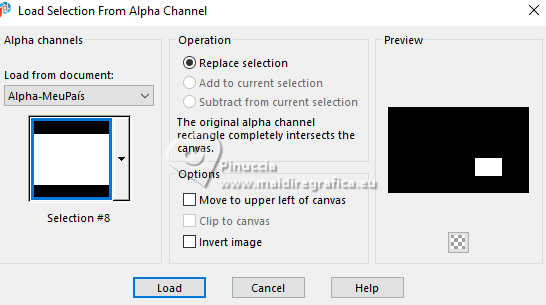
Selections>Load/Save Selection>Load Selection from Alpha Channel.
Open the selections menu and load the selection selection #8.
Open the image img8 
Edit>Copy.
Go back to your work and go to Edit>Paste into Selection.
11. Layers>New Raster Layer.
Selections>Load/Save Selection>Load Selection from Alpha Channel.
Open the selections menu and load the selection selection #9.
Set your foreground color to white #ffffff.
Flood Fill  the selection with color white #ffffff. the selection with color white #ffffff.
Selections>Modify>Contract - 3 pixels.
Press CANC on the keyboard 
Selections>Select None.
Layers>Merge>Merge Down.
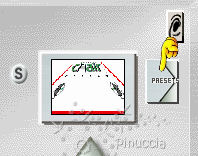
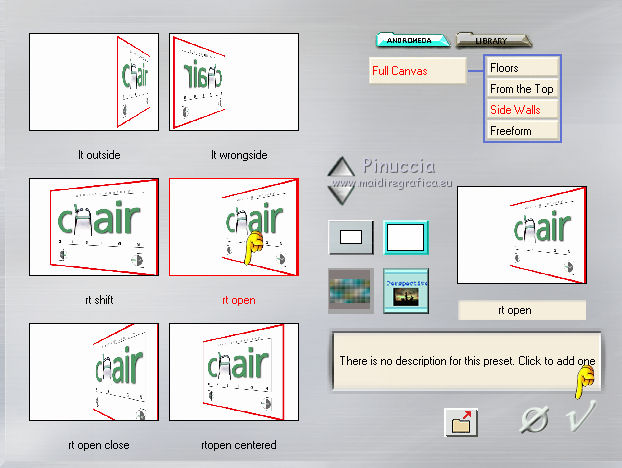
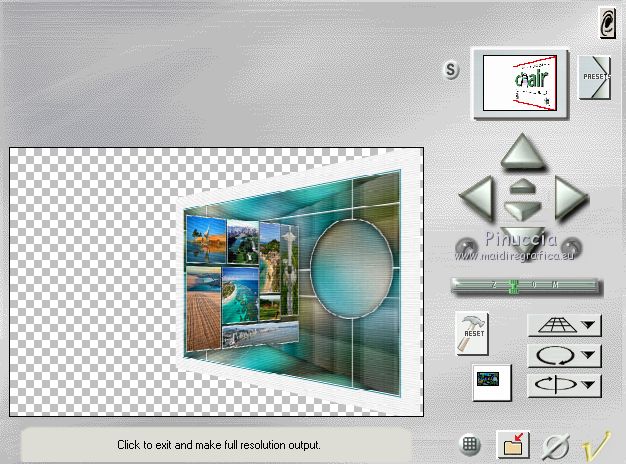
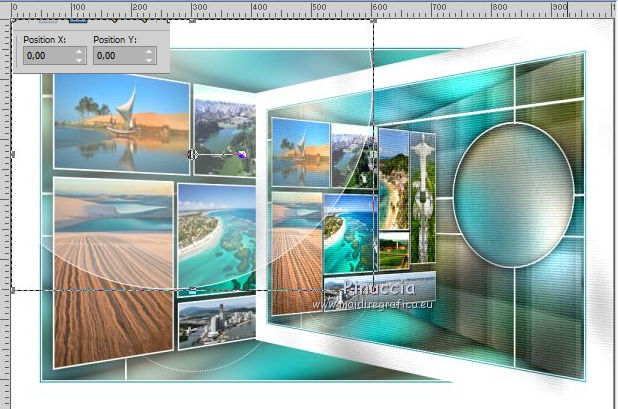
12. Effets>Modules Externes>Andromeda - Perspective.
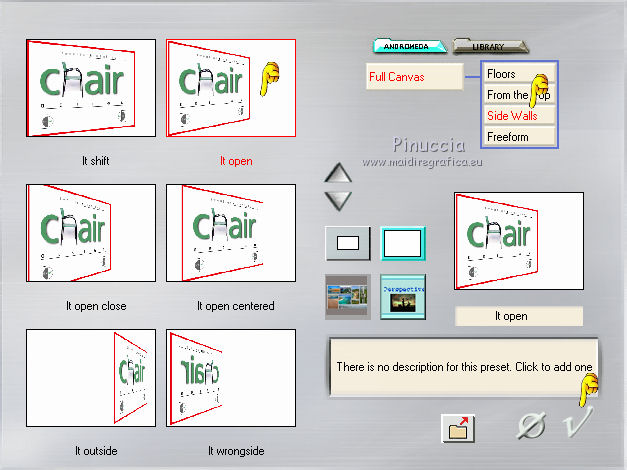
Click on Preset
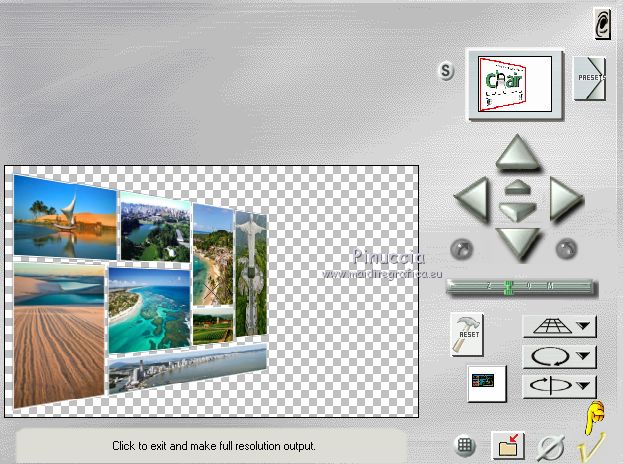
Place the settings and click on the check mark at the bottom right to apply.
Again click on the check mark at the bottom right to close.
13. Activate your bottom layer, Raster 1.
Layers>Duplicate.
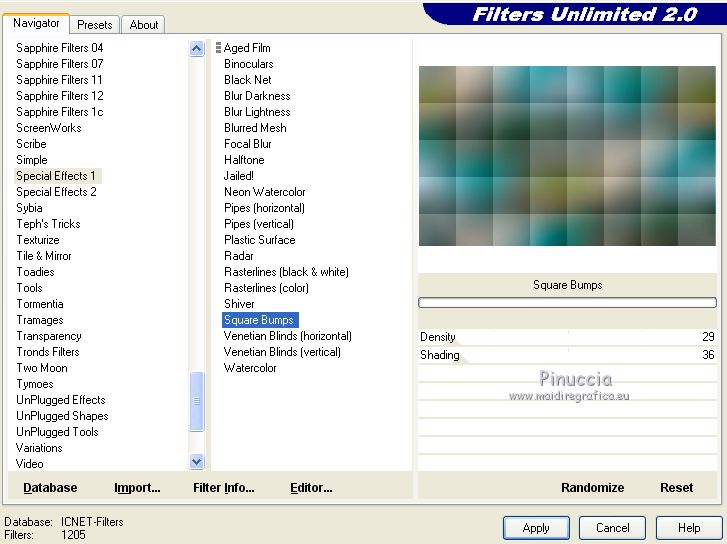
14. Effects>Plugins>Filters Unlimited 2.0 - Special Effects 1 - Square Bumps.
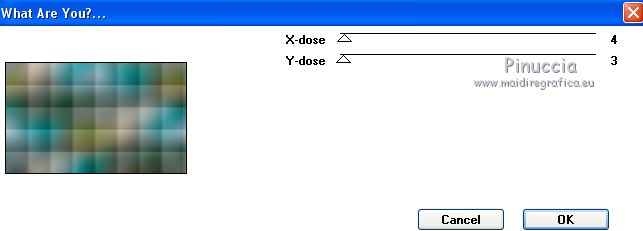
15. Effects>Plugins>Toadies - What are you.
Effects>Edge Effects>Enhance.
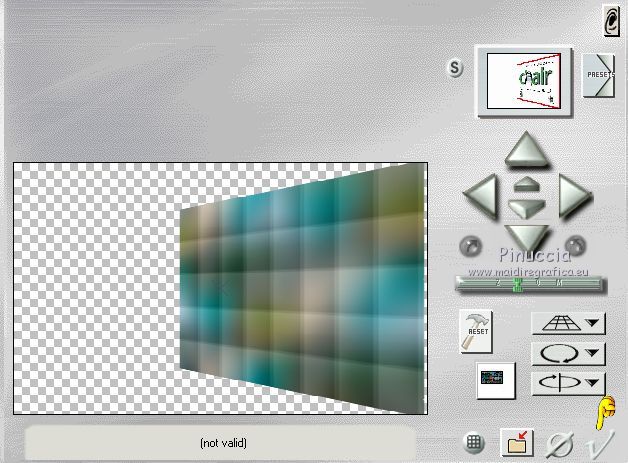
16. Effects>Plugins>Andromeda - Perspective
Click on Preset, to the left change rt open, and click on the check mark at the bottom right to apply.
Again click on the check mark at the bottom right to close.
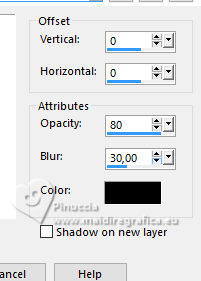
17. Effects>3D Effects>Drop Shadow, color #000000.
18. Activate your bottom layer.
Layers>Duplicate.
Effects>Plugins>Filters Unlimited 2.0 - Liquid Silk Filtersut - Sine Blobs 1.
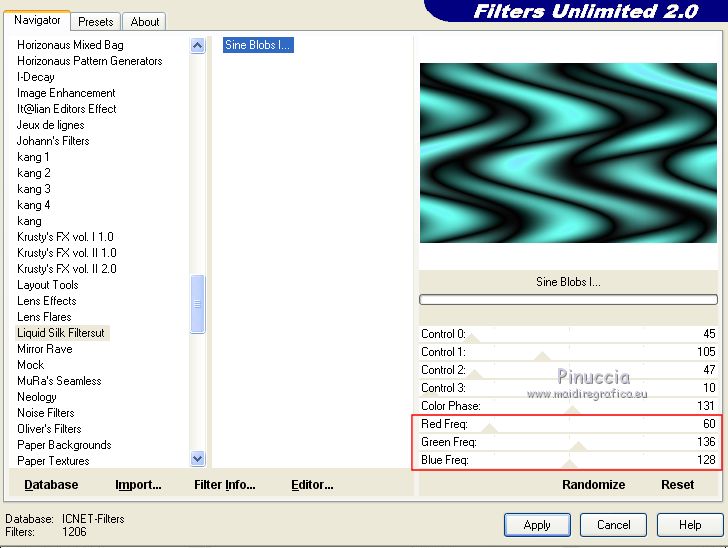
If you user other colors, adapt the settings Red, Green et Blue
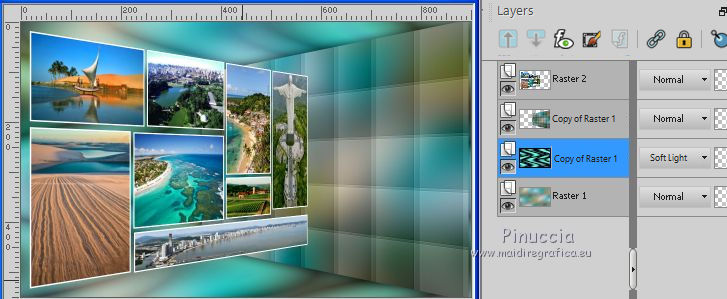
Change the Blend Mode of this layer to Soft Light.
19. Open Deco-1 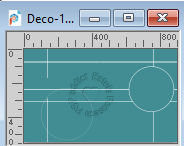
Edit>Copy.
Go back to your work and go to Edit>Paste as new layer.
Layers>Arrange>Move up.
20. Attivate your bottom layer.
Selections>Load/Save Selections>Load Selection from Disk.
Open the selections menu and load the selection selection #10.
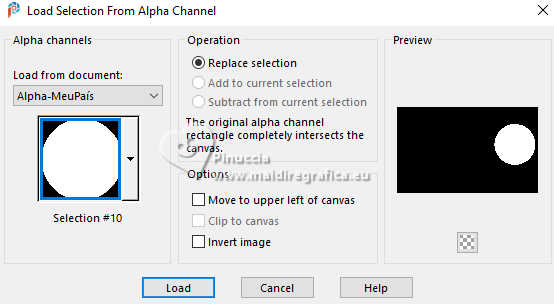
Selections>Promote selection to layer.
Layers>Arrange>Move up - 2 times.
Selections>Select None.
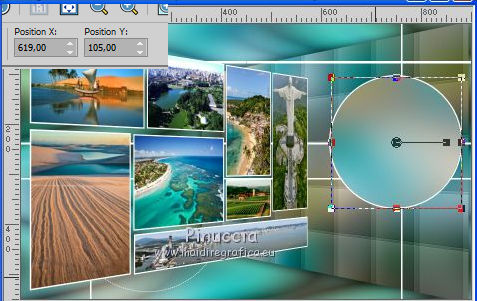
Image>Flip>Flip Horizontal.
attention: here the scripts created to obtain the old Image>Mirror/Image>Flip,
are not usable.
If you are working with a previous version,
you can do, to your taste, Image>Mirror or Image>Reverse,
and then with the Pick Tool 
set Position X: 619.00 and Position Y: 105.00
21. Layers>New Raster Layer.
Selections>Load/Save Selections>Load Selection from Disk.
Open the selections menu and load again the selection selection #10.
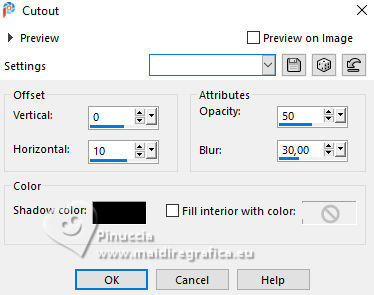
22. Effects>3D Effects>Cutout.

Keep selected.
23. Layers>New Raster Layer.
Effects>3D Effects>Cutout.
24. Layers>Merge>Merge Down - 2 times.
Selections>Select None.
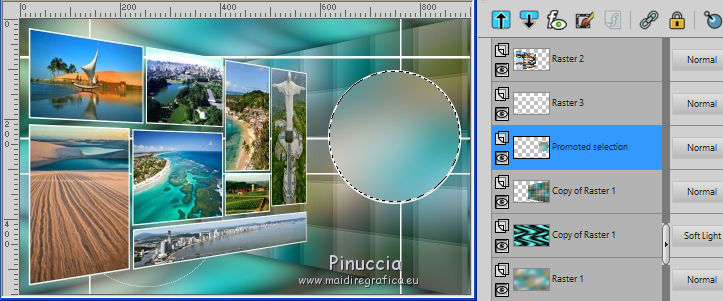
25. Activate the layer Raster 3.
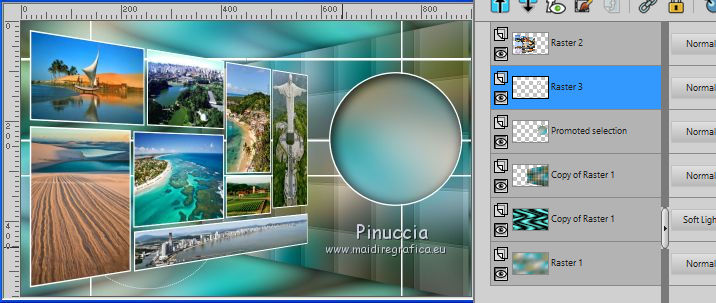
Layers>Merge>Merge Down.
26. Effects>3D Effects>Drop Shadow.
Activate your top layer.
Edit>Repeat Drop Shadow.
27. Image>Add borders, 2 pixels, symmetric, color #ffffff.
Image>Add borders, 2 pixels, symmetric, color #3099ab.
Image>Add borders, 48 pixels, symmetric, color #ffffff.
28. Layers>Duplicate.
Effects>Plugins>Filters Unlimited 2.0 - Paper Texture - Striped paper fine, default settings.

29. Effects>Plugins>Andromeda - Perspective, same settings.
Click on the check mark at the bottom right to close.
30. Objects>Align>Right.
Or, with your Pick Tool
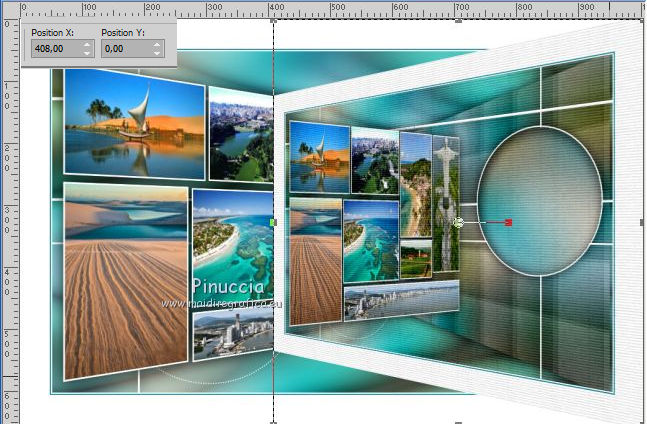
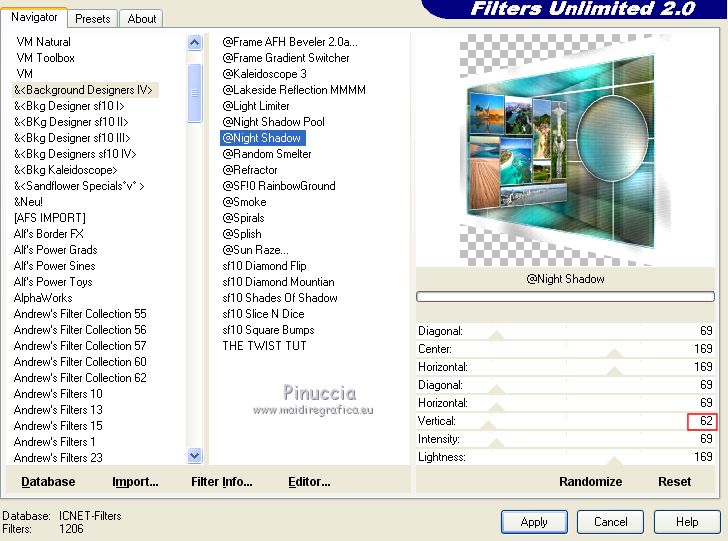
31. Effects>Plugins>Filters Unlimited 2.0 - &<Background Designers IV> - @Night Shadow
32. Open Deco-2 
Edit>Copy.
Go back to your work and go to Edit>Paste as new layer.
Objects>Align>Top.
Objects>Align>Left.
or with your Pick Tool
set Position X and Y to 0,00.
33. Open Texto1 
Edit>Copy.
Go back to your work and go to Edit>Paste as new layer.
K key to activate your Pick Tool
and set Position X: 769,00 and Position Y: 96,00.
34. Image>Add borders, 30 pixels, symmetric, color #339485.
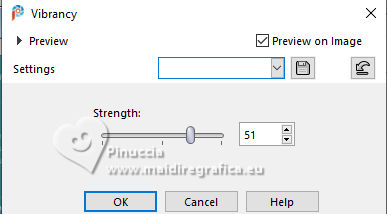
Adjust>Hue and Saturation>Vibrancy.
35. Effects>Plugins>AAA Filters - Transparent Frame.
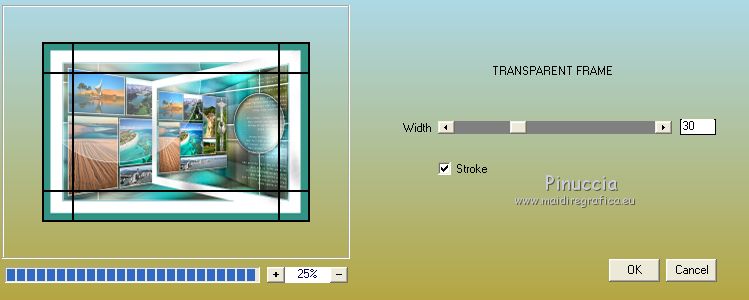
be careful, the version of this filter which is in AAA>Frames does not have the same result.
You have to use the old version found in AAA Filters (the link to unload it is in the filter list).
Both versions can be found together in File Locations.
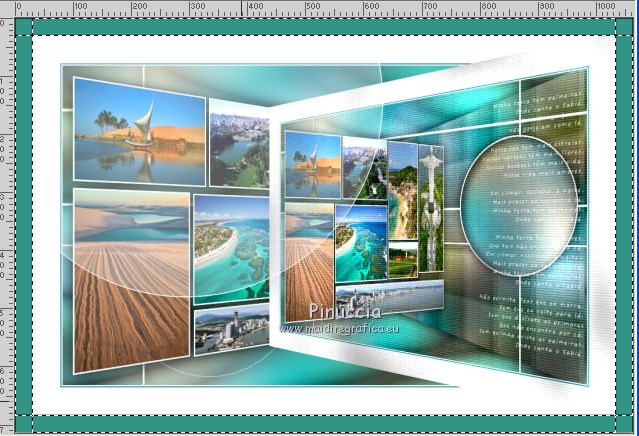
Activate your Magic Wand Tool 
and click on the borders (except the little frames) to select them.
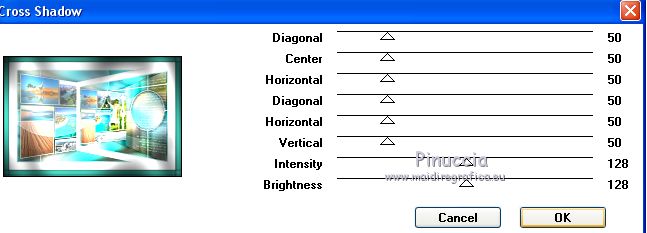
36. Effects>Plugins>Graphics Plus - Cross Shadow, default settings.
37. Effects>Artistic Effects>Halftone.

38. Selections>Invert.
Effects>3D Effects>Drop Shadow.
Selections>Select None.
39. Open the tube beauty_with-bags_by_CibiBijoux 
Edit>Copy.
Go back to your work and go to Edit>Paste as new layer.
Image>Resize, to 90%, resize all layers not checked.
Move  the tube to the left. the tube to the left.
40. Open the tube texto-titulo 
Edit>Copy.
Go back to your work and go to Edit>Paste as new layer.
Move the tube at the bottom right, see my example.
41. Sign your work on a new layer.
Layers>Merge>Merge All and save as jpg.
For the tube of this version thanks Beatriz
The image are of my region, Sicily.

If you have problems or doubts, or you find a not worked link, or only for tell me that you enjoyed this tutorial, write to me.
10 January 2024
|