|
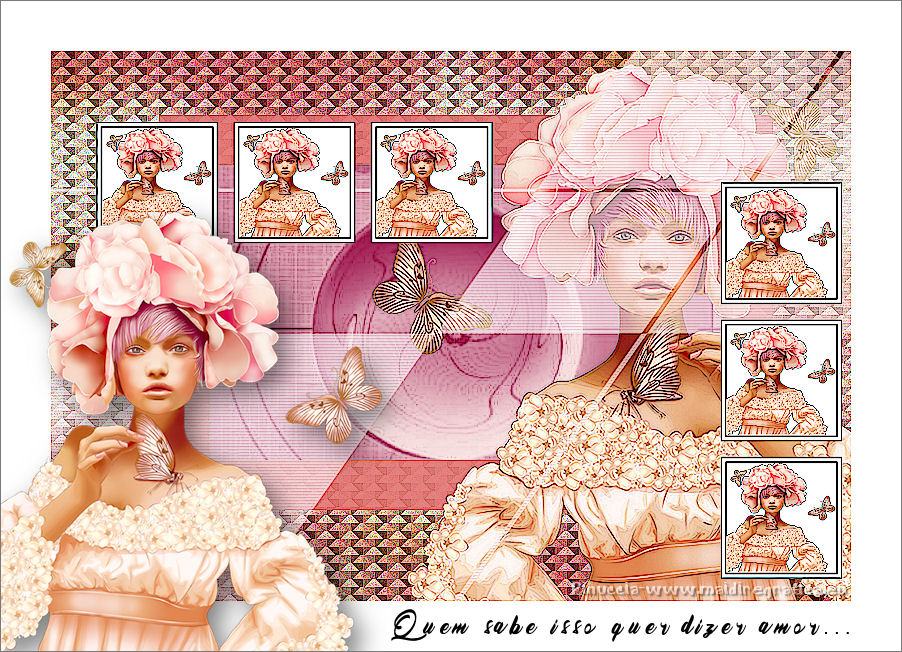
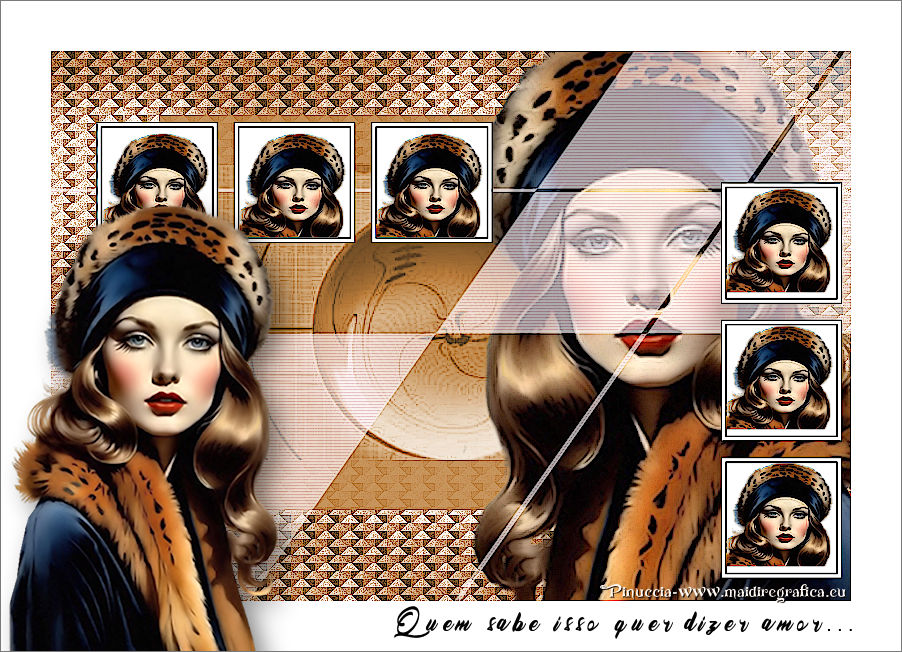
QUEM SABE


Thanks Estela for your invitation to translate your tutorials into english

This tutorial was created with PSP2022 and translated with PspX9, but it can also be made using other versions of PSP.
Since version PSP X4, Image>Mirror was replaced with Image>Flip Horizontal,
and Image>Flip with Image>Flip Vertical, there are some variables.
In versions X5 and X6, the functions have been improved by making available the Objects menu.
In the latest version X7 command Image>Mirror and Image>Flip returned, but with new differences.
See my schedule here
 French Translation here French Translation here
 Your versions here Your versions here

For this tutorial, you will need:

Thanks for the tube Lori Rhae.
The rest of the material is by Estela Fonseca
(The links of the tubemakers here).
*It is forbidden to remove the watermark from the supplied tubes, distribute or modify them,
in order to respect the work of the authors

consult, if necessary, my filter section here
Filters Unlimited 2.0 here
Graphics Plus - Cut Glass here
AAA Filters - Custom here
Alien Skin Eye Candy 5 Impact - Perspective Shadow here
Filters Graphics Plus can be used alone or imported into Filters Unlimited.
(How do, you see here)
If a plugin supplied appears with this icon  it must necessarily be imported into Unlimited it must necessarily be imported into Unlimited

You can change Blend Modes according to your colors.

Copy the selections in the Selections Folder.
Open the masks in PSP and minimize them with the rest of the material.
1. Open a new transparent image 800 x 550 pixels.
Set your foreground color to #e47675,
and your background color to #fff8f3.
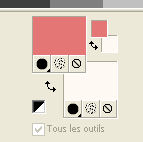
Flood Fill  the transparent image with your foreground color. the transparent image with your foreground color.
2. Selections>Select All.
Open the image Image7MadameButterfly_LR 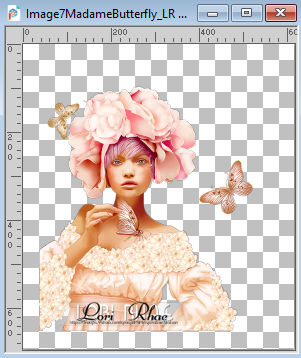
Edit>Copy.
Go back to your work and go to Edit>Paste into Selection.
Selections>Select None.
3. Effects>Image Effects>Seamless Tiling, default settings.

Adjust>Blur>Gaussian Blur - radius 20.

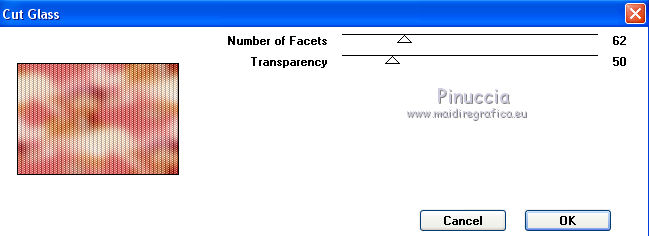
4. Effects>Plugins>Graphics Plus - Cut Glass.
Adjust>Add/Remove Noise>Add Noise.
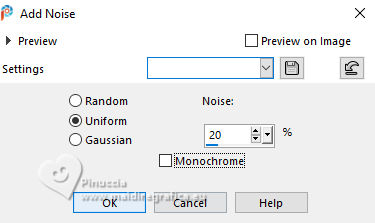
5. Layers>New Raster Layer.
Selections>Load/Save Selection>Load Selection from disk.
Look for and load the selection QuemSabe_1.
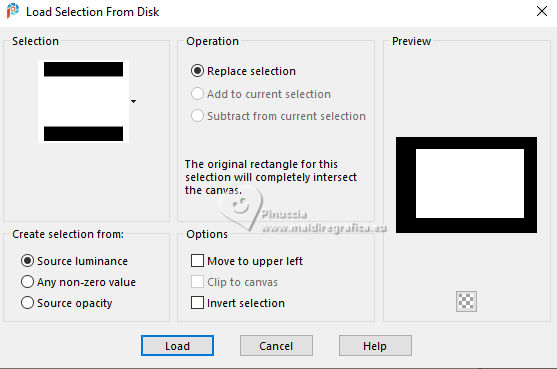
Reduce the opacity of your Flood Fill Tool to 90%.
Flood Fill  the selection with your foreground color. the selection with your foreground color.
Selections>Modify>Contract - 50 pixels.
Flood Fill  the selection with your background color. the selection with your background color.
Set again the opacity of your Flood Fill Tool to 100.
6. Layers>New Raster Layer.
Set your foreground color to #9c134b.
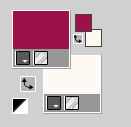
Flood Fill  the selection with your foreground color #9c134b. the selection with your foreground color #9c134b.
Layers>New Mask layer>From image
Open the menu under the source window and you'll see all the files open.
Select the mask 14_sharev_msk.
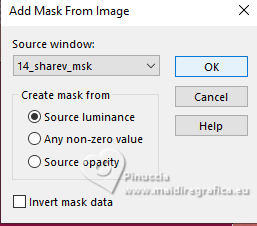
Layers>Merge>Merge Group.
Selections>Select None.
Layers>Merge>Merge visible.
7. Layers>New Raster Layer.
Set your foreground color to white #ffffff.
Flood Fill  the layer with color white. the layer with color white.
Layers>New Mask layer>From image
Open the menu under the source window
and select the mask divinemask_ef.
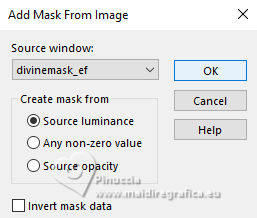
Layers>Merge>Merge Group.
8. Effects>Texture Effects>Blinds - dark color (I used #9c134b).
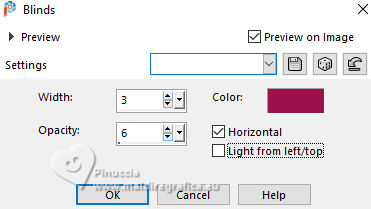
9. Effects>Geometric Effects>Skew.
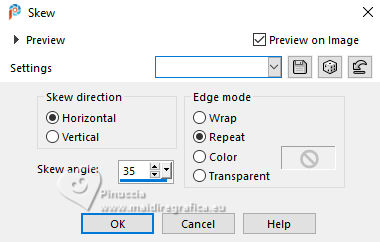
10. Open the tube Deco-1 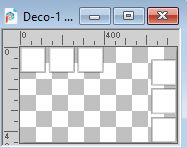
Edit>Copy.
Go back to your work and go to Edit>Paste as new layer.
Effects>Image Effects>Offset.
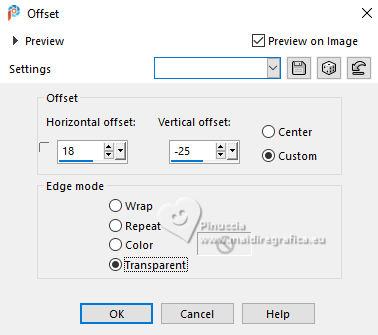
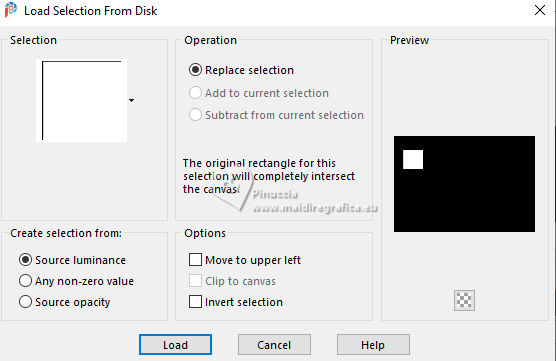
11. Selections>Load/Save Selection>Load Selection from disk.
Look for and load the selection QuemSabe_2.
Layers>New Raster Layer.
Activate again the woman's tube and go to Edit>Copy.
Go back to your work and go to Edit>Paste into Selection.
Selections>Select None.
Adjust>Sharpness>Sharpen.
12. Layers>Duplicate.
Effects>Image Effects>Offset.
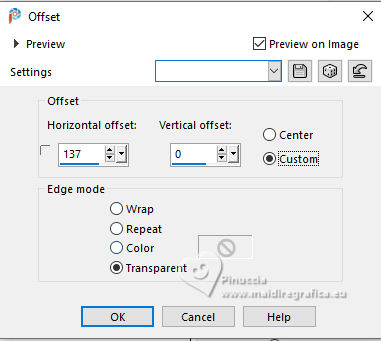
13. Repeat Layers>Duplicate.
Effects>Image Effects>Offset, same settings.

14. Again Layers>Duplicate.
K key on the keyboard to activate your Pick Tool 
and set Position X: 675,00 and Position Y: 137,00.

15. Layers>Duplicate.
Effects>Image Effects>Offset.
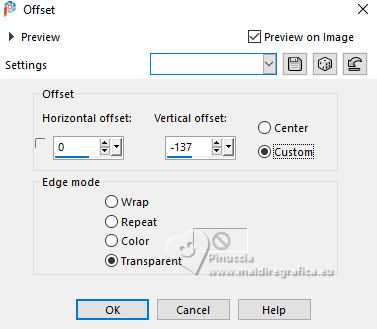
16. Repeat Layers>Duplicate.
Effects>Image Effects>Offset, same settings.

Result
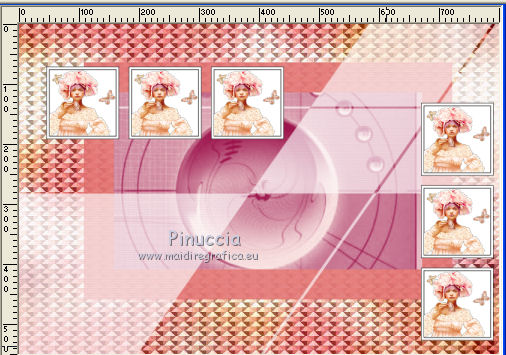
17. Activate the layer Merged.
Edit>Paste as new layer (the woman's tube is still in memory).
Image>Mirror.
Move  the tube to the right. the tube to the right.
18. Layers>Merge>Merge All.
Image>Add borders, 50 pixels, symmetric, color #ffffff.
19. Effects>Plugins>AAA Filters - Custom
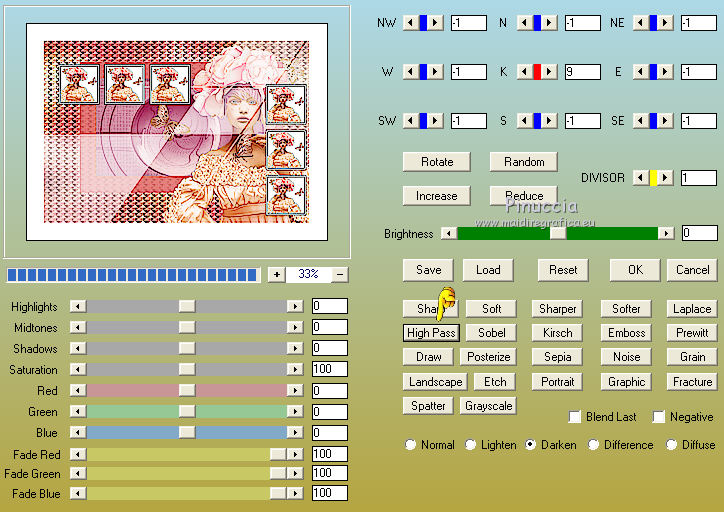
20. Edit>Paste as new layer (the woman's tube is always in memory).
Image>Resize, to 80%, resize all layers not checked.
Move  the tube at the bottom left. the tube at the bottom left.
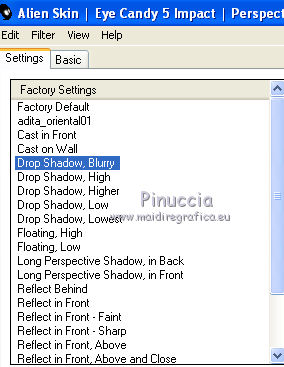
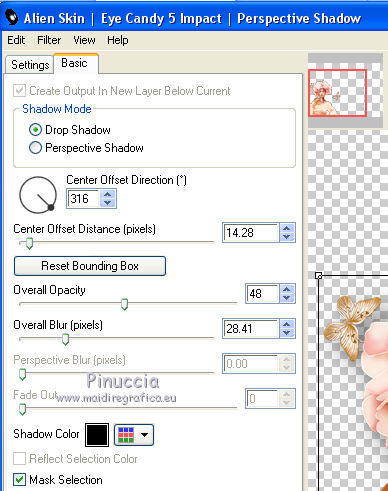
21. Effects>Plugins>Alien Skin Eye Candy 5 Impact - Perspective Shadow.
select the preset Drop Shadow Blurry, with these settings
22. Image>Add borders, 1 pixel, symmetric, color #7a7a7a.
23. Open the text text 
Edit>Copy.
Go back to your work and go to Edit>Paste as new layer.
Move  the text at the bottom right. the text at the bottom right.
24. Sign your work on a new layer.
Layers>Merge>Merge All and save as jpg.
For the tube of this version thanks Luz Cristina


If you have problems or doubts, or you find a not worked link, or only for tell me that you enjoyed this tutorial, write to me.
10 January 2024
|

