|
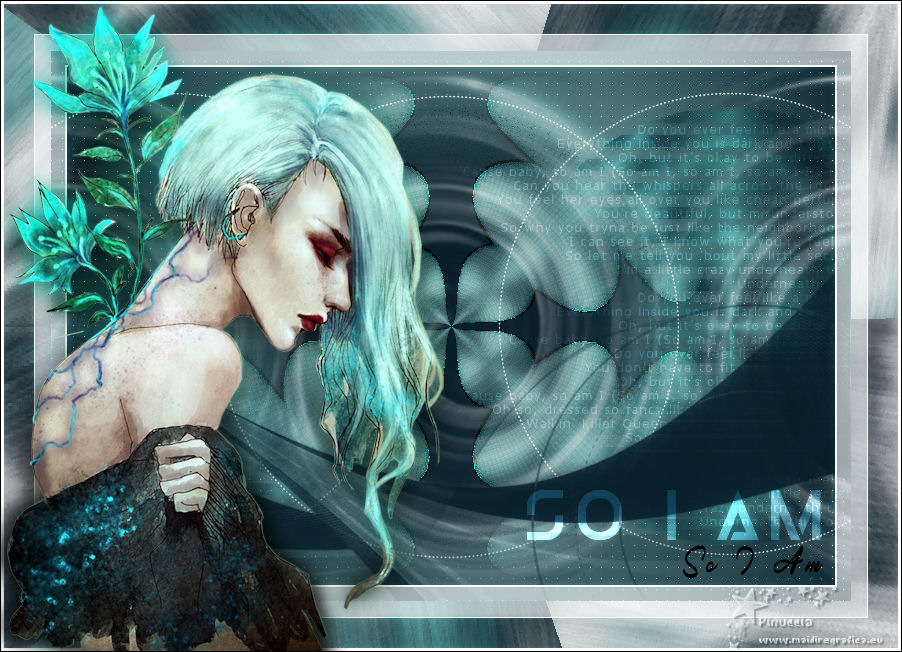
SO I AM


Thanks Estela for your invitation to translate your tutorials into english

This tutorial was created with PSP2022 and translated with PspX9, but it can also be made using other versions of PSP.
Since version PSP X4, Image>Mirror was replaced with Image>Flip Horizontal,
and Image>Flip with Image>Flip Vertical, there are some variables.
In versions X5 and X6, the functions have been improved by making available the Objects menu.
In the latest version X7 command Image>Mirror and Image>Flip returned, but with new differences.
See my schedule here
 French Translation here French Translation here
 Your versions here Your versions here

For this tutorial, you will need:

Thanks for the tube Jen
The rest of the material is by Estela Fonseca
(The links of the tubemakers here).
*It is forbidden to remove the watermark from the supplied tubes, distribute or modify them,
in order to respect the work of the authors

consult, if necessary, my filter section here
Filters Unlimited 2.0 here
Funhouse - Polar Convergance here
DSB Flux - Linear Transmission here
Xero - Fritillary, Radiance here
VM Toolbox - Transparency Dither here
the single effet is in the material
Filters Funhouse and VM Toolbox can be used alone or imported into Filters Unlimited.
(How do, you see here)
If a plugin supplied appears with this icon  it must necessarily be imported into Unlimited it must necessarily be imported into Unlimited

You can change Blend Modes according to your colors.
In the newest versions of PSP, you don't find the foreground/background gradient (Corel_06_029).
You can use the gradients of the older versions.
The Gradient of CorelX here

Copy the selection in the Selection Folder.
Open the mask in PSP and minimize it with the rest of the material.
1. Choose two colors of your tube
Set your foreground color to the light color, for me #bbfaef,
and your background color with a dark color, for me #072432.
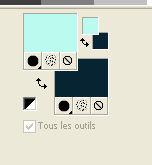
Set your foreground color to a Foreground/Background Gradient, style Sunburst.
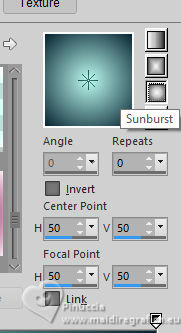
2. Open a new transparent image 800 x 550 pixels.
Flood Fill  the transparent image with your Gradient. the transparent image with your Gradient.
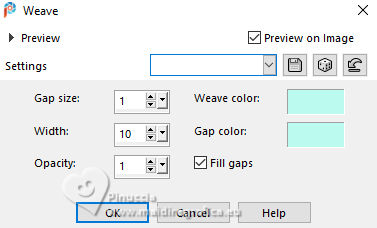
3. Effects>Texture Effects>Weave - both color: foreground color.
4. Change the settings of your Gradient, and select Invert.
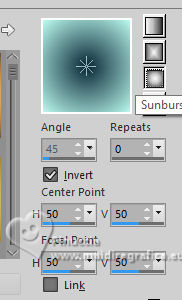
Layers>New Raster Layer.
Flood Fill  the layer with your Gradient. the layer with your Gradient.
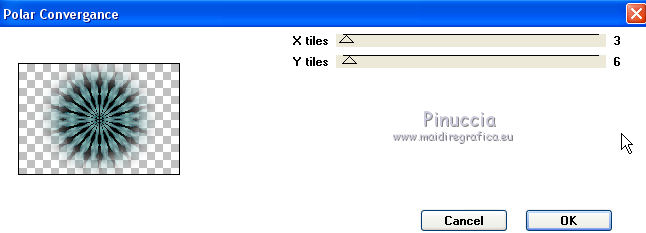
5. Effects>Plugins>Filters Unlimited 2.0 - Funhouse - Polar Convergance, default settings.
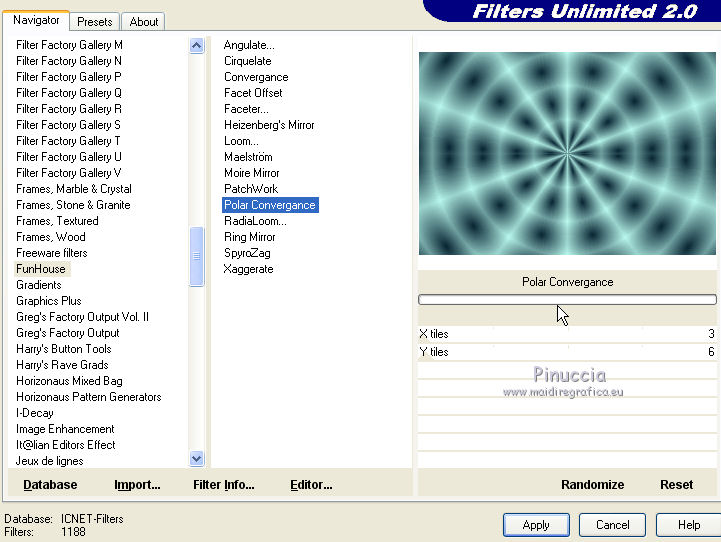
6. Effects>Geometric Effects>Circle

7. Selections>Load/Save Selection>Load Selection from Disk.
Look for and lod the selection soiam_1
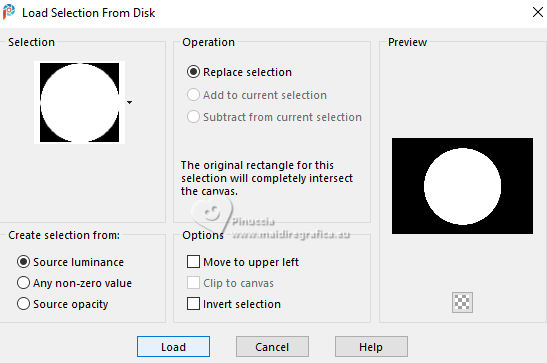
Selections>Invert.
Press CANC on the keyboard 
Selections>Select None.
8. Layers>Duplicate.
Effects>Plugins>DSB Flux - Linear Transmission.
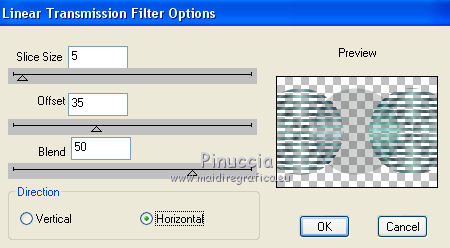
9. Activate the layer below, Raster 2.
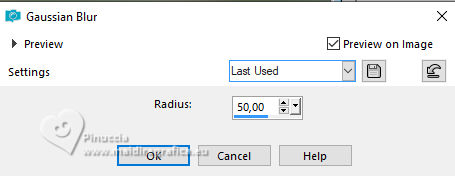
Adjust>Blur>Gaussian Blur - radius 50.
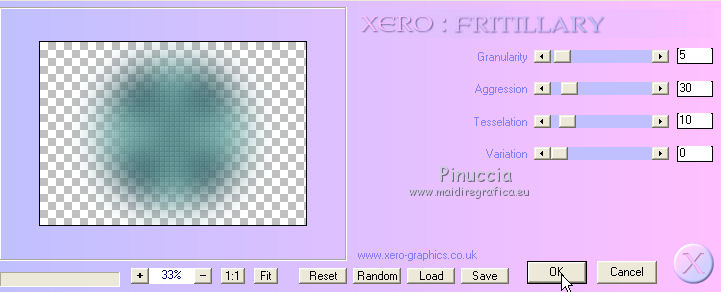
10. Effects>Plugins>Xero - Fritillary.
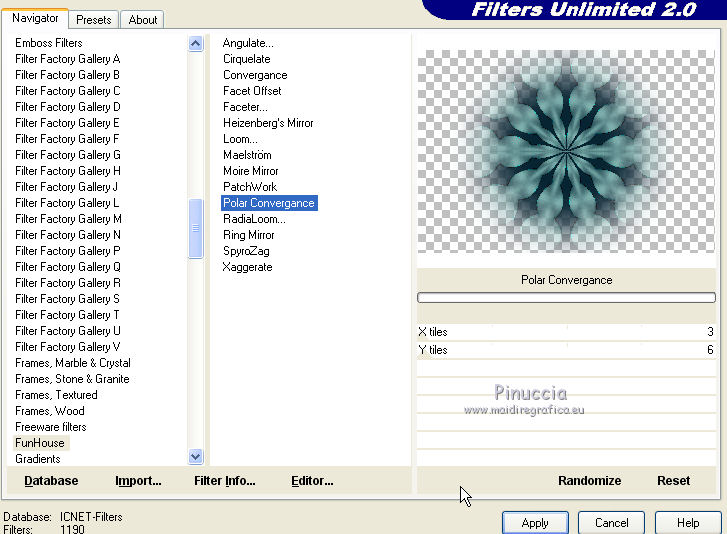
11. Effects>Plugins>Filters Unlimited 2.0 - Funhouse - Polar Convergance, default settings.
attention, if you get a different result, for example as below
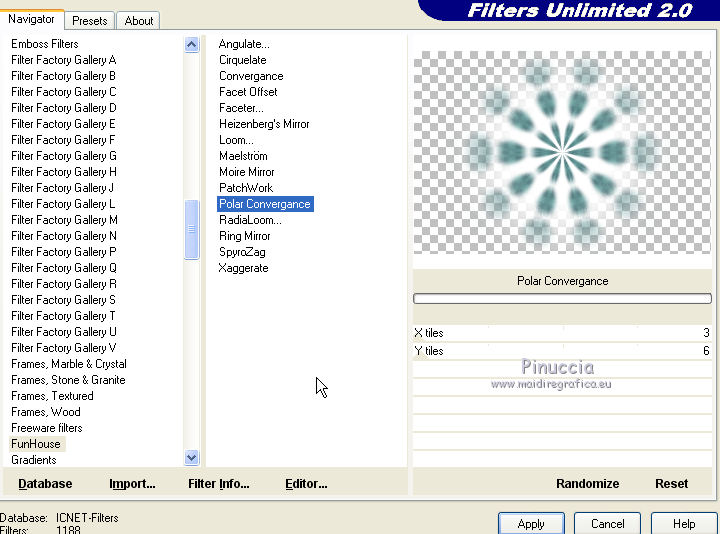
you can get to good result without importing it in Unlimited
Layers>Arrange>Move Up.
12. Activate the layer below, Copy of Raster 2.
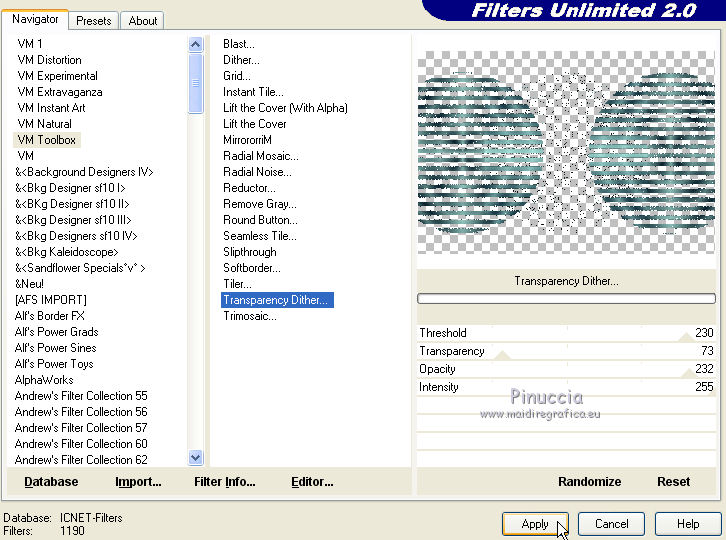
Effects>Plugins>Filters Unlimited 2.0 - VM Toolbox - Transparency Dither
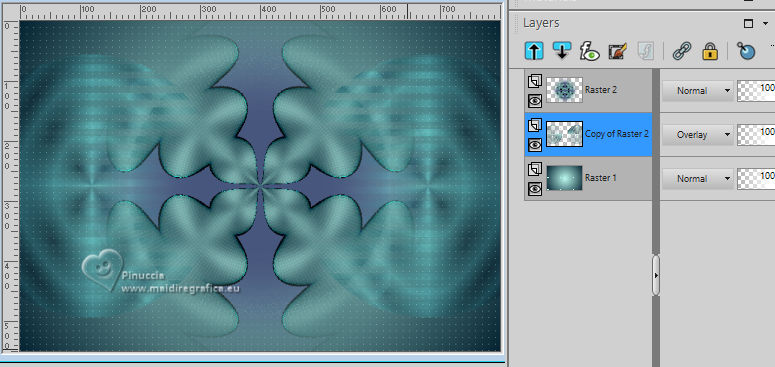
13. Effects>Image Effects>Seamless Tiling.

Change the Blend Mode of this layer to Overlay.
14. Layers>Merge>Merge visible.
15. Open Deco1 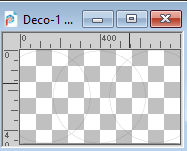
Edit>Copy.
Go back to your work and go to Edit>Paste as new layer.
Open Deco2 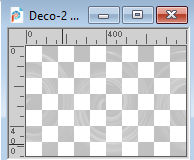
Edit>Copy.
Go back to your work and go to Edit>Paste as new layer.
Open Texto-2 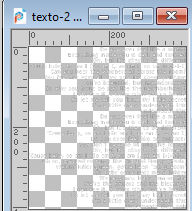
Edit>Copy.
Go back to your work and go to Edit>Paste as new layer.
Objects>Align>Right
or move  the text tot he right. the text tot he right.
Change the Blend Mode of this layer to Overlay and reduce the opacity to 36%.
16. Layers>New Raster Layer.
Flood Fill  the layer with your background color. the layer with your background color.
Layers>New Mask layer>From image
Open the menu under the source window and you'll see all the files open.
Select the mask EF_Mask_019.
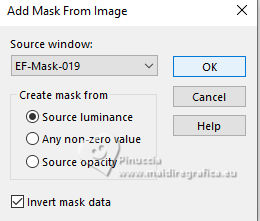
Layers>Duplicate.
Layers>Merge>Merge Group.
17. Edit>Copy Special>Copy Merged.
Open Frame 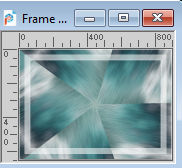
Edit>Paste as new layer.
Layers>Arrange>Move Down.
Colorize, if necessary.
18. Layers>Merge>Merge visible.
19. Open Jen_Vrouw 982 30-4-2019 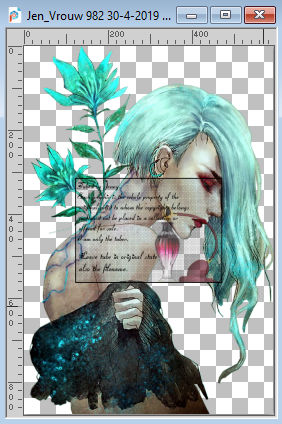
Edit>Copy.
Go back to your work and go to Edit>Paste as new layer.
Image>Resize, to 75%, resize all layers not checked.
Move  the tube to the right. the tube to the right.
Layers>Duplicate.
Activate the layer below of the original.
Adjust>Blur>Gaussian Blur - radius 12.
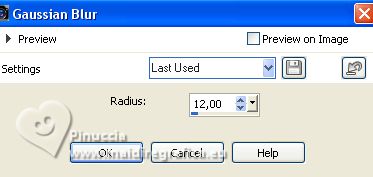
Change the Blend Mode of this layer to Multiply.
20. Open Texto-1 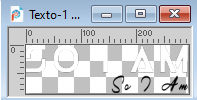
Edit>Copy.
Go back to your work and go to Edit>Paste as new layer.
Move  the tube at the bottom left. the tube at the bottom left.
Change the Blend Mode to Overlay (optional).
21. Sign your work on a new layer.
22. Layers>Merge>Merge visible.
Effects>Plugins>Xero - Radiance.
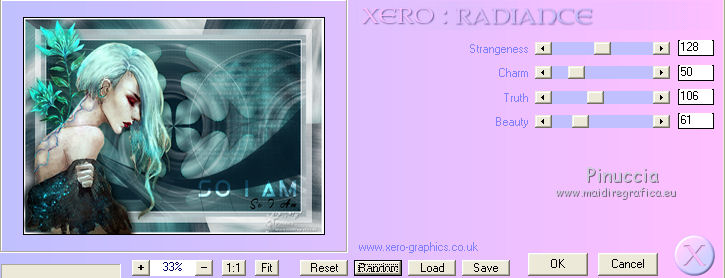
23. Image>Add borders, 1 pixel, symmetric, color black.
Save as jpg.
For the tubes of these versions thanks
Beatriz
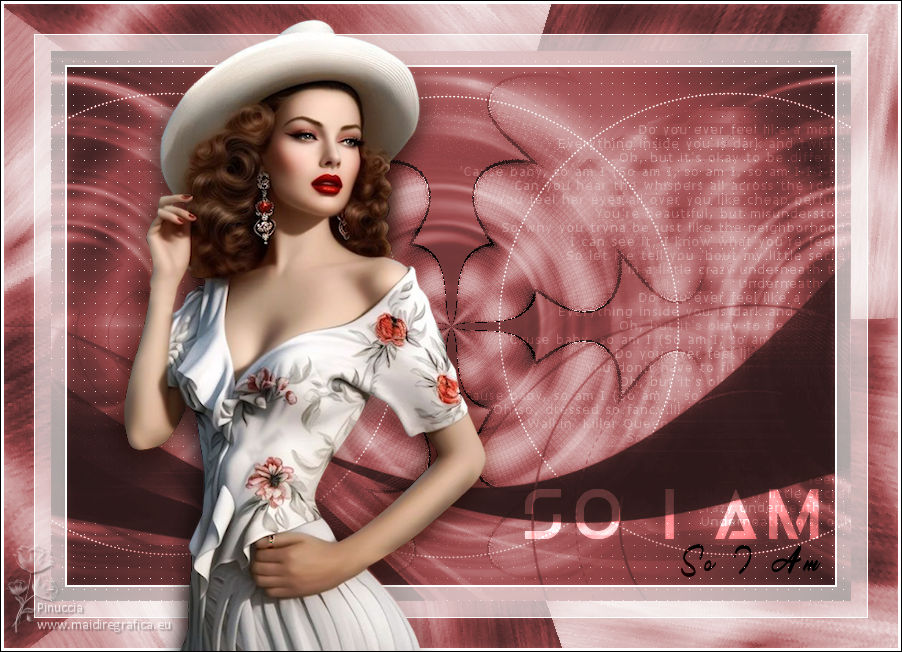
Luz Cristina
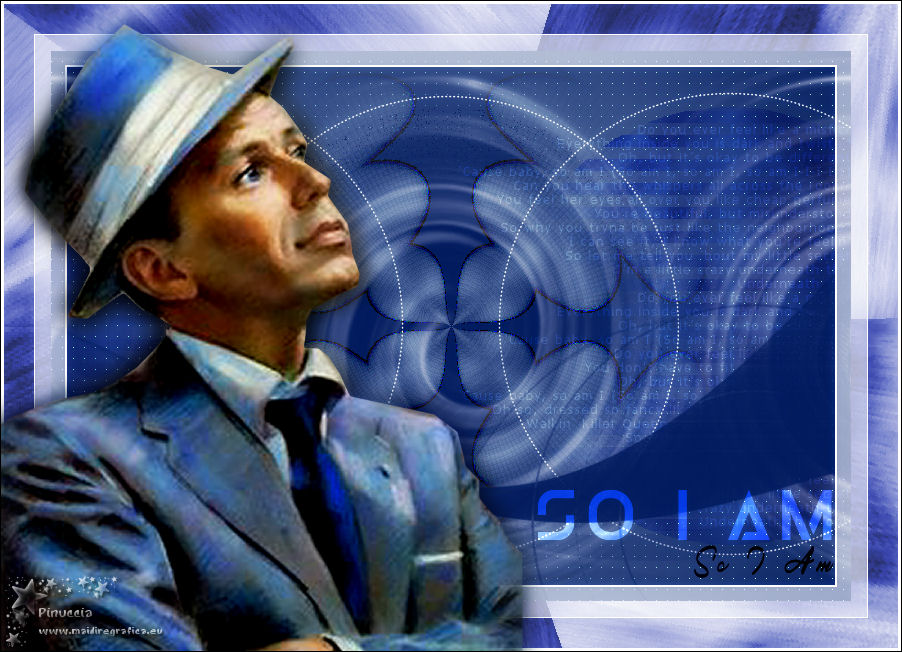


If you have problems or doubts, or you find a not worked link, or only for tell me that you enjoyed this tutorial, write to me.
10 January 2024
|

