|
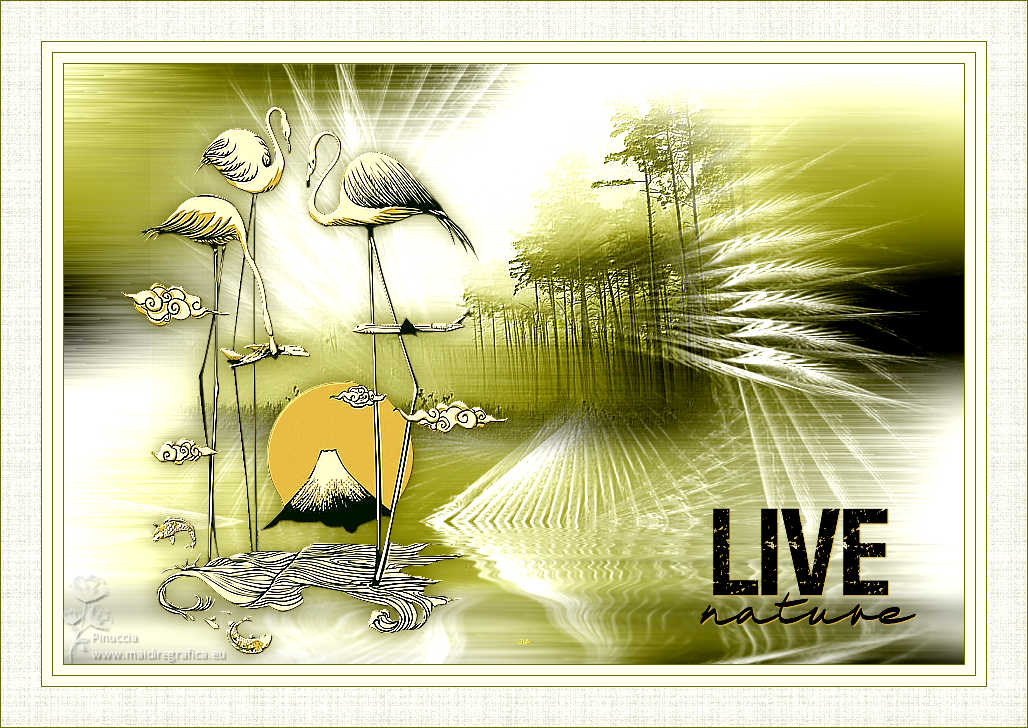
LIVE NATURE


Thanks Estela for your invitation to translate your tutorials into english

This tutorial was created with PSP2022 and translated with PspX9, but it can also be made using other versions of PSP.
Since version PSP X4, Image>Mirror was replaced with Image>Flip Horizontal,
and Image>Flip with Image>Flip Vertical, there are some variables.
In versions X5 and X6, the functions have been improved by making available the Objects menu.
In the latest version X7 command Image>Mirror and Image>Flip returned, but with new differences.
See my schedule here
 French Translation here French Translation here
 Your versions here Your versions here
For this tutorial, you will need:

Thanks for the tube kTs and for the masks @nn and Narah.
(The links of the tubemakers here).
*It is forbidden to remove the watermark from the supplied tubes, distribute or modify them,
in order to respect the work of the authors

consult, if necessary, my filter section here
Filters Unlimited 2.0 here
FM Tile Tools - Blend Emboss, Saturation Emboss here
Flaming Pear - Flood here
VM Toolbox - Blast here
Texturize - Raw Canvas (to import dans Unlimited) here
Filters VM Toolbox can be used alone or imported into Filters Unlimited.
(How do, you see here)
If a plugin supplied appears with this icon  it must necessarily be imported into Unlimited it must necessarily be imported into Unlimited

You can change Blend Modes according to your colors.

Copy the mask @nn_180412_mask 087 tdstudio in the Masks Folder.
Open the Narah's mask in PSP and minimize it with the rest of the material.
1. Open a new transparent image 900 x 600 pixels.
2. Selections>Select All.
Open the jpg image 1d4eafffa08...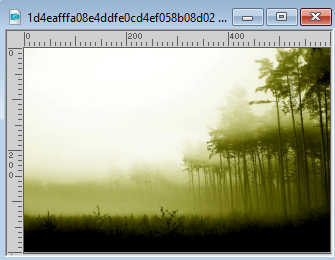
Edit>Copy.
Go back to your work and go to Edit>Paste into Selection.
Selections>Select None.
3. Effects>Image Effects>Seamless Tiling, default settings.

4. Adjust>Blur>Gaussian Blur - radius 30.

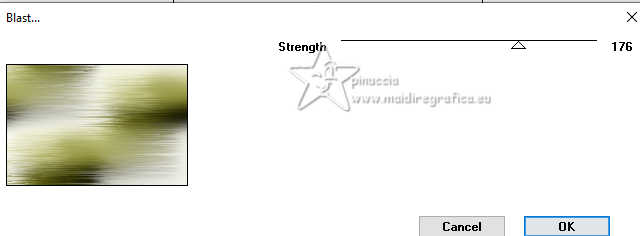
5. Effects>Plugins>VM Toolbox - Blast.
6. Set your foreground color to white #ffffff.
Layers>New Raster Layer.
Flood Fill  the layer with color white. the layer with color white.
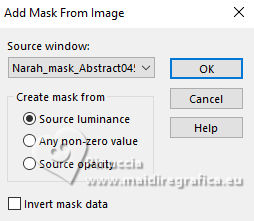
7. Layers>New Mask layer>From image
Open the menu under the source window and you'll see all the files open.
Select the mask Narah_mask_Abstract045.
Adjust>Sharpness>Sharpen More.
Layers>Merge>Merge Group.
Layers>Merge>Merge Down.
8. Activate again your jpg image.
On this image:
Layers>Load/Save Mask>Load Mask from Disk.
Look for and load the mask @nn_180412_mask 087 tdstudio
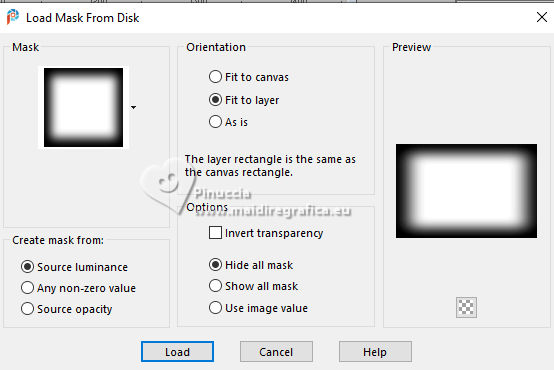
Layers>Merge>Merge Group.
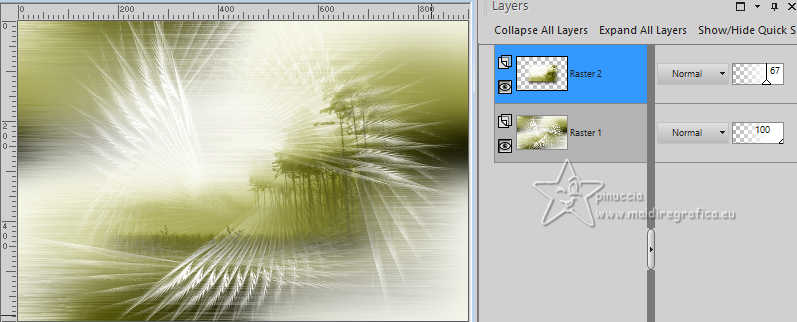
Edit>Copy.
Go back to your work and go to Edit>Paste as new layer.
Reduce the opacity of this layer to 67%.
9. K key on the keyboard to activate your Pick Tool 
and set Position X: 87,00 and Position Y: 13,00.
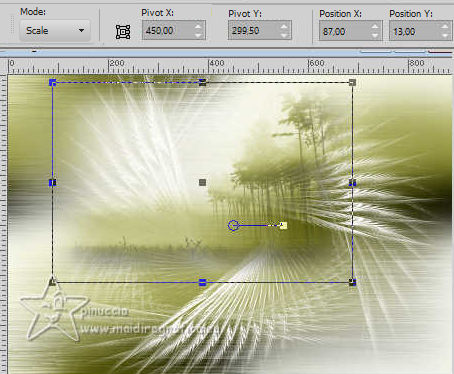
M key to deselect the Tool.
Adjust>Sharpness>Sharpen More.
10. Effects>Plugins>FM Tile Tools - Blend Emboss, default settings.

11. Open the tube kTs_08_Bhp_79 copie 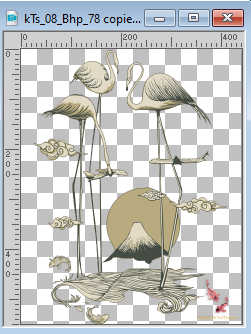
Erase the watermark and go to Edit>Copy.
Go back to your work and go to Edit>Paste as new layer.
Move  the tube to the left side. the tube to the left side.
Adjust>Sharpness>Sharpen.
12. Effects>Plugins>FM Tile Tools - Saturation Emboss (optional)

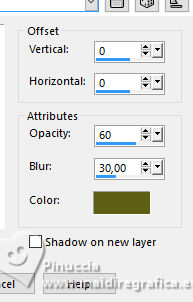
13. Effects>3D Effects>Drop Shadow, color #605e18.
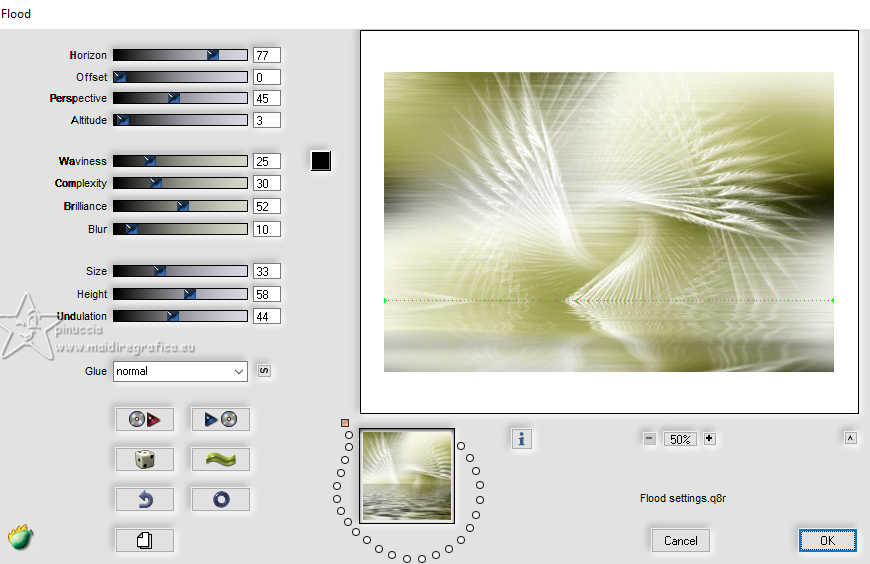
14. Activate the layer Raster 1.
Effects>Plugins>Flaming Pear - Flood
15. Activate your top layer.
Open the text texto-live 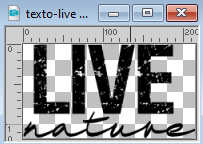
Edit>Copy.
Go back to your work and go to Edit>Paste as new layer.
Move  the texte at the bottom right, or to your liking. the texte at the bottom right, or to your liking.
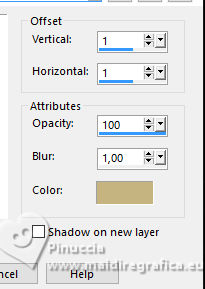
16. Effects>3D Effects>Drop Shadow, color #cdb46d.
17. Layers>Merge>Merge All.
18. Optional: Adjust>Brightness and Contrast>Brightness and Contrast.
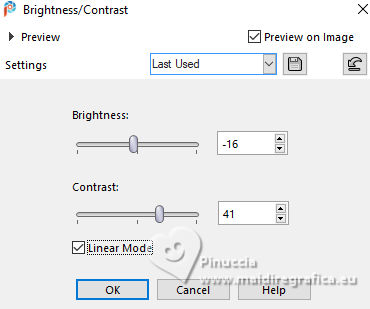
19. Image>Add borders, 1 pixel, symmetric, color #676a03.
Image>Add borders, 10 pixels, symmetric, color #fffff2.
Image>Add borders, 1 pixel, symmetric, color #676a03.
Image>Add borders, 10 pixels, symmetric, color #fffff2.
Image>Add borders, 1 pixel, symmetric, color #676a03.
20. Selections>Select All.
Image>Add borders, 40 pixels, symmetric, color #fffff2.
Selections>Invert.
Effects>Plugins>Filters Unlimited 2.0 - Texturize - Raw Canvas, default settings.
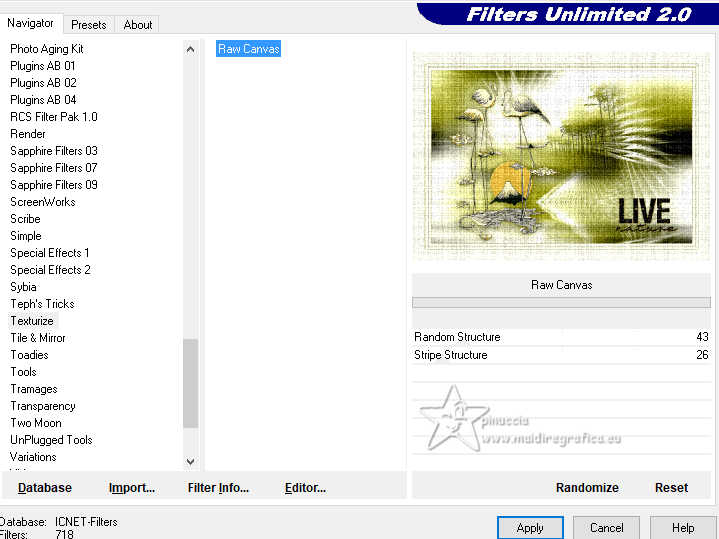
Selections>Select None.
21. Image>Add borders, 1 pixel, symmetric, color #676a03.
22. Sign your work on a new lyaer.
Layers>Merge>Merge All and save as jpg.
For the tubes thanks Lizztish and Leloo



If you have problems or doubts, or you find a not worked link, or only for tell me that you enjoyed this tutorial, write to me.
23 January 2024

|

