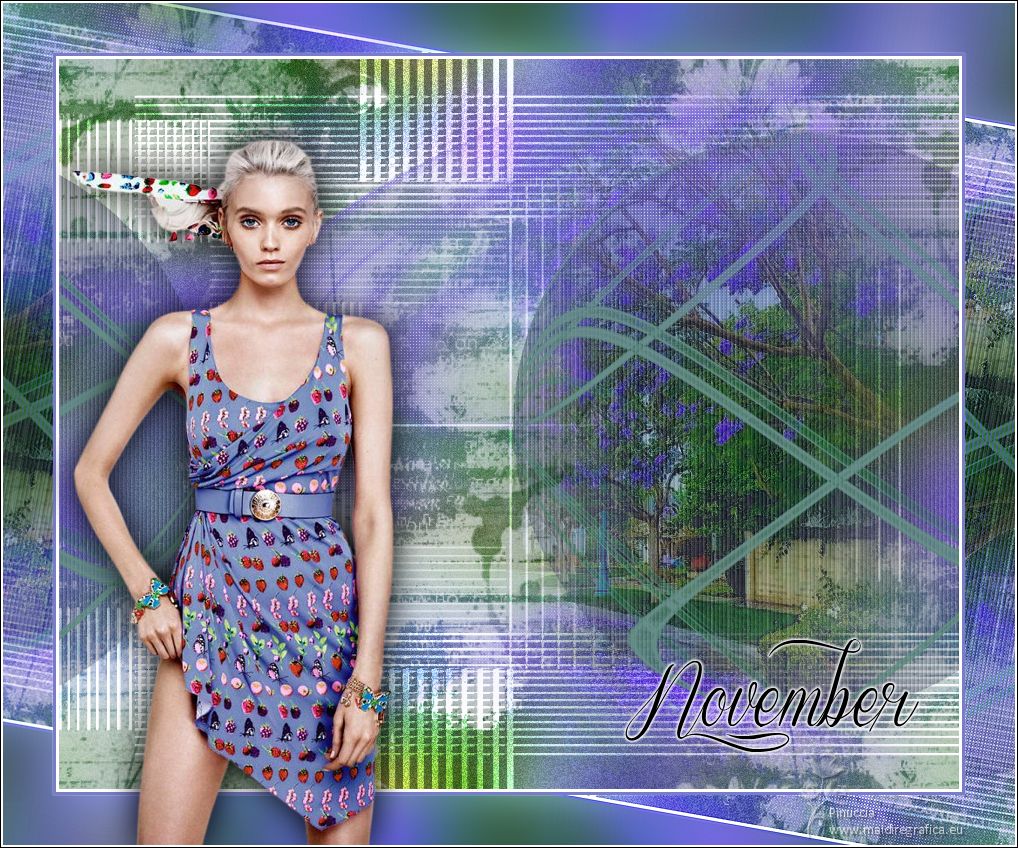
|
NOVEMBRO


Thanks Estela for your invitation to translate your tutorials into english

This tutorial was translated with PspX17, but it can also be made using other versions of PSP.
Since version PSP X4, Image>Mirror was replaced with Image>Flip Horizontal,
and Image>Flip with Image>Flip Vertical, there are some variables.
In versions X5 and X6, the functions have been improved by making available the Objects menu.
In the latest version X7 command Image>Mirror and Image>Flip returned, but with new differences.
See my schedule here
 French Translation here French Translation here
 Your versions here Your versions here
For this tutorial, you will need:

For the tube thanks PqnaAlice.
for the mask thanks Narah.
Image de Pinterest.
The rest of the material is by Estela Fonseca.
(The links of the tubemakers here).
*It is forbidden to remove the watermark from the supplied tubes, distribute or modify them,
in order to respect the work of the authors

consult, if necessary, my filter section here
Filters Unlimited 2.0 here
AP 01 [Innovations] - Lines SilverLining here
Alien Skin Eye Candy 5 Impact - Perspective Shadow here
FM Tile Tools - Metallic Emboss here

You can change Blend Modes according to your colors.

Copy the preset Emboss 3 in the Presets Folder.
Open the masks in PSP and minimize them with the rest of the material.
1. Open the background image EF-Novembro_Fundo 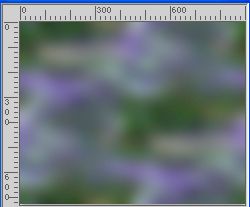
This image will be the basis of your work.
Layers>Promote Background Layer.
Note: If you Si vous travaillez with another color,
choose a dark color from your tube.
Add a new layer and flood fill it with this color.
Finally, place the layer in Overlay mode, reduce the opacity to 55%,
and Merge down.
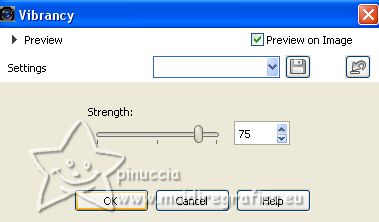
2. Adjust>Hue and Saturation>Vibrancy.
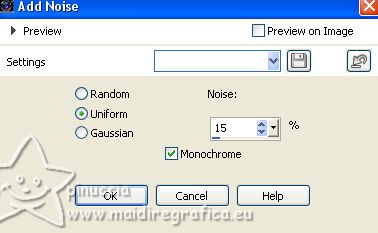
Adjust>Add/Remove Noise>Add Noise.
3. Set your foreground color to white #ffffff.
Layers>New Raster Layer.
Flood Fill  the layer with color white #ffffff. the layer with color white #ffffff.
4. Layers>New Mask layer>From image
Open the menu under the source window and you'll see all the files open.
Select the mask TMGrungeC
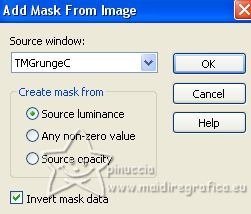
Layers>Duplicate - 2 times.
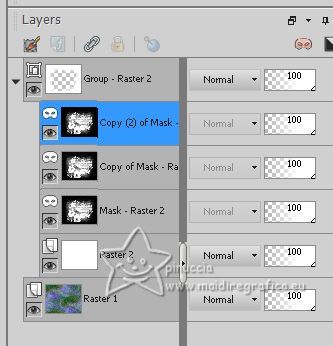
Layers>Merge>Merge Group.
Reduce the opacity of this layer to 65%.
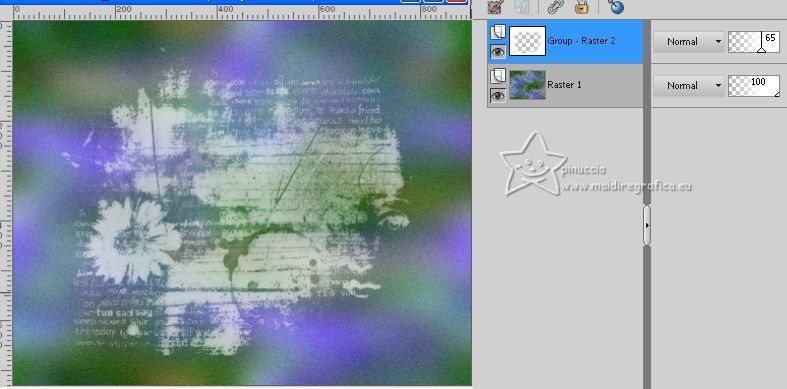
5. Effects>Image Effects>Seamless Tiling, defaut settings.

Layers>Merge>Merge Down.
6. Open the tube EF-Misted_25_06_2023 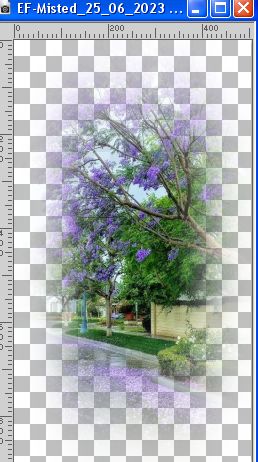
Edit>Copy.
Go back to your work and go to Edit>Paste as new layer.
Move  the tube to the right. the tube to the right.
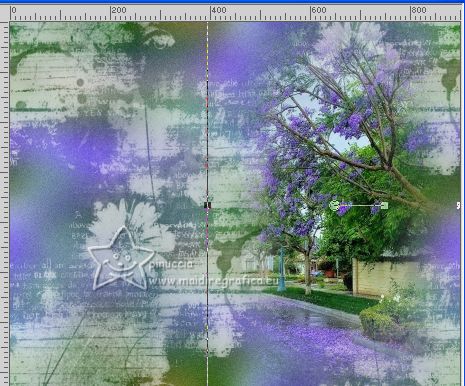
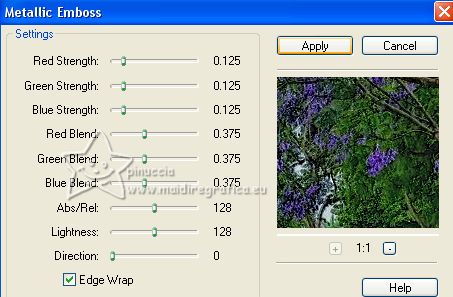
7. Effects>Plugins>FM Tile Tools - Metallic Emboss, default settings.
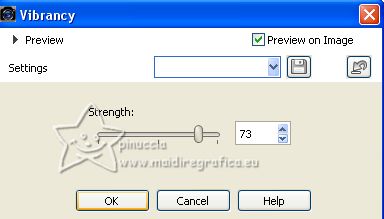
8. Adjust>Hue and Saturation>Vibrancy.
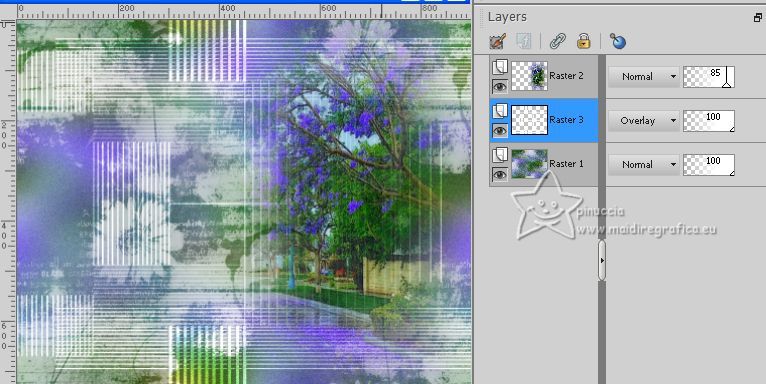
Reduce the opacity of this layer to 85%.
9. Open the tube EF-Novembro_Deco_1 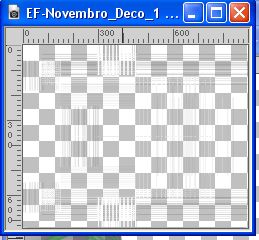
Edit>Copy.
Go back to your work and go to Edit>Paste as new layer.
10. Effects>User Defined Filter - select the Emboss 3 and ok.

Layers>Arrange>Move Down.
Change the Blend Mode of this layer to Overlay.
11. Activate your top layer.
Open the tube EF-Novembro_Deco_2 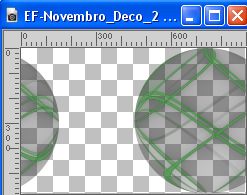
Edit>Copy.
Go back to your work and go to Edit>Paste as new layer.
Colorize, if you use other colors.
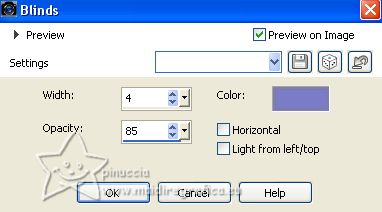
12. Effects>Texture Effects>Blinds - color #7a7cc7
13. Set your foreground color to #6c58d4  . .
Layers>New Raster Layer.
Flood Fill  the layer with your foreground color #6c58d4 the layer with your foreground color #6c58d4  . .
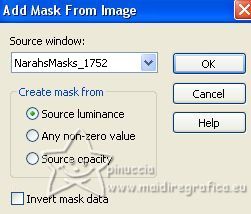
14. Layers>New Mask layer>From image
Open the menu under the source window
and select the mask NarahMasks_1752
Layers>Merge>Merge Group.
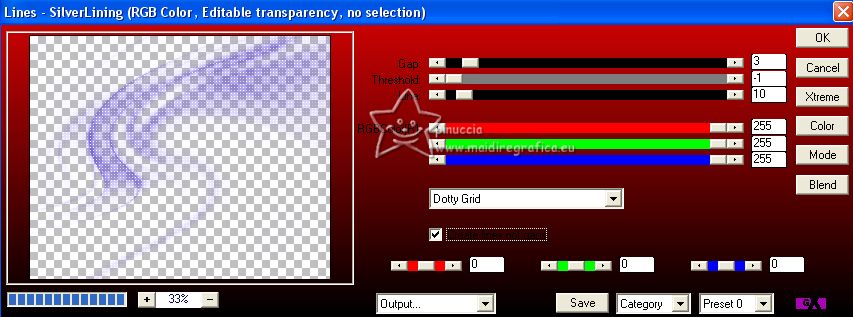
15. Effects>Plugins>AP 01 [Innovations] - Lines SilverLining.
16. Image>Add borders, 3 pixels, symmetric, color #ffffff.
Image>Add borders, 3 pixels, symmetric, color #7a7cc7 
17. Selections>Select All.
Image>Add borders, 50 pixels, symmetric, color #ffffff.
Selections>Invert.
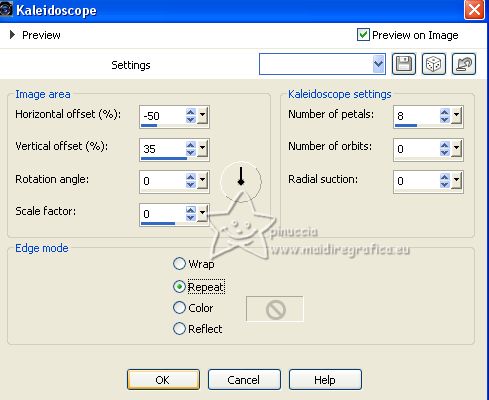
18. Effects>Reflection Effects>Kaleidoscope.
19. Adjust>Blur>Gaussian Blur - radius 30

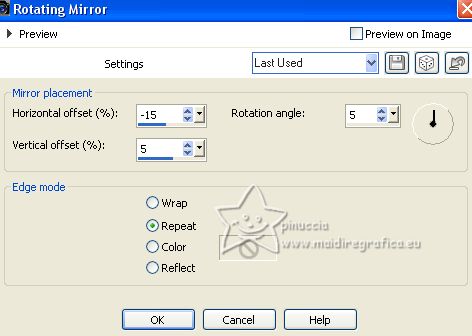
Effects>Reflection Effects>Rotating Mirror.
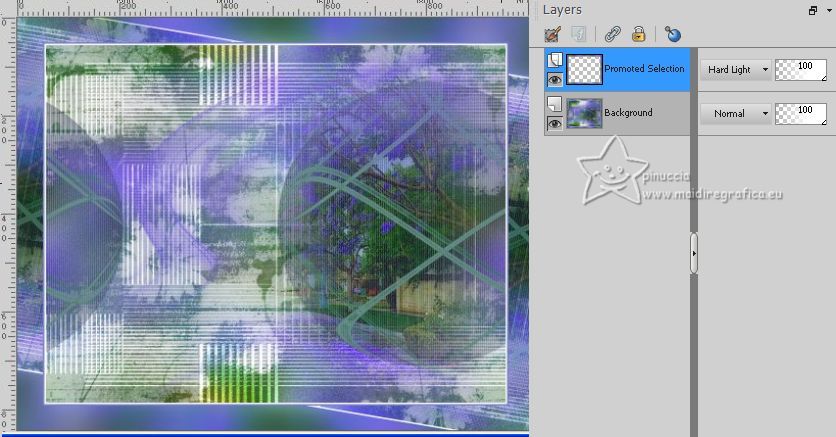
20. Selections>Promote Selection to Layer.
Selections>Select None.
21. Image>Mirror.
Image>Flip.
Change the Blend Mode of this layer to Hard Light.
Adjust>Sharpness>Sharpen.
22. Open the woman's tube 902MulherByPqnaAlice 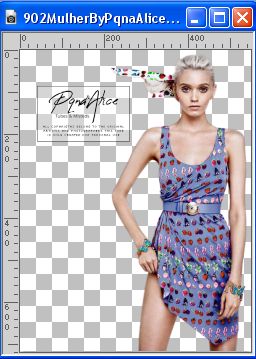
Erase the watermark Edit>Copy.
Go back to your work and go to Edit>Paste as new layer.
Move  the tube to the left. the tube to the left.
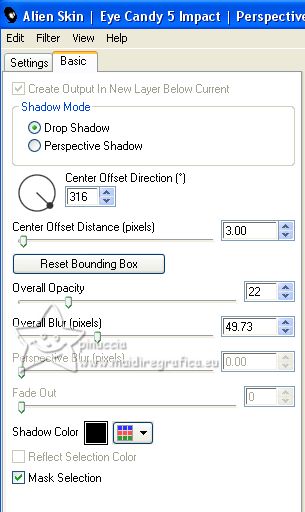
23. Effects>Plugins>Alien Skin Eye Candy 5 Impact - Perspective Shadow.
24. Open EF-Novembro_Texto 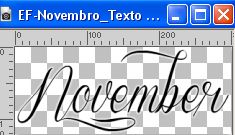
Édition>Copier.
Revenir sur votre travail et Édition>Coller comme nouveau calque.
Move  the tube at the bottom right, or to your liking. the tube at the bottom right, or to your liking.
25. Sign your work.
26. Image>Add borders, 2 pixels, symmetric, color #ffffff.
Image>Add borders, 1 pixel, symmetric, color #000000.
Save as jpg.
For the tubes of this version thanks Suizabella.
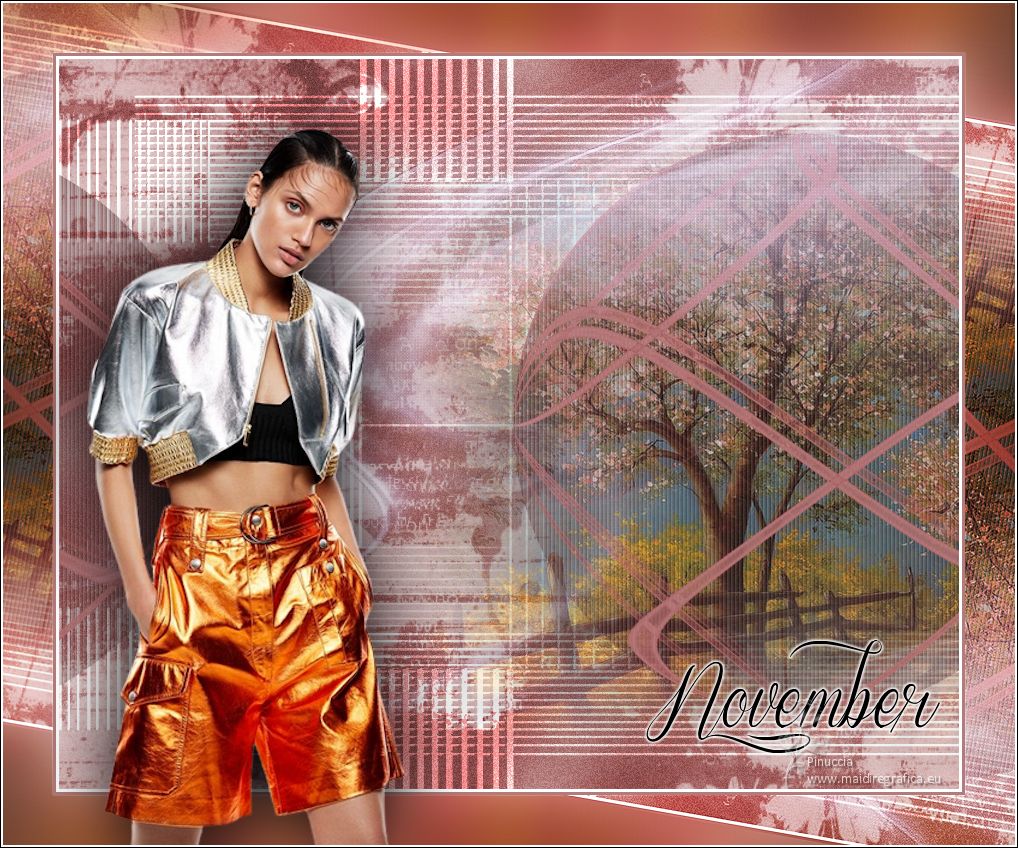


If you have problems or doubts, or you find a not worked link, or only for tell me that you enjoyed this tutorial, write to me.
11 July 2023

|

