|
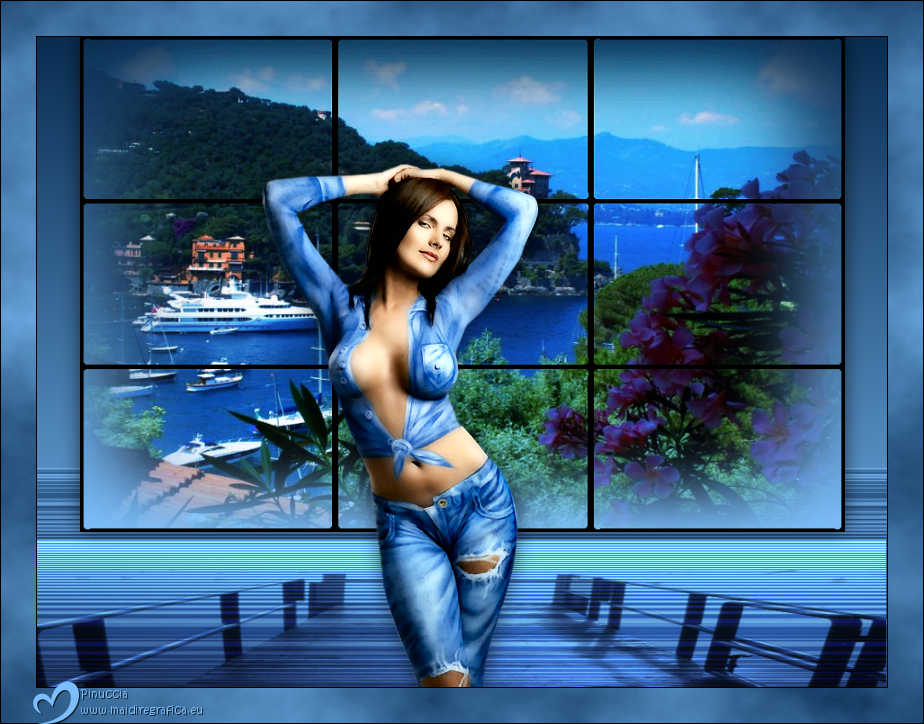
PAINEL

Thanks Estela for your invitation to translate your tutorials into english

This tutorial, created with PSP2022, was translated with PspX7, but it can also be made using other versions of PSP.
Since version PSP X4, Image>Mirror was replaced with Image>Flip Horizontal,
and Image>Flip with Image>Flip Vertical, there are some variables.
In versions X5 and X6, the functions have been improved by making available the Objects menu.
In the latest version X7 command Image>Mirror and Image>Flip returned, but with new differences.
See my schedule here
 French Translation here French Translation here
 Your versions here Your versions here

For this tutorial, you will need:

(The links of the tubemakers here).

consult, if necessary, my filter section here
Filters Unlimited 2.0 here
&<Background Designers IV> - @ Lakeside Reflection MMMM (to import in Unlimited) here
Mura's Meister - Cloud here

You can change Blend Modes according to your colors.
In the newest versions of PSP, you don't find the foreground/background gradient (Corel_06_029).
You can use the gradients of the older versions.
The Gradient of CorelX here
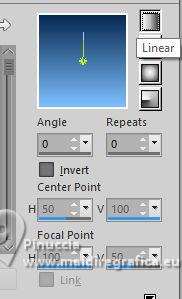
1. Set your foreground color to #7cbefb,
and your background color to #082c50.
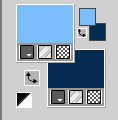
Set your foreground color to a Foreground/Background Gradient, style Linear.
2. Open Painel 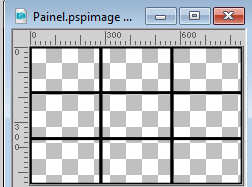
This image will be the basis of your work.
Activate your Magic Wand Tool  , tolerance and feather0, , tolerance and feather0,
and click in the squares to select them.
3. Selections>Modify>Expand - 4 pixels.
Layers>New Raster Layer.
Flood Fill  the layer with your Gradient. the layer with your Gradient.
4. Layers>New Raster Layer.
Open the tube DI_Italia_Portofino2 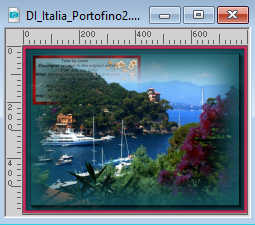
Edit>Copy.
Go back to your work and go to Edit>Paste into Selection.
Selections>Select None.
5. Adjust>Sharpness>Sharpen.
Change the Blend Mode of this layer to Hard Light, or other.
Layers>Merge>Merge Down.
6. Layers>Merge>Merge visible.
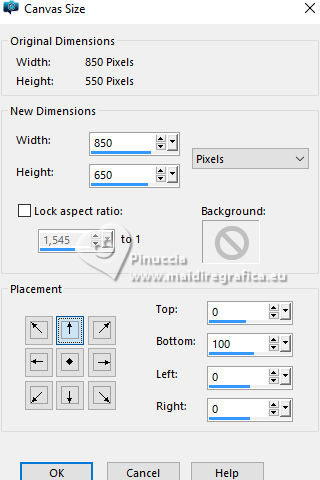
Image>Canvas Size - 850 x 650 pixels.
7. Layers>New Raster Layer.
Layers>Arrange>Send to Bottom.
Flood Fill the layer with your Gradient.
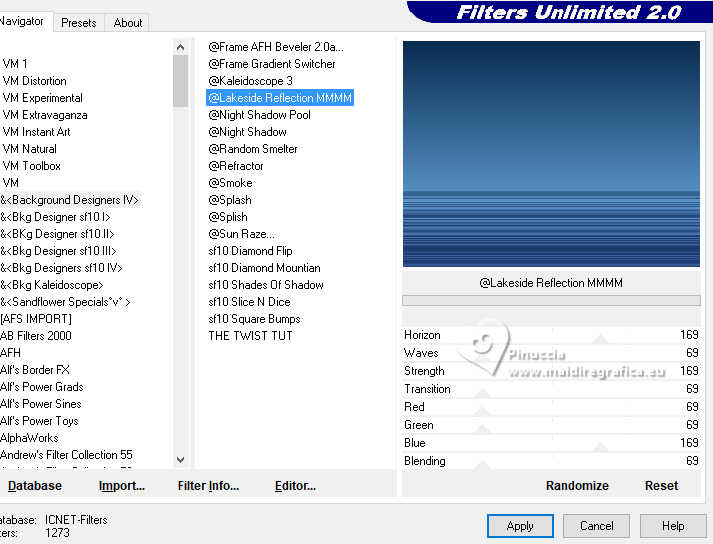
8. Effects>Plugins>Filters Unlimited 2.0 - &<Background Designers IV> - @ Lakeside Reflection MMMM
9. Open the image Ponte 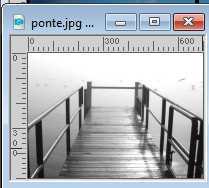
Edit>Copy.
Go back to your work and go to Edit>Paste as new layer.
Objects>Align>Bottom.
Activate your Pick Tool 
Slide the cursor down and extend it to the sides.
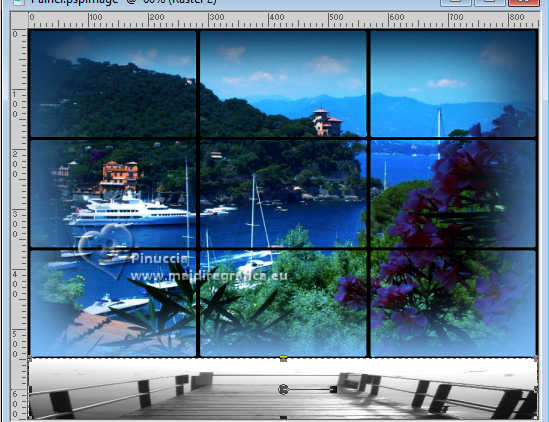
Change the Blend Mode of this layer to Multiply
for me, I did Overlay
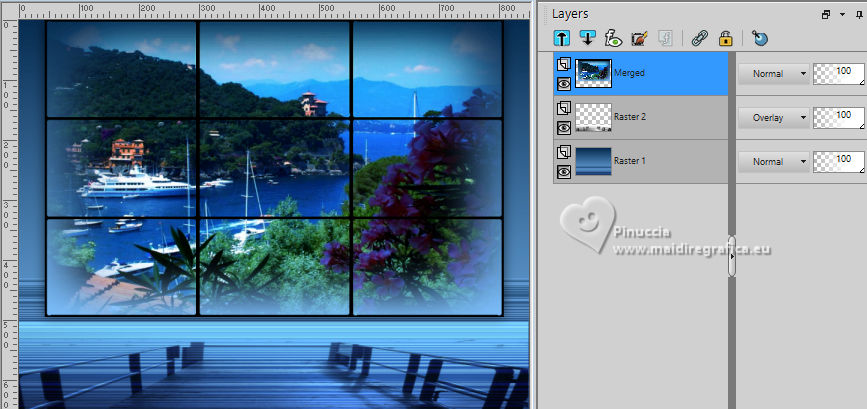
10. Activate your top layer.
Image>Resize, to 90%, resize all layers not checked.
Objects>Align>Top.
11. Effects>3D Effects>Drop Shadow, color #000000.
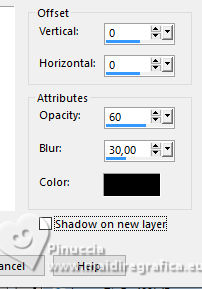
Layers>Merge>Merge visible.
12. Open the tube mou_bodypaint 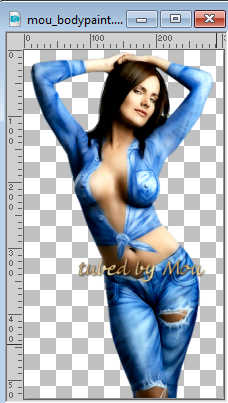
Edit>Copy.
Go back to your work and go to Edit>Paste as new layer.
Move  the tube to your liking. the tube to your liking.
Effects>3D Effects>Drop Shadow, color #000000.
13. Image>Add Borders, 1 pixel, symmetric, color #000000.
Selections>Select All.
14. Image>Add Borders, 35 pixels, symmetric, whatever color.
Selections>Invert.
15. Effects>Plugins>Mura's Meister - Cloud.
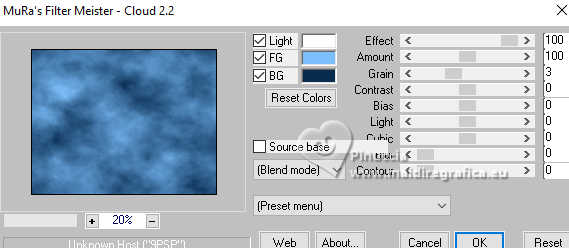
Remember that this filter works with the colors of your material palette,
but it keeps in memory the first setting used after the the opening of Psp.
So, if you have already used the plugin, press Reset to be sure to have your colors.
The result of this effects is random, so it won't be the same as mine.
If you want to change the appearance of the clouds, click on the preview window,
until you'll see the result you like better.
Selections>Select None.
16. Sign your work.
Image>Add Borders, 1 pixel, symmetric, color #0000000.
Save as jpg.
Version with Pinterest images
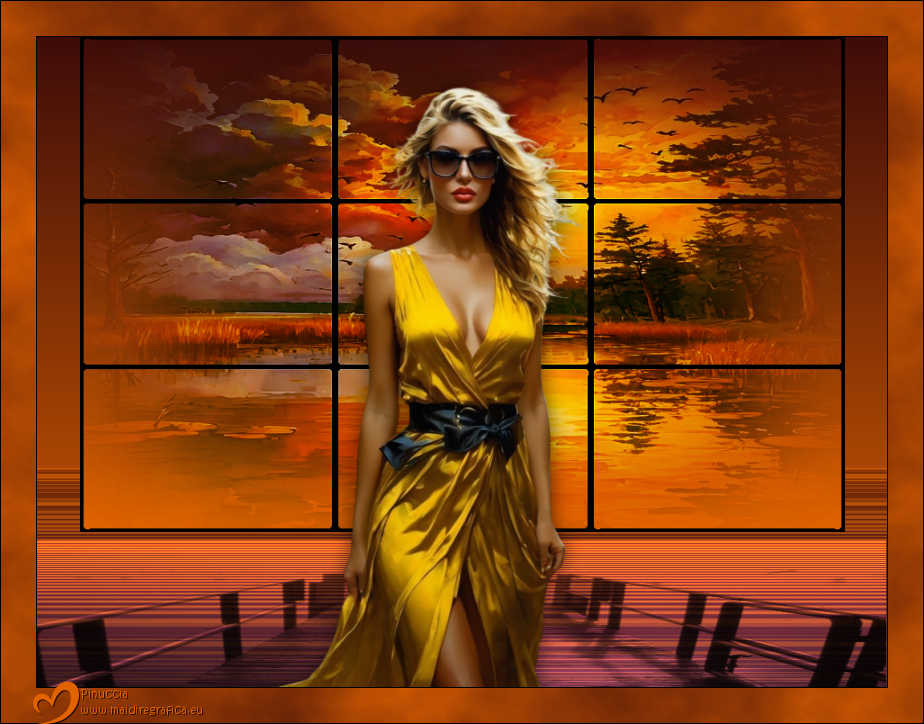
If you have problems or doubts, or you find a not worked link,
or only for tell me that you enjoyed this tutorial, write to me.
29 August 2026

|