|
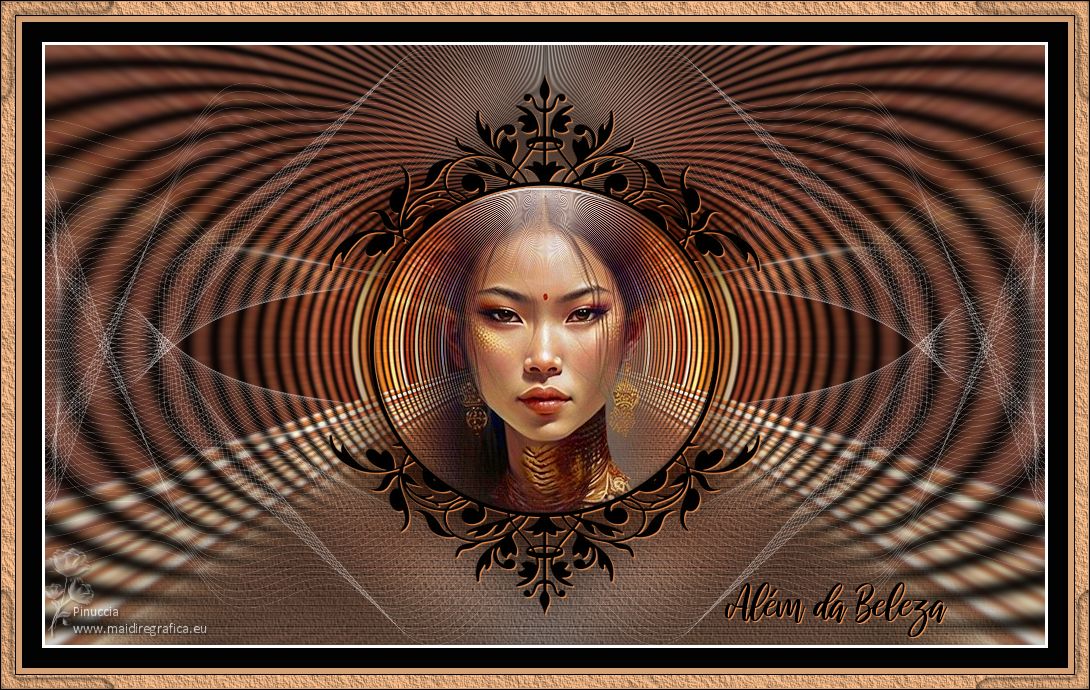
ALÉM DA BELEZA
 BEYOND BEAUTY BEYOND BEAUTY

Thanks Estela for your invitation to translate your tutorials into english

This tutorial, created with PSP2022, was translated with PspX7, but it can also be made using other versions of PSP.
Since version PSP X4, Image>Mirror was replaced with Image>Flip Horizontal,
and Image>Flip with Image>Flip Vertical, there are some variables.
In versions X5 and X6, the functions have been improved by making available the Objects menu.
In the latest version X7 command Image>Mirror and Image>Flip returned, but with new differences.
See my schedule here
 French Translation here French Translation here
 Your versions here Your versions here
For this tutorial, you will need:

The material is by Estela Fonseca.
(The links of the tubemakers here).
*It is forbidden to remove the watermark from the supplied tubes, distribute or modify them,
in order to respect the work of the authors

consult, if necessary, my filter section here
Filters Unlimited 2.0 here
Toadies - Weaver here
AP 01 [Innovations] - Lines SilverLining here
Flaming Pear - Flexify 2 here
Graphics Plus - Spot Lite here
Alien Skin Eye Candy 5 Impact - Glass here
AAA Frames - Texture Frame here
Filters Toadies and Graphics Plus can be used alone or imported into Filters Unlimited.
(How do, you see here)
If a plugin supplied appears with this icon  it must necessarily be imported into Unlimited it must necessarily be imported into Unlimited

You can change Blend Modes according to your colors.
In the newest versions of PSP, you don't find the foreground/background gradient (Corel_06_029).
You can use the gradients of the older versions.
The Gradient of CorelX here

Copy the texture lines in the Textures Folder.
1. Set your foreground color to the light color #ead9cf,
and your background color to the dark color #5b1a06.
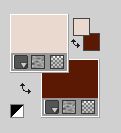
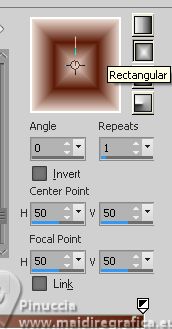
Set your foreground color to a Foreground/Background Gradient, style Rectangular.
2. Open EF-Além_da_Beleza_Alpha
Window>Duplicate or, on the keyboard, shift+D to make a copy.

Close the original.
The copy, that will be the basis of your work, is not empty,
but contains the selections saved to alpha channel.
Flood Fill  the transparent image with your Gradient. the transparent image with your Gradient.
3. Open Misted_Mulher-EF 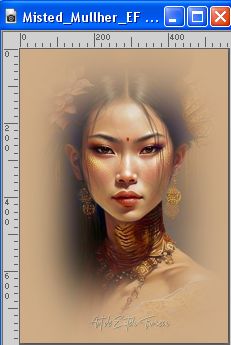
Edit>Copy.
Minimize the tube.
Go back to your work and go to Edit>Paste as new layer.
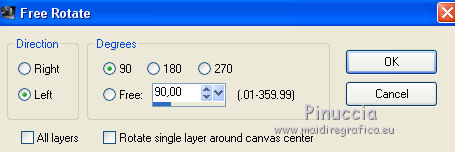
4. Image>Free Rotate - 90 degrees to left.
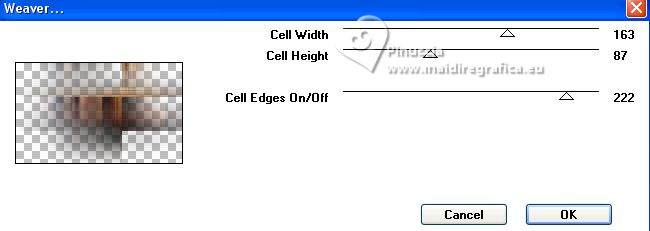
5. Effects>Plugins>Toadies - Weaver.
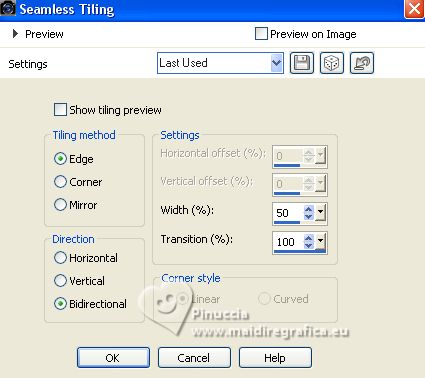
6. Effects>Image Effects>Seamless Tiling.
Effects>Edge Effects>Enhance More.
Adjust>Softness>Soften.
7. Layers>Duplicate.
Image>Mirror.
Image>Flip.
Change the Blend Mode of this layer to Screen.
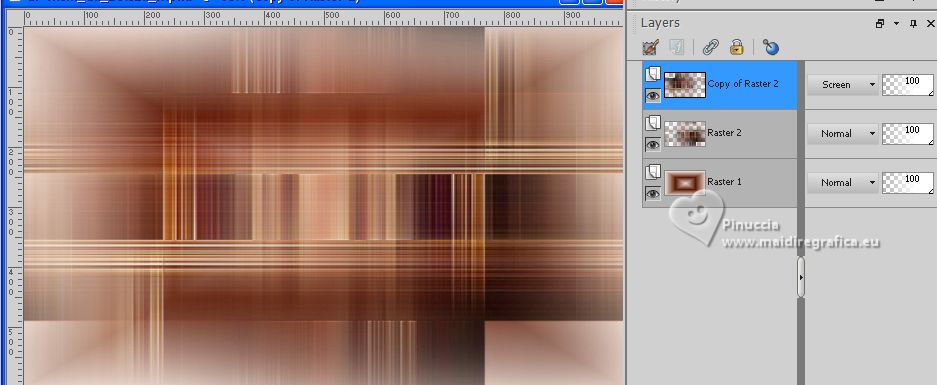
8. Layers>Merge>Merge visible.
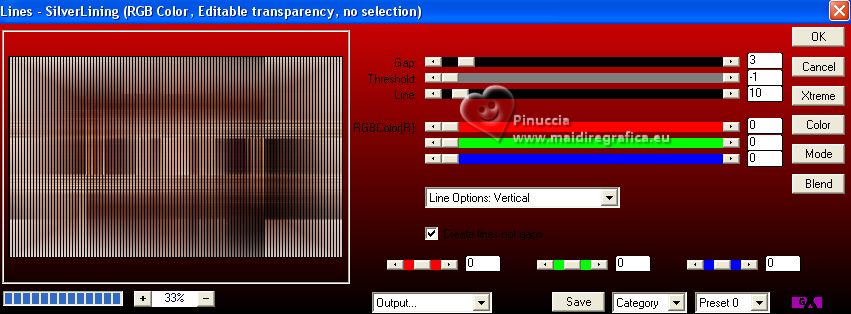
9. Effects>Plugins>AP 01 [Innovations] - Lines SilverLining
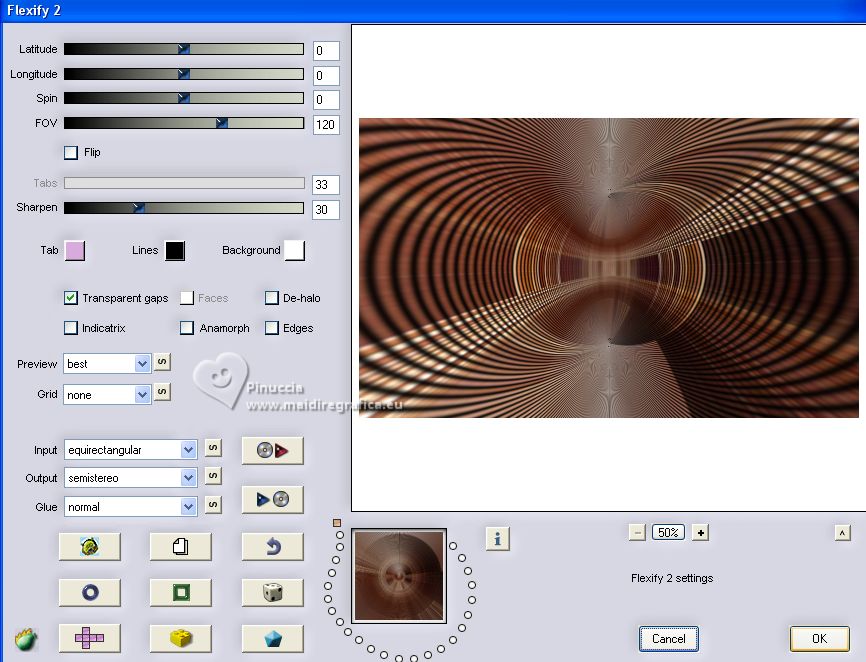
10. Effects>Plugins>Flaming Pear - Flexify 2.
11. Effects>Reflection Effects>Rotating Mirror.

12. Selections>Load/Save Selection>Load Selection from Alpha Channel.
The selection #1 is immediately available. You just have to click Load.
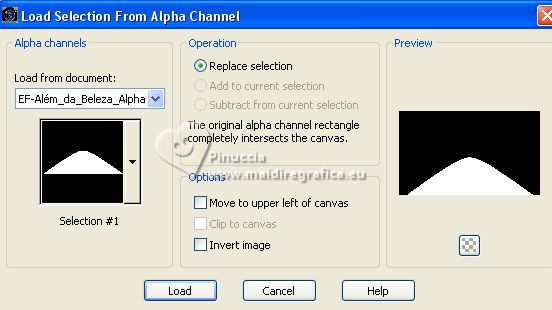
Selections>Promote Selection to Layer.
Selections>Select None.
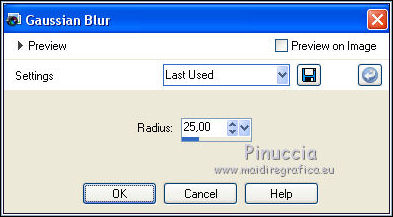
13. Adjust>Blur>Gaussian Blur - radius 25.
14. Effects>Texture Effects>Texture - select the texture Lines
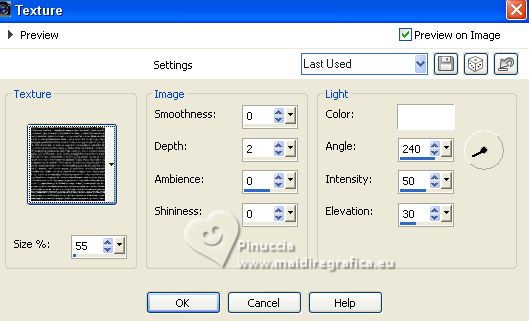
You should have this
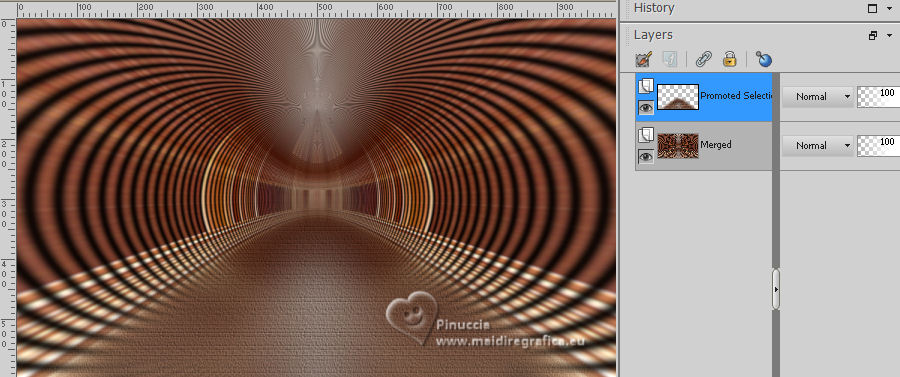
15. Layers>Merge>Merge visible.
16. Layers>Duplicate.
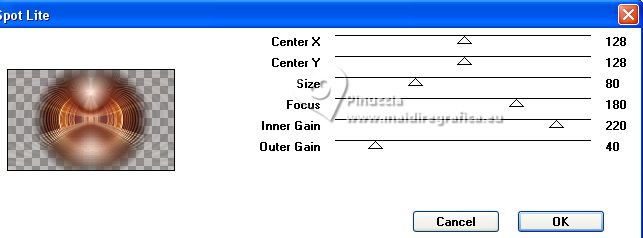
Effects>Plugins>Graphics Plus - Spot Lite, default settings.
17. Open EF-Além_da_Beleza_Deco_1 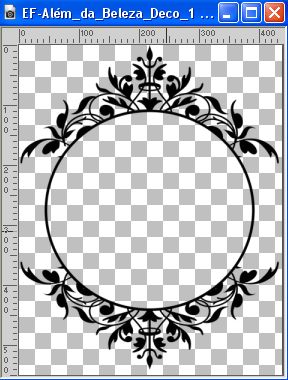
Edit>Copy.
Go back to your work and go to Edit>Paste as new layer.
Don't move it.
18. Effects>3D Effects>Drop Shadow, color #ff9852.
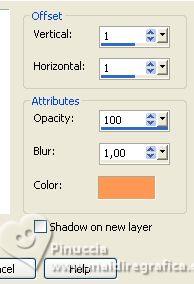
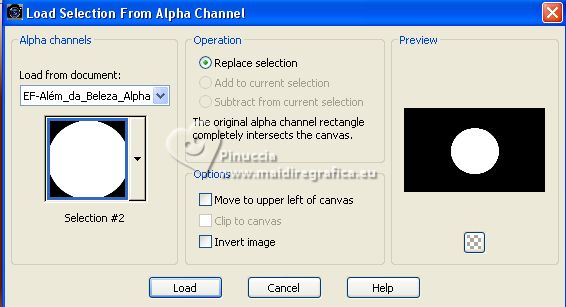
19. Selections>Load/Save Selection>Load Selection from Alpha Channel.
Open the selections menu and load the selection #2.
20. Activate the layer Copy of Merged
Selections>Promote Selection to layer.
21. Activate again the tube Misted_Mulher_EF and go to Edit>Copy.
Go back to your work and go to Edit>Paste as new layer.
Image>Resize, to 65%, resize all layers not checked.
Place  the tube on the selection. the tube on the selection.
22. Selections>Invert.
Press CANC on the keyboard 
Selections>Invert.
Layers>Merge>Merge Down.
Adjust>Sharpness>Sharpen.
23. Effects>Plugins>Alien Skin Eye Candy 5 Impact - Glass.
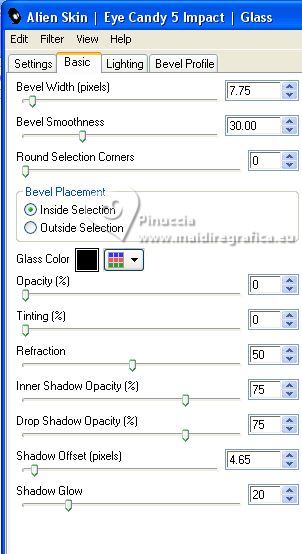
Selections>Select None.
24. Activate your top layer.
Layers>Merge>Merge Down.
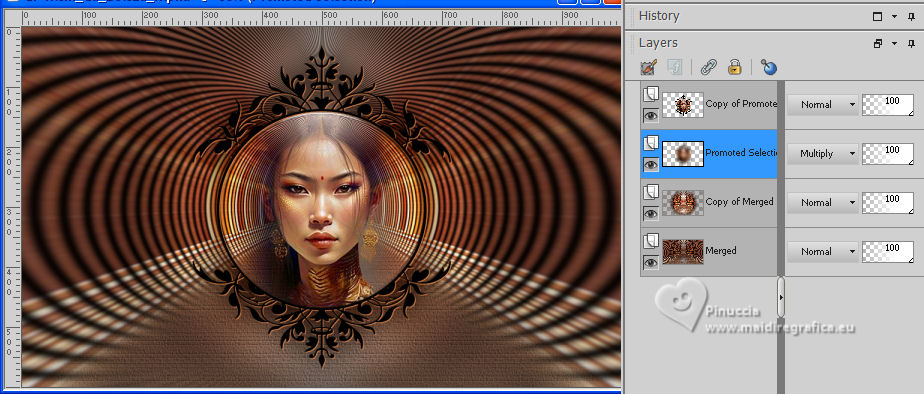
25. Layers>Duplicate.
Activate the layer below, Promoted Selection.
Adjust>Blur>Gaussian Blur, radius 25.

Change the Blend Mode of this layer to Multiply, (or Screen).
26. Open EF-Além_da_Beleza_Deco_2 
Edit>Copy.
Go back to your work and go to Edit>Paste as new layer.
Layers>Arrange>Move Down.
27. Image>Add borders, 3 pixels, symmetric, color #ffffff.
Image>Add borders, 20 pixels, symmetric, color #020202  . .
Image>Add borders, 22 pixels, symmetric, color #d4a176  . .
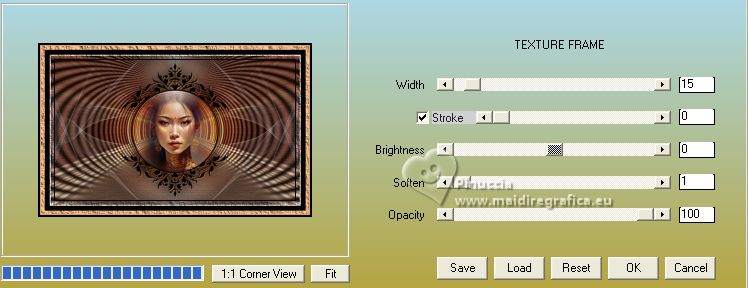
28. Effects>Plugins>AAA Frames - Texture Frame.
29. Open EF-Além_da_Beleza_Deco_3 
Edit>Copy.
Go back to your work and go to Edit>Paste as new layer.
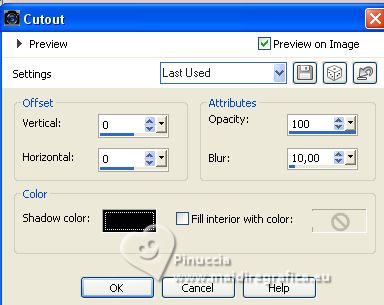
30. Effects>3D Effects>Cutout.
31. Open EF-Além_da_Beleza_Texto 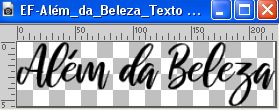
Edit>Copy.
Go back to your work and go to Edit>Paste as new layer.
Move  the text at the bottom right, or to your liking. the text at the bottom right, or to your liking.
Effects>3D Effects>Drop Shadow, same settings.

32. Sign your work on a new layer.
Layers>Merge>Merge All.
32. Image>Resize, 1000 pixels width, resize all layers checked.
Save as jpg.
For the tubes of these versions thanks
Renée
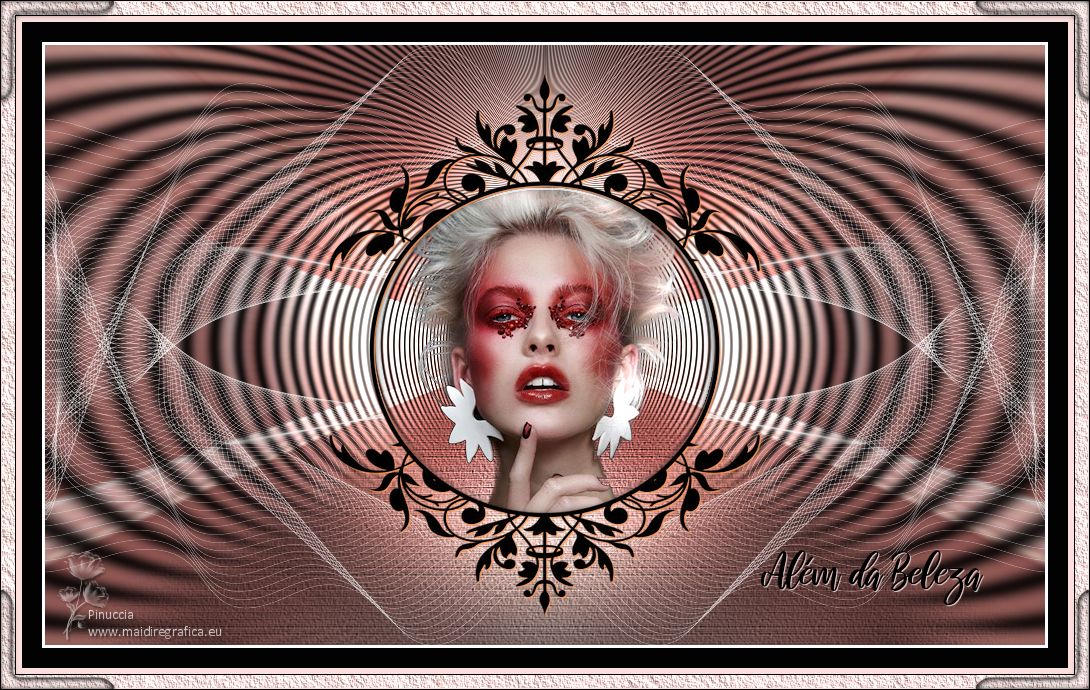
Nikita
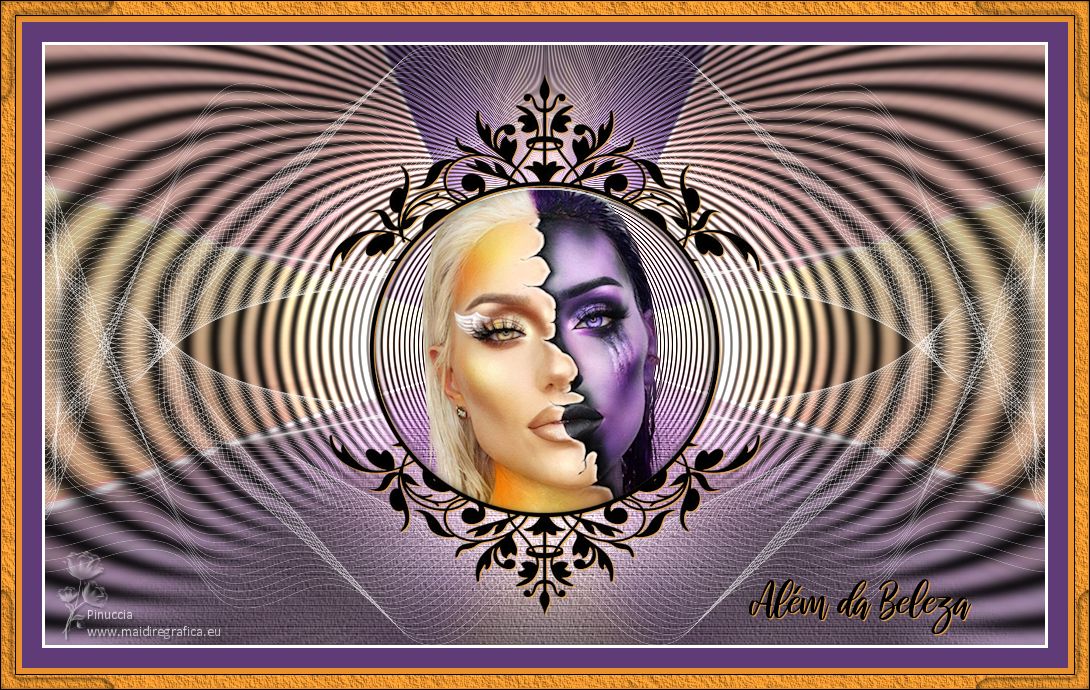


If you have problems or doubts, or you find a not worked link, or only for tell me that you enjoyed this tutorial, write to me.
31 August 2023

|
 BEYOND BEAUTY

 BEYOND BEAUTY