|
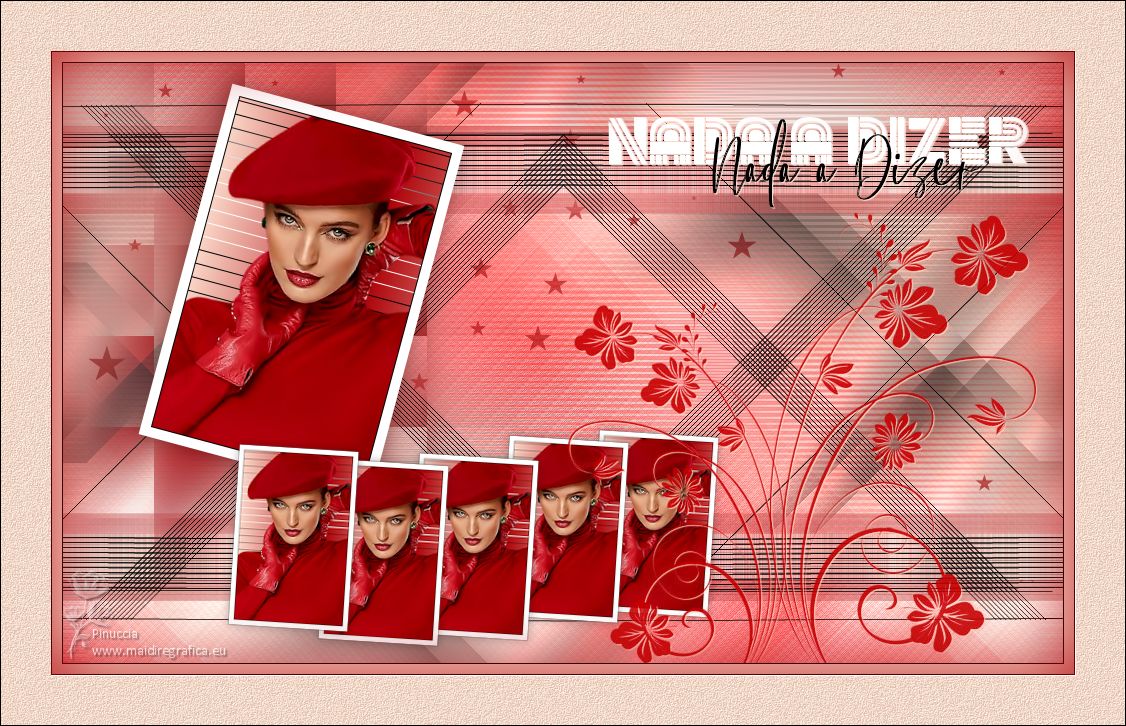
NADA A DIZER
 NOTHING TO SAY NOTHING TO SAY

Thanks Estela for your invitation to translate your tutorials into english

This tutorial, created with PSP2022, was translated with PspX7, but it can also be made using other versions of PSP.
Since version PSP X4, Image>Mirror was replaced with Image>Flip Horizontal,
and Image>Flip with Image>Flip Vertical, there are some variables.
In versions X5 and X6, the functions have been improved by making available the Objects menu.
In the latest version X7 command Image>Mirror and Image>Flip returned, but with new differences.
See my schedule here
 French Translation here French Translation here
 Your versions here Your versions here
For this tutorial, you will need:

For the tube thanks Callitubes
The rest of the material is by Estela Fonseca.
(The links of the tubemakers here).
*It is forbidden to remove the watermark from the supplied tubes, distribute or modify them,
in order to respect the work of the authors

consult, if necessary, my filter section here
Filters Unlimited 2.0 here
Xero - Fritillary here
Simple - Diamonds, 4Way Average here
Graphics Plus - Cross Shadow here
Toadies - What are you here
L&K's - L&K's Mayra here
Italian Editors Effect - Effetto Fantasma here
AAA Frames - Foto Frame here
Mura's Meister - Copies here
DSB Flux - Mosaic Ripple here
FM Tile Tools - Blend Emboss here
Filters Simple, Graphics Plus, Italian Editors and Toadies can be used alone or imported into Filters Unlimited.
(How do, you see here)
If a plugin supplied appears with this icon  it must necessarily be imported into Unlimited it must necessarily be imported into Unlimited

You can change Blend Modes according to your colors.
In the newest versions of PSP, you don't find the foreground/background gradient (Corel_06_029).
You can use the gradients of the older versions.
The Gradient of CorelX here

Copy the Selections in the Selections Folder.
Open the mask in PSP and minimize it with the rest of the material.
Set your foreground color to the light color #fee1d1,
and your background color to the dark color #ac0006.
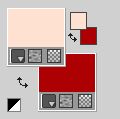
Set your foreground color to a Foreground/Background Gradient, style Linear.

1. Open a new transparent image 1000 x 600 pixels.
Flood Fill  the transparent image with your Gradient. the transparent image with your Gradient.
2. Layers>Duplicate.
Effects>Plugins>Xero - Fritillary, default settings.
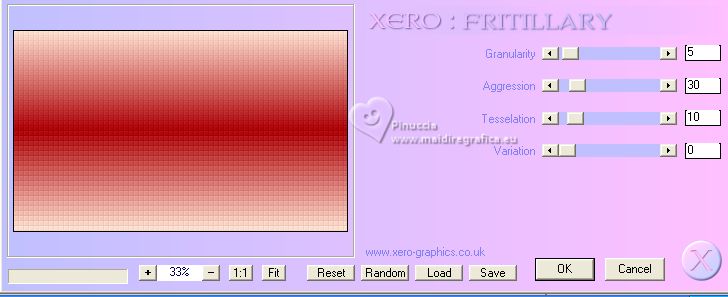
Image>Resize, to 80%, resize all layers not checked.
Effects>Edge Effects>Enhance.
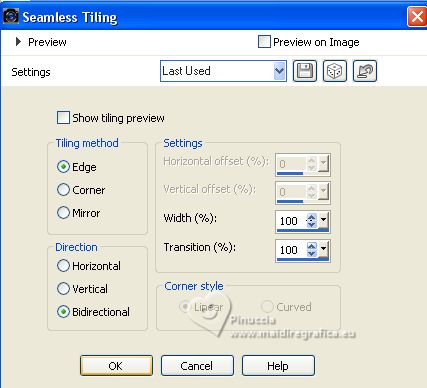
3. Effects>Image Effects>Seamless Tiling.
4. Set your foreground color to Screen.
Layers>Merge>Merge Down.
Effects>Plugins>Graphics Plus - Cross Shadow, default settings.
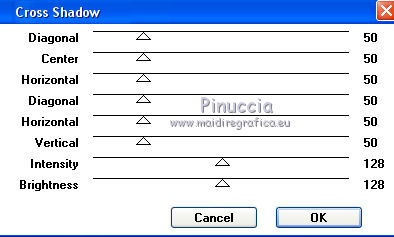
5. Effects>Plugins>Simple - Diamonds
This effect works without window; result.
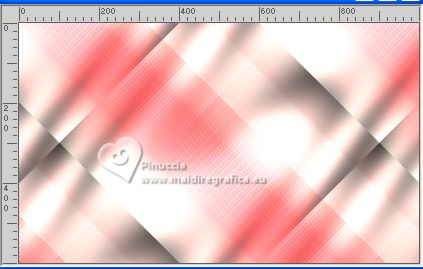
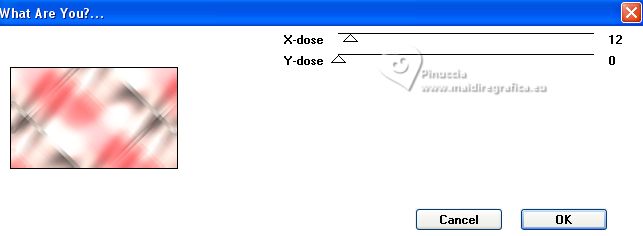
6. Effects>Plugins>Toadies - What are you.
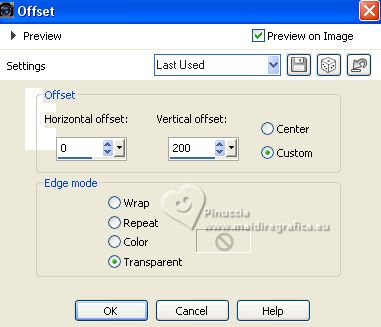
7. Layers>Duplicate.
Effects>Image Effects>Offset.
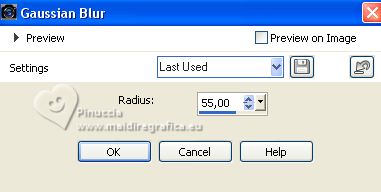
8. Adjust>Blur>Gaussian Blur - radius 55.
9. Effects>Distortion Effects>Wave.

10. Change the Blend Mode of this layer to Multiply, or other.
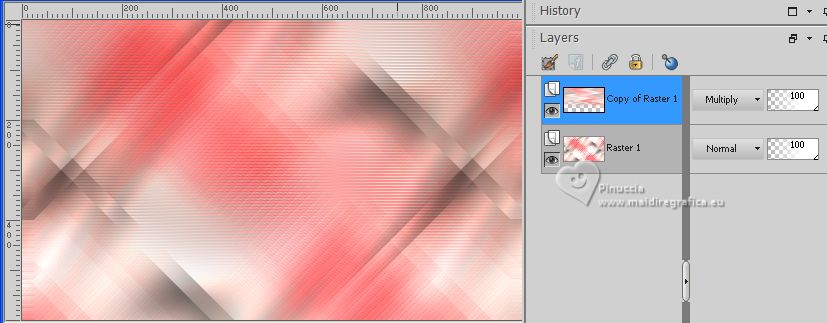
Layers>Merge>Merge Down.
11. Selections>Load/Save Selection>Load Selection from Disk.
Look for and load the selection Nada_a_dizer_1.

Selections>Promote Selection to Layer.
12. Effects>Plugins>L&K's - L&K's Mayra, default settings
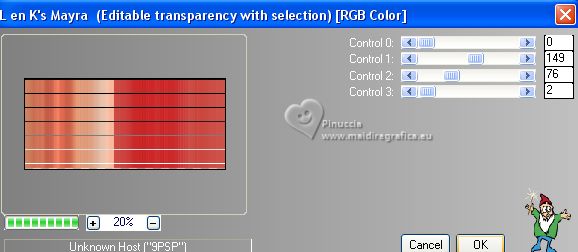
Selections>Select None.
13. Selections>Load/Save Selection>Load Selection from Disk.
Look for and load the selection Nada_a_dizer_2.
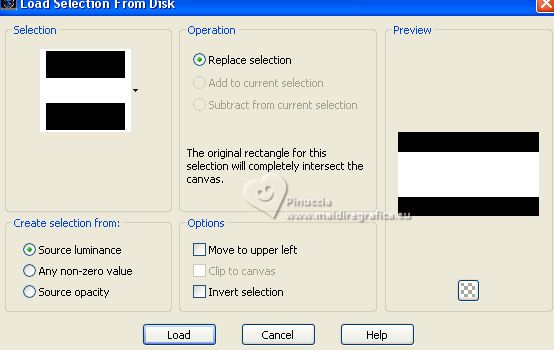
Press CANC on the keyboard 
Selections>Select None.
14. Effects>Plugins>Simple - 4 Way Average.
This effect works without window; result
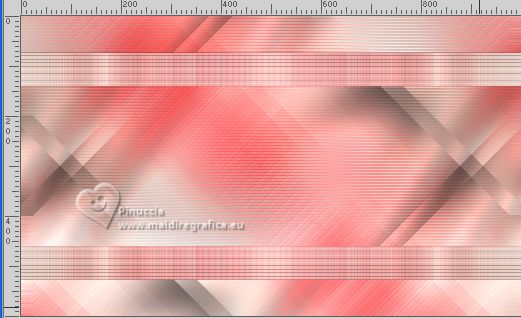
15. Effects>Plugins>Italian Editors Effect - Effetto Fantasma.
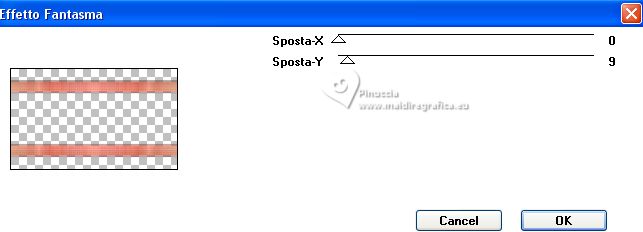
16. Open EF-Nada_a_Dizer_Deco_1 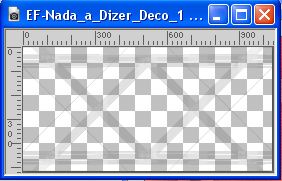
Edit>Copy.
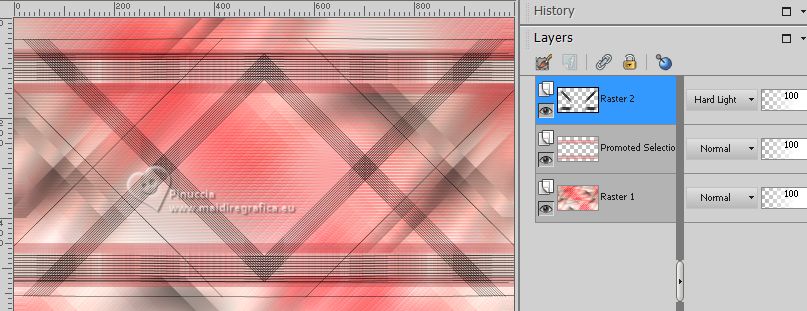
Go back to your work and go to Edit>Paste as new layer.
Image>Negative Image.
Change the Blend Mode of this layer to Hard Light.
17. Open the tube Callitubes-285mulheres 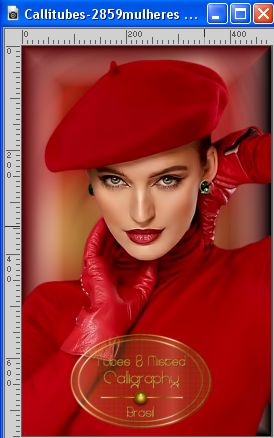
Edit>Copy.
Edit>Paste as new image and go on this image.
Image>Resize, 50%, resize all layers checked.
Adjust>Sharpness>Sharpen.
at this point the dimensions of the tube are 240 x 362 pixels.
If you use another tube, like in my second version 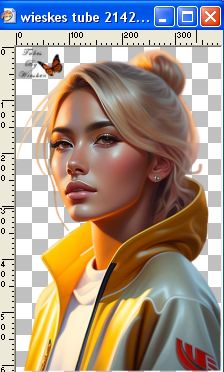 , ,
insted of resizing to 50%, resize to 240 pixels width, resize all layers checked
18. Layers>New Raster Layer.
Flood Fill  the layer with your Gradient. the layer with your Gradient.
19. Effects>Plugins>L&K's - L&K's Mayra, par défaut.
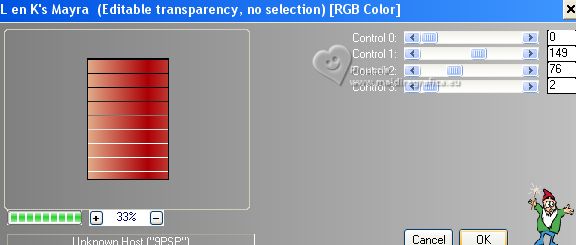
Layers>Arrange>Send to Bottom.
Layers>Merge>Merge visible.
20. Effects>Plugins>AAA Frames - Foto Frame.
Select the preset White and change Width with 10
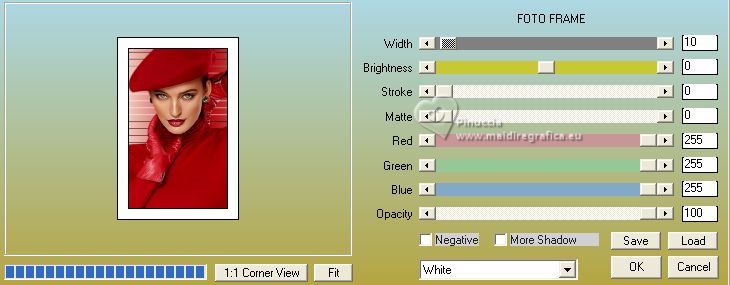
21. Edit>Copy.
Go back to your work and go to Edit>Paste as new layer.
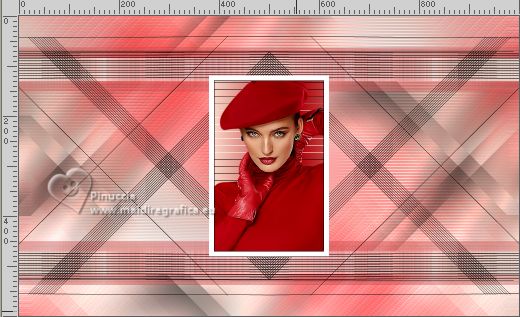
K key to activate your Pick Tool 
and set Position X: 88,00 and Position Y: 101,00.

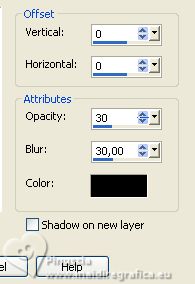
22. Effects>3D Effects>Drop Shadow, color #000000.
23. Layers>Duplicate.
Image>Resize, to 50%, resize all layers not checked.
Adjust>Sharpness>Sharpen.
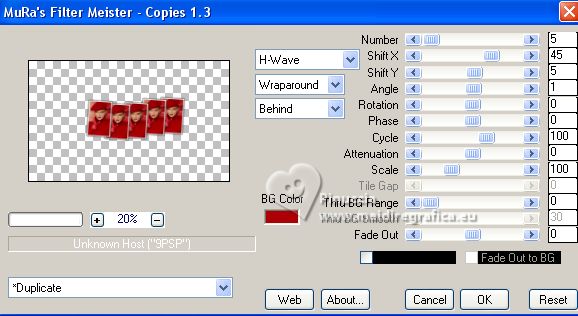
24. Effects>Plugins>Mura's Meister - Copies.
25. Pick Tool 
and set Position X: 156,00 and Position Y: 358,00.

26. Activate the layer below, Raster 3.
Layers>Duplicate.
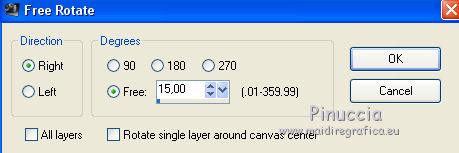
Image>Free Rotate - 15 degrees to right.
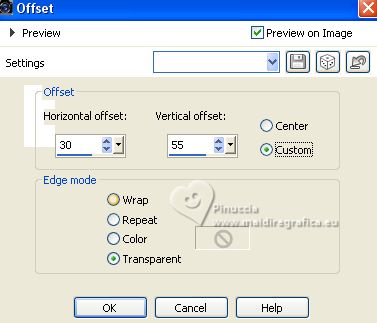
27. Effects>Image Effects>Offset.
28. Activate again the layer Raster 3.
Adjust>Blur>Gaussian Blur - radius 55.

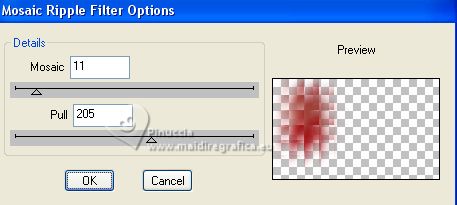
29. Effects>Plugins>DSB Flux - Mosaic Ripple.
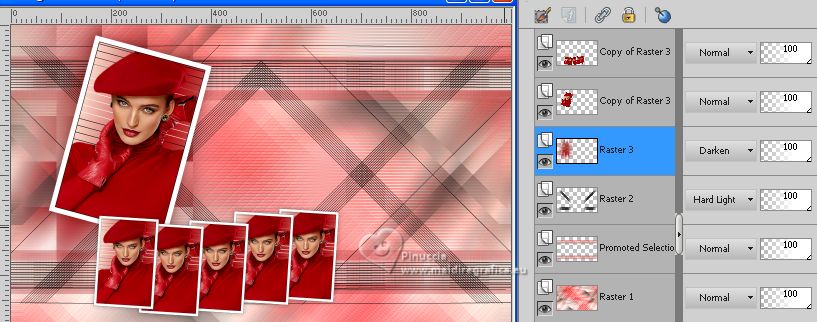
30. Change the Blend Mode of this layer to Darken, or other.
31. Activate your top layer.
Layers>New Raster Layer.
Flood Fill  with your background color #ac0006. with your background color #ac0006.
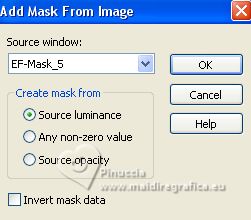
32. Layers>New Mask layer>From image
Open the menu under the source window and you'll see all the files open.
Select the mask EF-Mask_05 .
Layers>Merge>Merge Group.
33. Effects>3D Effects>Drop Shadow, light foreground color #fee1d1.

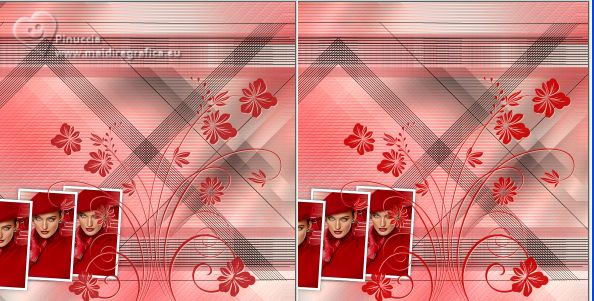
34. Adjust>Hue and Saturation>Vibrancy.
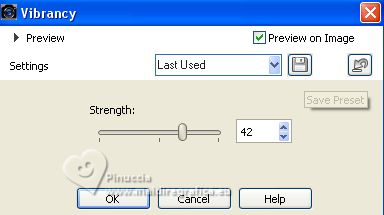
In older versions of PSP, you can't find this effect.
You can use another effect from the Adjust menu or skip this step.
Here below the difference before and after applying the effect
35. Open the text EF-Nada_a_Dizer_Texto_1 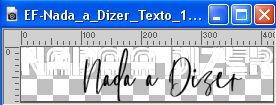
Edit>Copy.
Go back to your work and go to Edit>Paste as new layer.
Move  the text at the upper right, or to your liking. the text at the upper right, or to your liking.
Effects>3D Effects>Drop Shadow, same settings.
36. Activate the layer Raster 1.
Open EF-Nada_a_Dizer_Deco_2 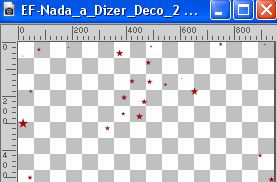
Edit>Copy.
Go back to your work and go to Edit>Paste as new layer.
37. Objects>Align>Top
or activate your Pick Tool  and set Position Y to 0,00. and set Position Y to 0,00.

Change the Blend Mode of this layer to Multiply and reduce the opacity to 59.
38. Image>Add borders, 1 pixel, symmetric, color black #000000.
Image>Add borders, 10 pixels, symmetric, foreground color #fee1d1.
Image>Add borders, 1 pixel, symmetric, color black #000000.
Selections>Select All.
Image>Add borders, 50 pixels, symmetric, foreground color #fee1d1.
Selections>Invert.
39. Adjust>Add/Remove Noise>Add Noise.

40. Effects>Plugins>FM Tile Tools - Blend Emboss, default settings.

41. Effects>3D Effects>Drop Shadow, background color.
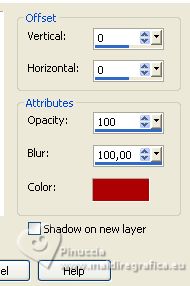
Selections>Select None.
42. Sign your work on a new layer.
43. Image>Add borders, 1 pixel, symmetric, color black #000000.
44. Image>Resize, 1000 pixels width, resize all layers checked.
For the tube of this version thanks Wieske.
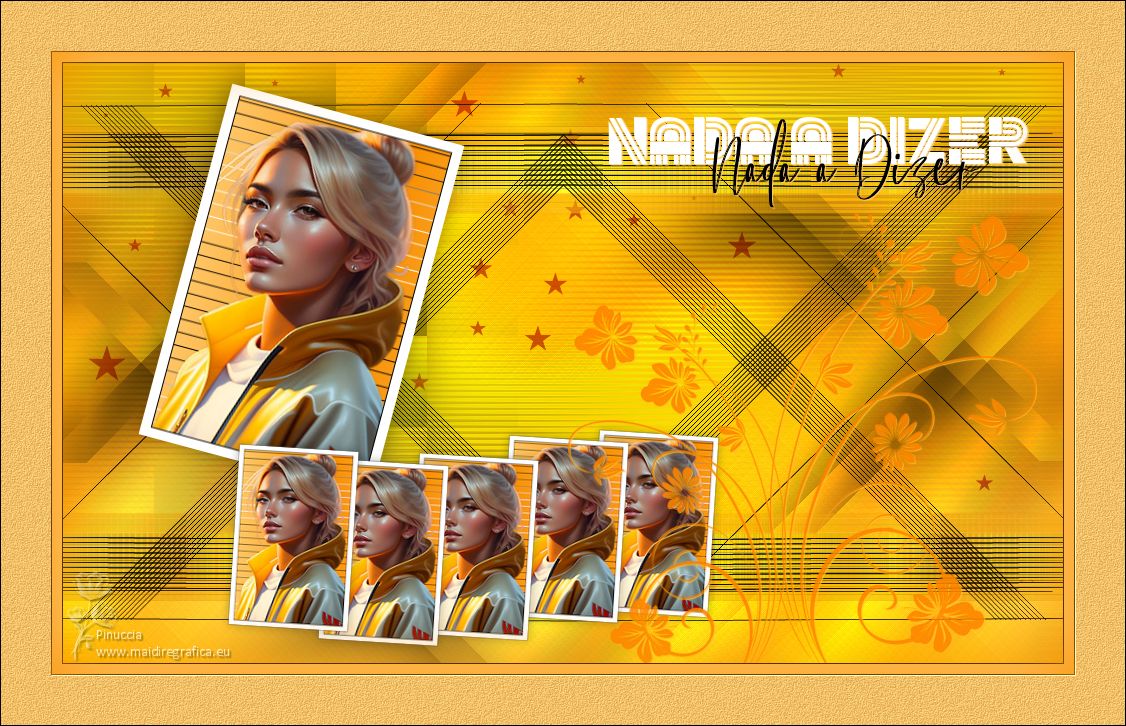


If you have problems or doubts, or you find a not worked link, or only for tell me that you enjoyed this tutorial, write to me.
13 August 2023

|
 NOTHING TO SAY

 NOTHING TO SAY