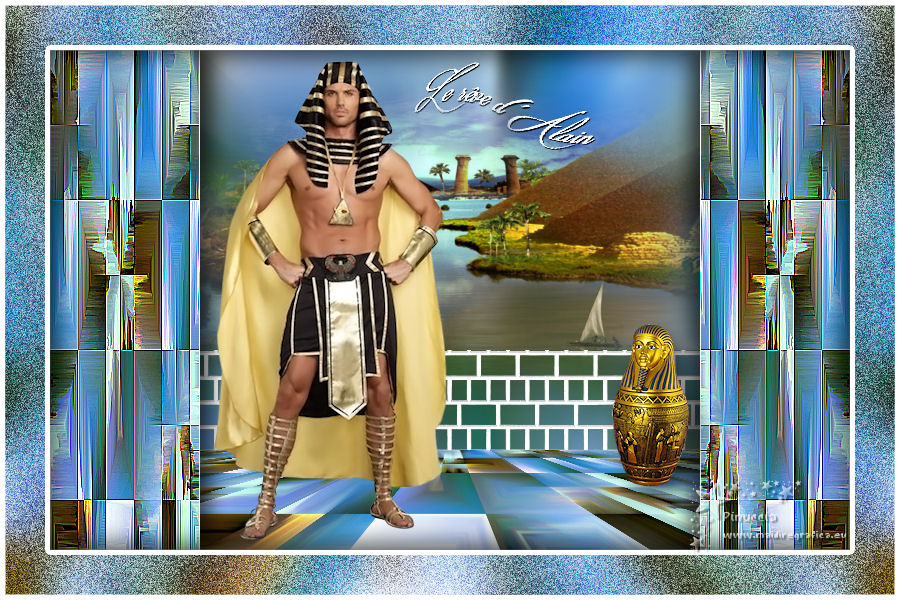
|
LE RÊVE D'ALAIN


Thanks Evalynda for the invitation to translate your tutorials

This tutorial was written with PSPX8 and translated with PSPX7 and PSPX3, but it can also be made using other versions of PSP.
Since version PSP X4, Image>Mirror was replaced with Image>Flip Horizontal,
and Image>Flip with Image>Flip Vertical, there are some variables.
In versions X5 and X6, the functions have been improved by making available the Objects menu.
In the latest version X7 command Image>Mirror and Image>Flip returned, but with new differences.
See my schedule here
 italian translation here italian translation here
 Your versions Your versions
For this tutorial, you will need:
Material here
Thanks for the tube Colybrix and ValyScrapPassion.
(The links of the tubemakers here).
Plugins:
consult, if necessary, my filter section here
Filters Unlimited 2.0 here
Mehdi - Sorting Tiles, Grain Natural 2.0 here
Alien Skin Eye Candy 5 Textures here
Mura's Meister - Perspective Tiling here
Mura's Meister - Cloud here
Transparency - Eliminate black here
Filters Transparency can be used alone or imported into Filters Unlimited.
(How do, you see here)
If a plugin supplied appears with this icon  it must necessarily be imported into Unlimited it must necessarily be imported into Unlimited

You can change Blend Modes according to your colors.
(Don't forget to erase the watermarks)
1. Open a new transparent image 800 x 500 pixels.
Effects>Plugins>Mura's Meister - Cloud.
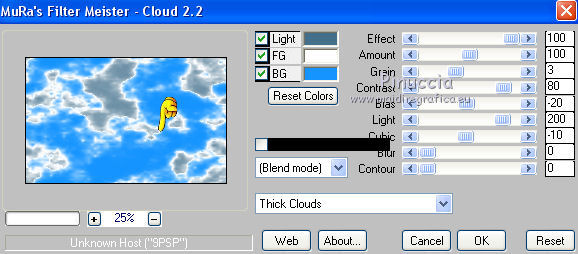
Change the background color (BG) if necessary,
according to the color of the sky in your landscape.
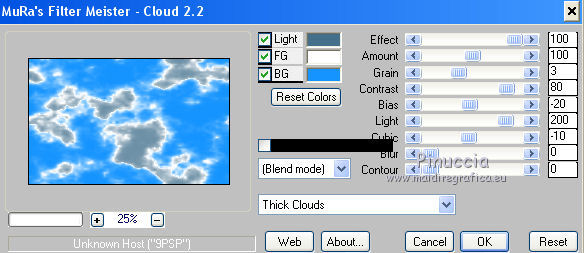
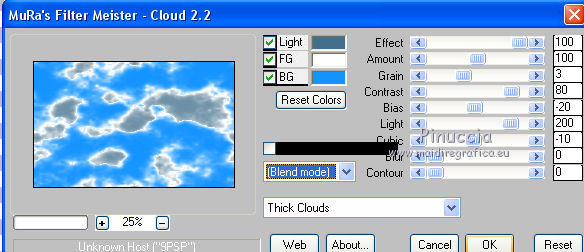
Remember that the result of this effect is random;
if you want to change the appearance of the clouds, click on the preview window,
until you see the result you prefer.
2. Selections>Select All.
Open the misted of the landscape and go to Edit>Copy.
Go back to your work and go to Edit>Paste into Seleciton.
Selections>Select None.
3. Effects>Image Effects>Seamless Tiling, default settings.

Effects>Plugins>Mehdi - Sorting Tiles.
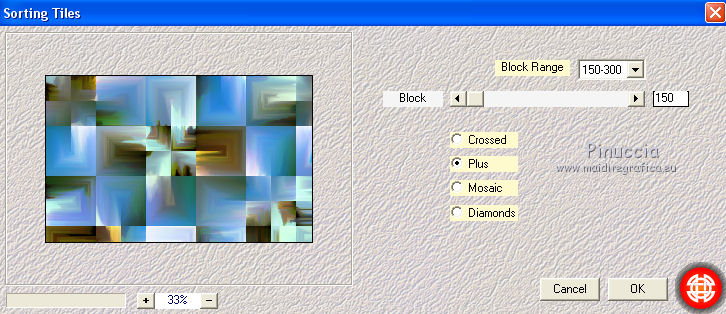
Layers>Duplicate.
4. K key on the keyboard to activate your Pick Tool 
mode Scale 
pull the right central knot to the left, until 150 pixels.
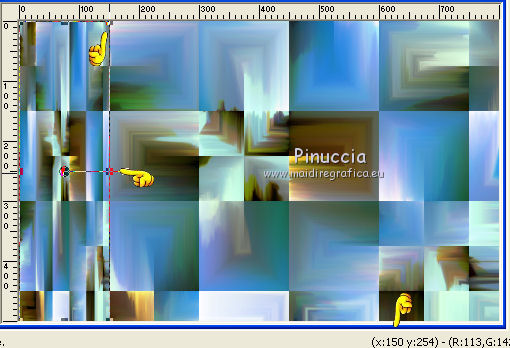
Effects>Edge Effects>Enhance More.
5. Effects>3D Effects>Drop Shadow, color black.
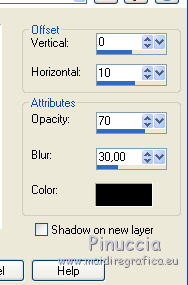
Layers>Duplicate.
Image>Mirror.
Layers>Merge>Merge Down.
6. Activate your bottom layer, Raster 1.
Layers>Duplicate.
Adjust>Blur>Radial Blur.
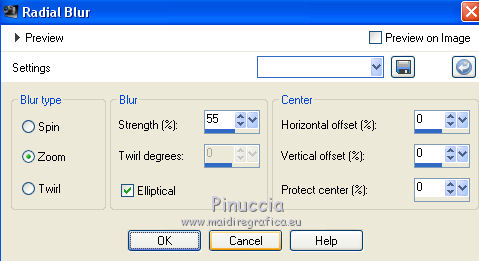
Layers>Arrange>Move Down.
7. Activate again the layer Raster 1.
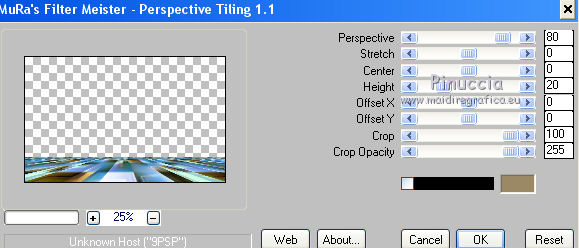
Effects>Plugins>Mura's Meister - Perspective Tiling.
8. Selection Tool 
(no matter the type of selection, because with the custom selection your always get a rectangle)
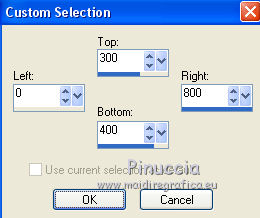
clic on the Custom Selection 
and set the following settings.
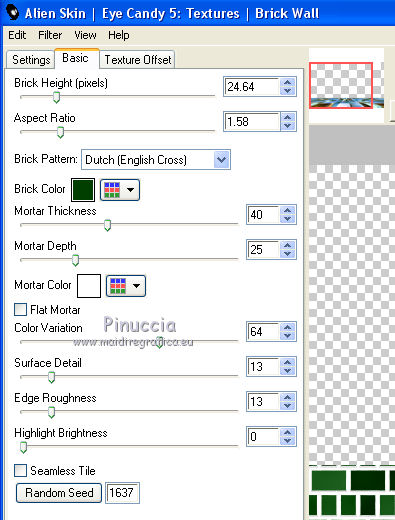
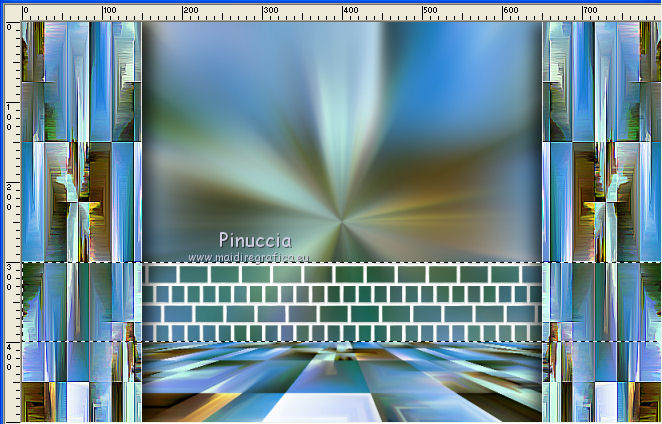
Effects>Plugins>Alien Skin Eye Candy 5 Textures - Brick Wall.
Result
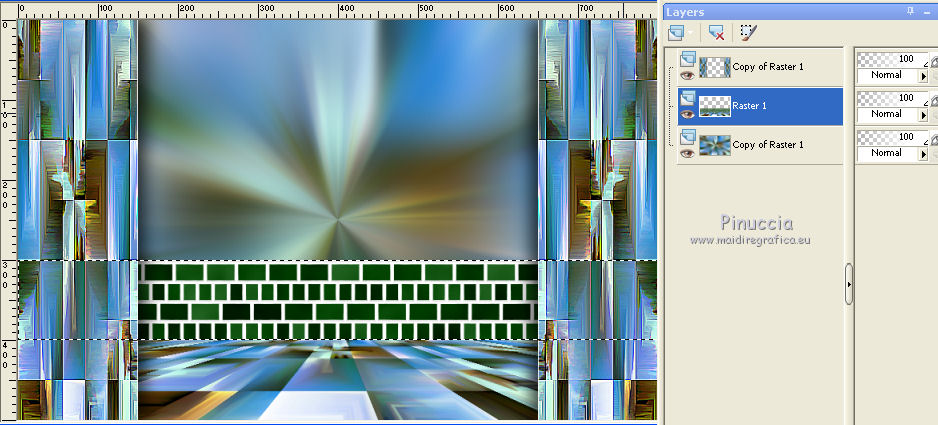
Effects>Plugins>Transparency - Eliminate Black.
Result:
9. Custom Selection 
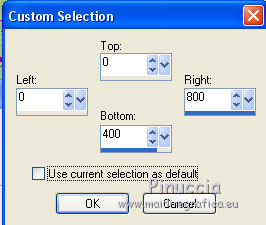
The new selection will replace the previous one
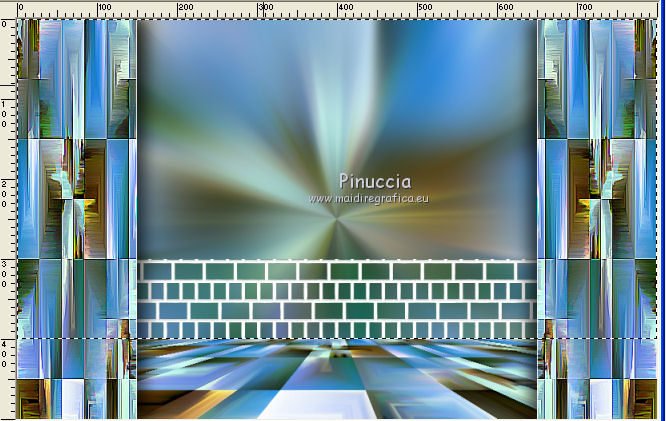
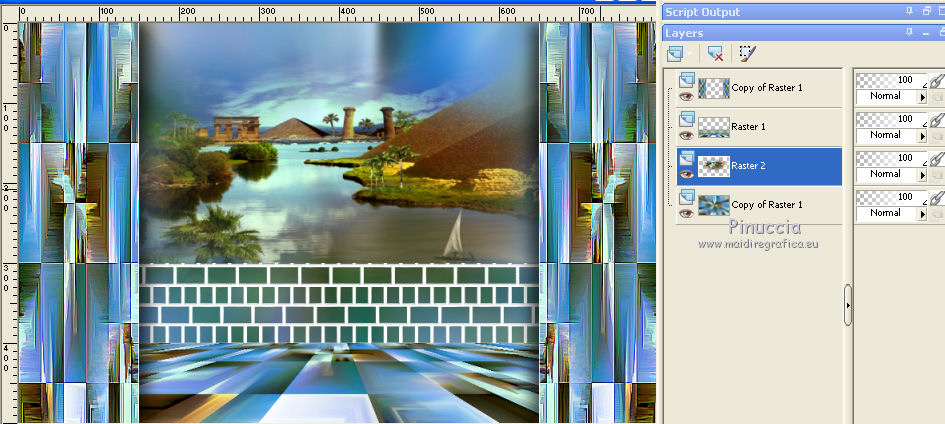
Layers>New Raster Layer.
Edit>Paste into Selection (the landscape is still in memory).
Selections>Select None.
Layers>Arrange>Move Down.
10. Activate your top layer.
Open the tube homme61-coly, and go to Edit>Copy.
Go back to your work and go to Edit>Paste as new layer.
Image>Resize, to 65%, resize all layers not checked.
Flood Fill  the tube to the left side. the tube to the left side.
Effects>3D Effects>Drop Shadow, color black.

11. Open the tube Egypte38-coly and go to Edit>Copy.
Go back to your work and go to Edit>Paste as new layer.
Image>Resize, to 30%, resize all layers not checked.
Adjust>Sharpness>Sharpen.
Image>Mirror.
Move  the tube to the right side. the tube to the right side.
Effects>3D Effects>Drop Shadow, color black.
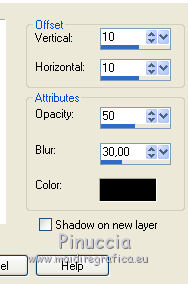
12. Layers>Merge>Merge All.
Edit>Copy.
13. Selections>Select All.
Image>Add borders, 50 pixels, symmetric, color white.
Selections>Invert.
Edit>Paste into selection.
Adjust>Blur>Gaussian Blur, radius 20.

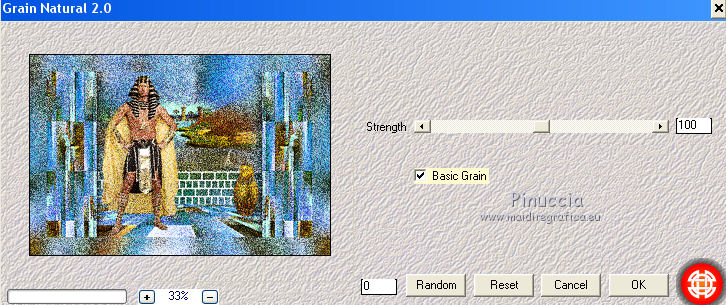
14. Effects>Plugins>Mehdi - Grain Natural 2.0
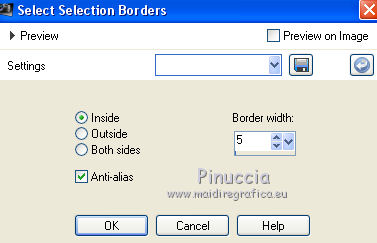
15. Selections>Modify>Select Selection Borders.
Set your foreground color to white.
Flood Fill  the selection with color white. the selection with color white.
16. Selections>Select All.
Selections>Modify>Contract - 50 pixels.
Selections>Invert.
Effects>3D Effects>Drop Shadow, color black.

Repeat Drop Shadow, vertical and horizontal -10.
Selections>Select None.
17. Open the tube titre and go to Edit>Copy.
Go back to your work and go to Edit>Paste as new layer.
Place  the text where you prefer, or see my example. the text where you prefer, or see my example.
18. Sign your work on a new layer.
Layers>Merge>Merge all and save as jpg.
Version with tubes by DBK Katrina (the landscape is mine)

 Your versionsThanks Your versionsThanks

If you have problems or doubts, or you find a not worked link,
or only for tell me that you enjoyed this tutorial, write to me.
3 October 2020
|

